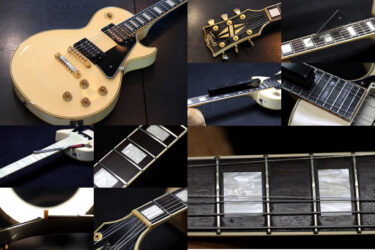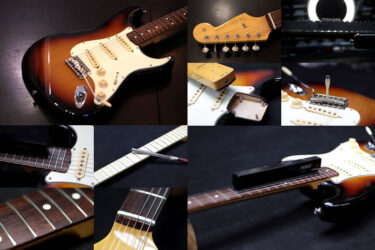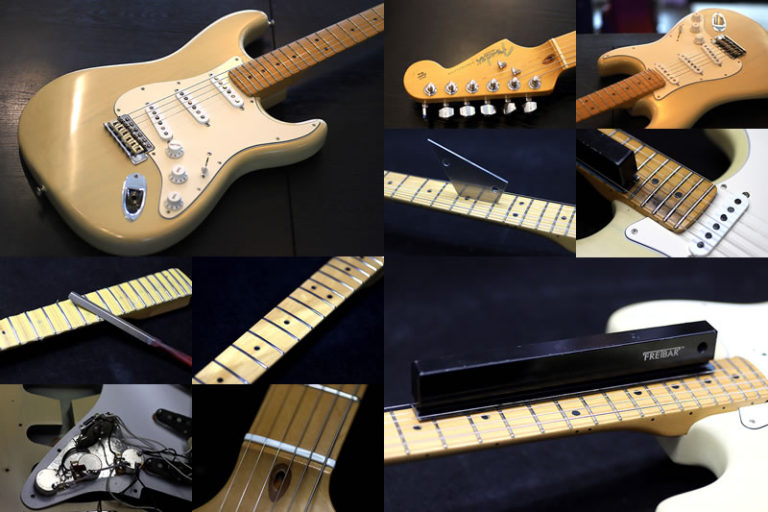
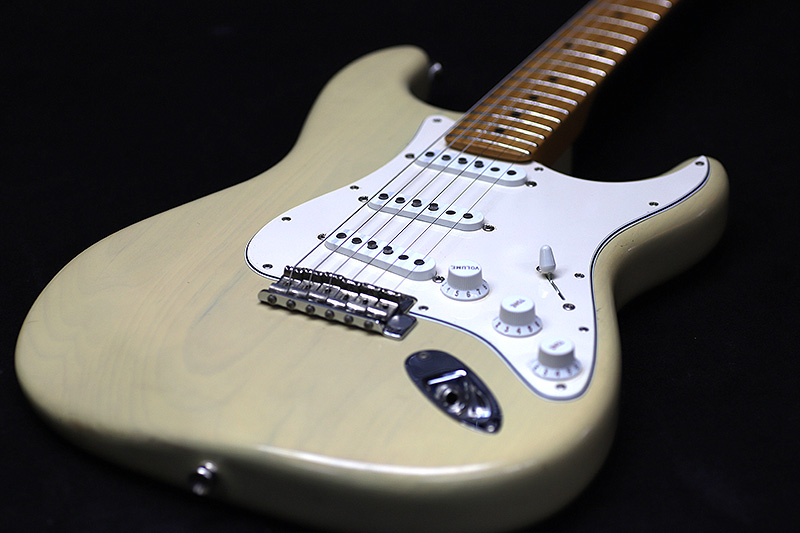
Fender USA Stratcaster
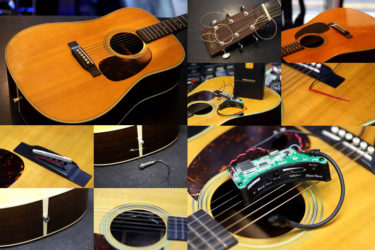
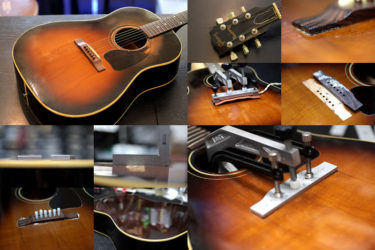
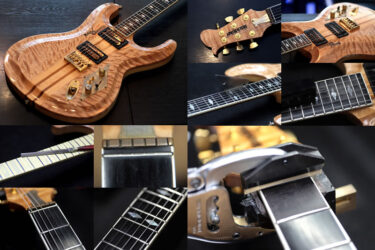
Repair of the Day
Fender USA Stratcaster

アッシュボディ、かなり塗装の薄いモデル。

トラディショナルな仕様ですがオールラウンドな感じ
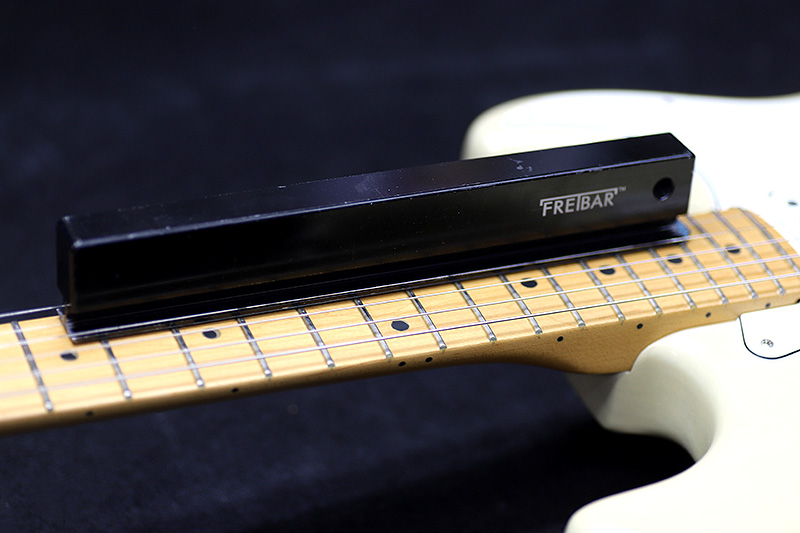
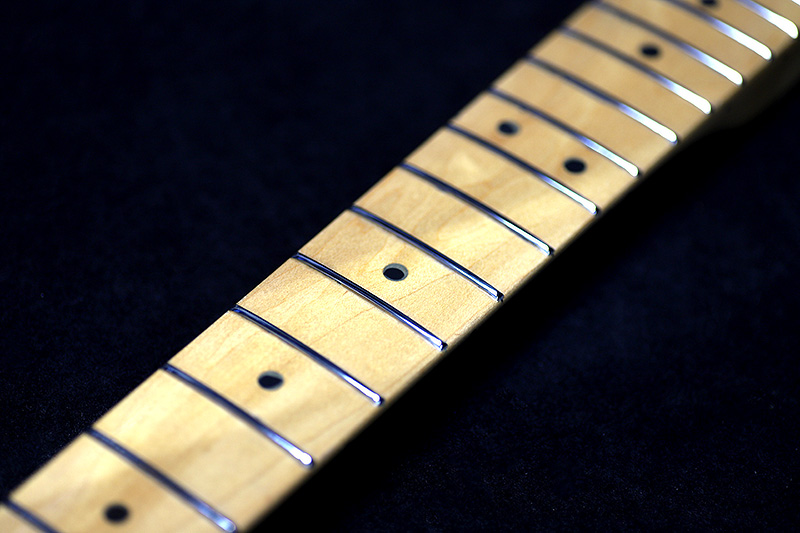
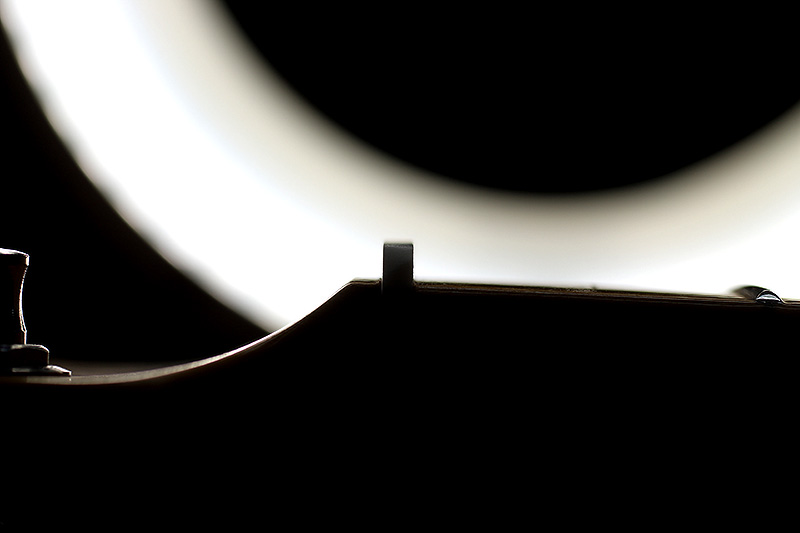
フレットの状態
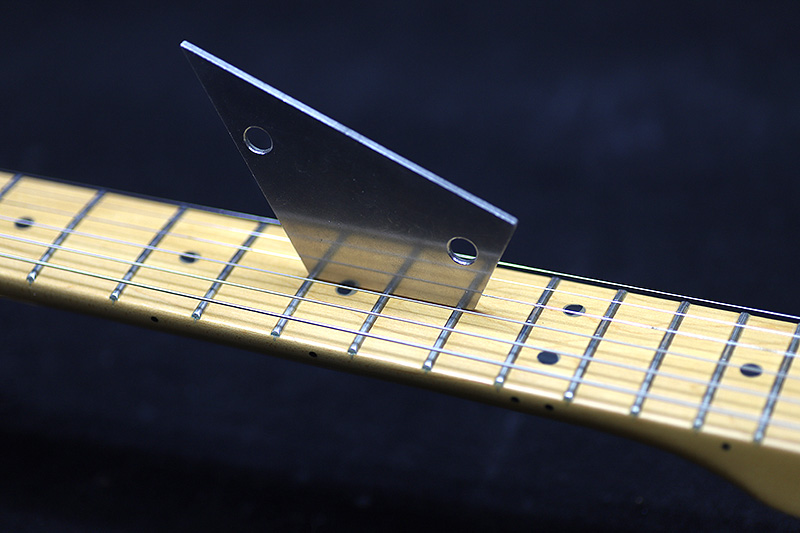
フレットのロッカーをチェック。
かなりガタツキがあります。
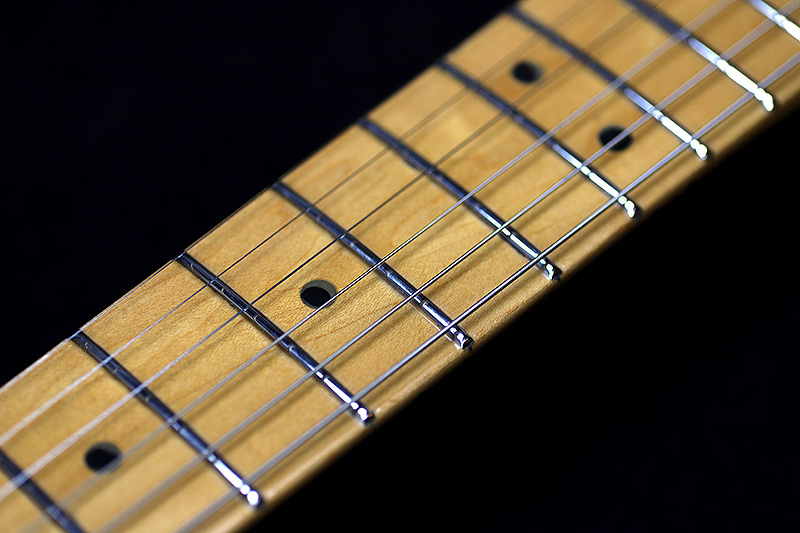
一旦弦を張ったままフレット研磨。
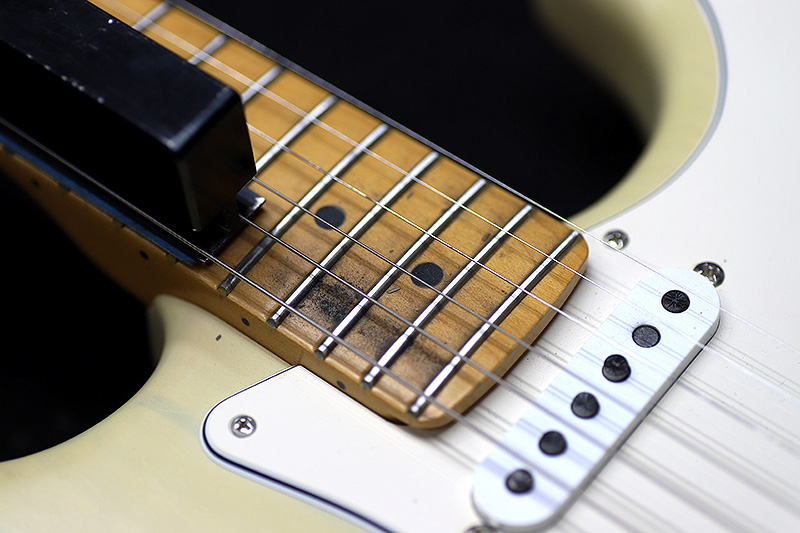
ハイフレットはかなり浮きがありました。
フレット研磨
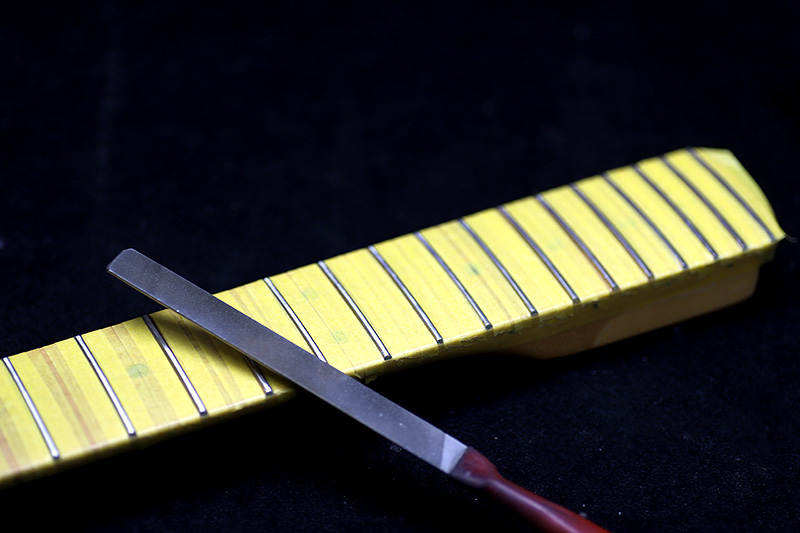
フラットにした後は、指板にマスキングをしてフレットの頂点を残したまま、角を落としていきます。
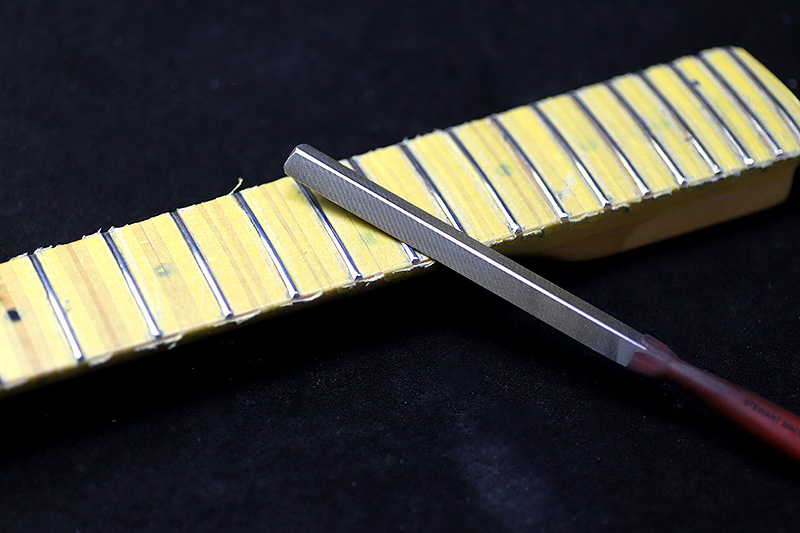
ファイル1本でおおまかに角を落としてラウンド状に。
POT交換
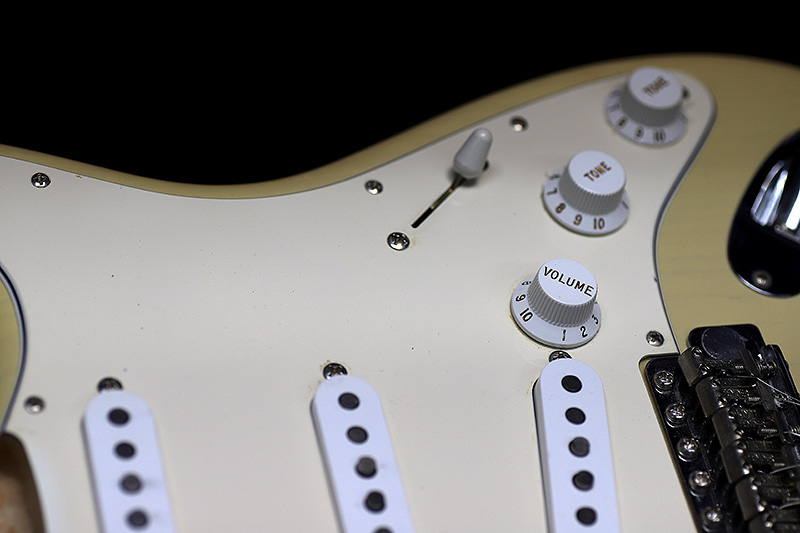
続いて電装部。
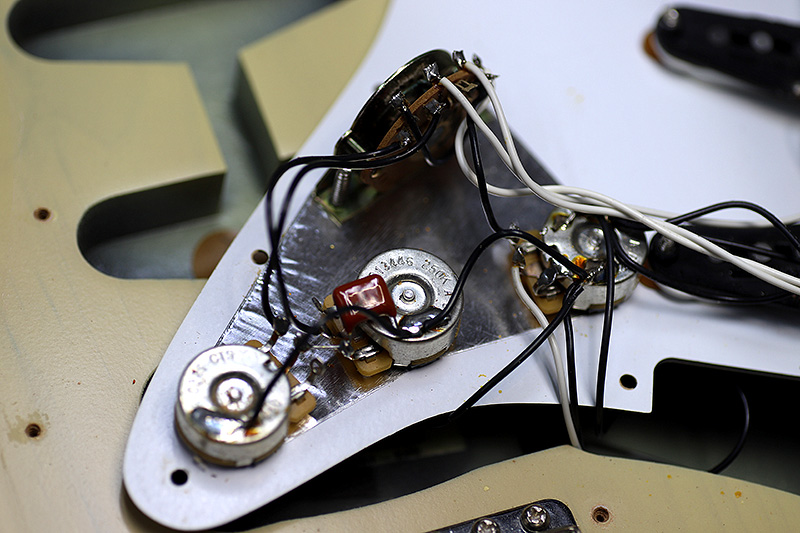
ポットにかなりガリがあるので交換。
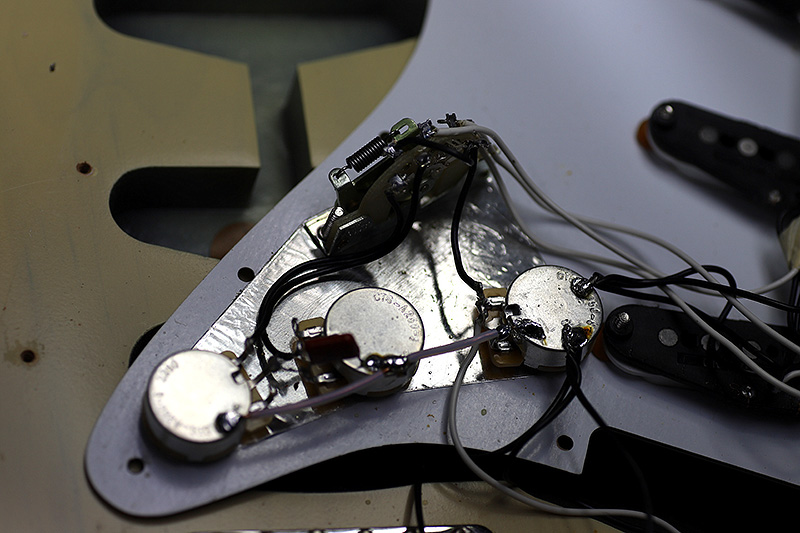
ポット、スイッチを新しくしました。
ナット交換
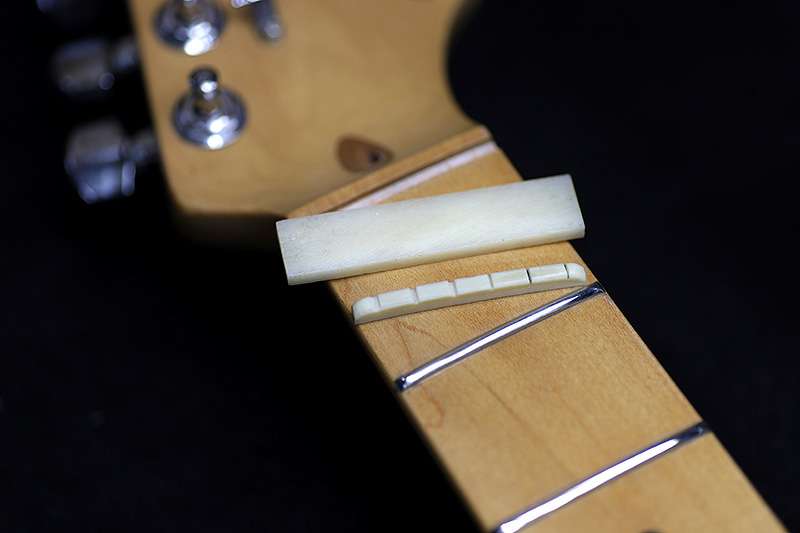
続いてナット
1弦、2弦の溝が黒くなっていますね。
かなりすり減ってビビりが出ていました。
牛骨に交換。
スロットに合わせアールをつけて成型。
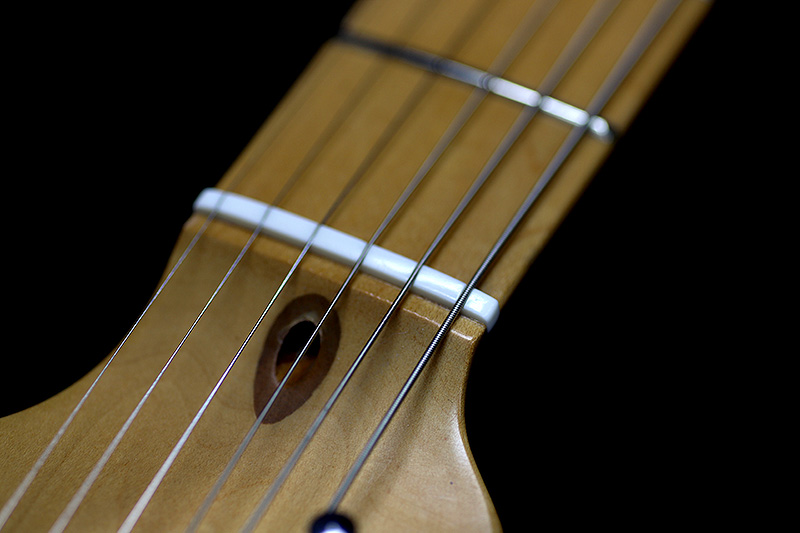
弦を張って溝を掘っていきます。
オクターブ、全体調整
詰まりも無くなって弦振動も大きくなりました。
サドルのアールを指板と同じにします。
指板のアールと一致せず、サドルがフラットだったりすると、3弦、4弦がビビったりします。
弦を張ってチューニングを合わせ、全体のバランスを整えて完了。
ギター、ベース等の修理は お気軽にご相談下さい。
お願いいたします。