Fender JP ストラト
Repair of the Day

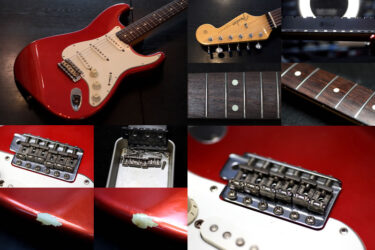
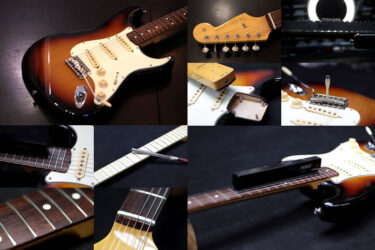
Fender ジャパン ストラトキャスター
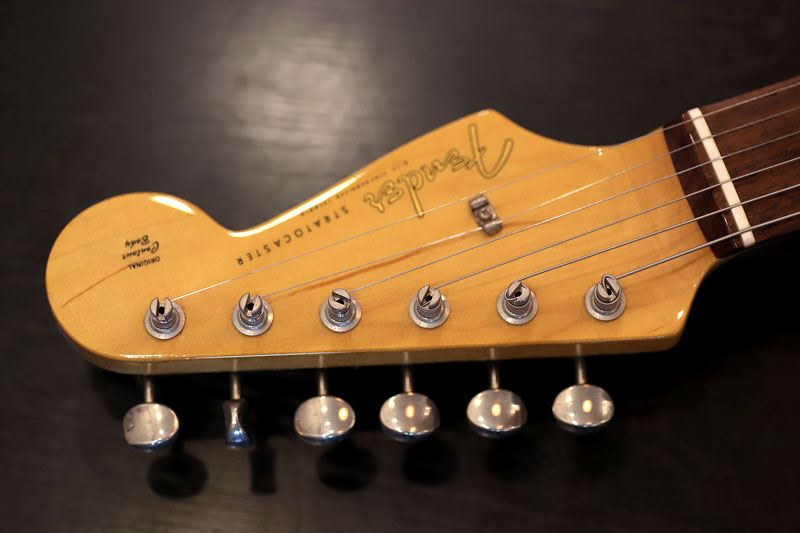
ST-62TX
見た目は非常にコンディションの良い状態
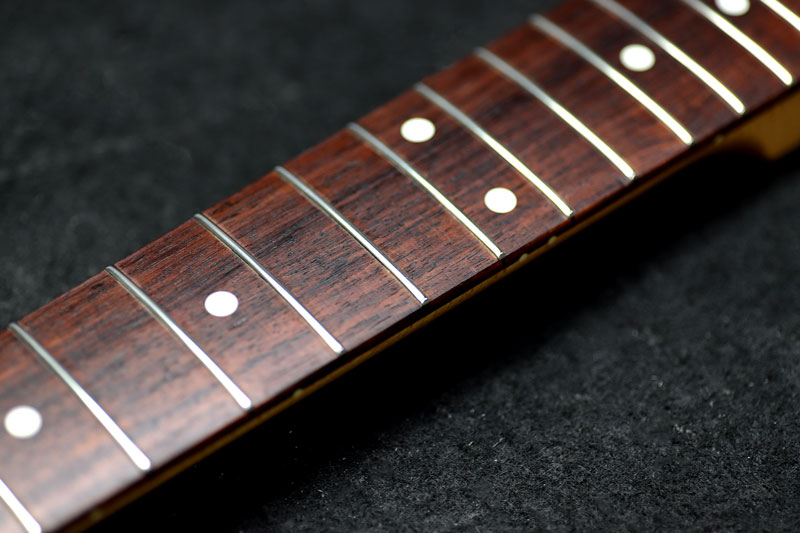
ネック
ネックは少し順反り

トラスロッドを回して調整します。
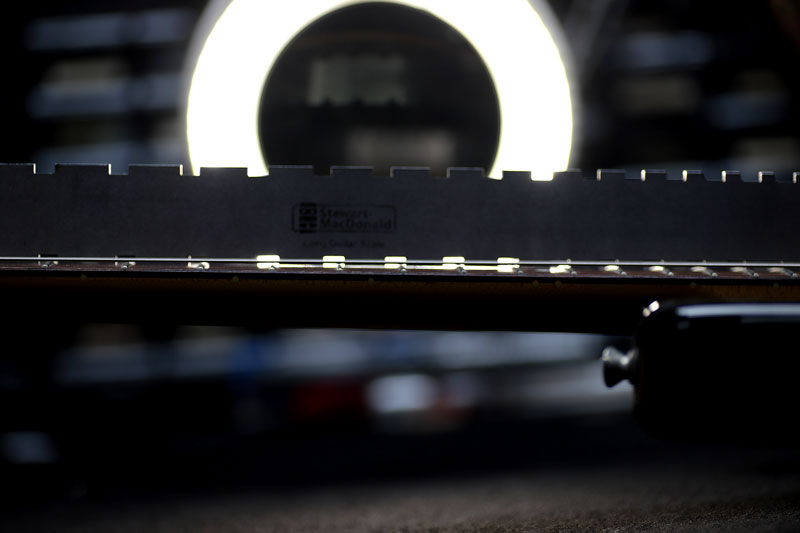
スラブボード貼りの指板
かなり締められたのかこれで限界。
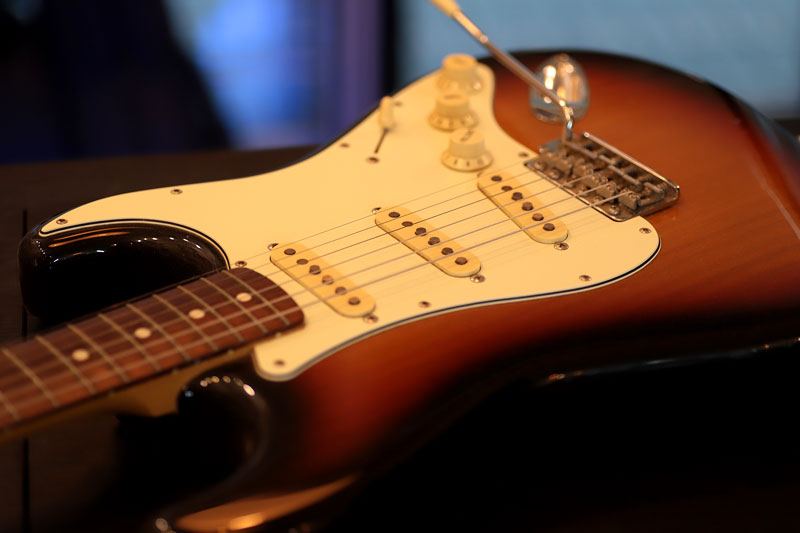
サドル調整
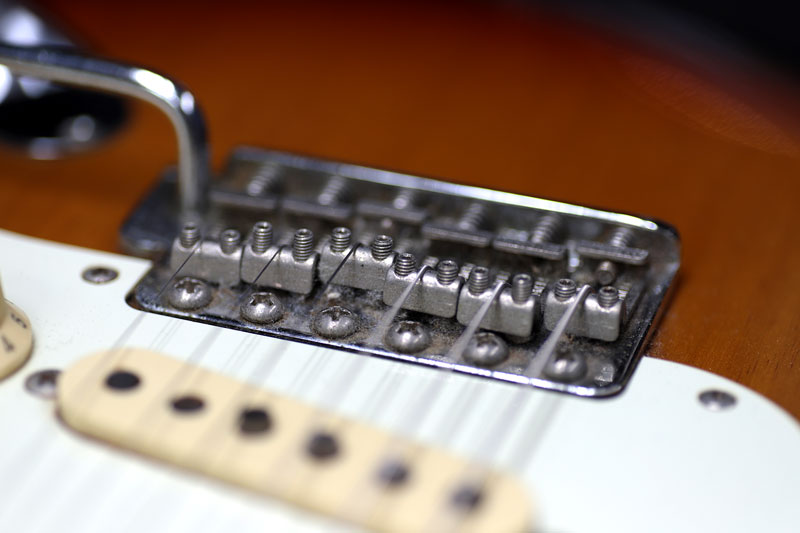
一旦セッティングをフラットにする為サドルも調整
高さがバラバラです。
ブリッジサドルの高さは指板のアールに合わせます。
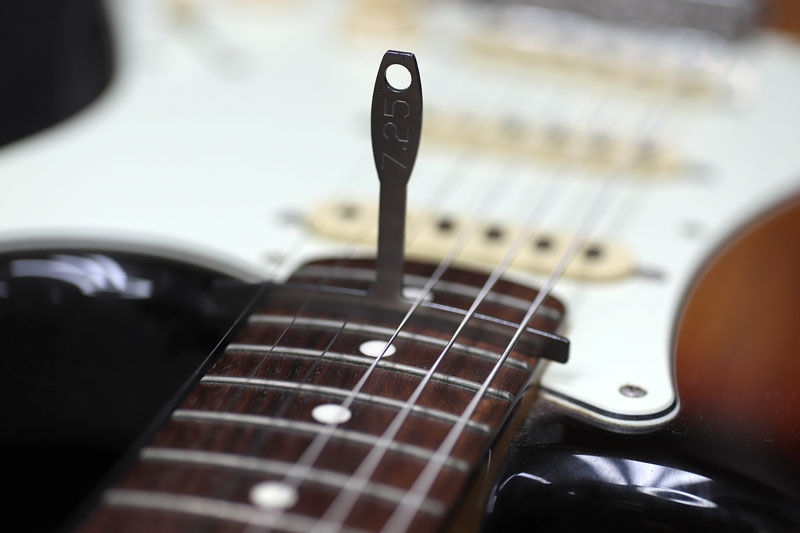
指板アールを測ってみると7.25インチ。
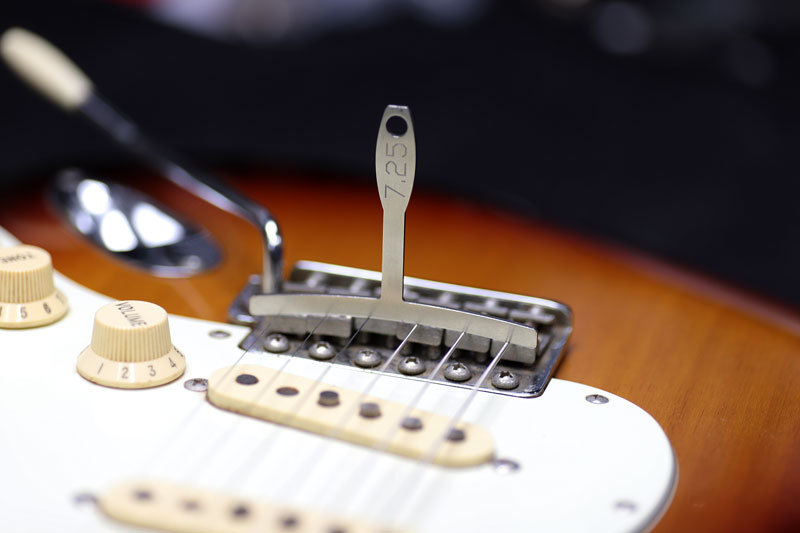
このアールと同じ丸みになるよう、サドルのラウンドを整えます。
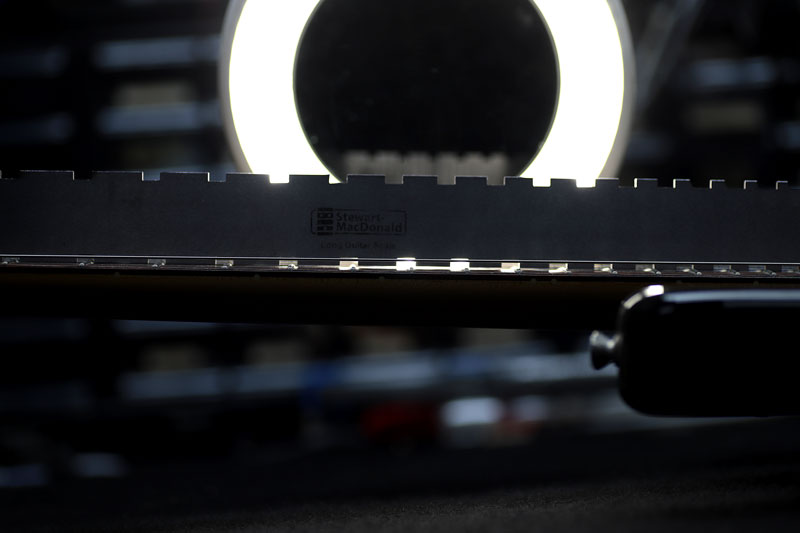
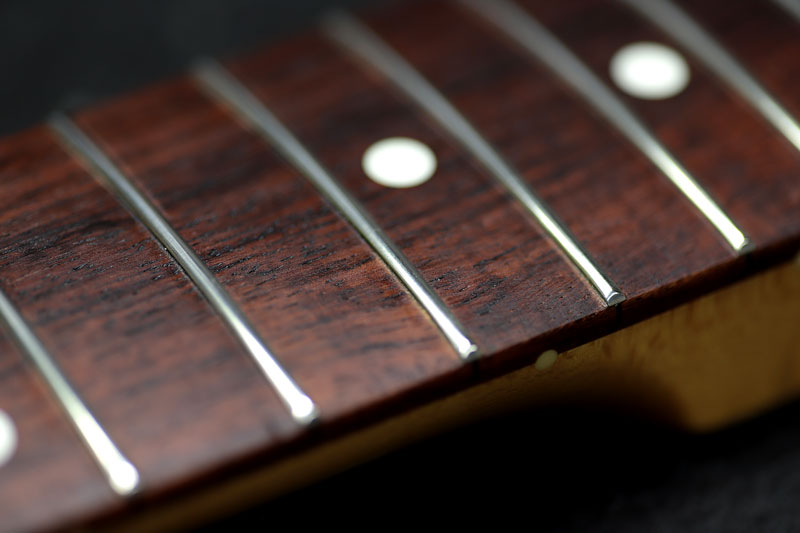
フレット状態
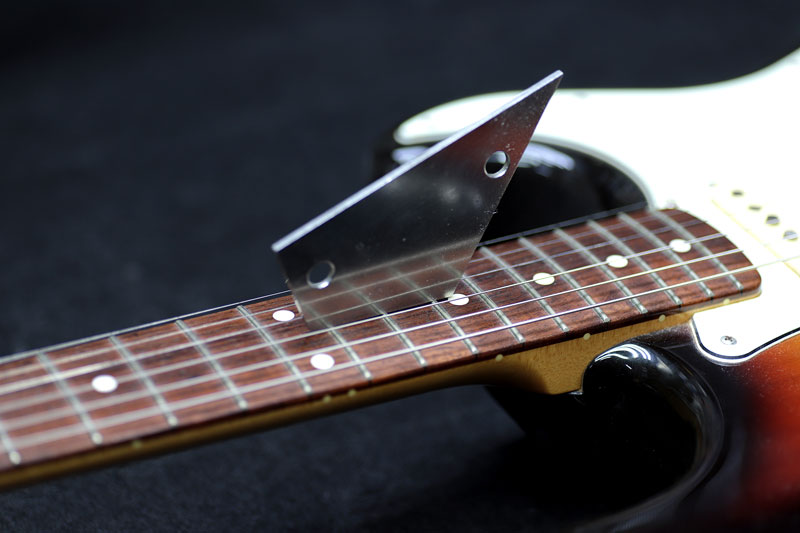
これでチューニングを整え、各フレットの高さをチェック。
指板が少し波打っていたのもあって、フレットにガタツキがあります。
高くなっているフレットの手前を弾くと詰まり、ビビりが生じますね。
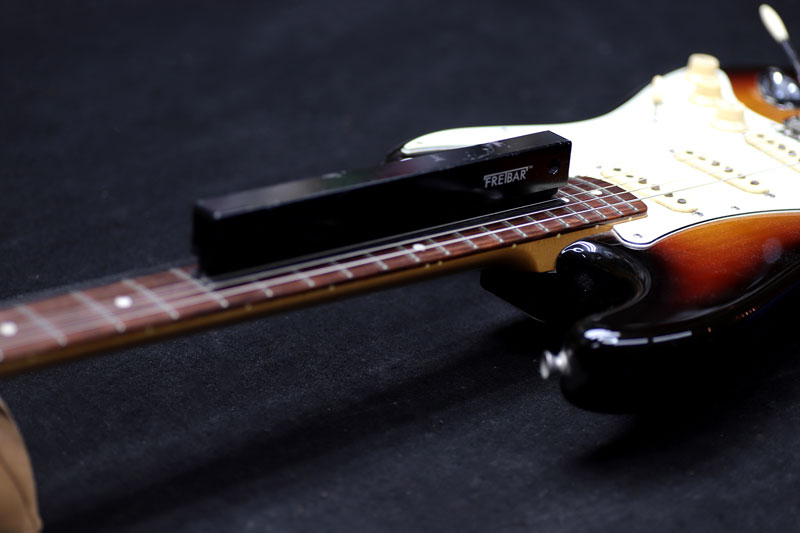
今回は全体的にすり合わせを行いました。
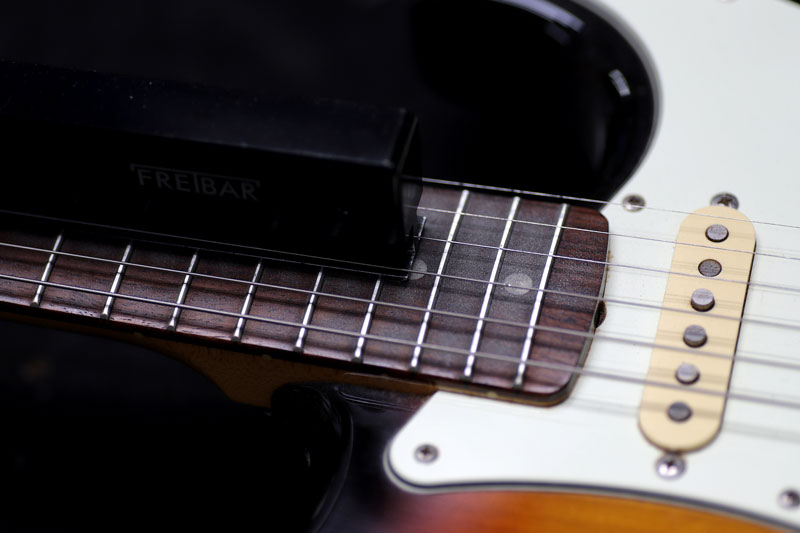
ハイフレット部はかなりバラツキが。
フレット研磨
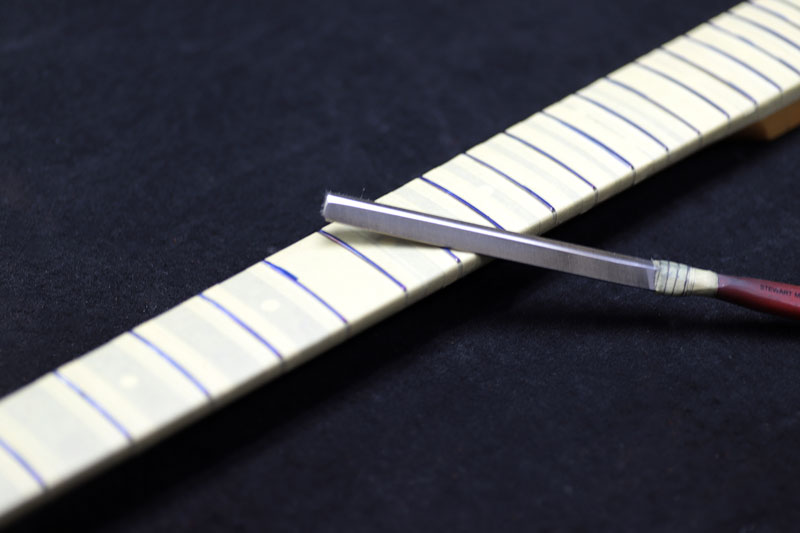
すり合わせの後はフレットトップを研磨します。
フレットの丸みを出して研磨、ポリッシュ、指板クリーニング。
フレットエンドのバリも取り除きます。
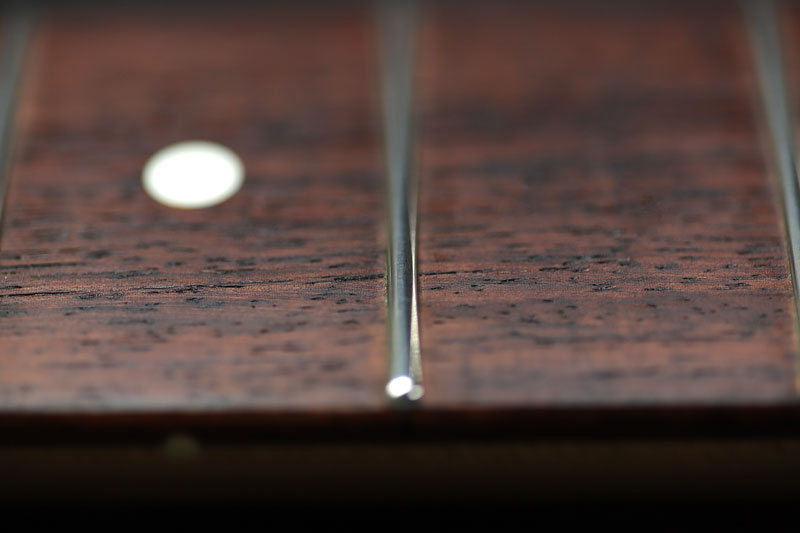
フレットすり合わせはトップを平にせず、半円上に丸く仕上げます。
ナット交換
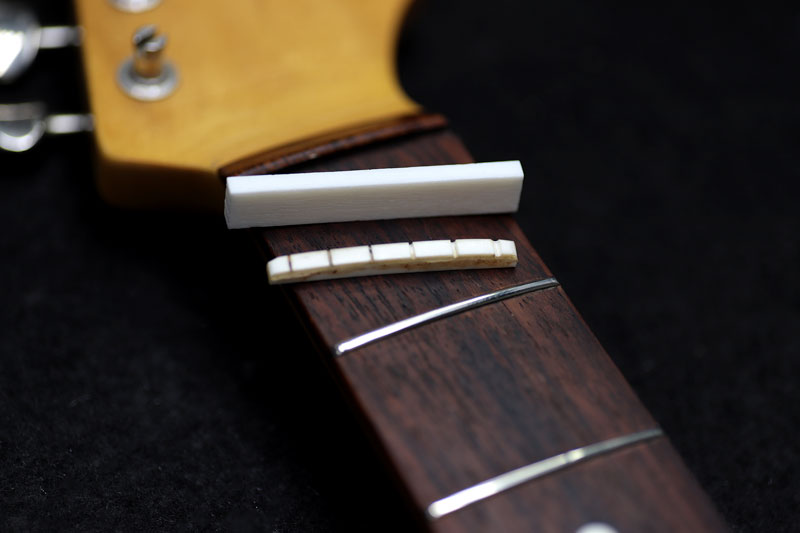
ナットも大分減っていたので交換。
指板のアールに合わせて底面を加工し、スロットにピッタリ収まるように削ります。
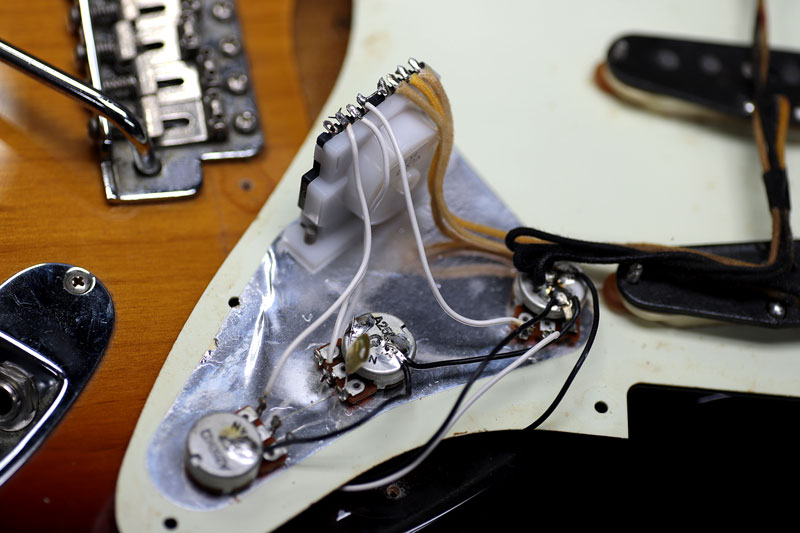
ポット交換
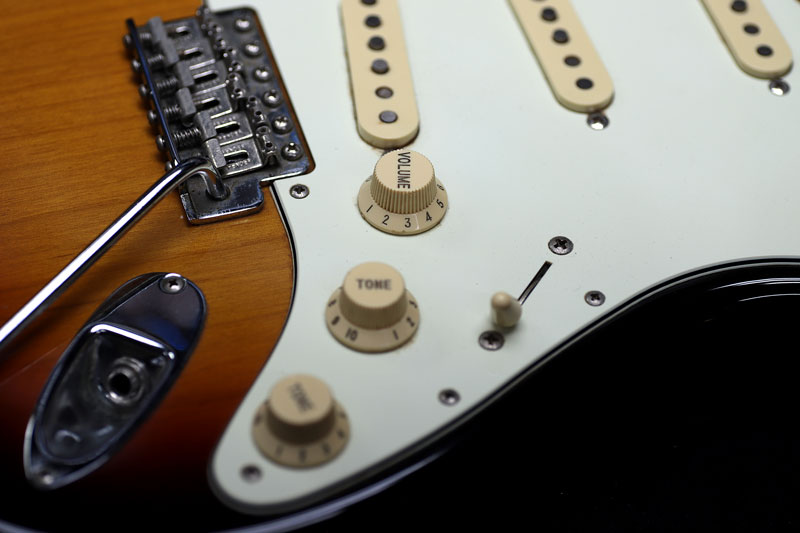
ナットを新調し弦を張る前にコントロール部のチェック。
ポット、スイッチ、ジャック共にガリがかなりありますので交換。
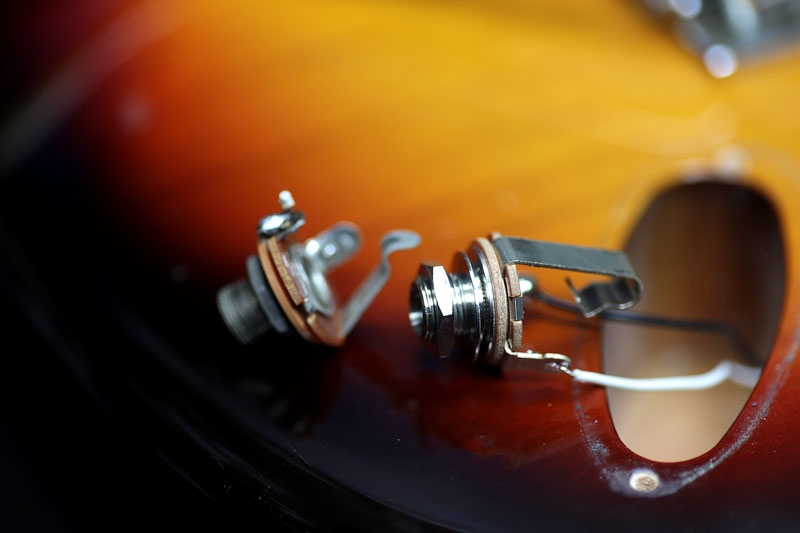
ジャックはスイッチクラフト製のジャックへ交換。
プラグのフィット感はこのジャック一択。
オリジナルのポット、スイッチはこんな感じ。
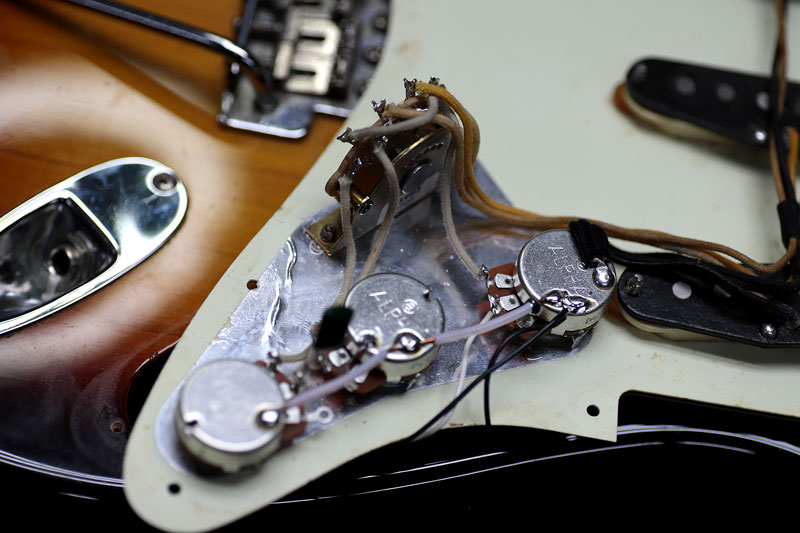
全て新品に交換、ワイヤリングもやり直しました。
弦交換、チェック
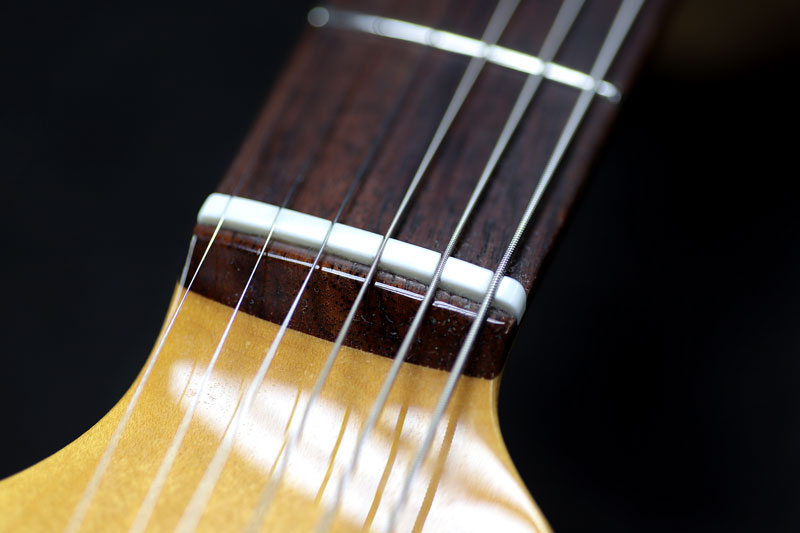
弦を張ってナットの最終チェック。
溝を仕上げ、ナットをポリッシュして完了。
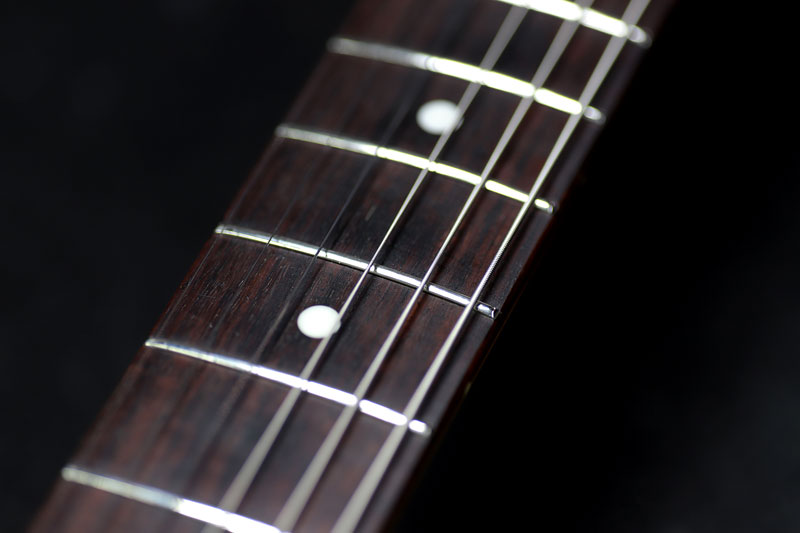
フレットのビビりも無くなりました。

ギター、ベース等の修理は お気軽にご相談下さい。