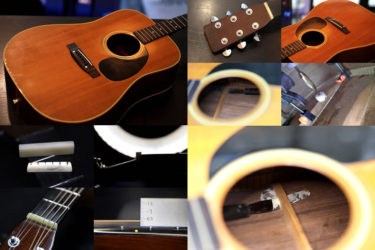
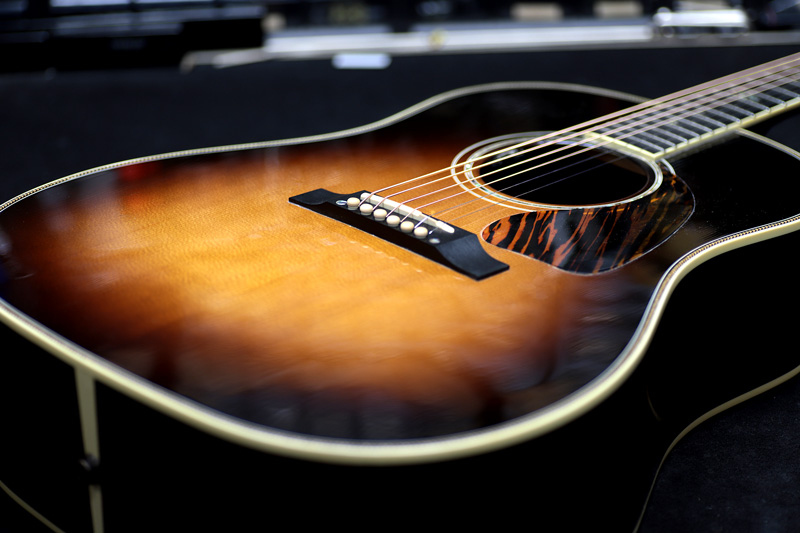
Gibson J-45 CUSTOM Rosewood
Repair of the Day
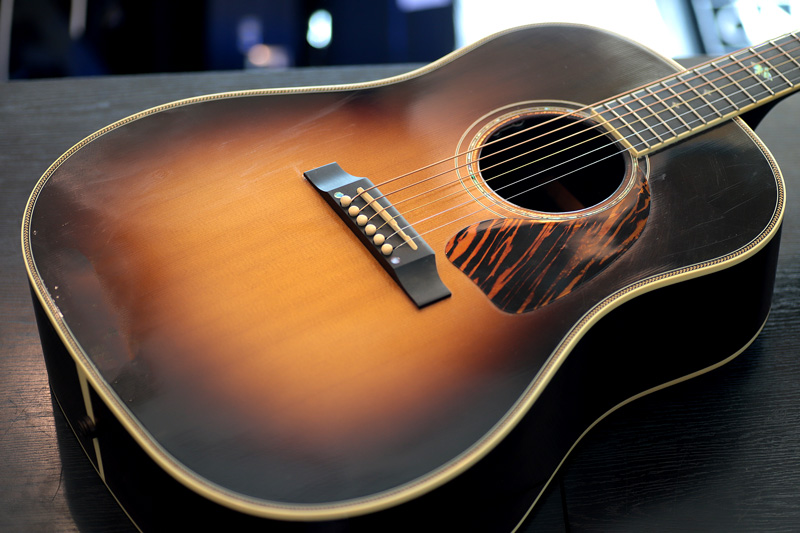
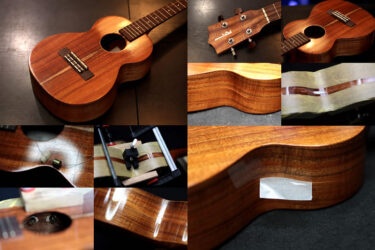
GIBSON J-45 Custom
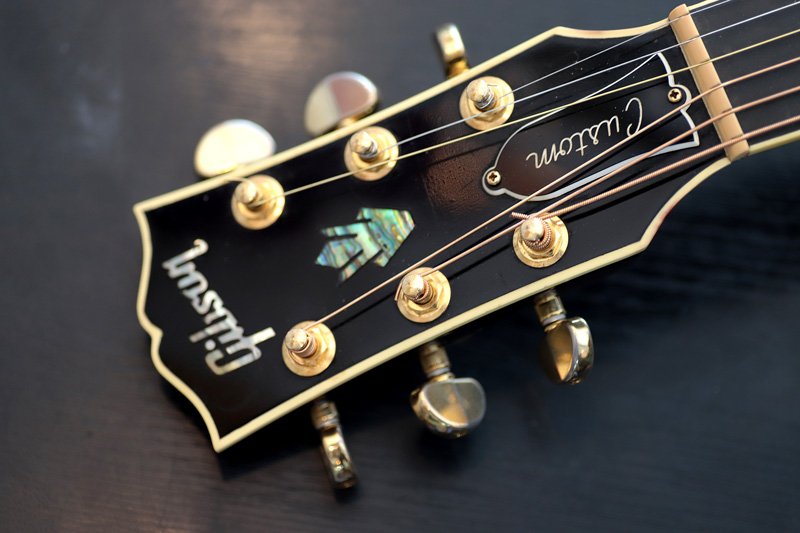
通常のJ-45に比べ、ヘッドのバインディングやインレイが豪華な仕様のカスタム。
ローズウッドならではの抜けの良いサウンド。
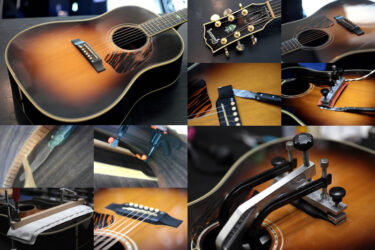
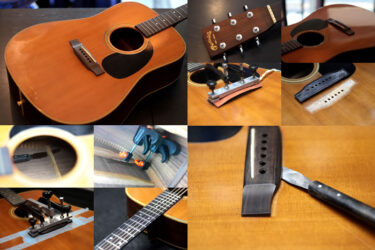
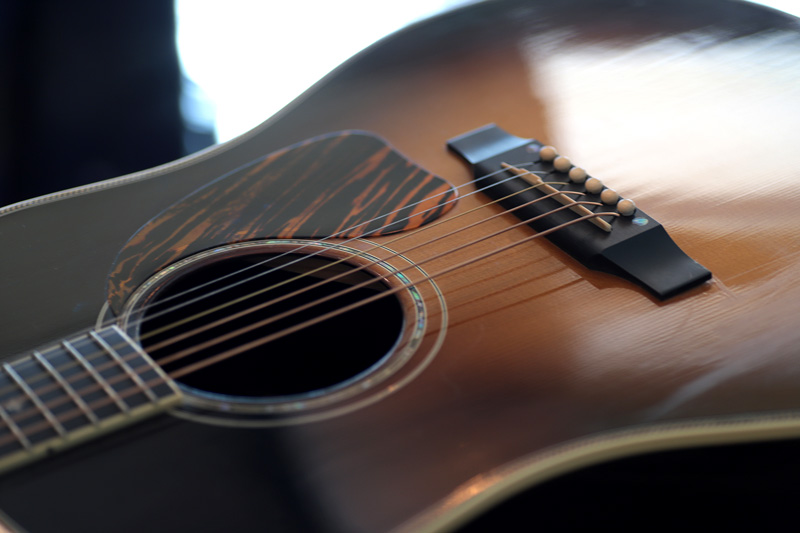
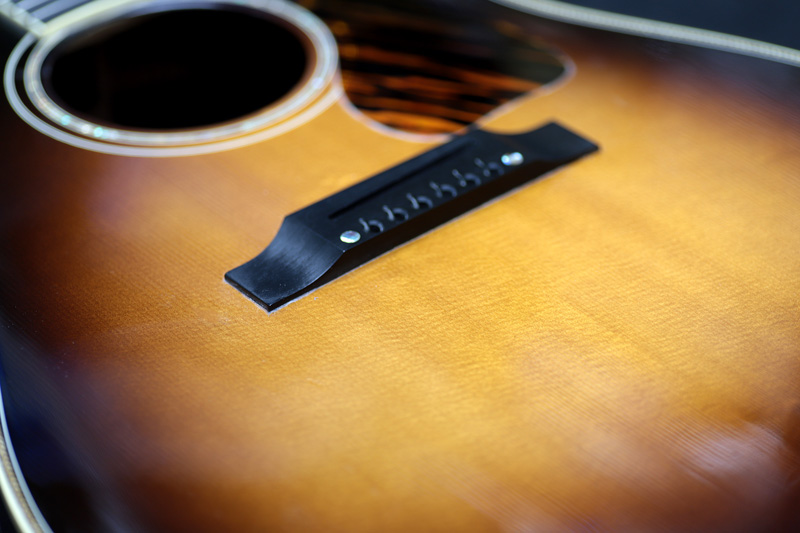
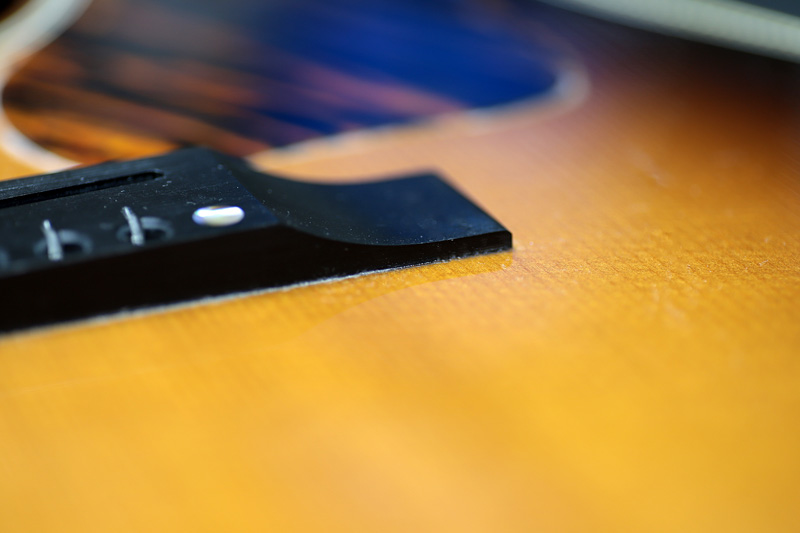
ブリッジ浮き
ブリッジに浮きがある、との事でご依頼を受けました。
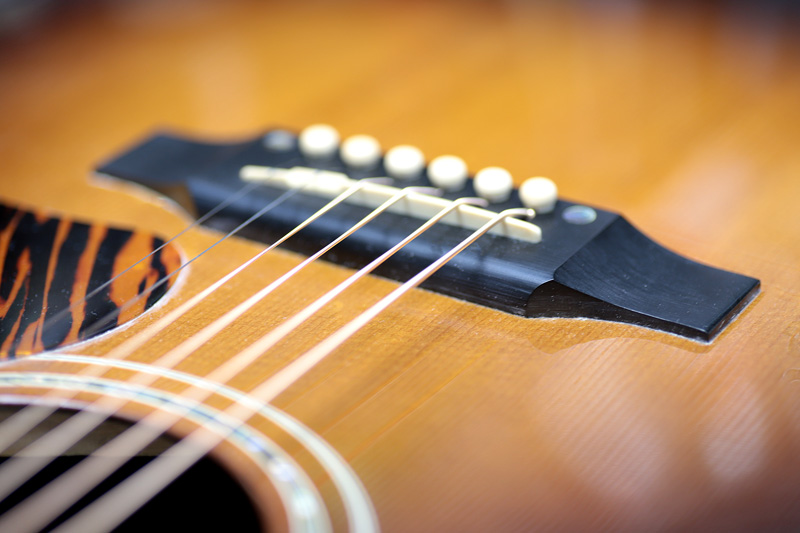
両サイド共に隙間があり、ブリッジ中央部が盛り上がってきています。
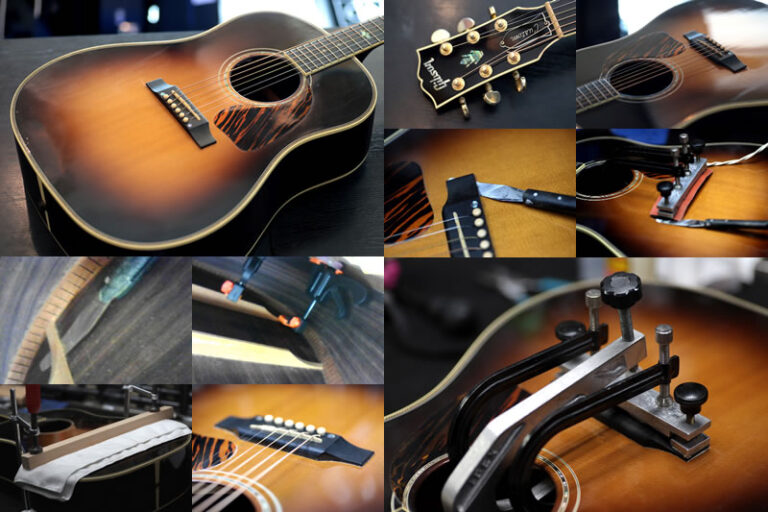
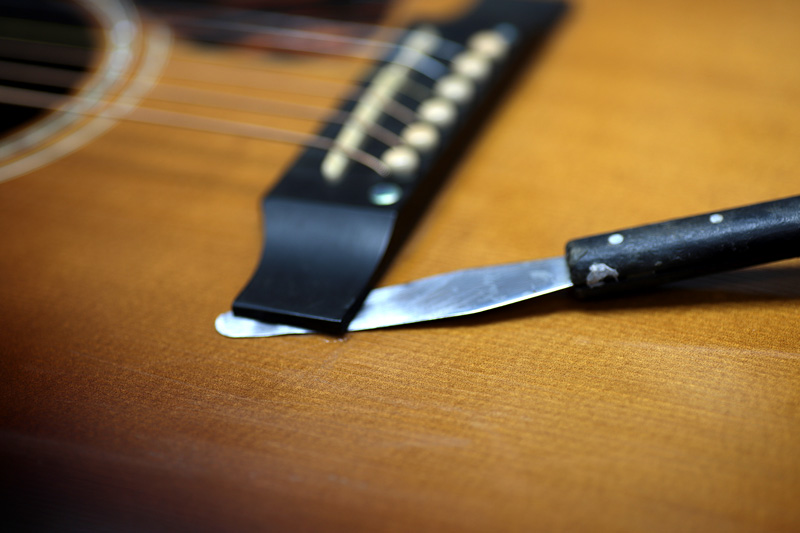
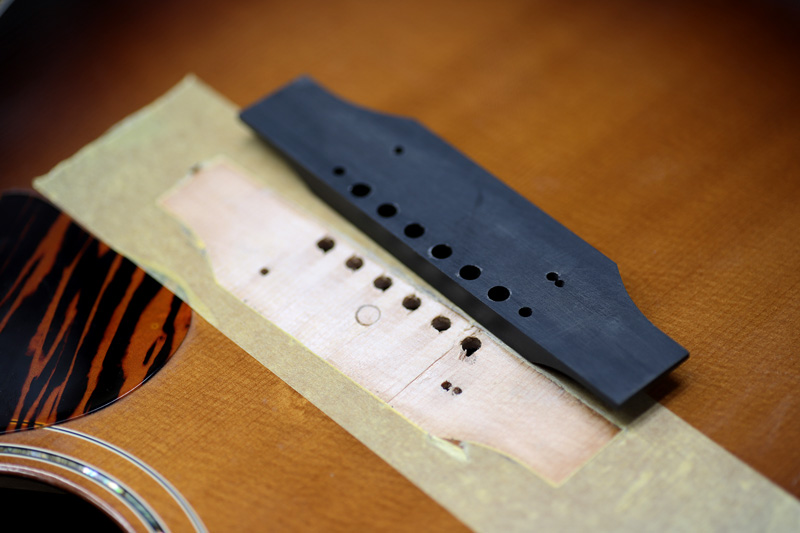
ブリッジ剥がし
一旦、熱を加えてブリッジを温め剥がします。

中央部のみ接着が残っている状態でした。
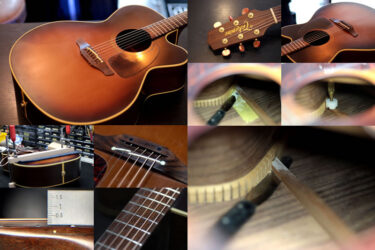
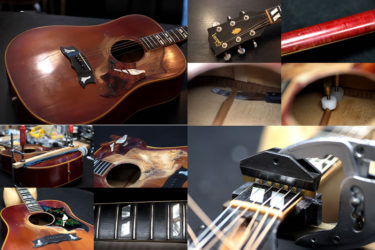
ここまで中央部が盛り上がっている場合に多いのが裏板のブレーシングの剥がれ。
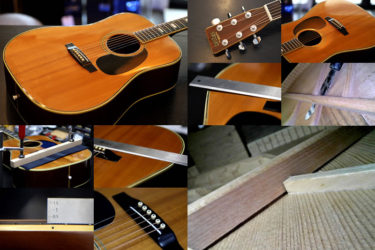
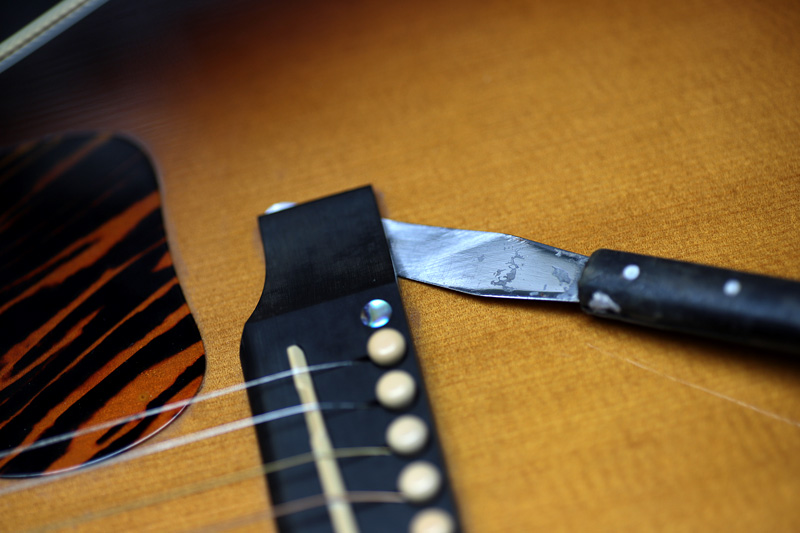
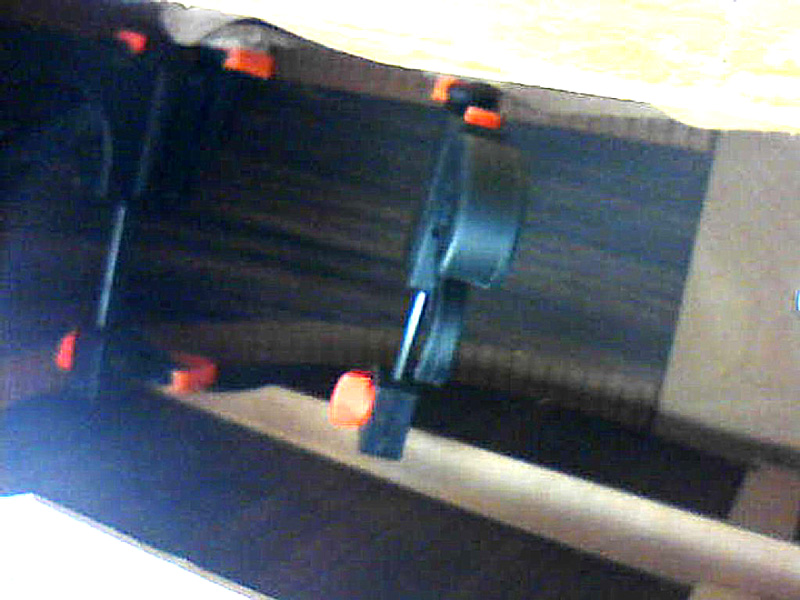
ブレーシングチェック
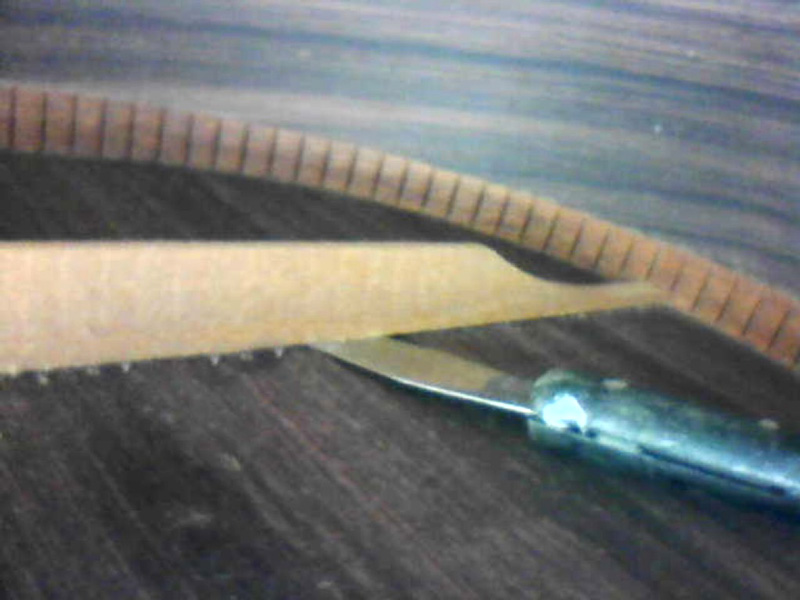
内部のブレーシングにスクレーパーを入れると、かなり隙間が開いています。
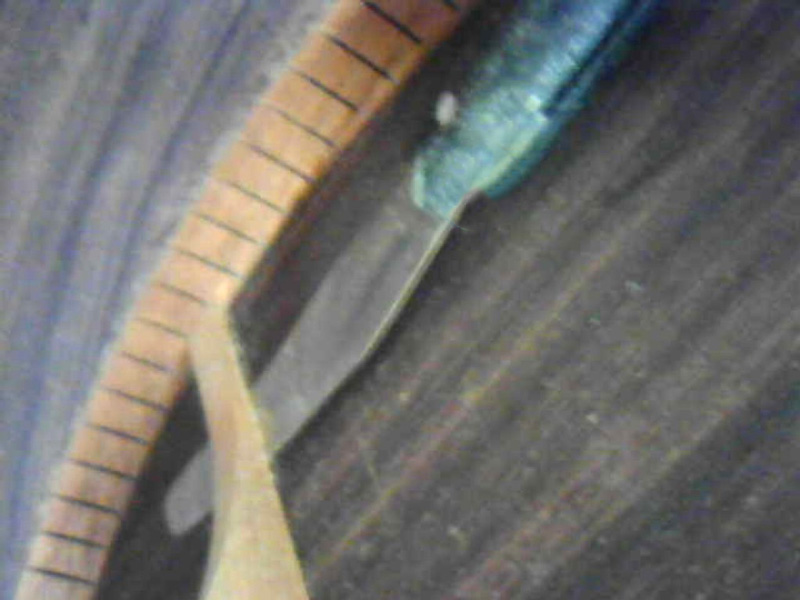
ほぼ全ての個所のブレーシングが浮いて(剥がれて)いました。
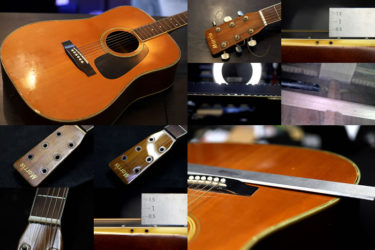
ブレーシング接着
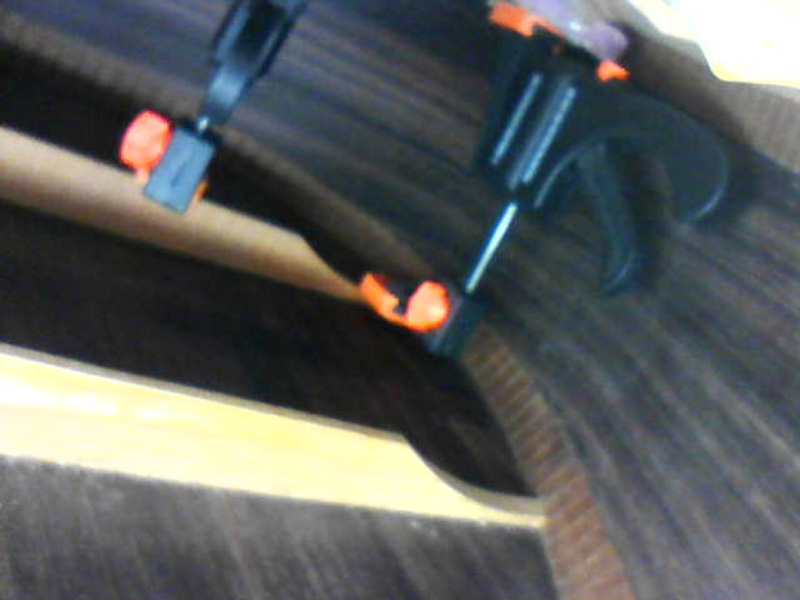
一部のブレーシングは変形しているものもありました。
一か所づつ固着させていきます。
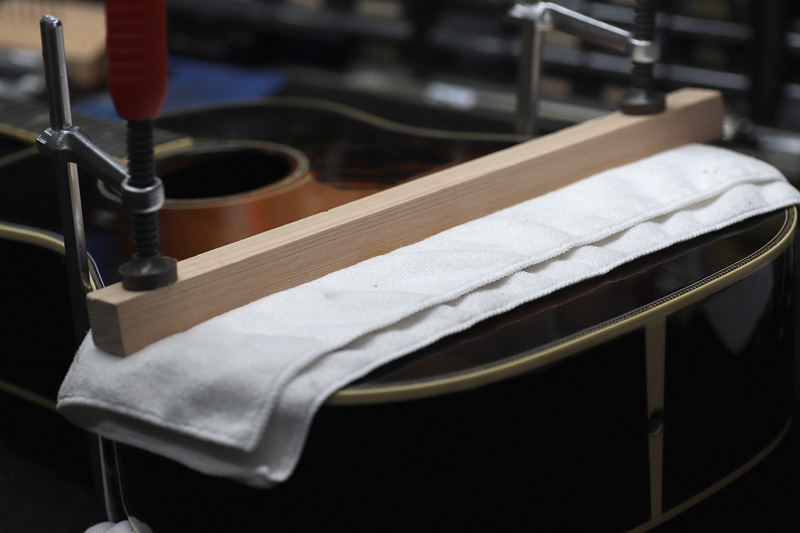
表側はブロックでクランプします。
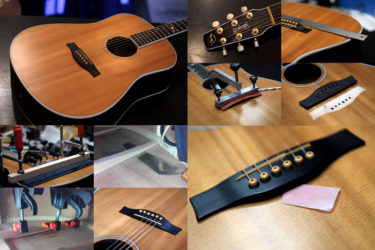
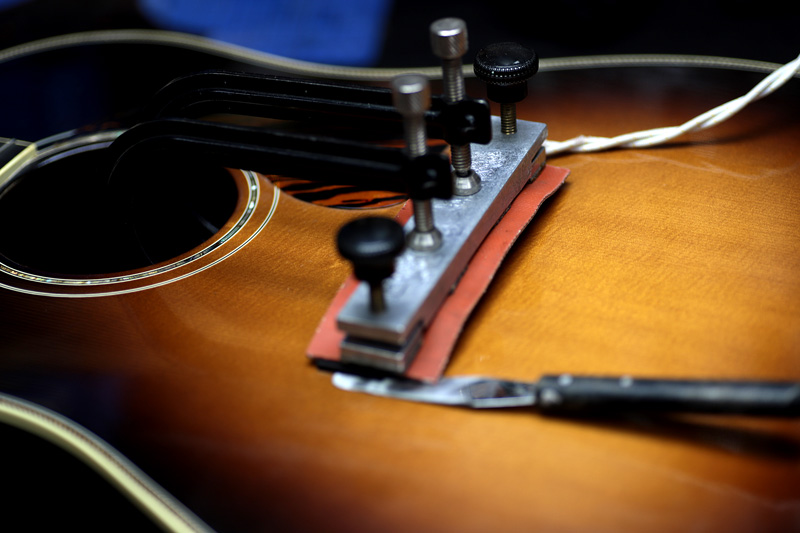
ブリッジ接着
内部のブレーシング接着が終わったのでブリッジを張り付けます。
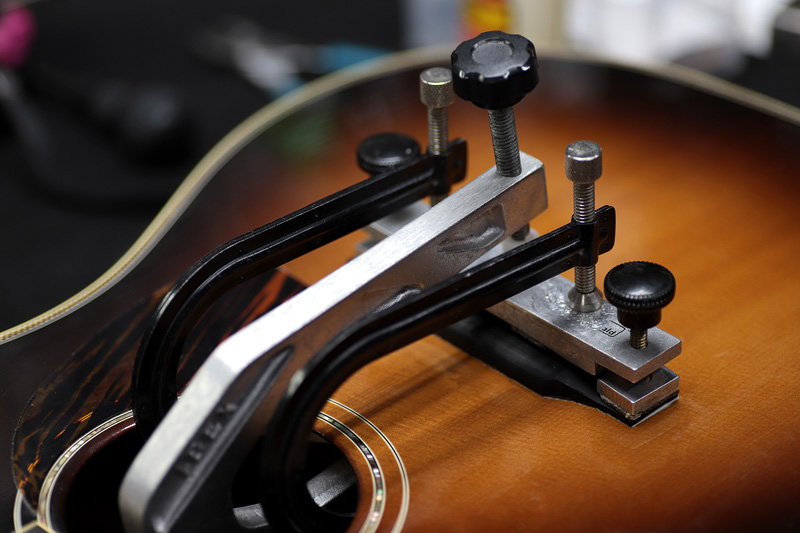
接着剤を付けてクランプ。
中央の膨らみも大分低くなりました。
浮いていた端っこも綺麗に接着。
ブリッジの浮きが見つかった場合は、そのまま弾き続けないで直ぐに弦を緩めて修理を行って下さい。
ギター、ベース等の修理は お気軽にご相談下さい。