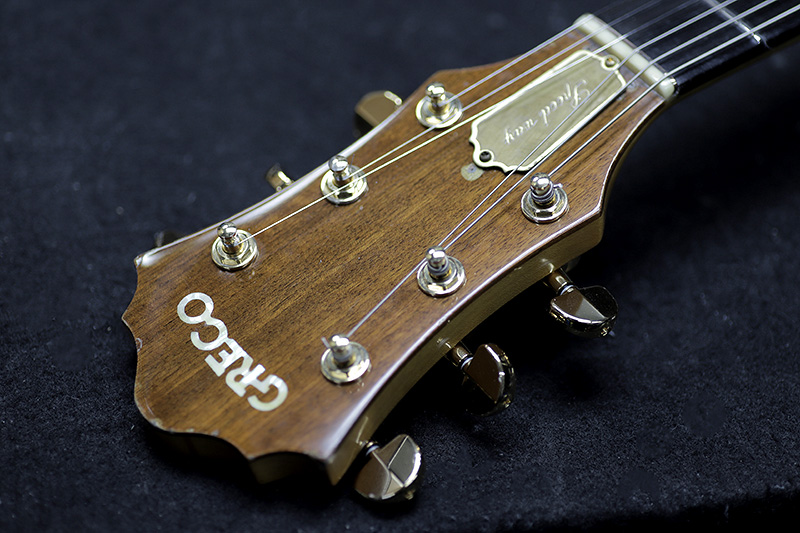
Greco GO-1000
Repair of the Day
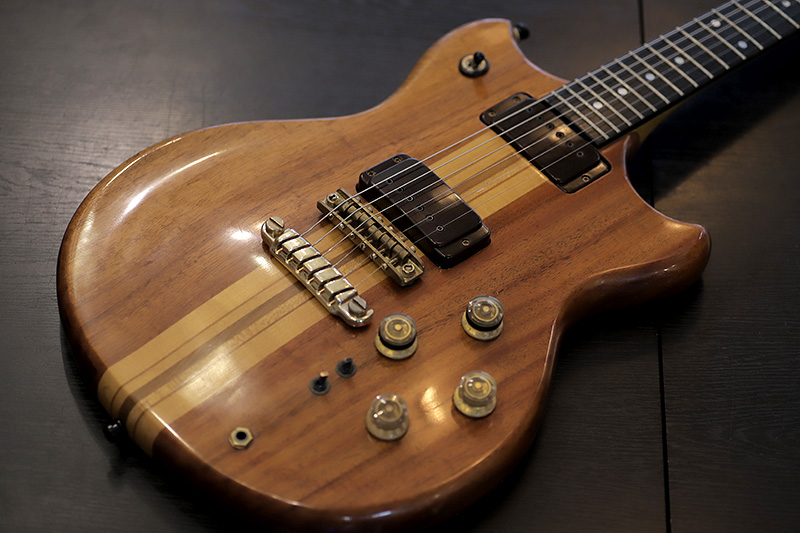
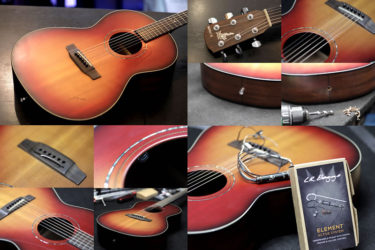
Greco GO-1000
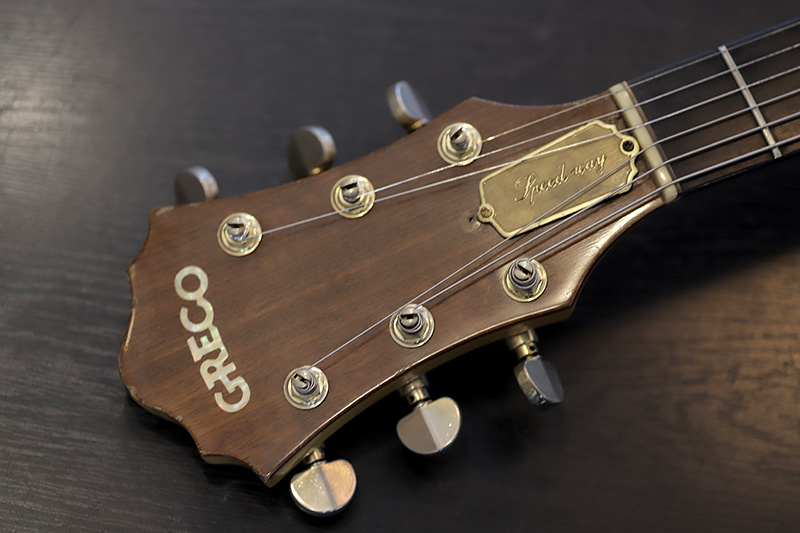
かなり手の込んだ丁寧なギターです。
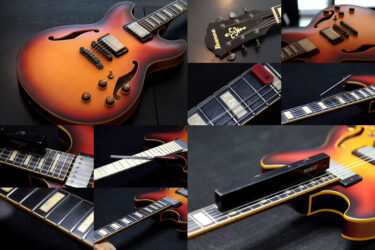
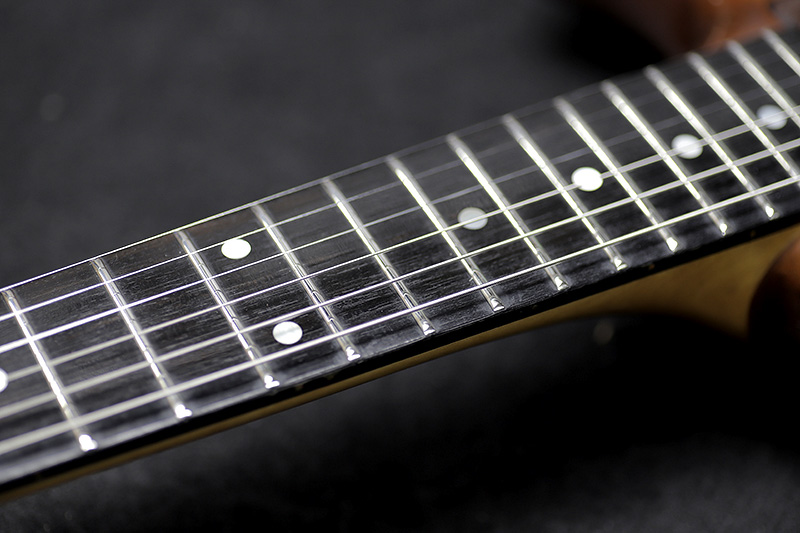
フレット状態
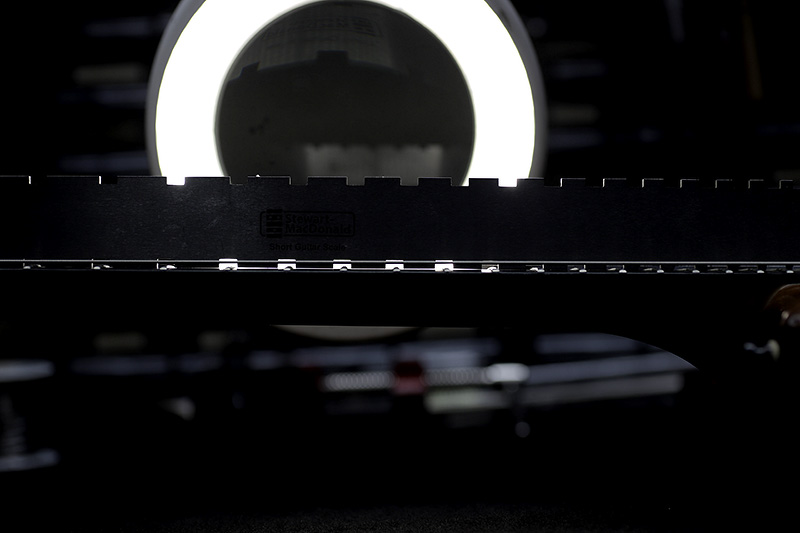
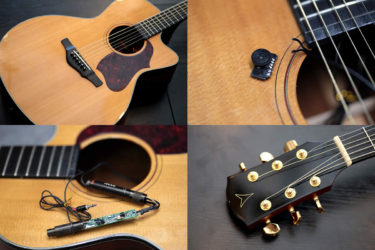
先ずはネックをチェック。
少し順反りです。
トラスロッドを調整しストレートにしました。

すり合わせをします。
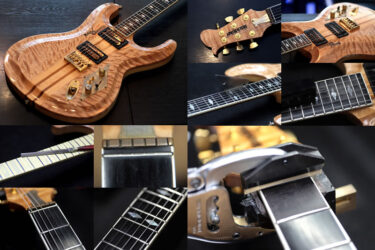
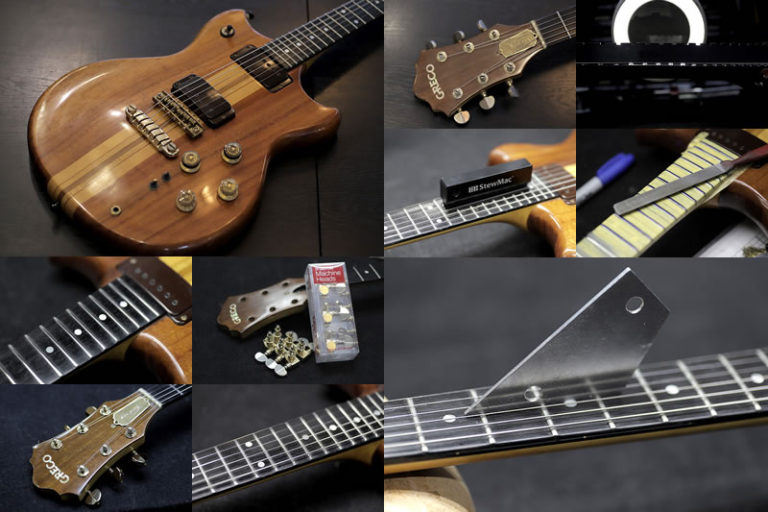
フレットすり合わせ
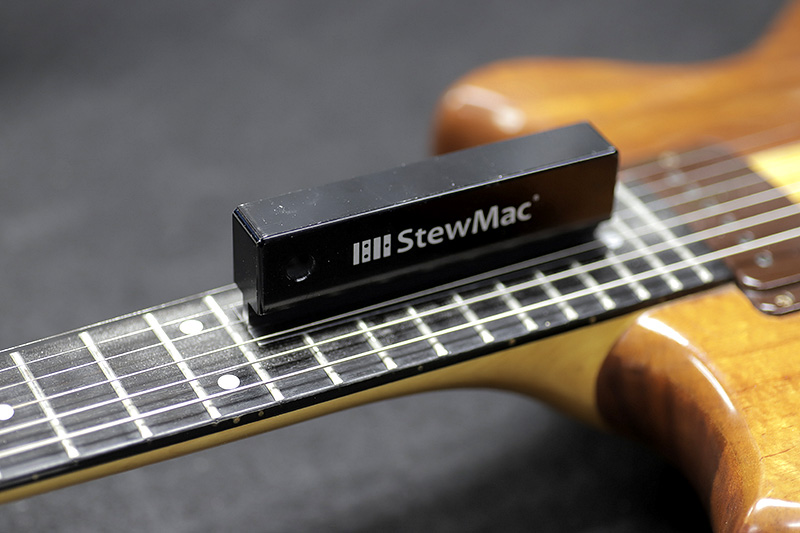
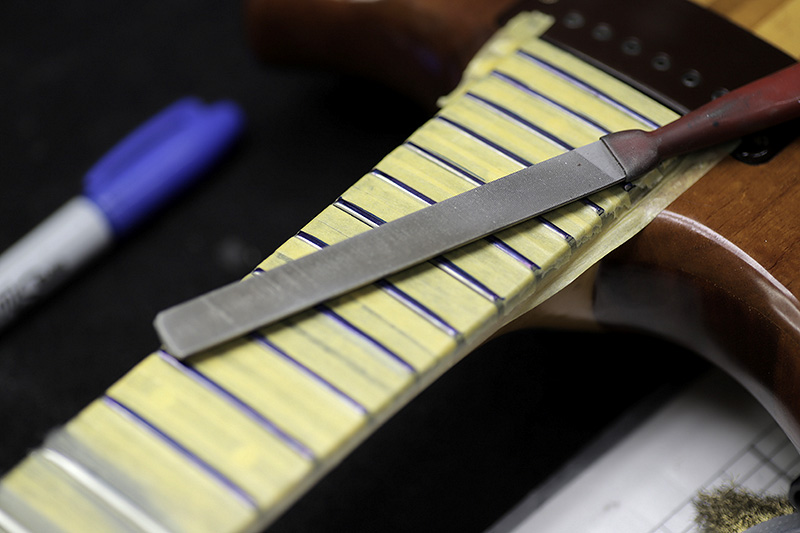
フレットトップをすり合わせし、三角ファイルで角を取ります。
フレット研磨
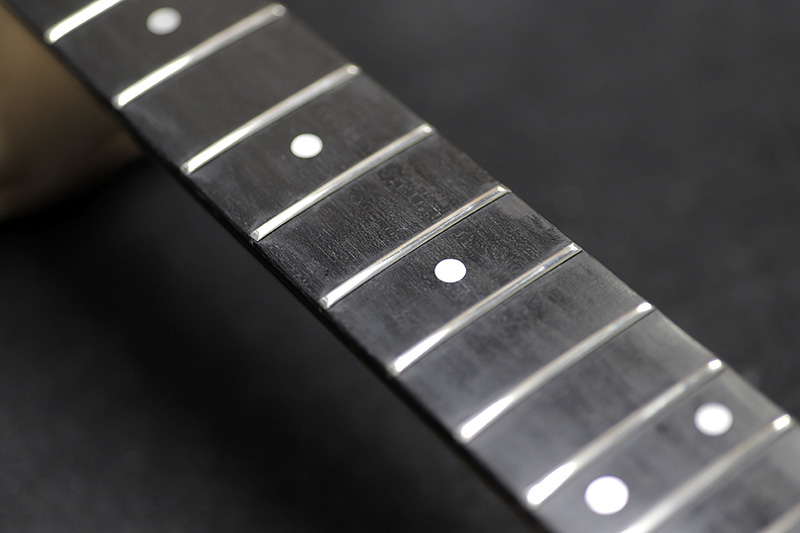
平になったフレットトップを丸く加工し、紙ヤスリ、コンパウンドで研磨。
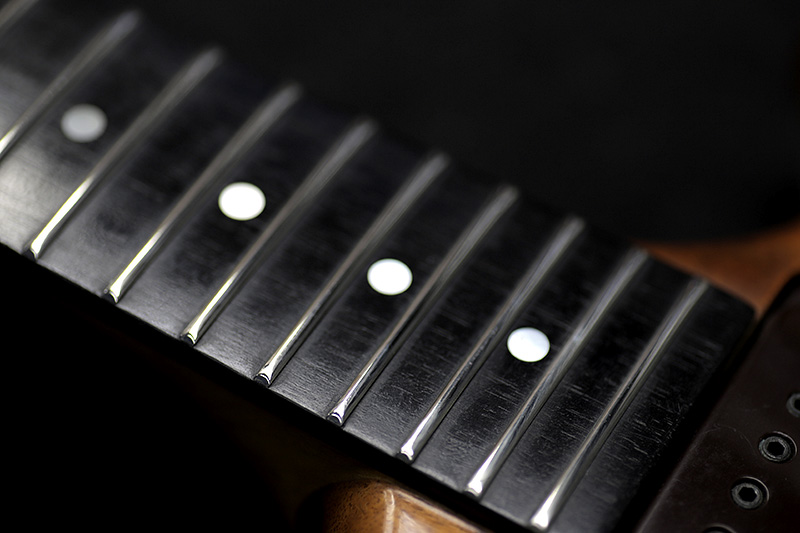
磨き終わり。
ハイフレットのビビりが無くなりました。
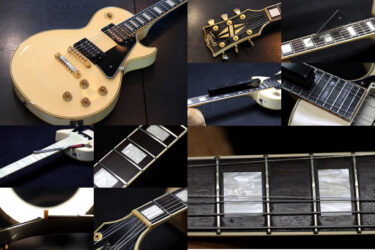
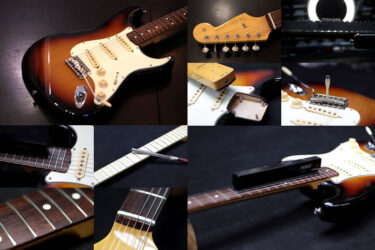
ペグ
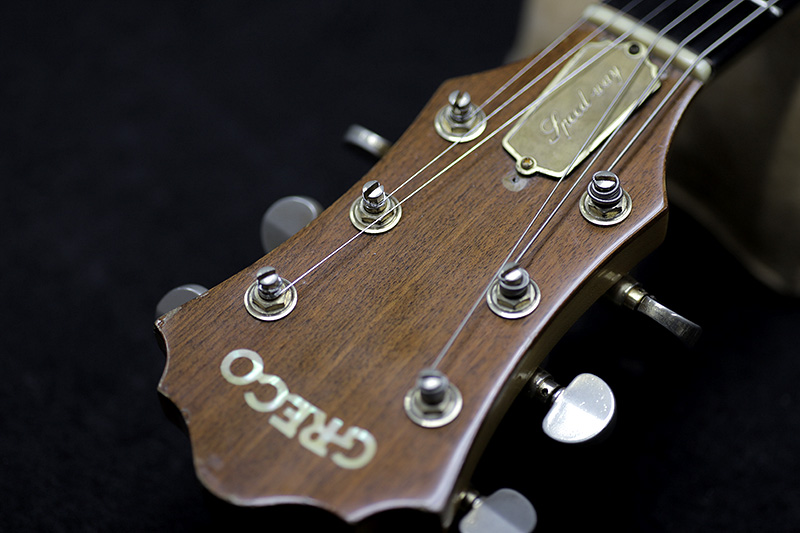
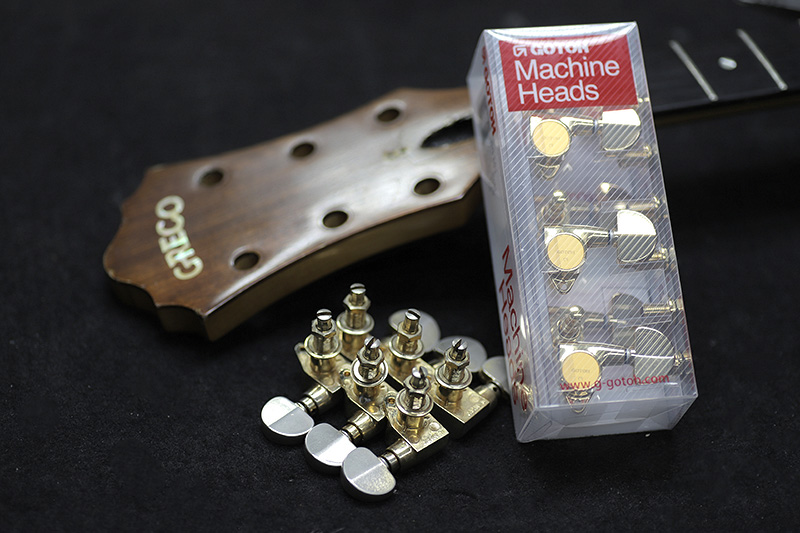
続いてチューニングペグ。
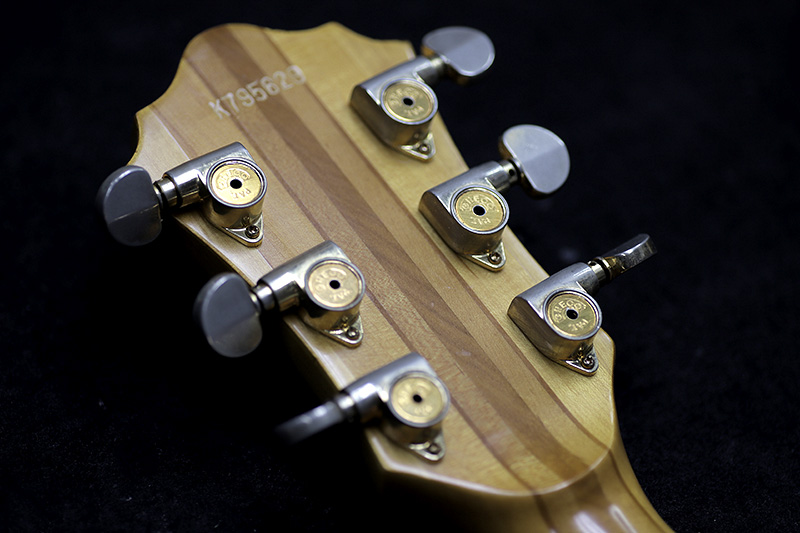
艶が戻りました。
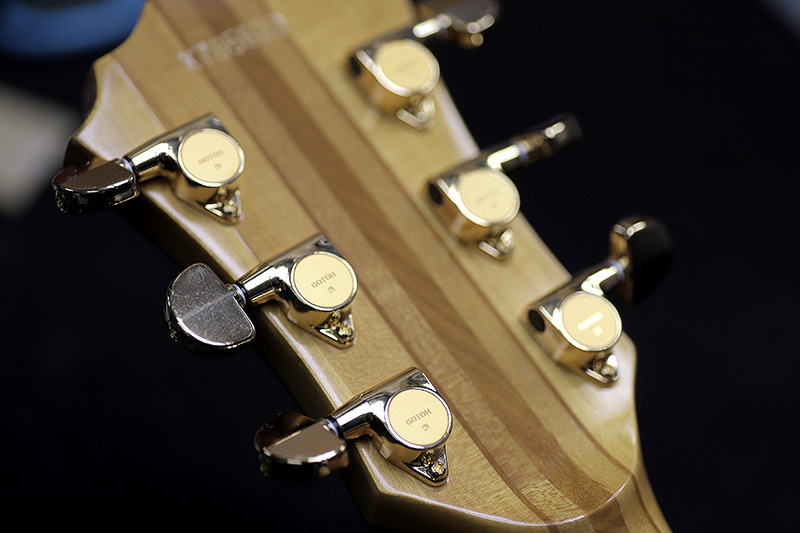
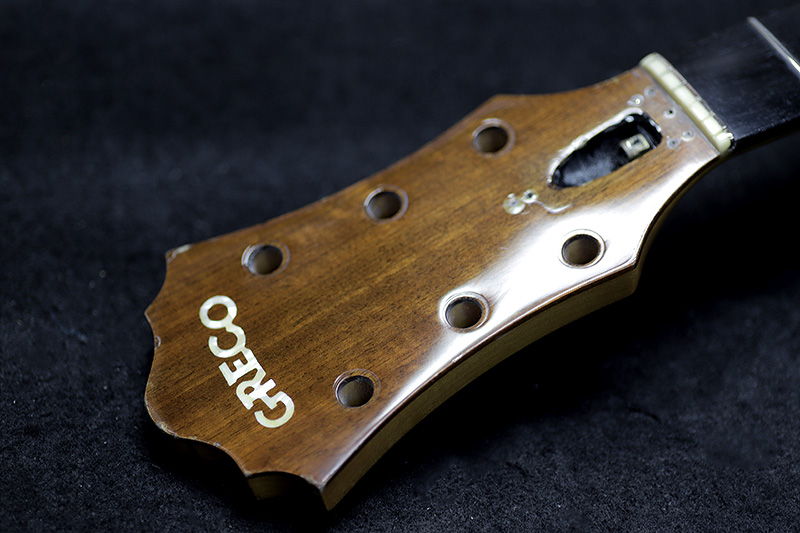
穴の位置が同じなので加工無しでピッタリ合いました。
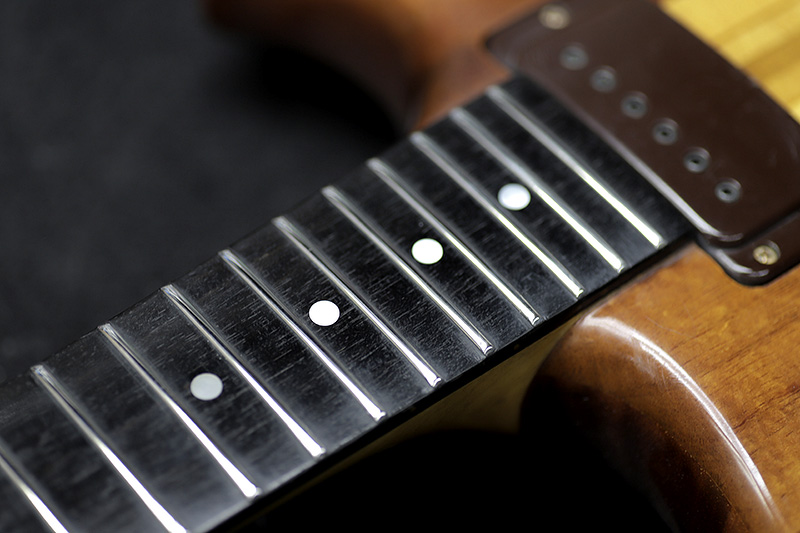
全体調整
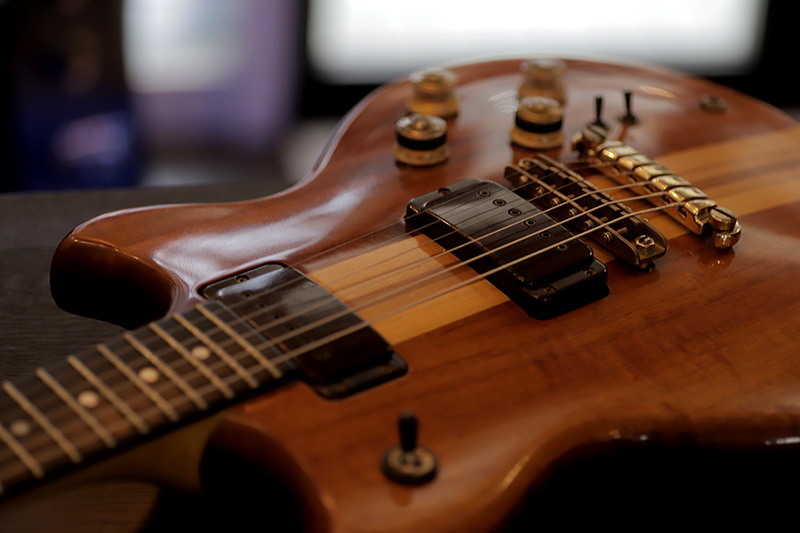
弦を張り終え、サドルの高さを調整。
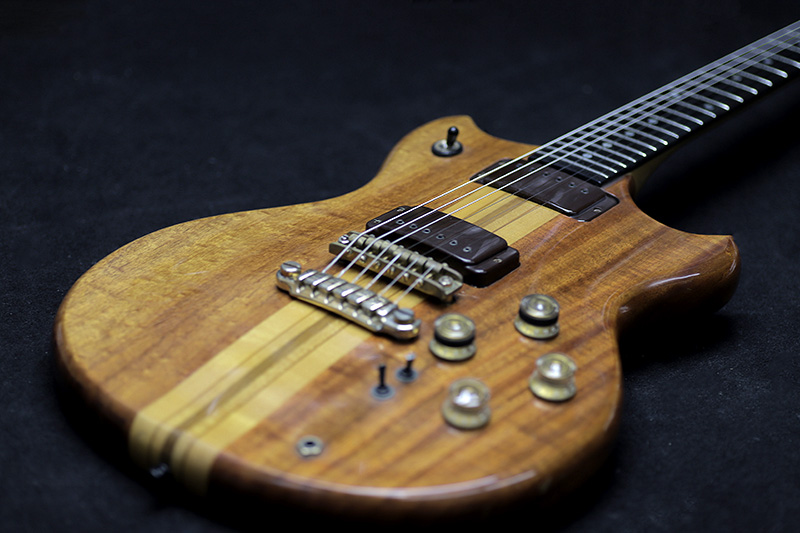
アタックがあって粘りもある、独特なサウンド。
ギター、ベース等の修理は お気軽にご相談下さい。
お願いいたします。