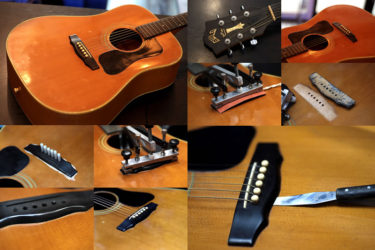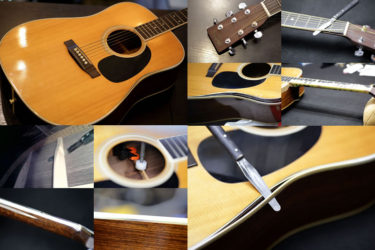
GIBSON J-45
Repair of the Day
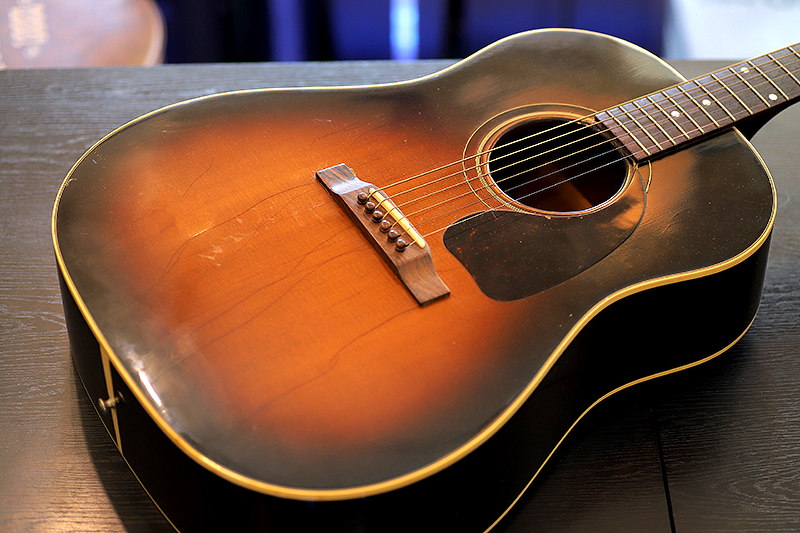
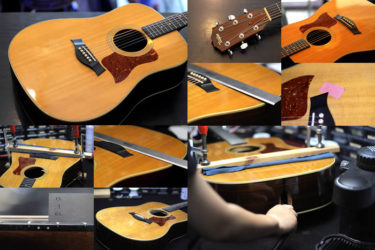
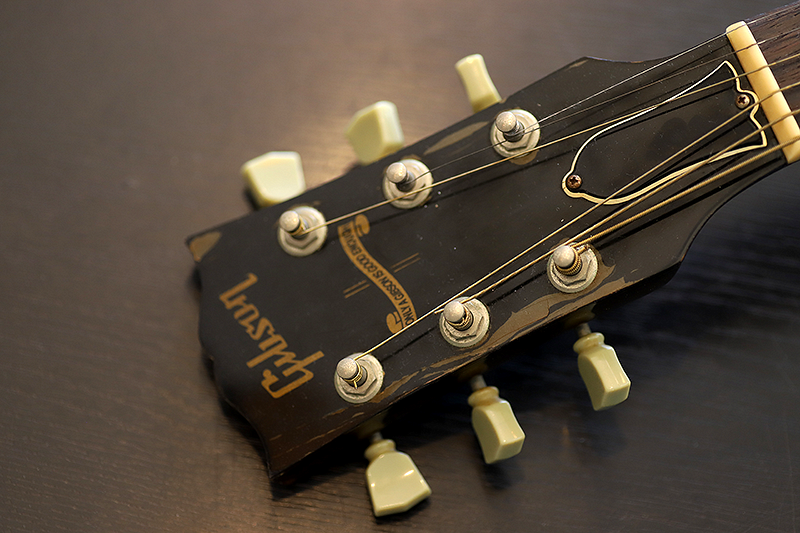
GIBSON J-45
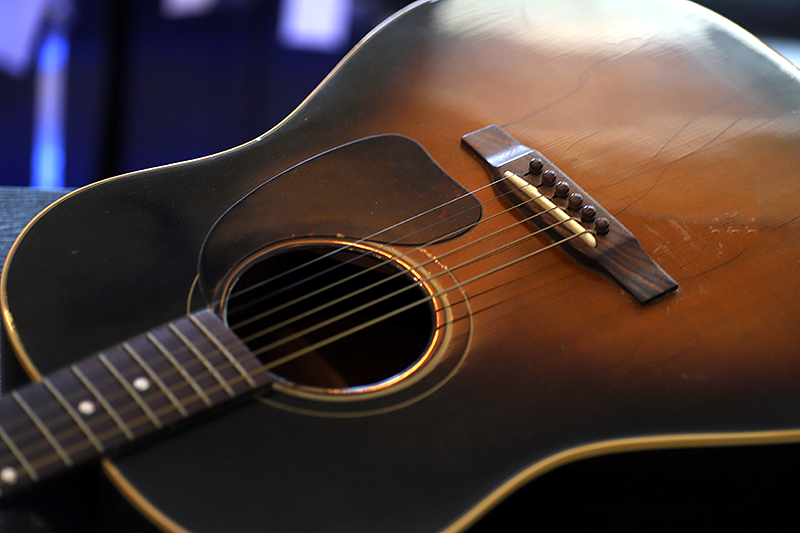
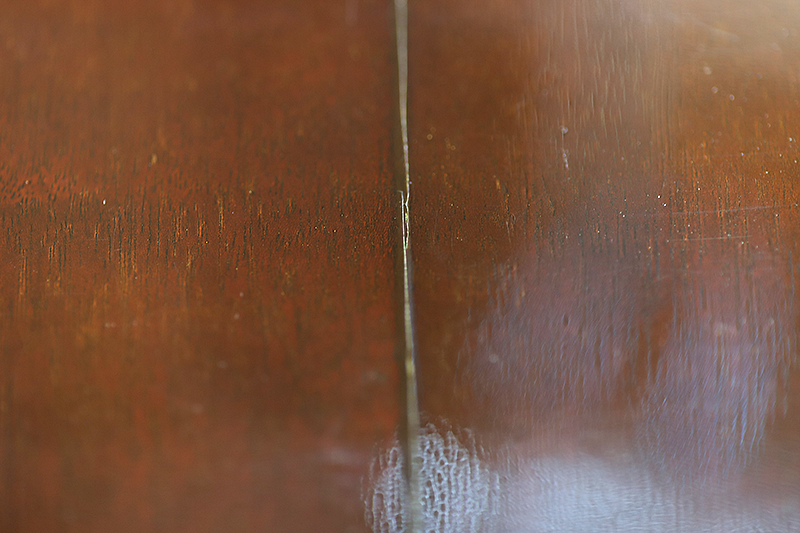
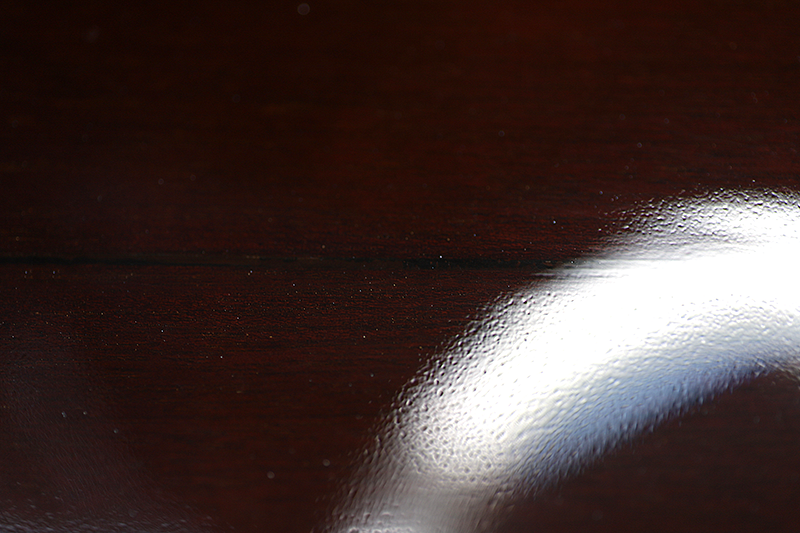
この記念モデルに多いクラックが全面に。
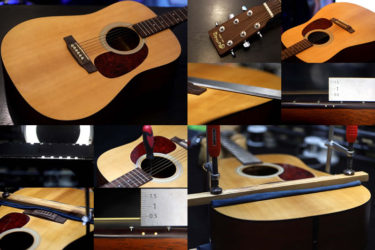
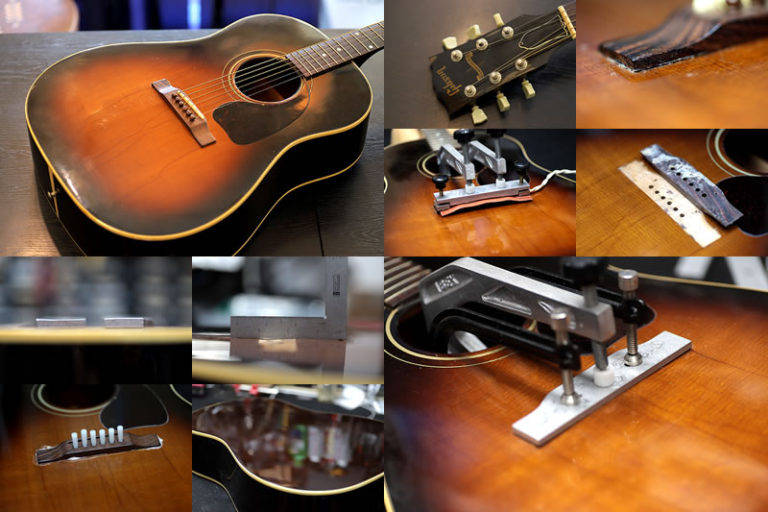
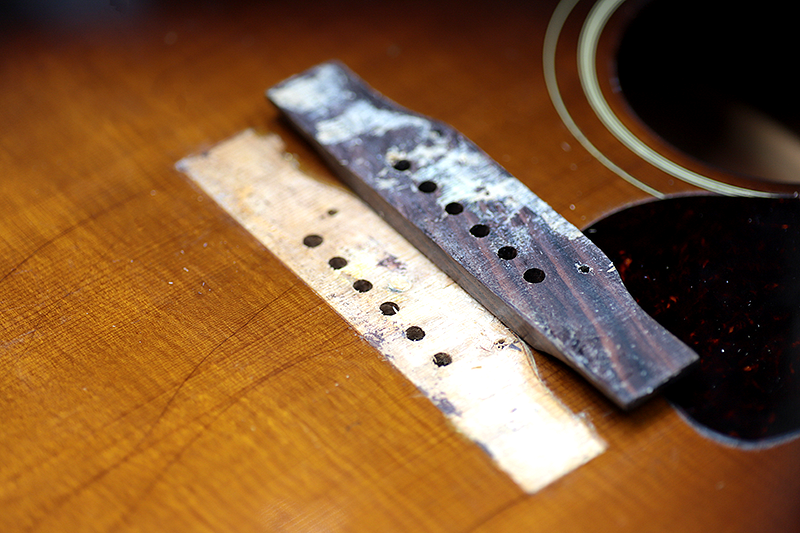
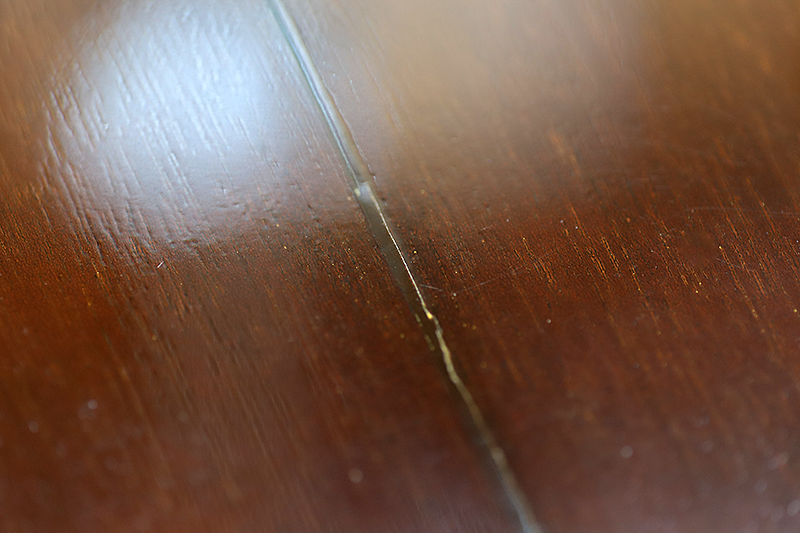
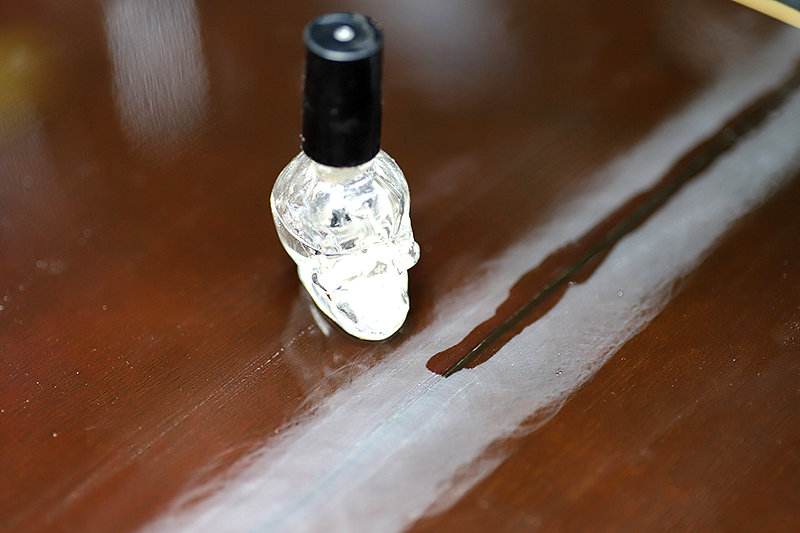
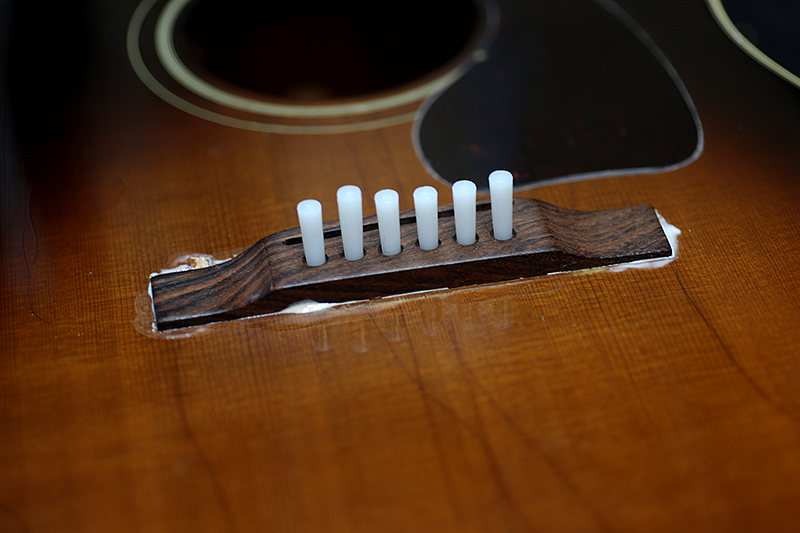
ブリッジ浮き
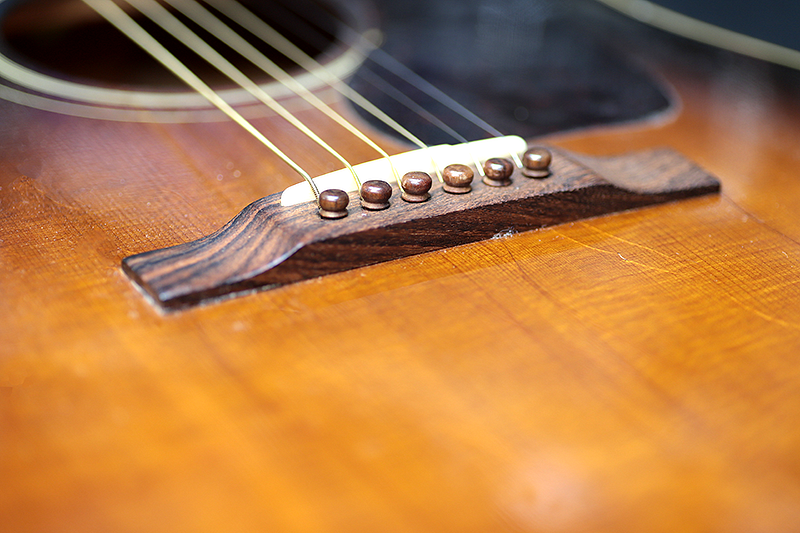
よく見ると端が浮いてます。
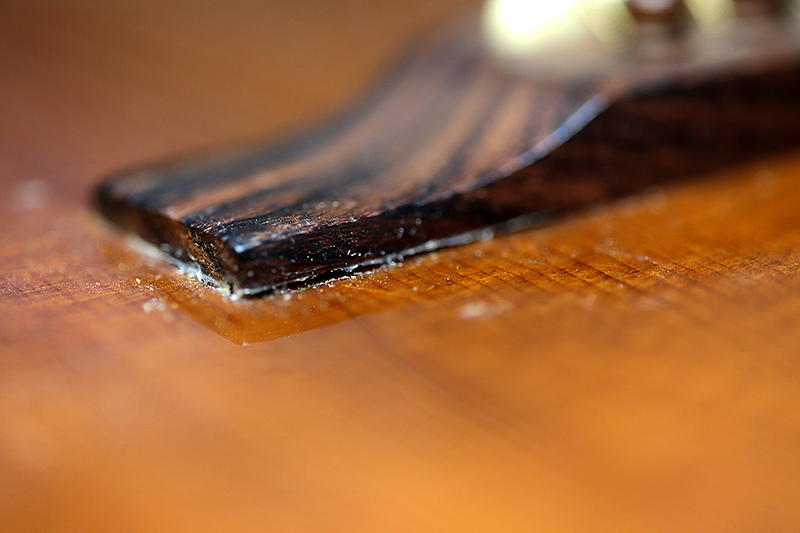
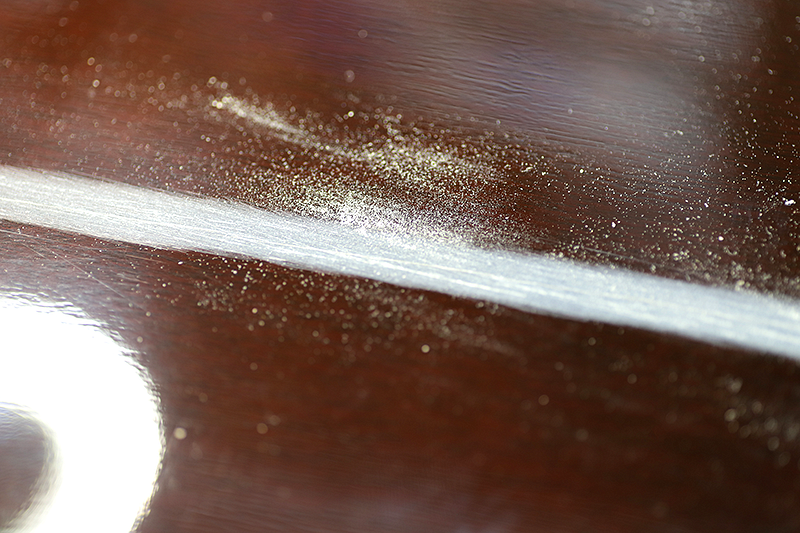
ブリッジ剥がし
熱を加えて接着剤を溶かしていきます。
焦らず60度位に設定してゆっくりと隙間を開けていきます。
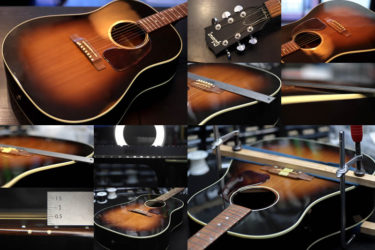
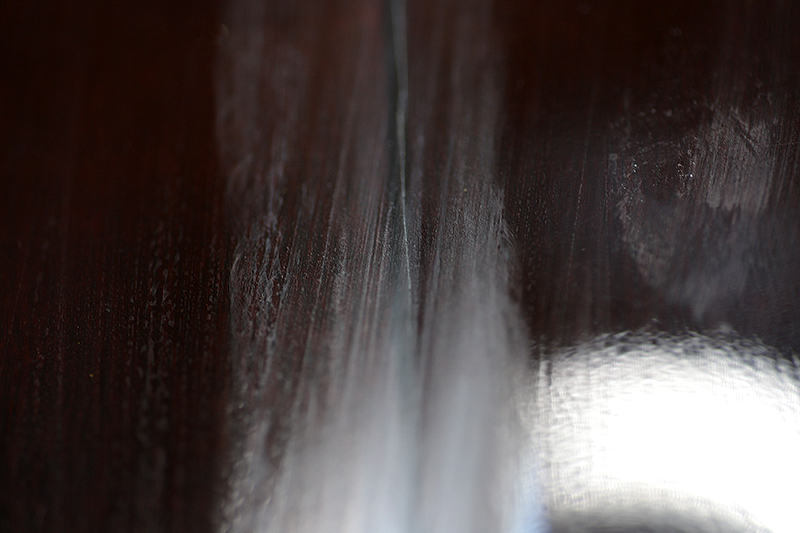
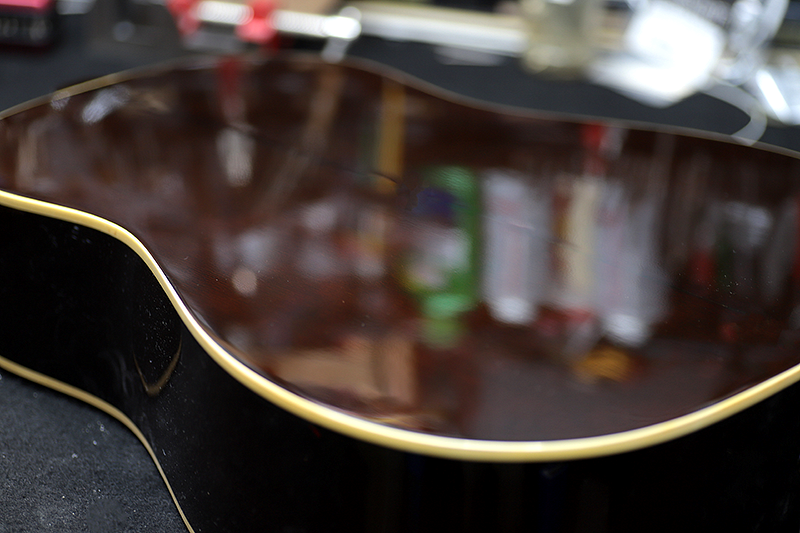
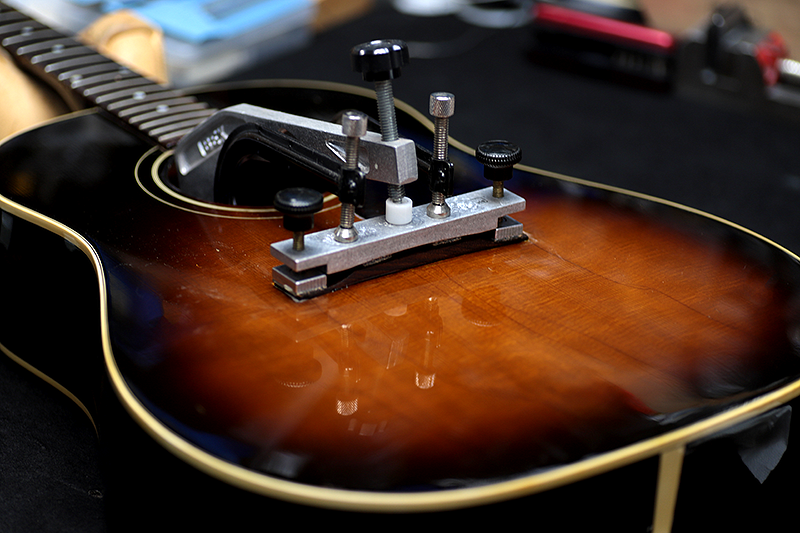
なんかボディ側が歪な形に。
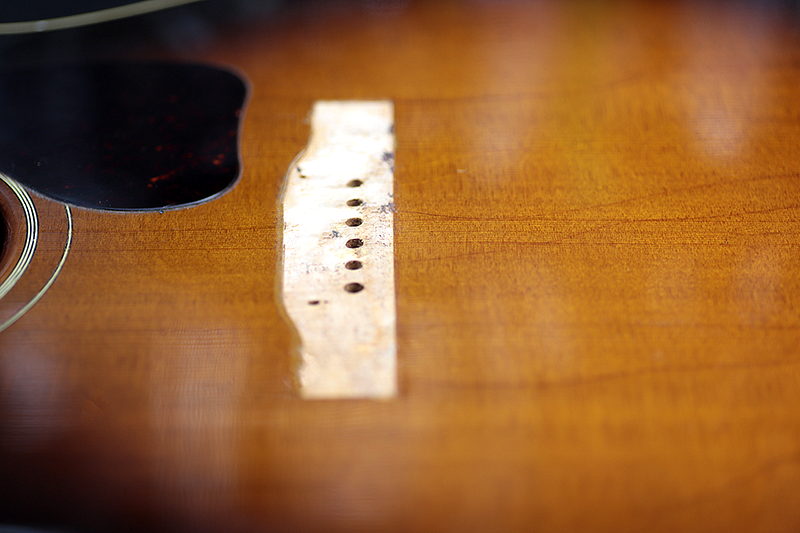
ボディトップ膨らみ 変形修正
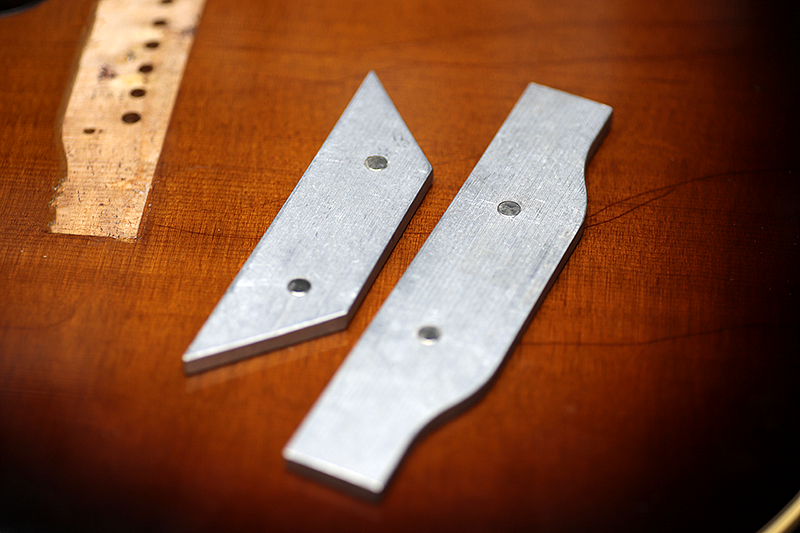
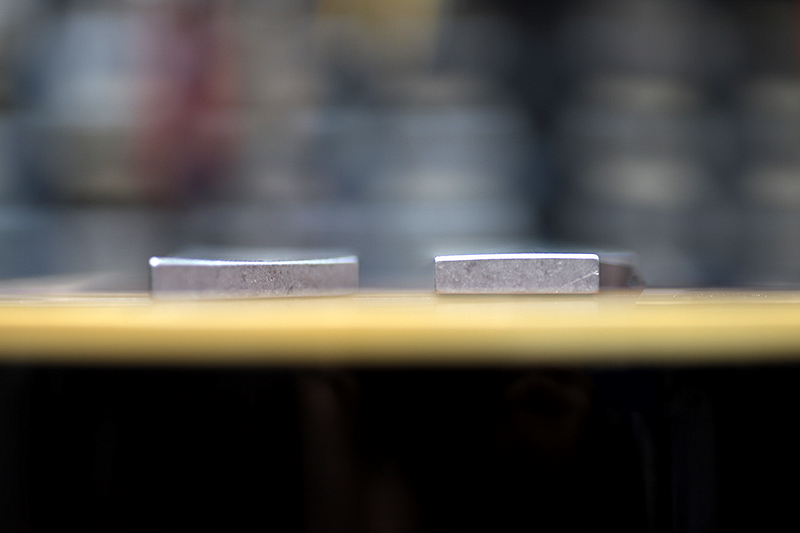
こういうケースはこんな鉄板で修正。
形の違うブロック、マグネットがついています。
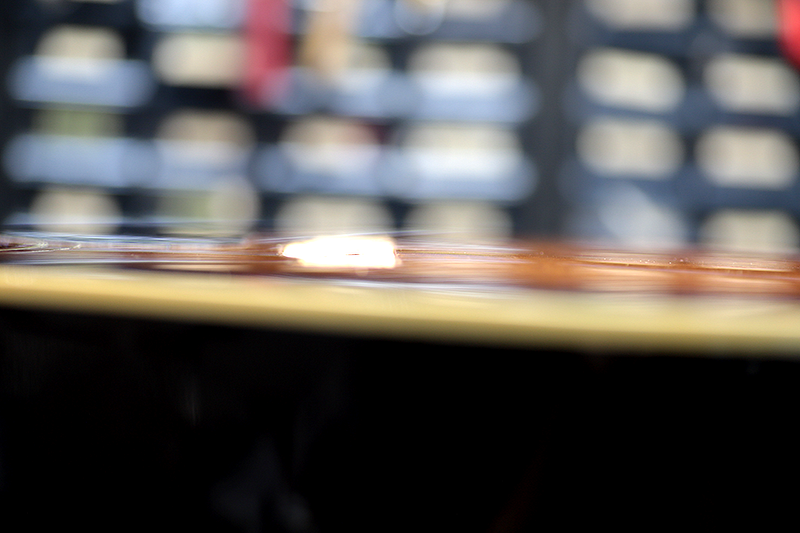
歪んだトップは凸で押し当て、凹んだ裏面は凹で押し出し。
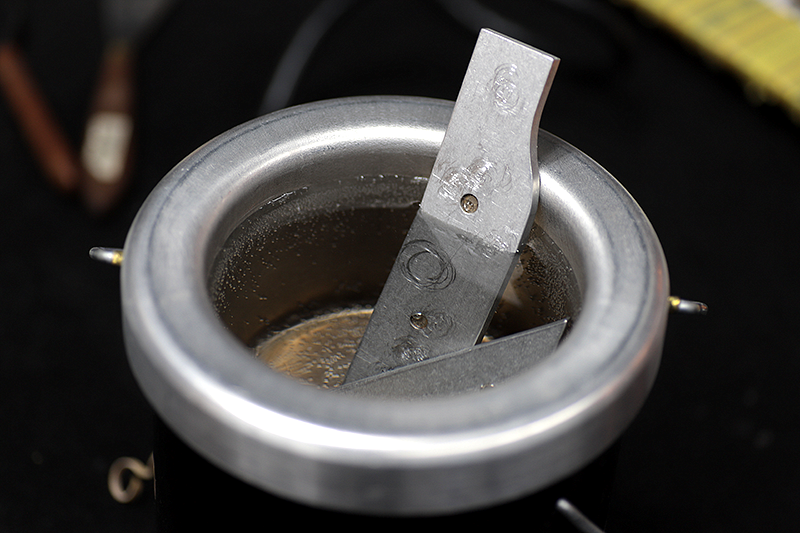
熱で膨らみを強制的に平にし、冷却しながら固定。
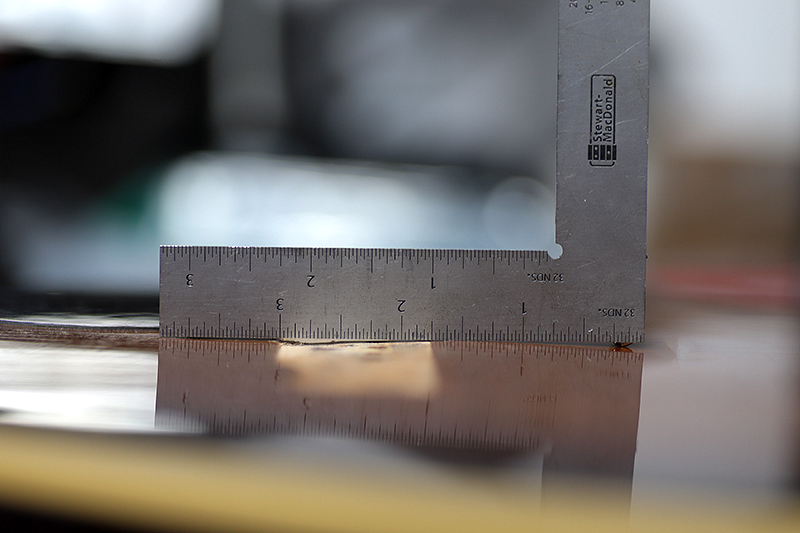
トップ面はほぼフラットに。
少し歪みがありますが、接着時に調整します。
バック板 塗装クラック
木部には達していないクラックですが、念のため塗装します。
全体に吹くとなじんできます。
乾いてサンディング、バフ掛けして完了。
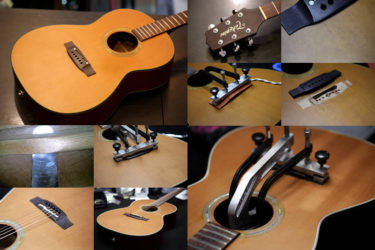
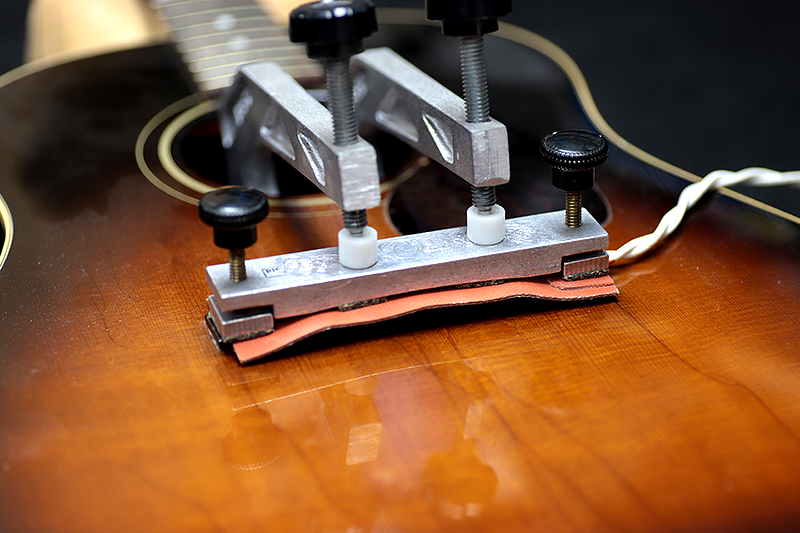
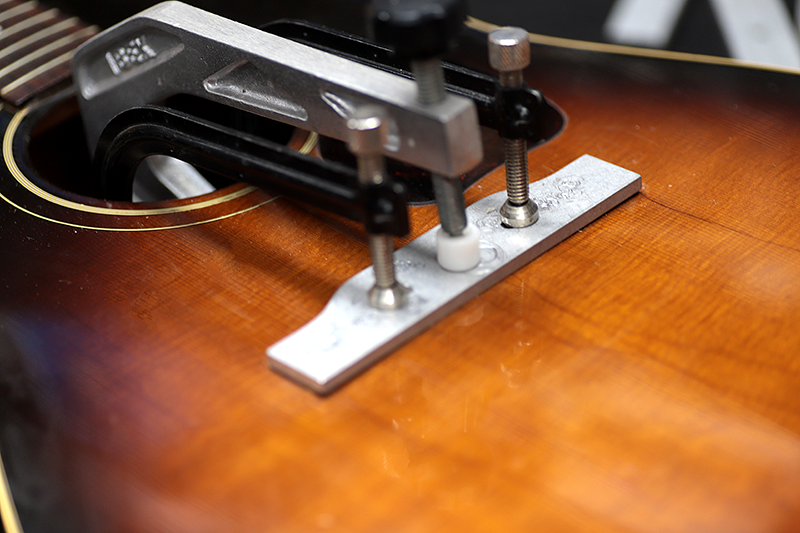
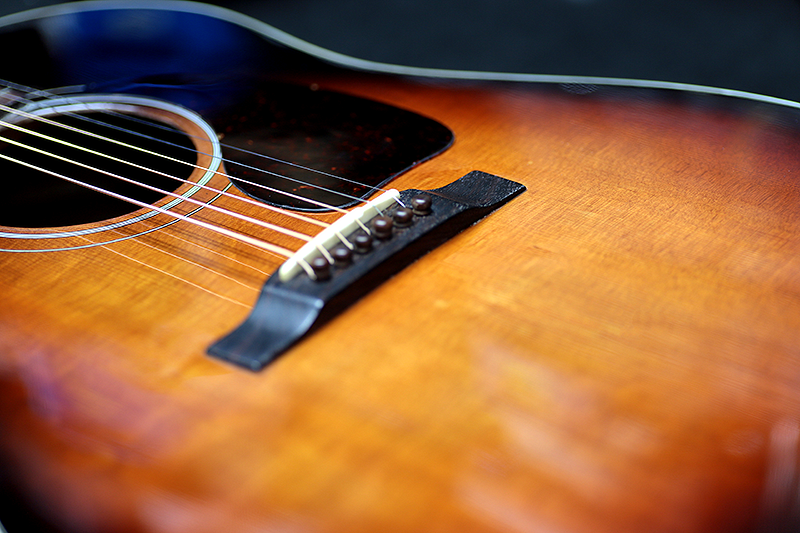
ブリッジ接着
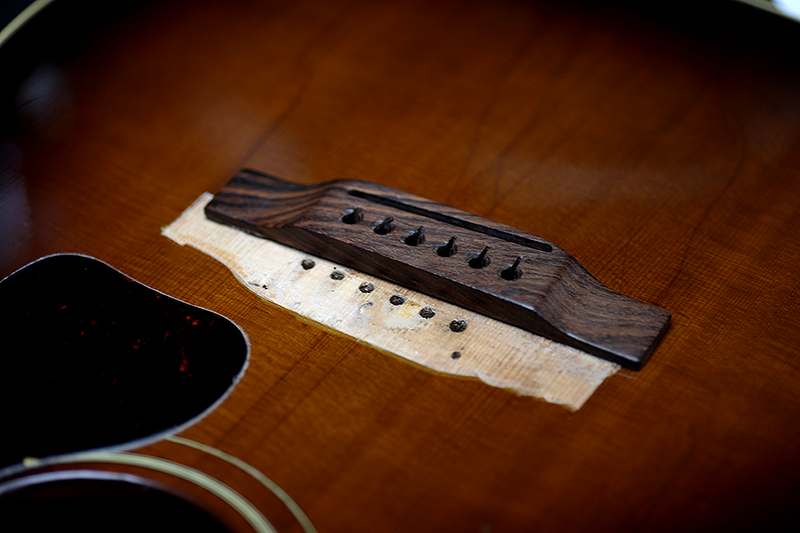
最後にブリッジの接着
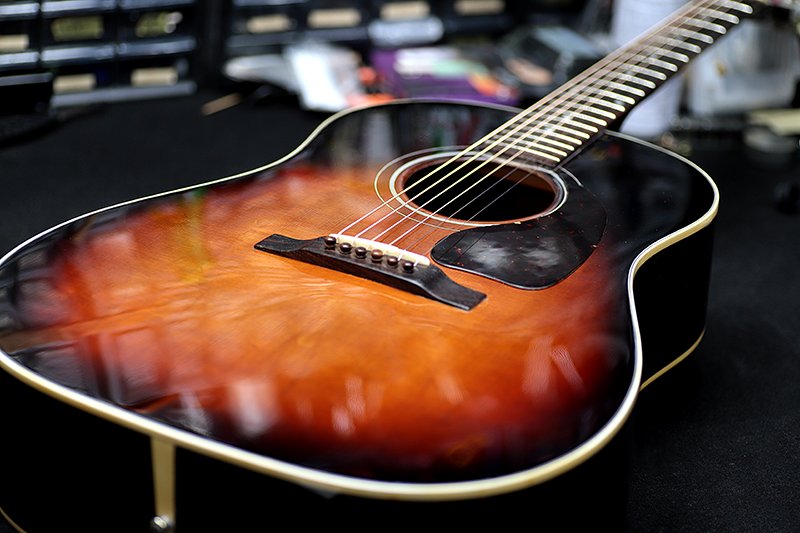
GIBSONに限らず、アコギのクラック、塗装割れは修復可能です。
ギター、ベース等の修理は お気軽にご相談下さい。
お願いいたします。