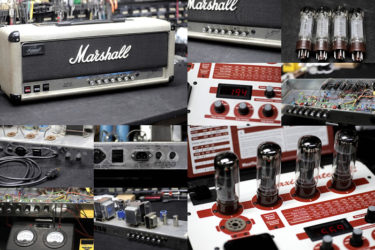
Gretsch 6120SSU
Repair of the Day
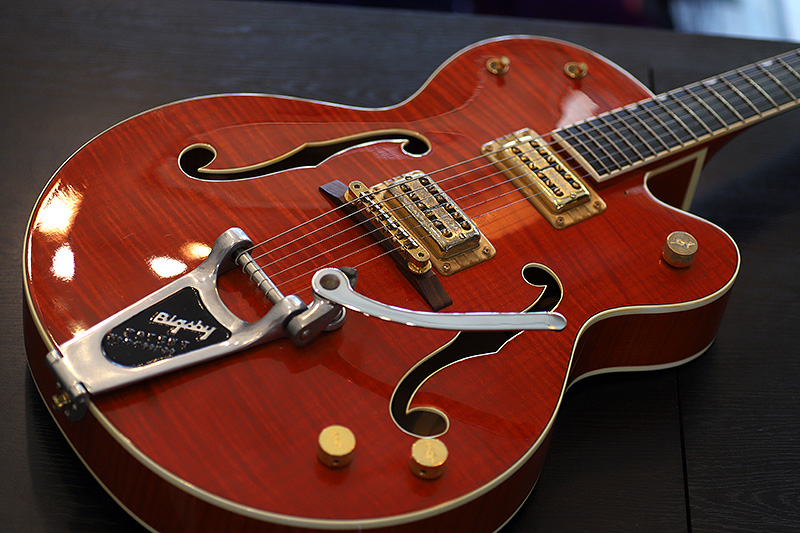
Gretsch 6120SSU
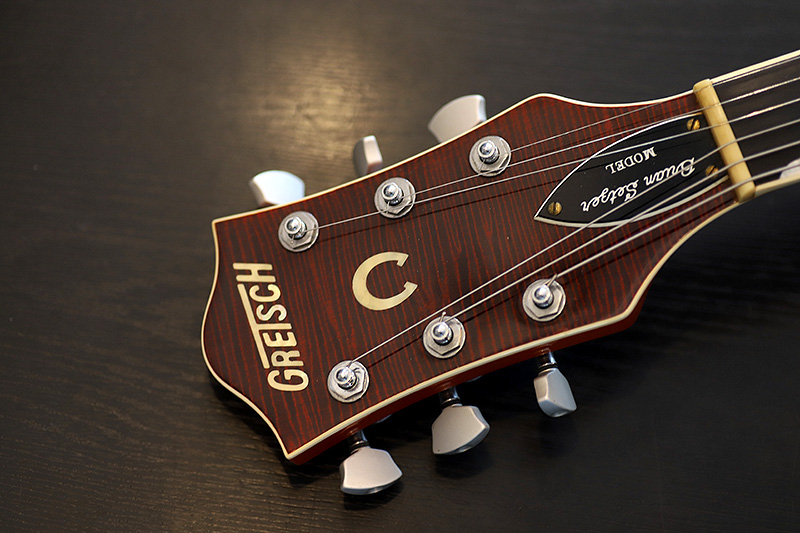
ブライアン・セッツァー・シグネイチャーモデル
90年代の個体

分離がとても良かったです。
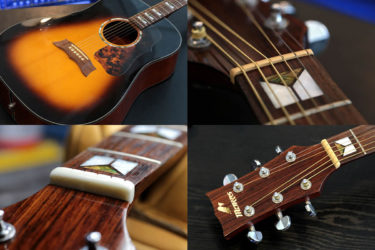
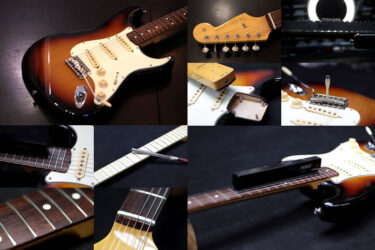
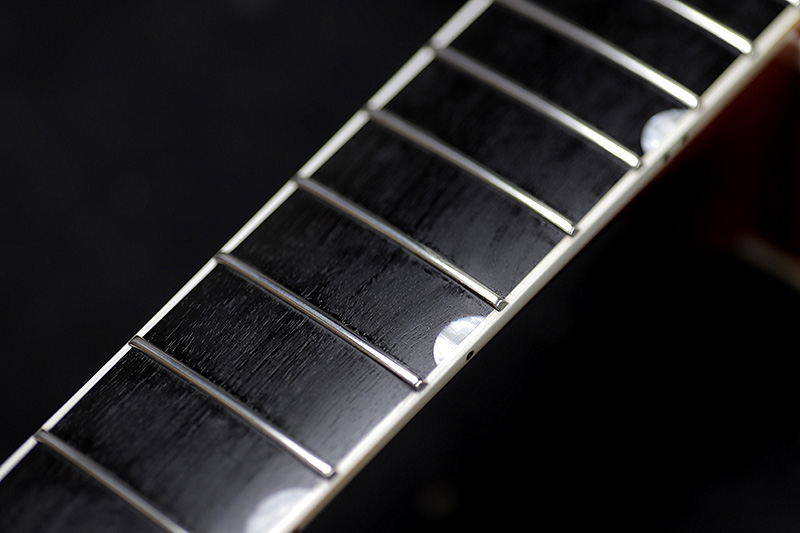
フレット状態
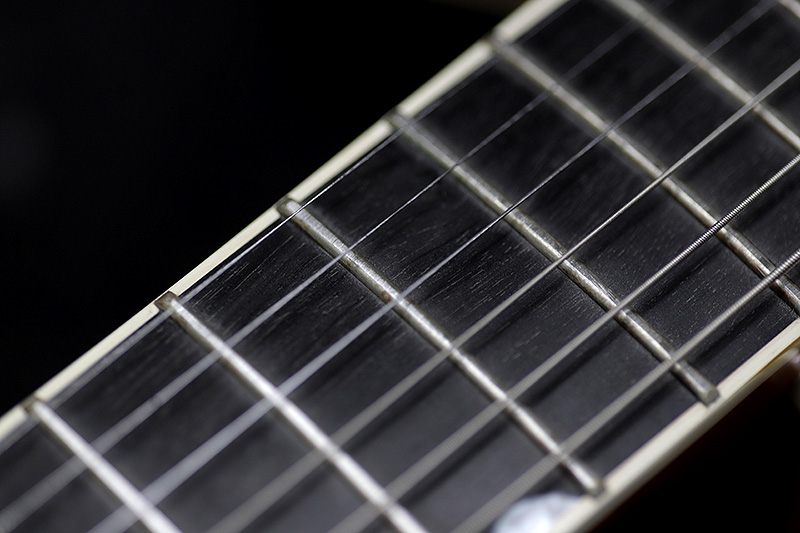
所々エボニー指板が縮んでおり、フレット再度が浮いた状態になっていました。
エボニーは湿度の多い環境下では収縮が激しく、酷い場合はフレットの割れ、バインディング剥がれなども起こります。
弦交換の際は必ずオイルを塗って保湿して下さい。
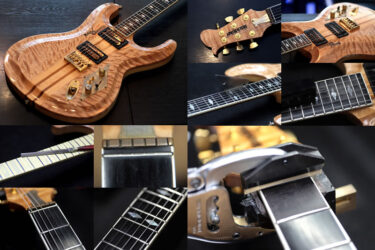
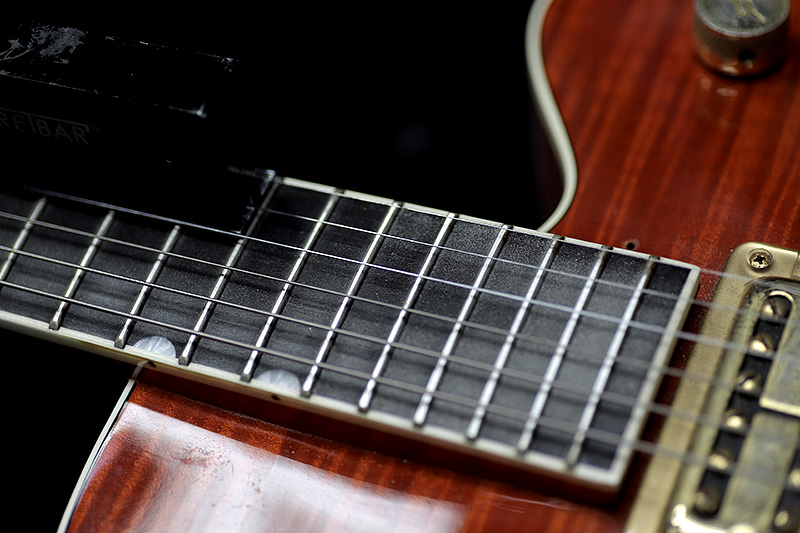
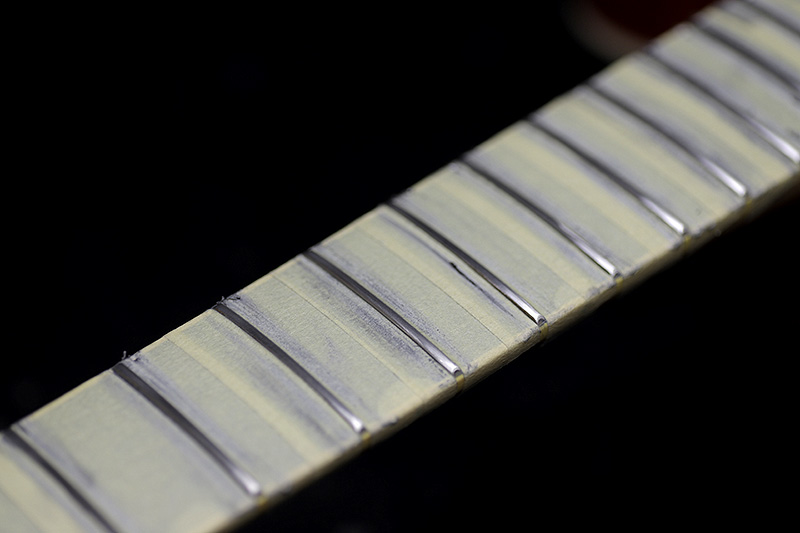
フレットすり合わせ

すり合わせ用のブロックで研磨します。
フレット研磨
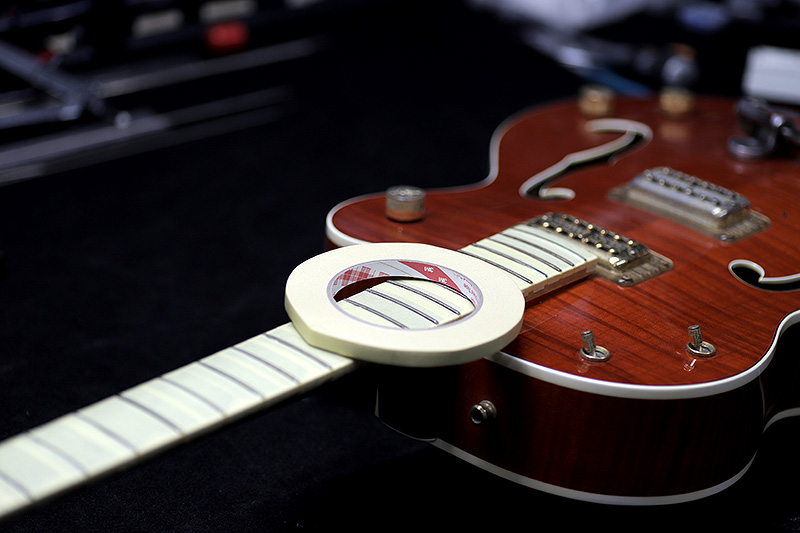
今回もこの3Mのテープ。
Low Tackでくっ付かず、しかも強力。厚みもあります。
バインディング接着用に使っていたけど、指板にも最適。
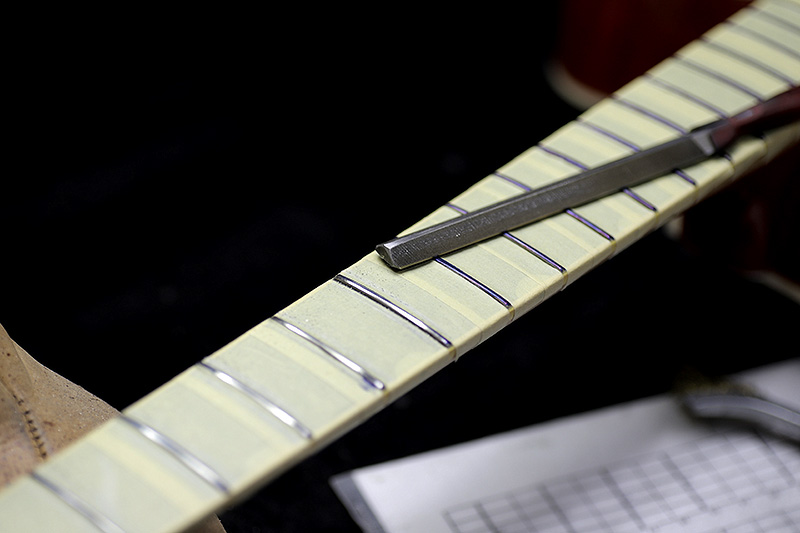
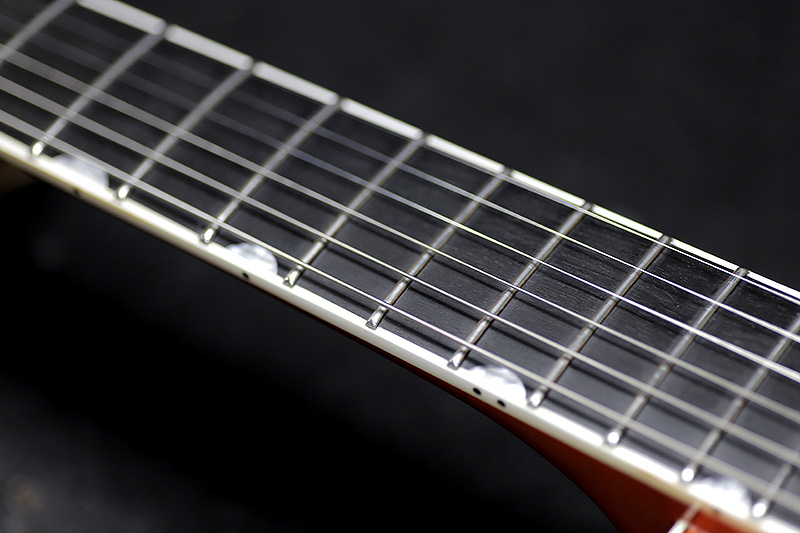
三角ファイルで角を丸めます。
紙ヤスリまで終わりました。
バフ掛け、コンパウンド、オイル塗布
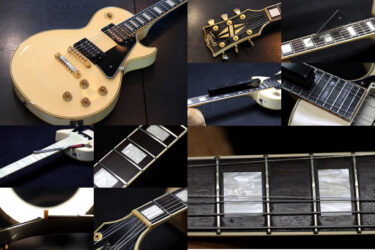
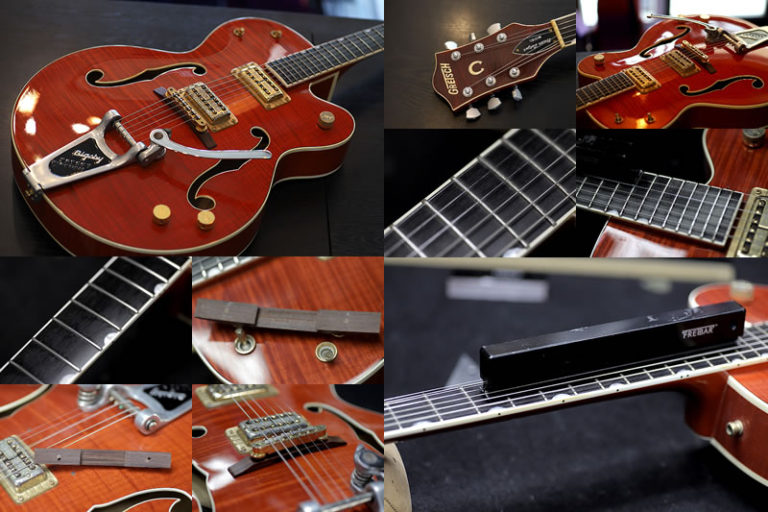
ブリッジ位置
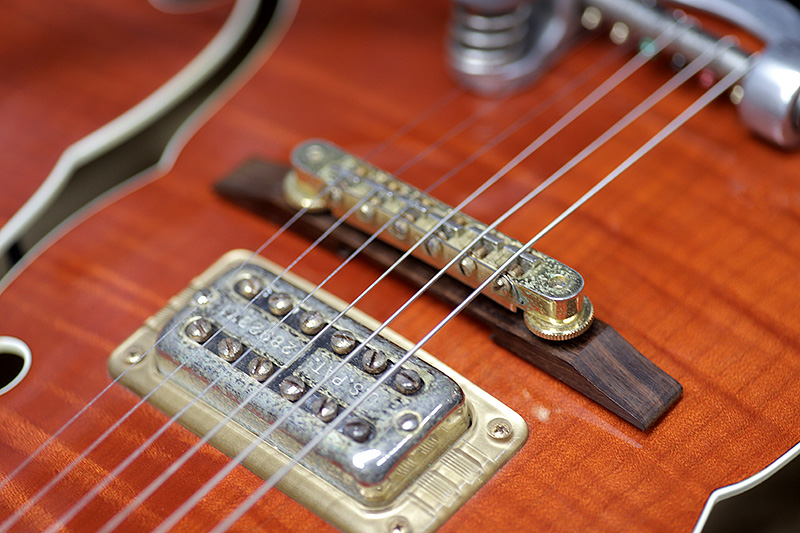
ずれてくるとオクターブが合わなくなってきます。
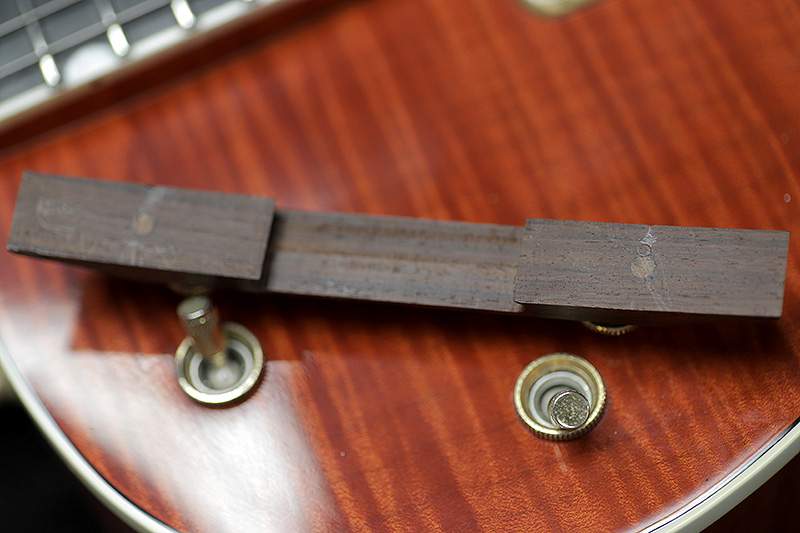
このモデルはボディにスタッドが打ってあり、ブリッジ底面の穴にフィットさせ、固定出来ます。
但し長年使っていて穴が大きくなってしまい、ブリッジがカクカク動くので穴を一旦埋めました。
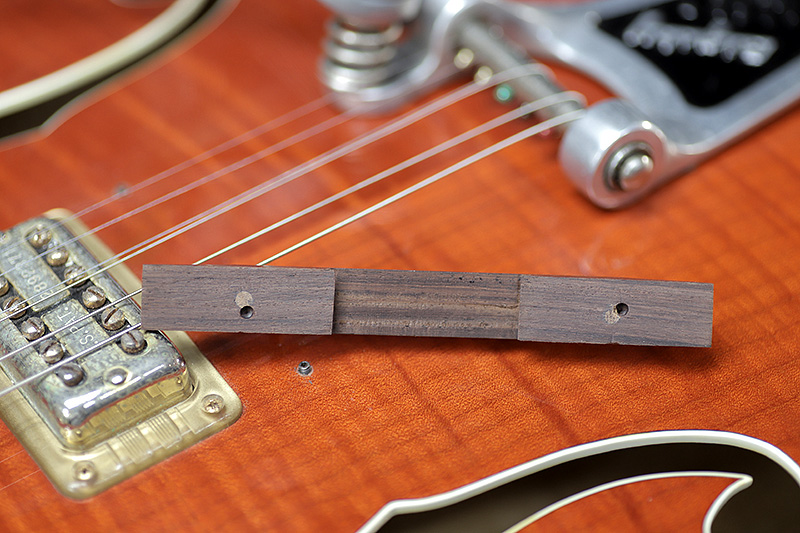
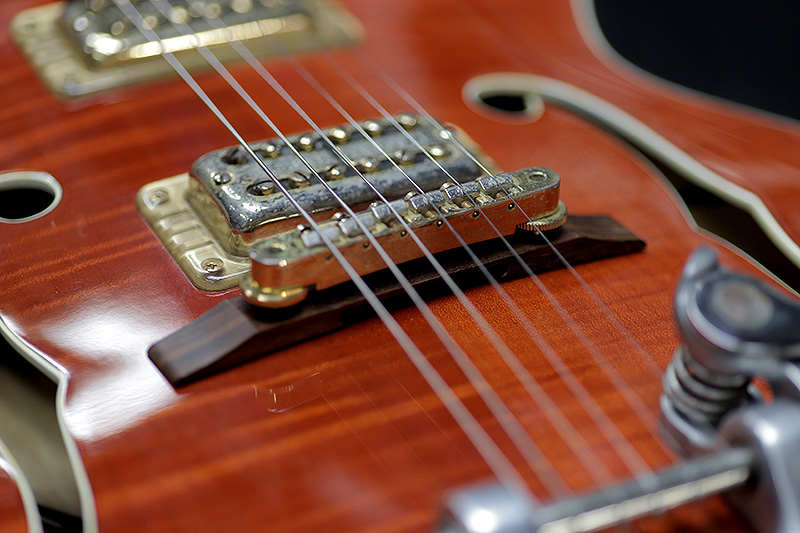
これで動くことなく、チューニングも安定しました。
ギター、ベース等の修理は お気軽にご相談下さい。
お願いいたします。