Bass Repair of the Day

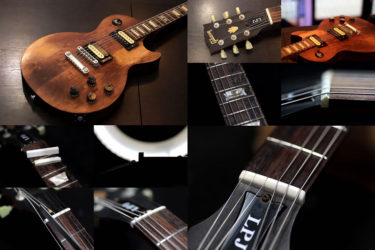
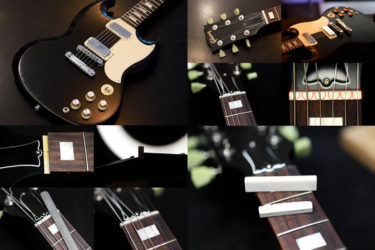
ESP LTD B206SMNS
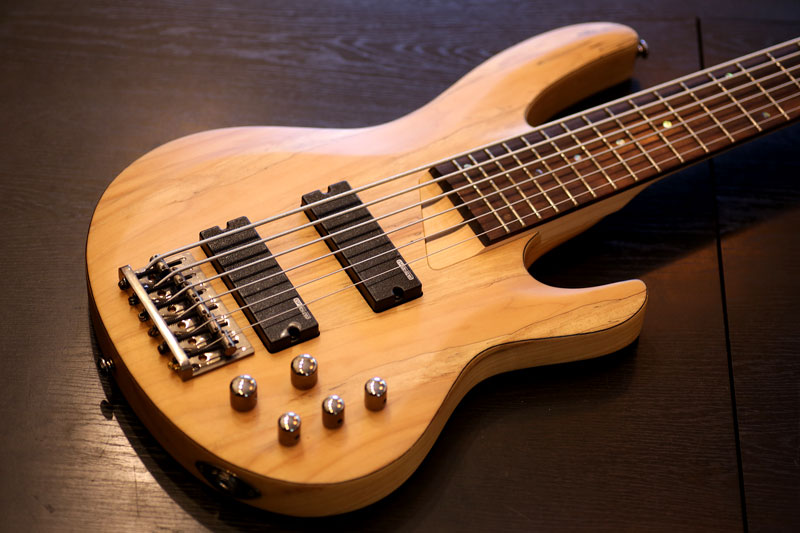
LTDの6弦ベース。

真ん中4本がレギュラーで下と上がBチューニング。

海外生産品のようで国内カタログにはありませんでした。
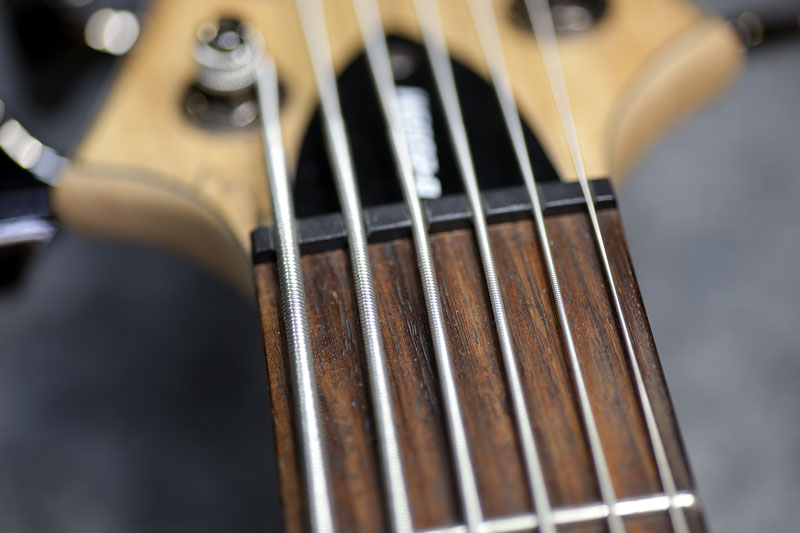
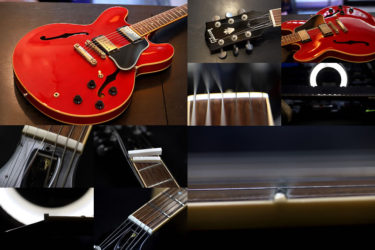
5弦、6弦のナットが低くビビりが多かったので交換しました。
弦を外してみると指板までギリギリ。
多分ネックの反りがあるのかな?と思い見てみると、かなり順反りでした。
ダブルトラスロッドを調整してネックをストレートに調整。
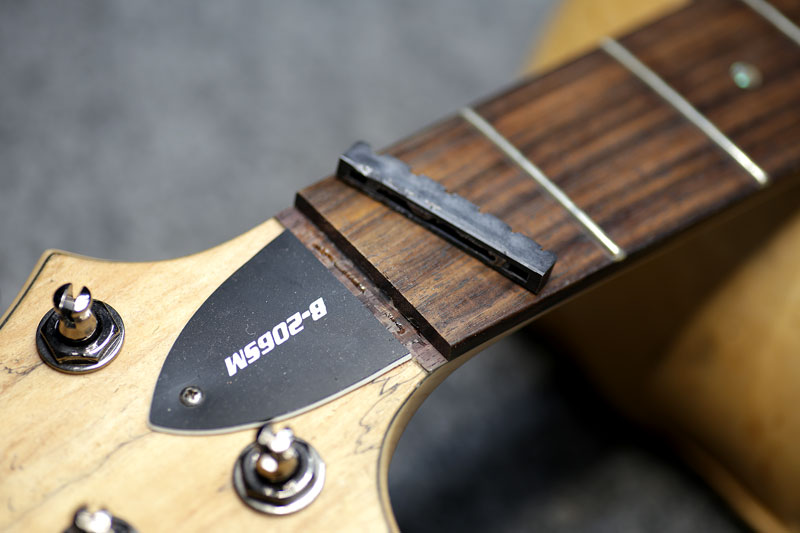
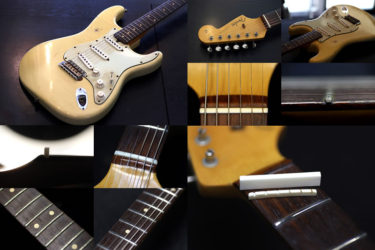
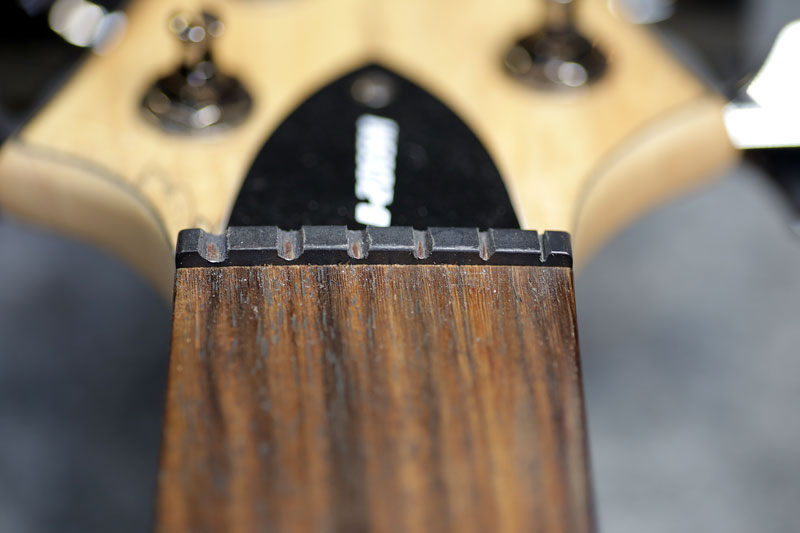
ナットを外してスロットを研磨。
プラスティックナットでした。

今回は牛骨製に交換します。
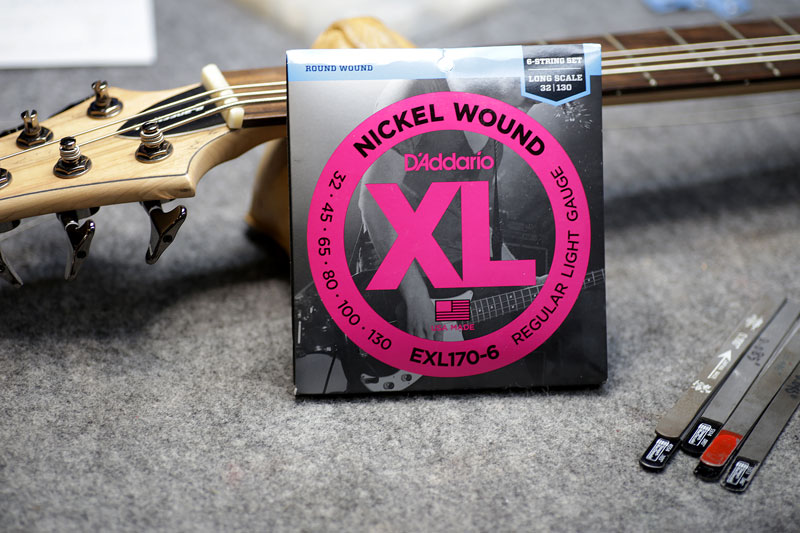
弦はダダリオ製。
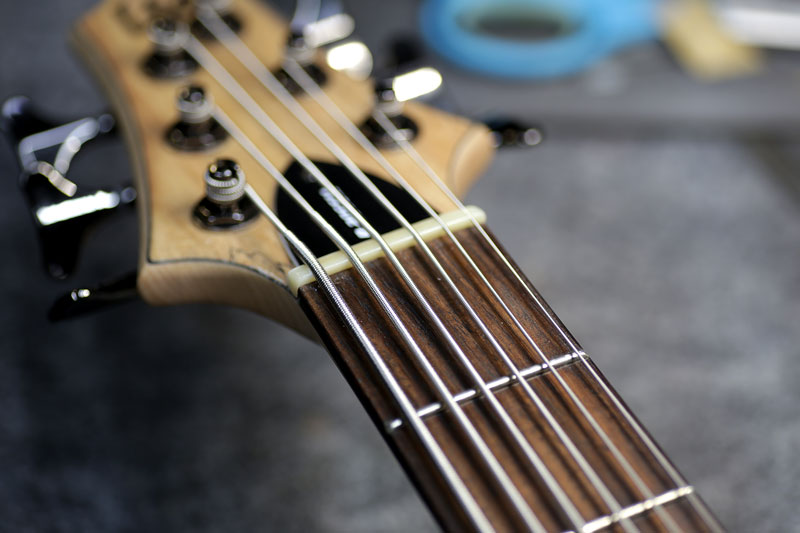
弦を張って各太さに合わせて溝を切り出していきます。
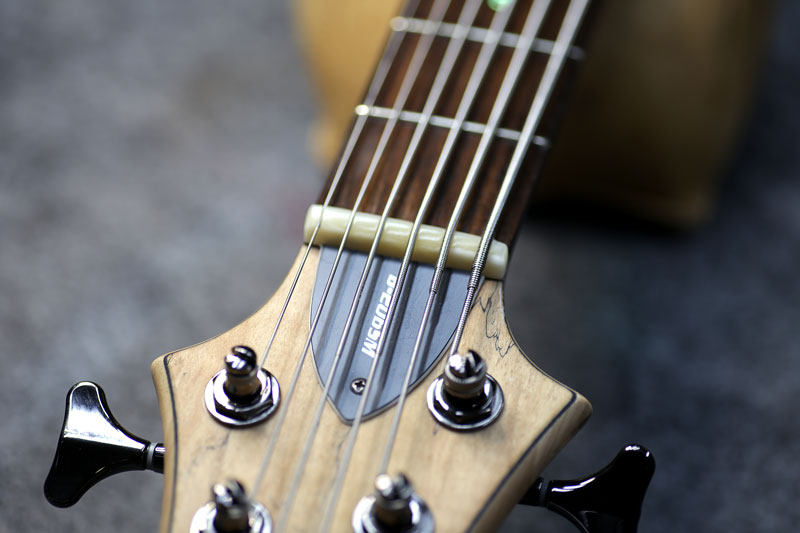
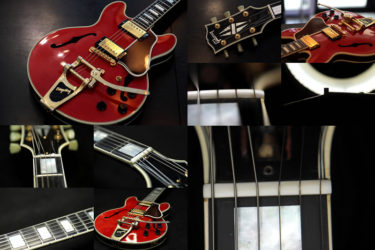
高さ調整後、ナットを研磨して取り付け完了。
ネックをストレートにしてナットの高さを合わせる事で、ほとんどビビりは無くなりました。

ベース、等の修理は お気軽にご相談下さい。
お願いいたします。