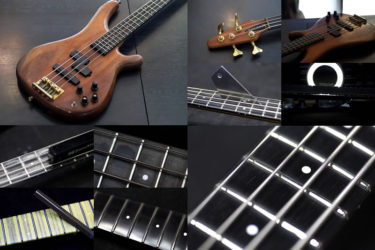
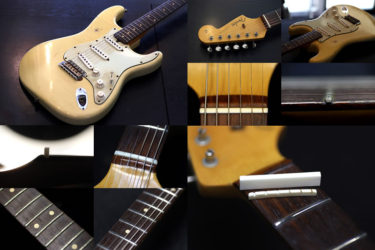
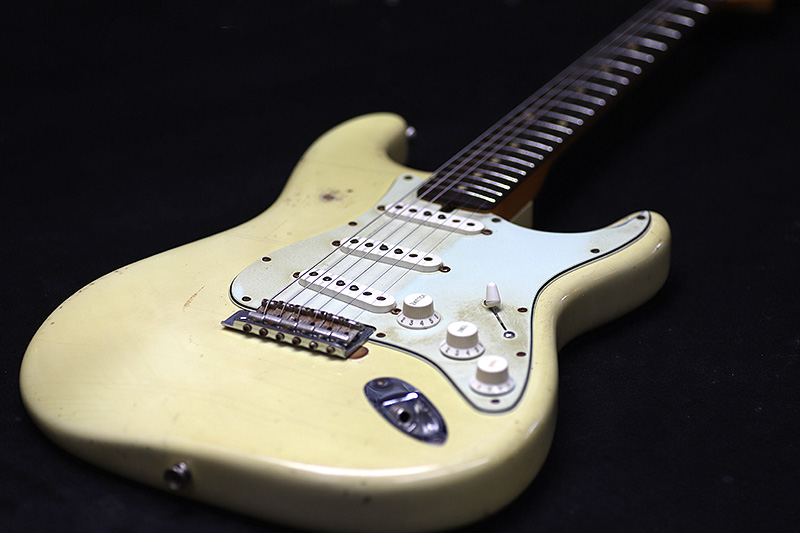
Fender Custom Shop ストラトキャスター
Repair of the Day
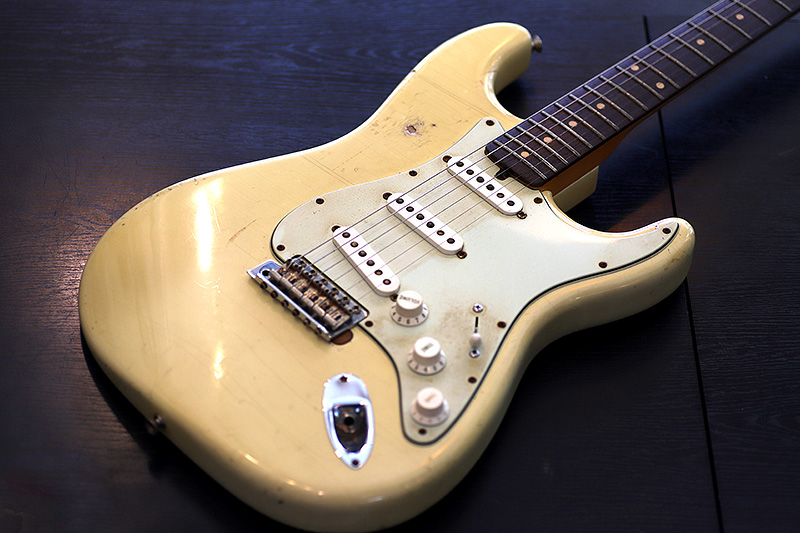
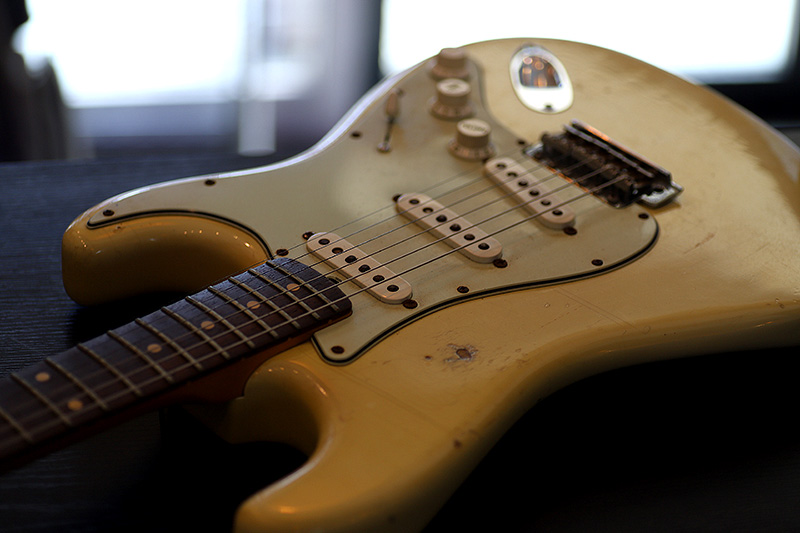
Fender Custom Shop Stratocaster
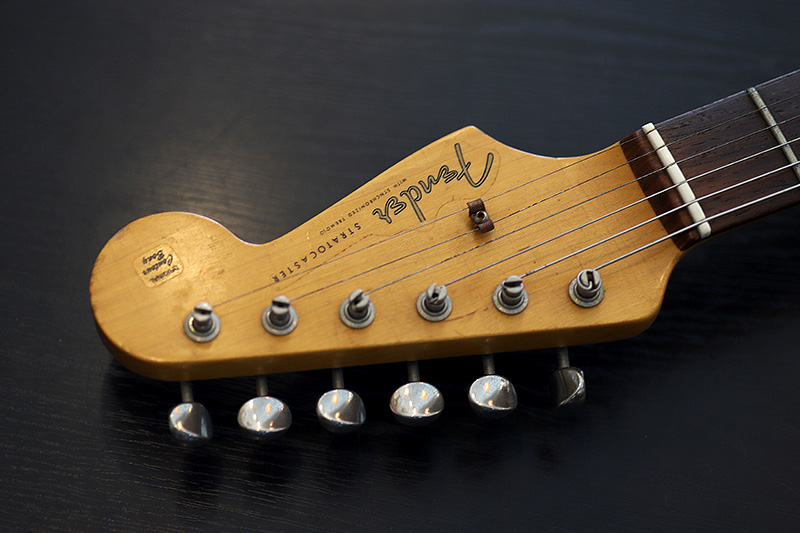
風合いから見るとレリックというよりは実際に弾きこまれた感じがプンプン。
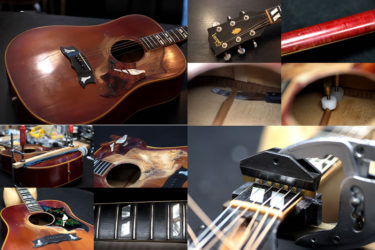
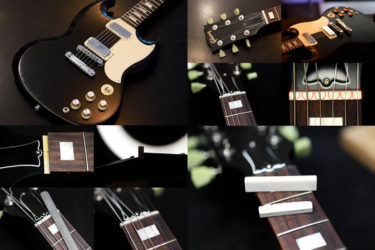
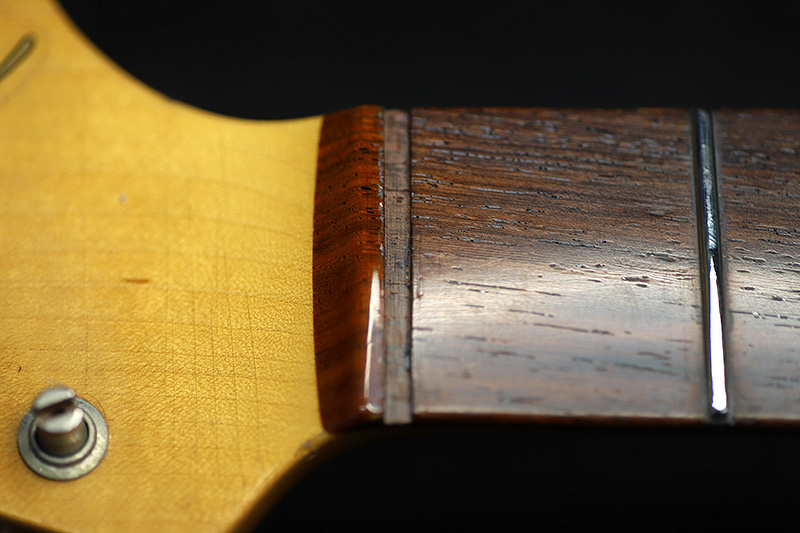
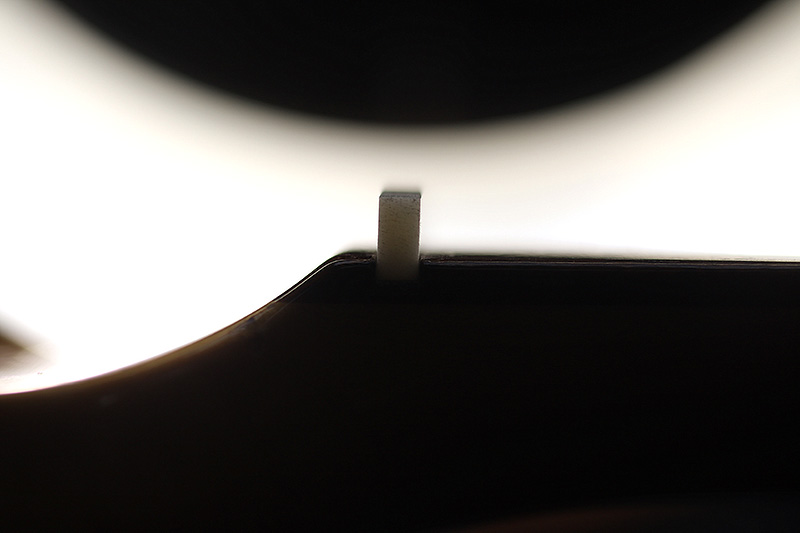
ナット溝
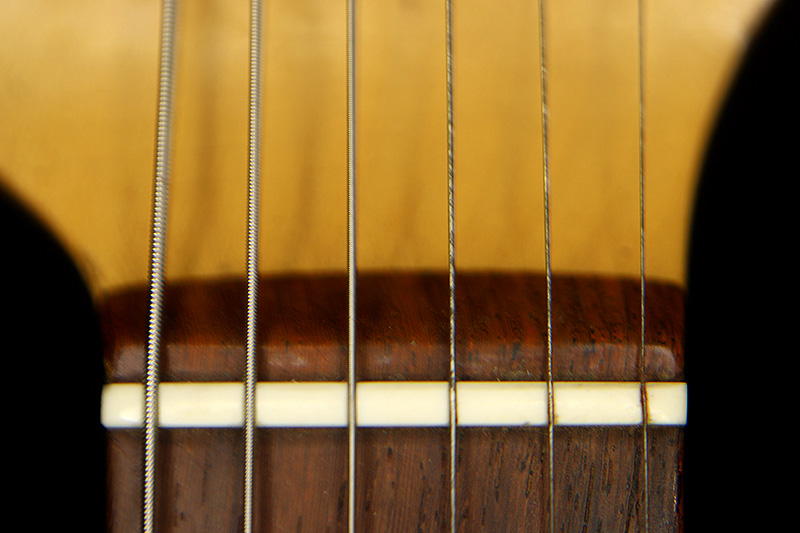
溝からはキンキンした音。
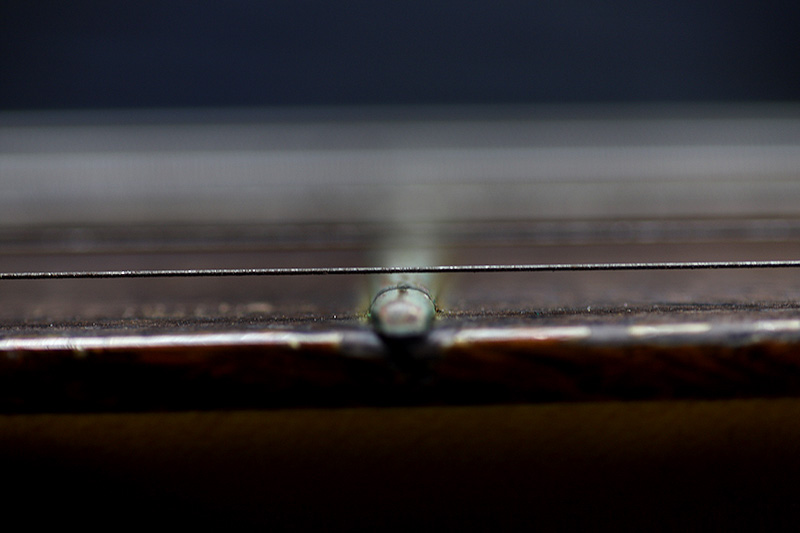
1弦はほとんどフレットに当たりそうな高さ。
開放弦を弾いた状態でフレットに当たった音がします。
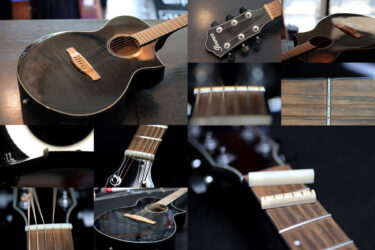
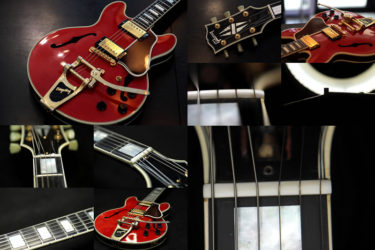
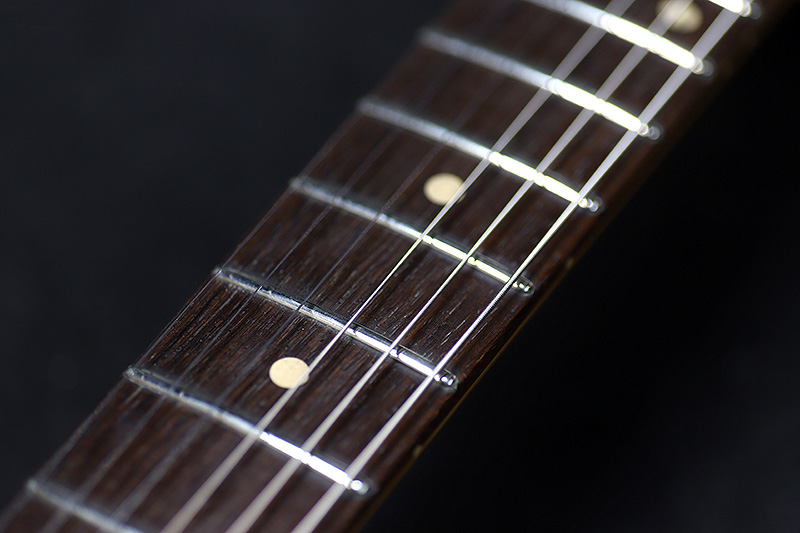
フレット
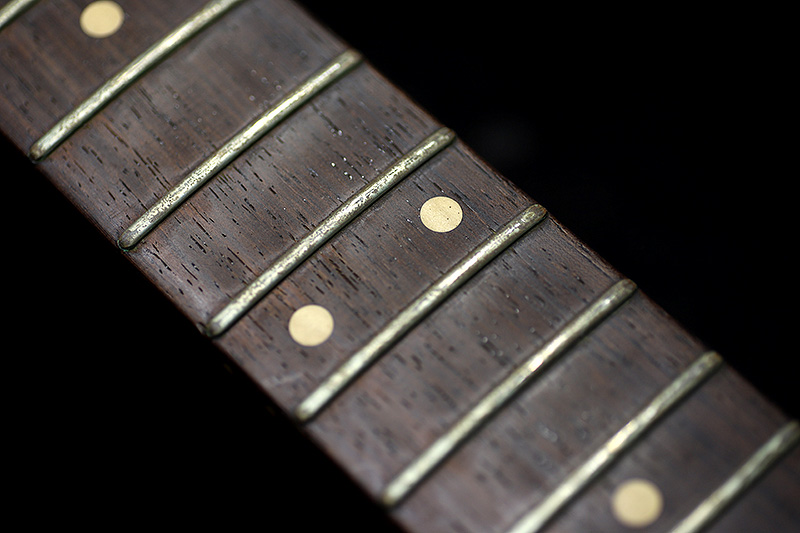
フレットは長いこと弾きこんでニッケルが削れてくると、摩耗、錆びやすくなります。
この状態で長いこと弾いていなかったりすると、弦が錆びて、フレットも錆びてきます。
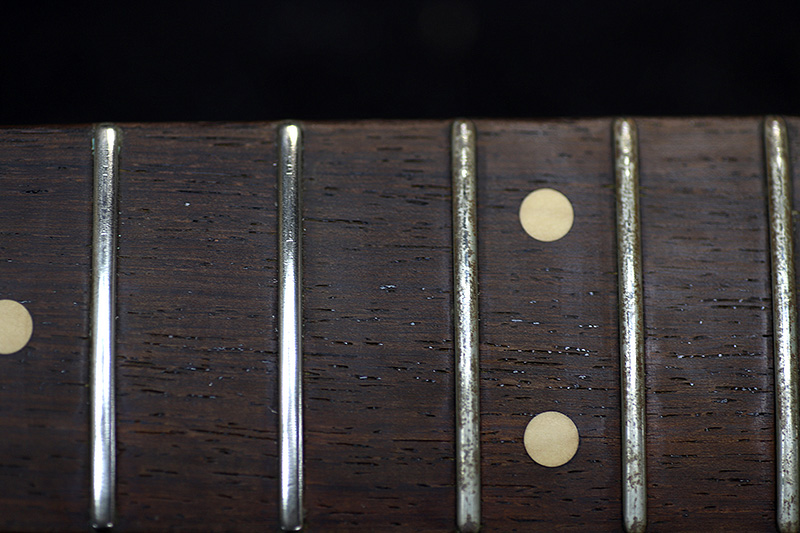
一旦フレットを研磨してみました。
左側が研磨後、右側がビフォー。
これだけで滑りが全然違ってきます。
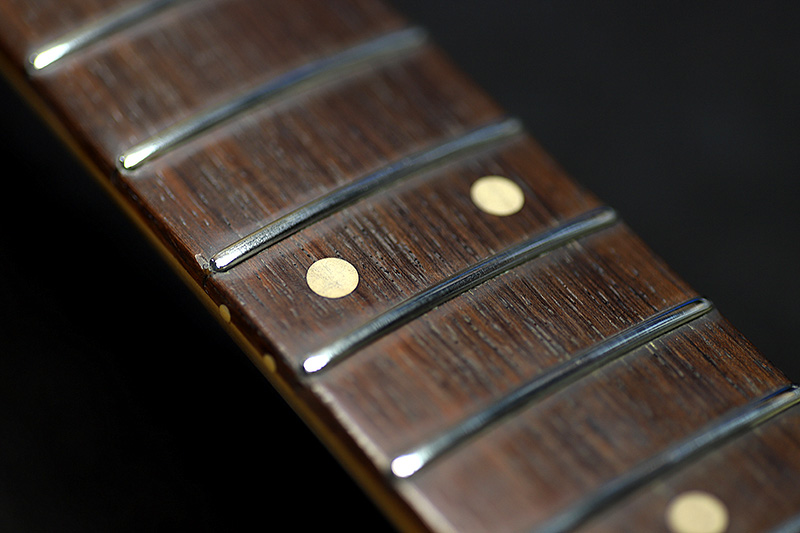
この後バフ掛けを行いピカピカに。
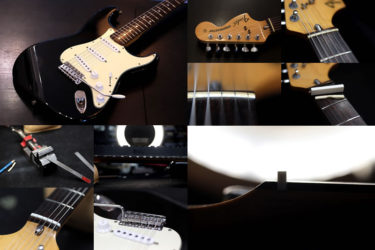
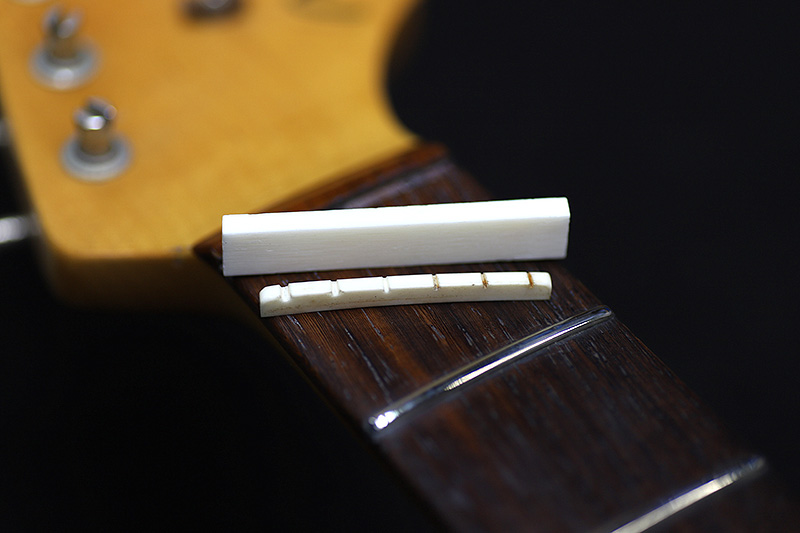
ナット交換
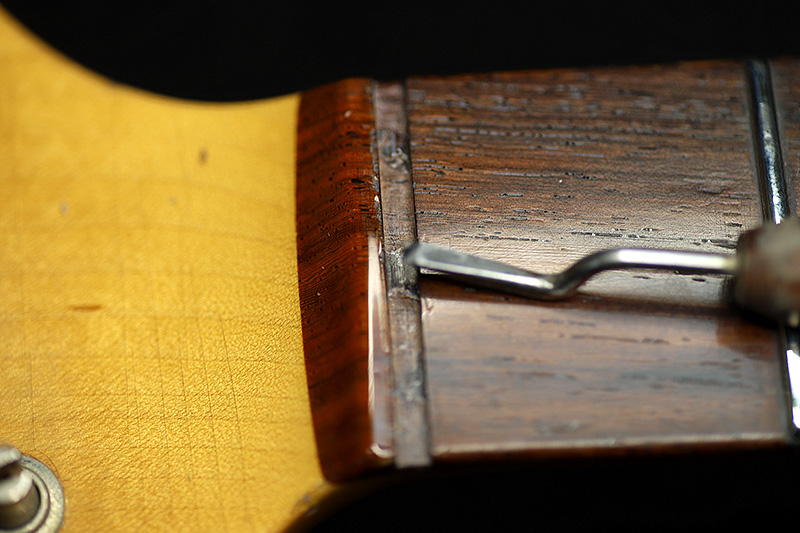
ナットのスロットを見ると、3か所だけ接着剤の跡が。
綺麗にチゼルで均します。
ヤスリで研磨後。
ナットをスロットにぴったり合うように成型。
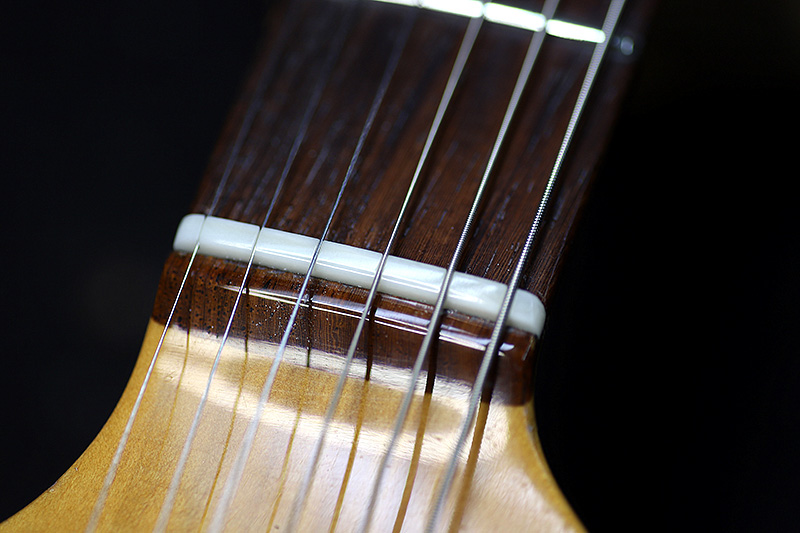
溝を掘って弦を張って微調整。
その後ナットを研磨、コンパウンドで磨き完成。
トラスロッドを調整しネックをストレートに。
弦高調整、ブリッジ調整を行い完了。
ナット、ネックのストレート、ブリッジ/サドル、この3点のセッティングが出ていないとギターは鳴ってくれません。
使わなくなったギターも、1か月に1度位は弦をポロロンと弾いてみて下さい。
それだけで全然コンディションが変わってきますよ。
ギター、ベース等の修理は お気軽にご相談下さい。
お願いいたします。