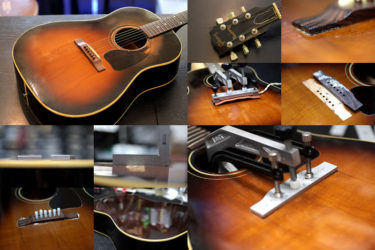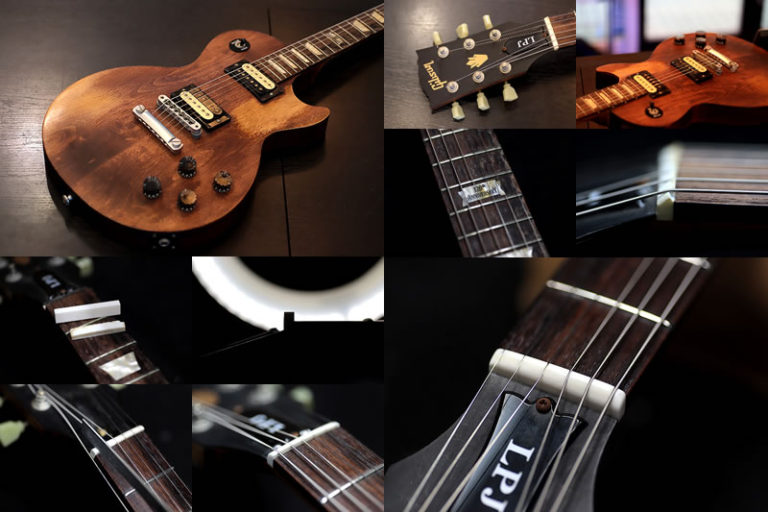
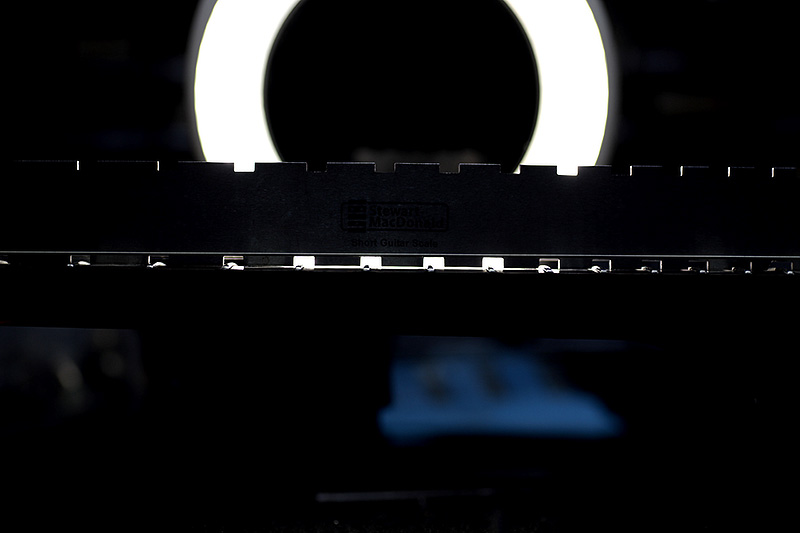
Gibson LPJ 14
Repair of the Day
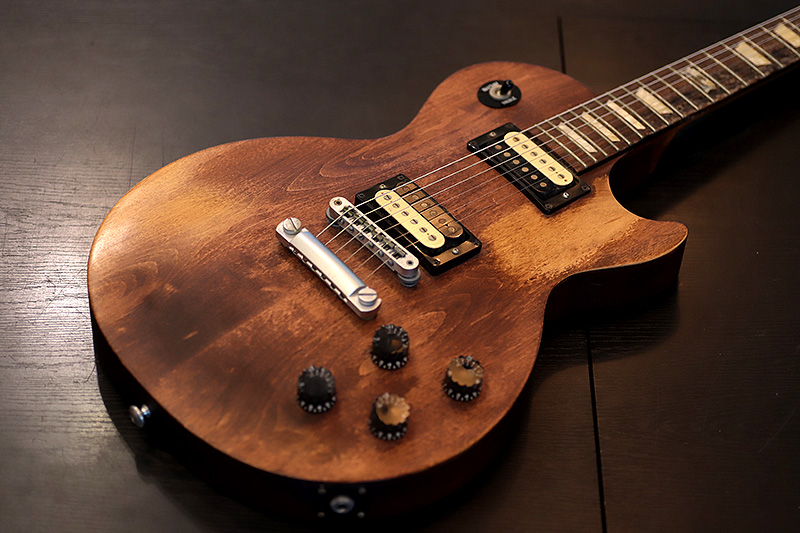
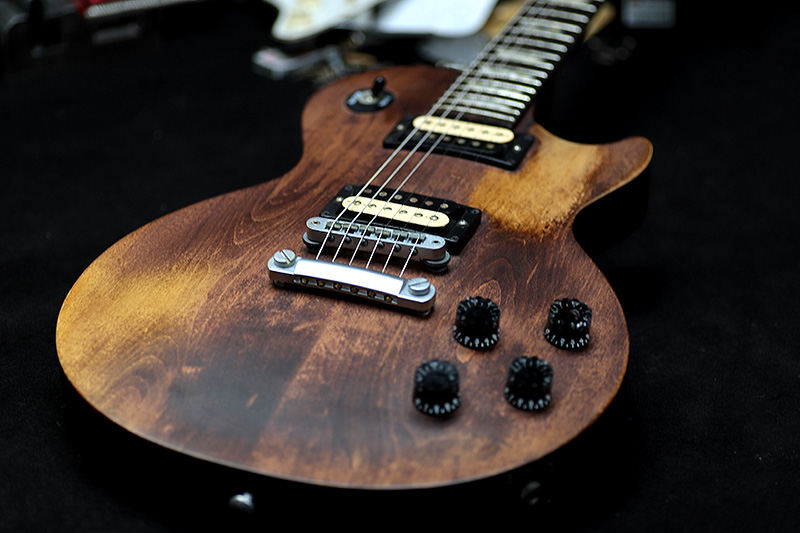
Gibson LPJ 14
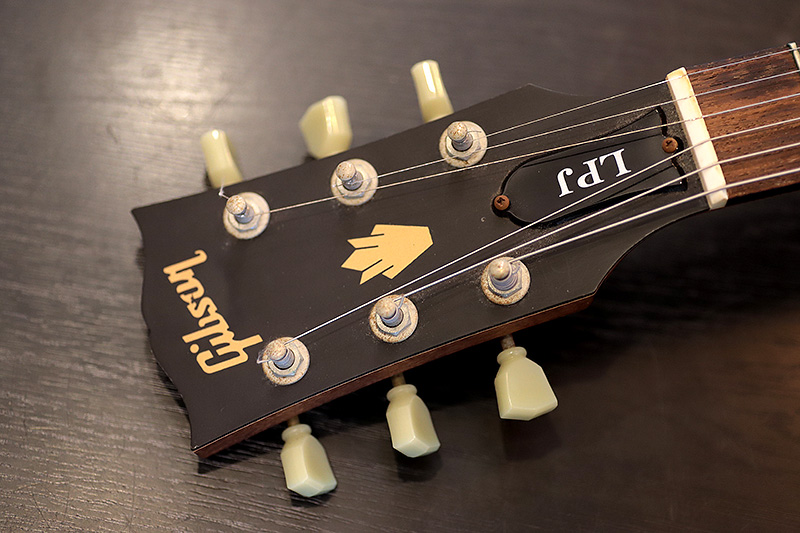
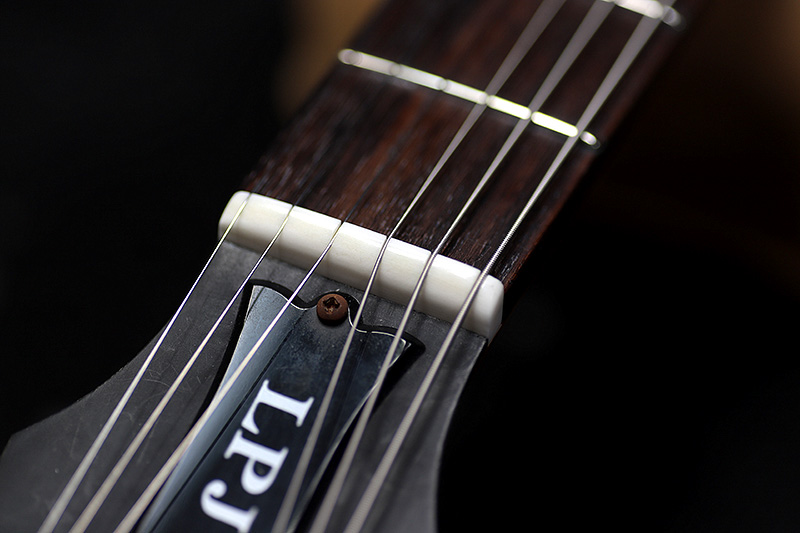
トラスロッドカバーに大きく印刷されたLPJの文字
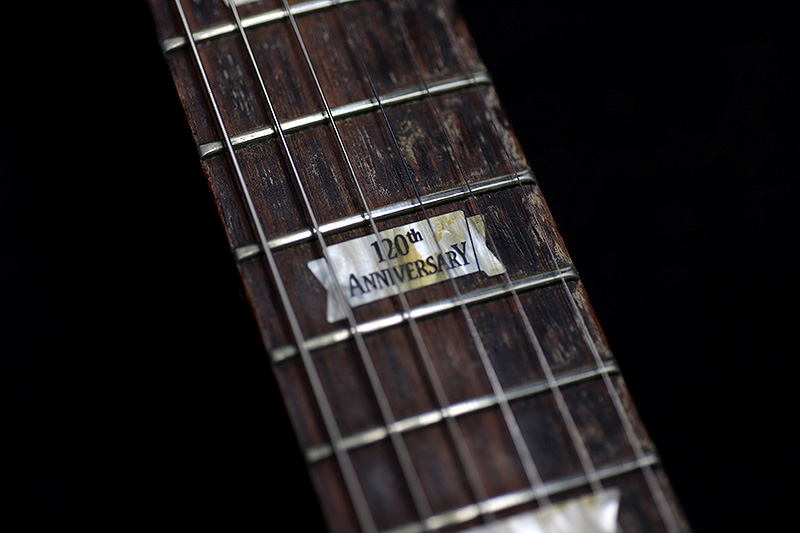
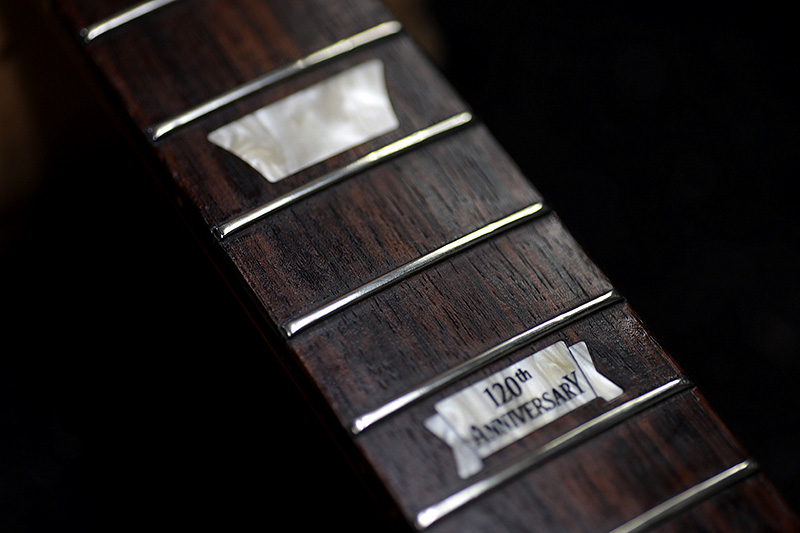
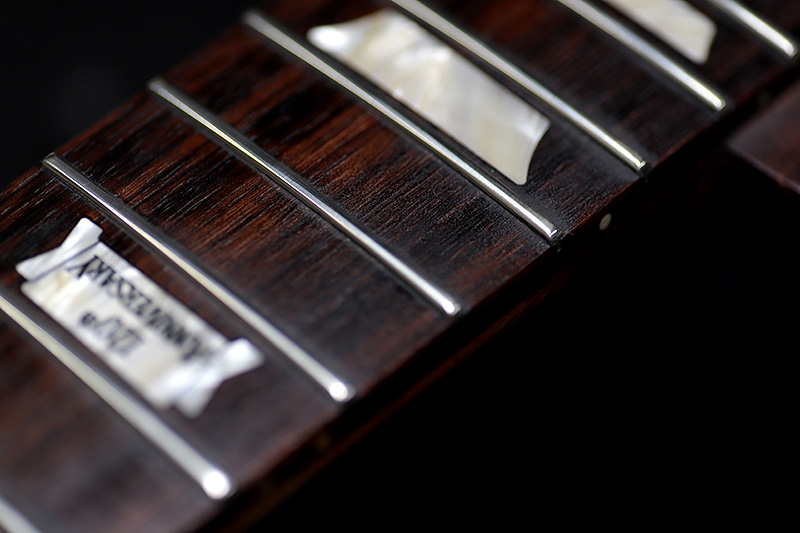
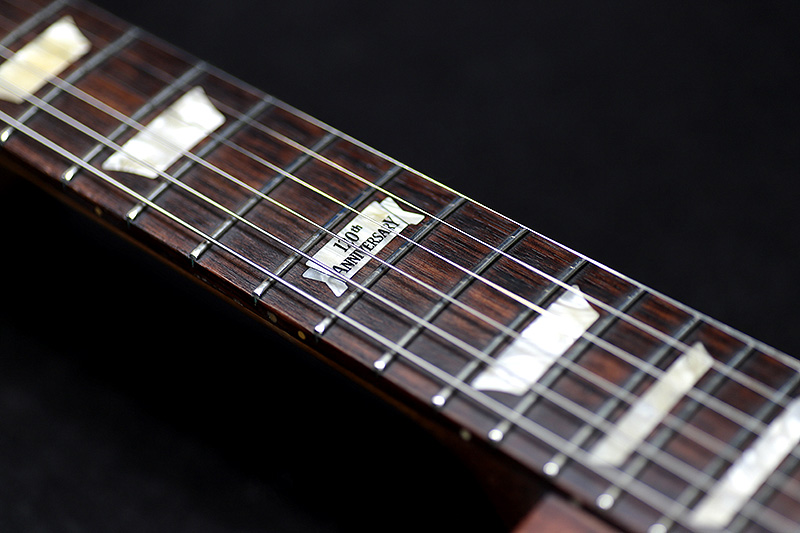
2014年に120周年を記念して作られたモデル。
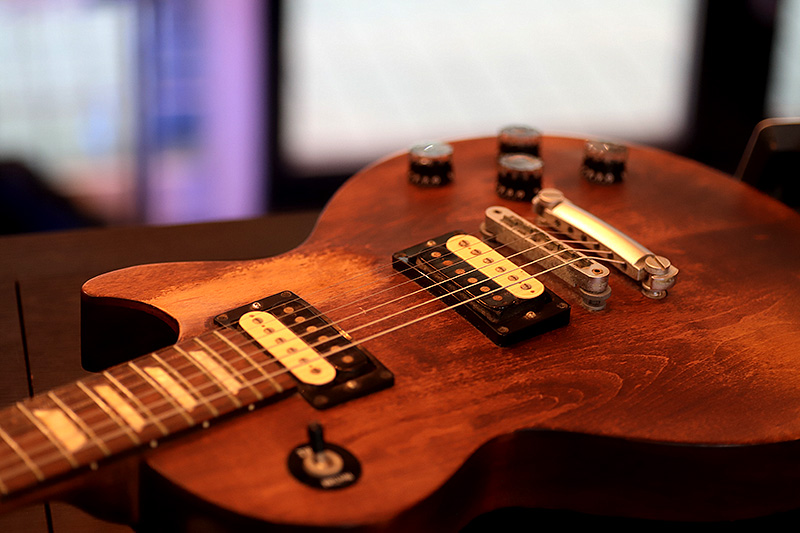
艶消しのウルトラ・スムース・サテンフィニッシュ
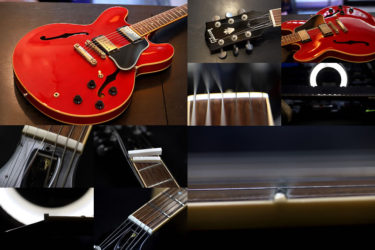
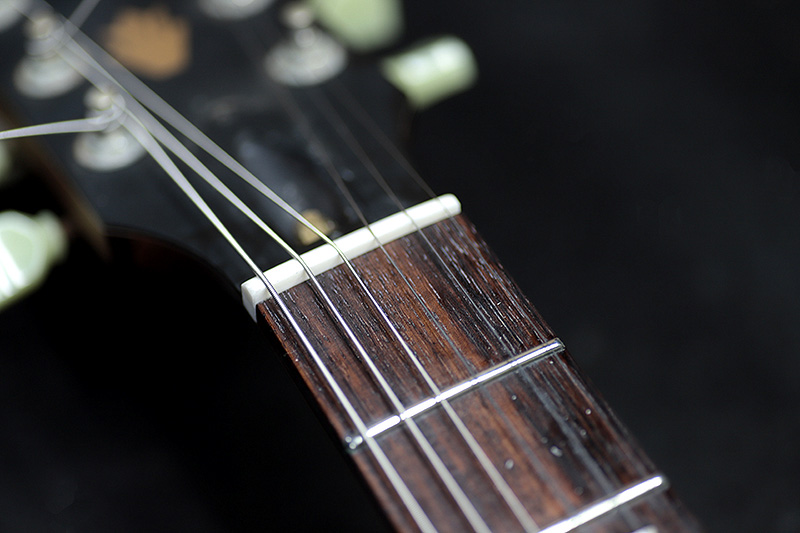
ナット状態
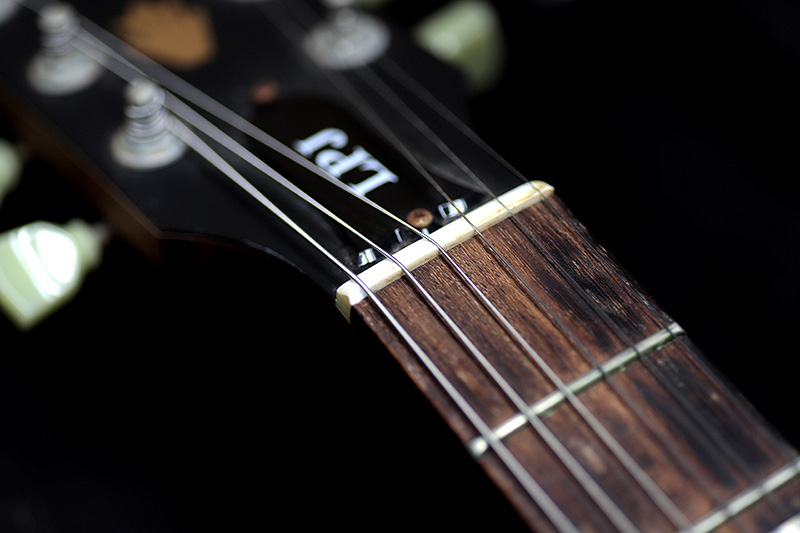
ぶつけてしまったようでナットの角が欠けておりました。
0フレットの位置も少し後ろになってしまい開放音も弦振動が死んでいました。
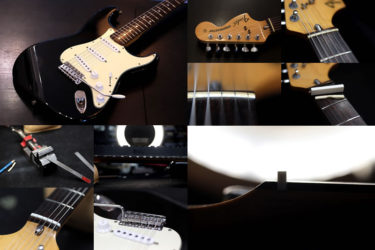
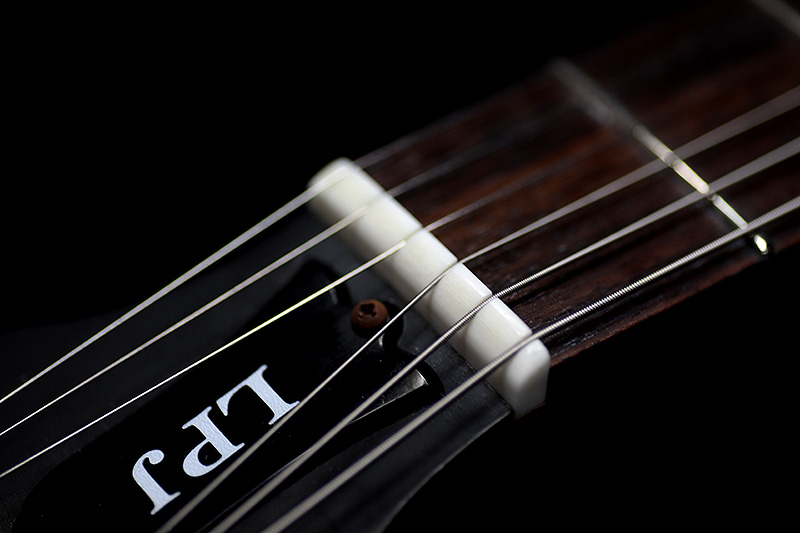
ナット交換
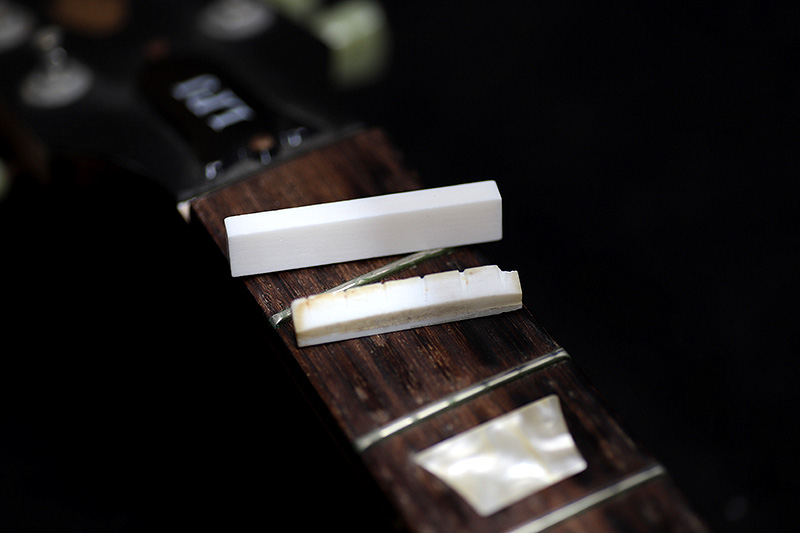
牛骨ナットへ交換します。
ズレが無いので溝に綺麗に収まりました。
フレット、指板クリーニング

ナットの溝加工の前に指板のクリーニング
様々な汚れが付着していて変色気味の場所も
バフ掛け、コンパウンド磨きを経てオイルを塗布しました。
汚れは蓄積していきますし、手の油や弦を弾いた鉄分が指板に付着し、錆びやカビが繁殖します。
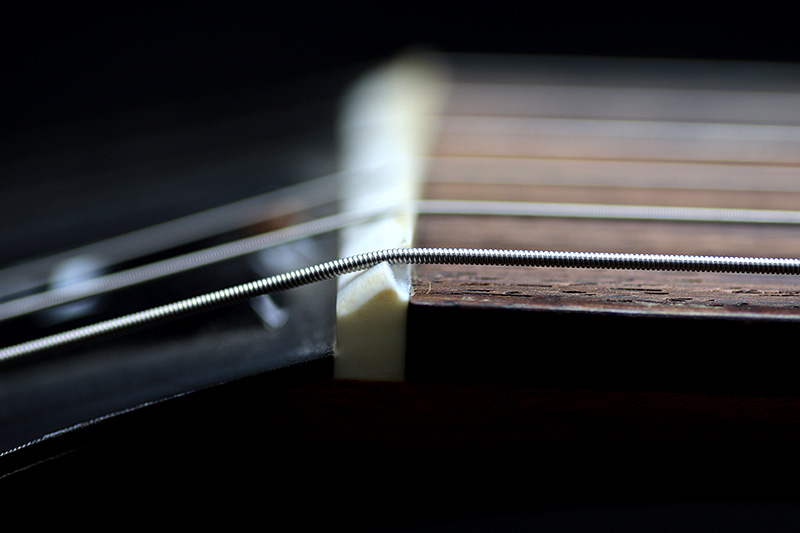
ナット溝加工
頭だけ溝を掘り弦を張ります。
順反りに見えますが、よく見ると6~11フレットのみ極端に開いています。

こういう場合は完全にストレートにはならず、直ぐに逆反りになる場合があります。
トラスロッドは完全に締めずに平均値で止めます。

完成
適正な高さまで下がったらナットを磨いて完了。
ギター、ベース等の修理は お気軽にご相談下さい。
お願いいたします。