Guitar Repair of the Day
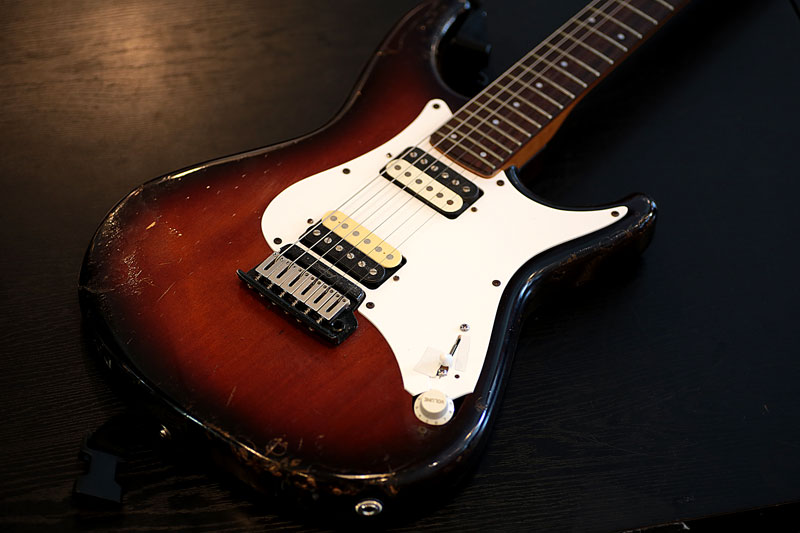
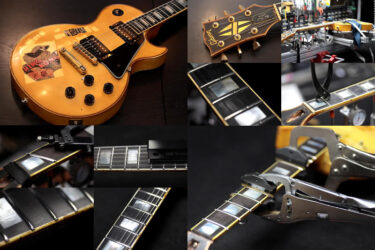
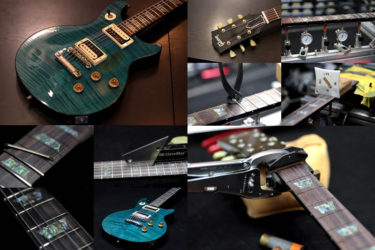
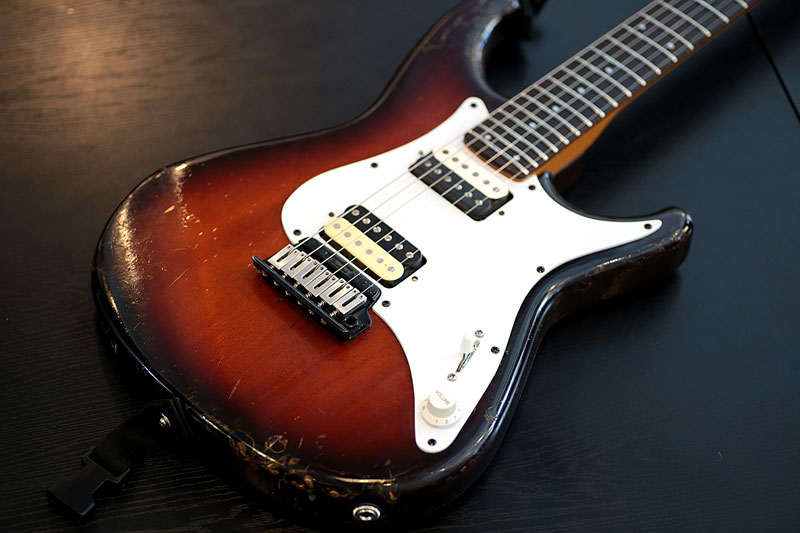
Ibanez RoadstarⅡ アイバニーズ ロードスター。
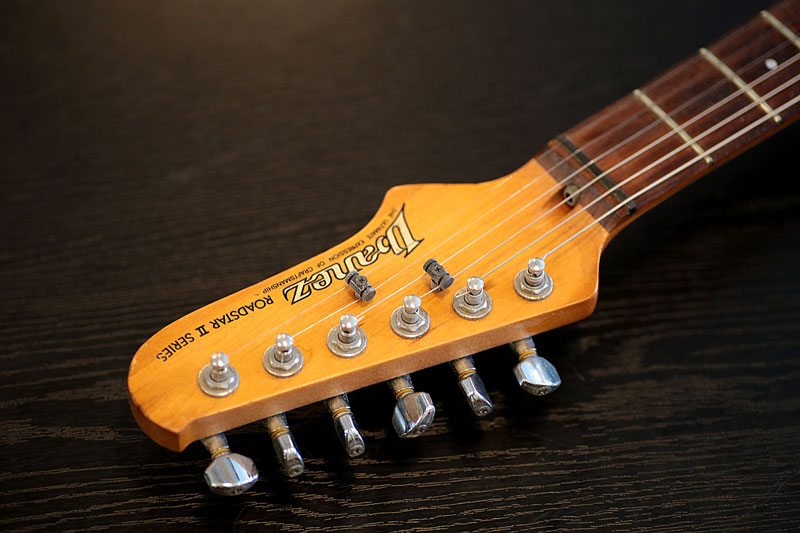
何故かうちはロードスターの依頼が多く、毎回様々なモデルが持ち込まれますが、この仕様は初めて見ました。
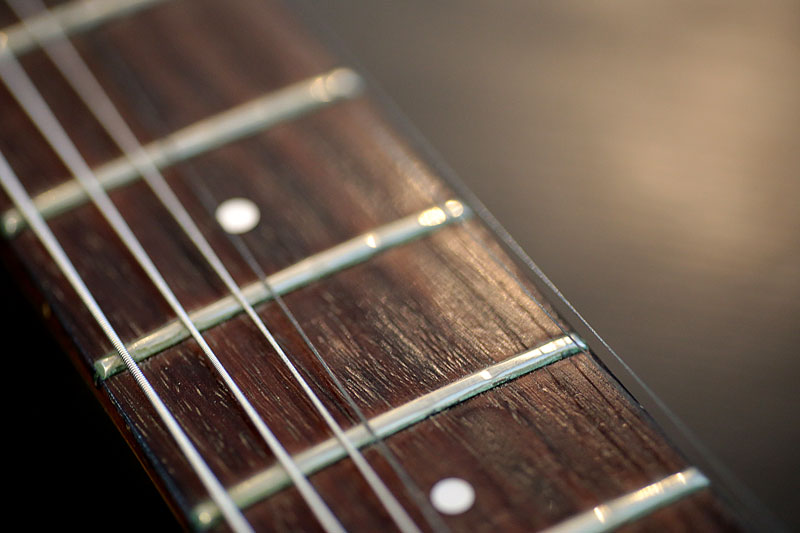
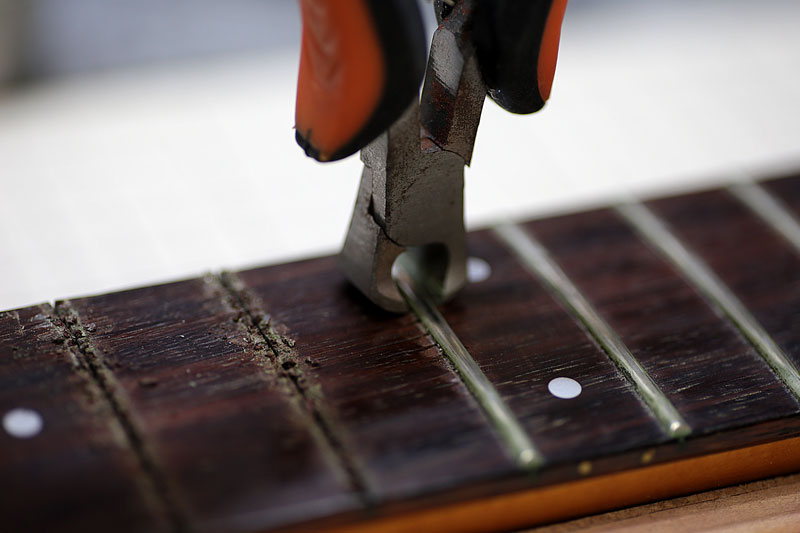
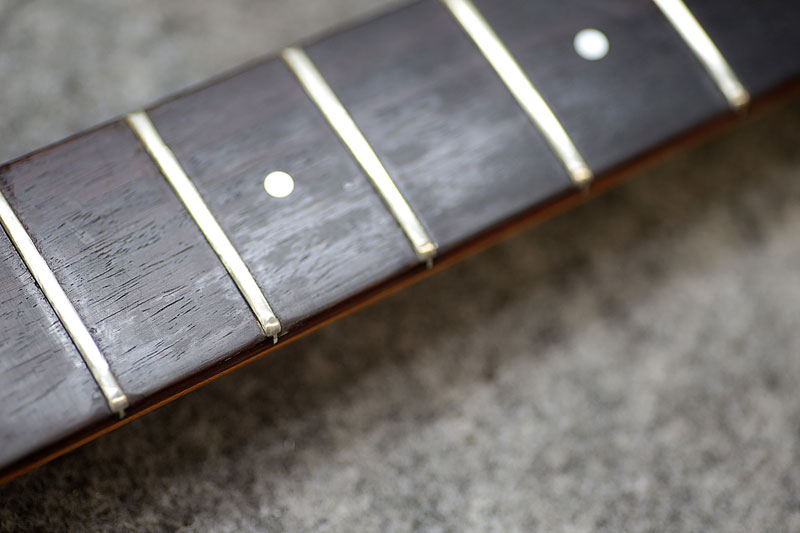
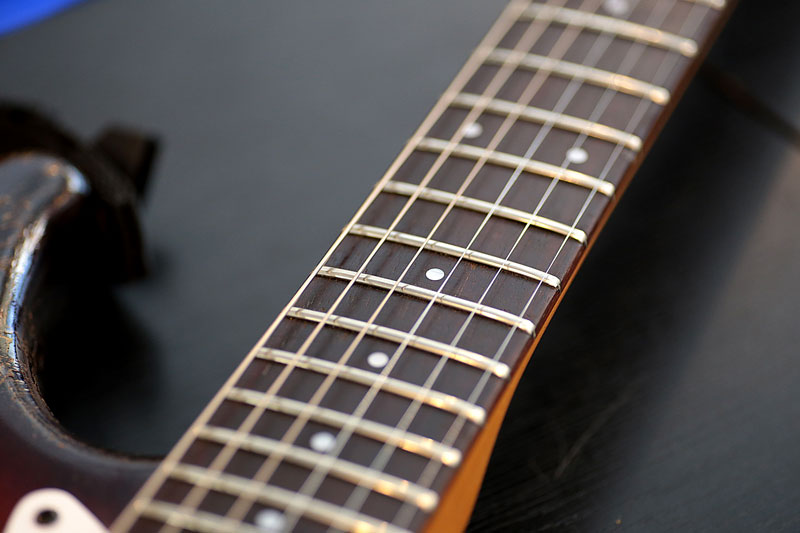
かなり使い込まれていてフレットはデコボコ。
今回はフレット交換とナット交換とピックガードの複製。
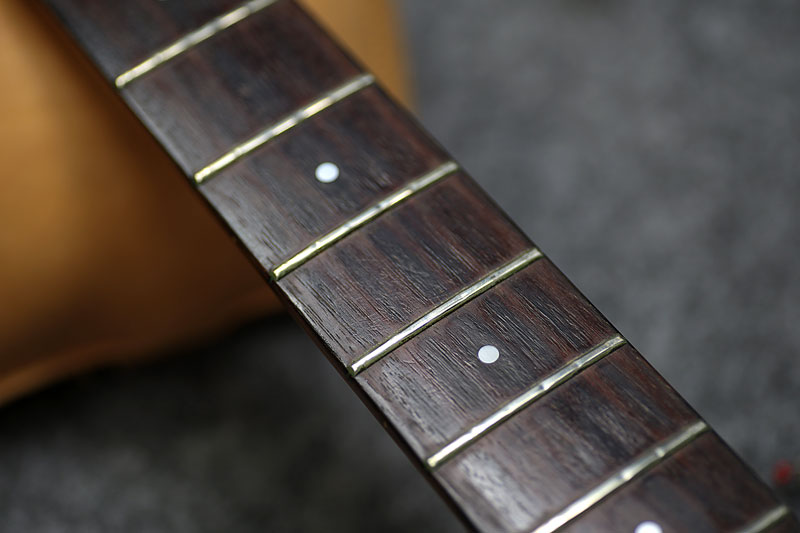
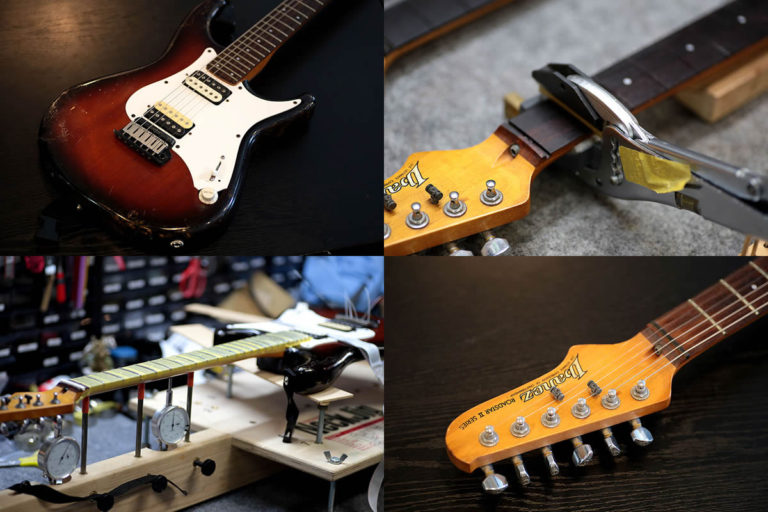
経年で指板がかなり脆く柔らかくなっていたので、調整に苦労しました。
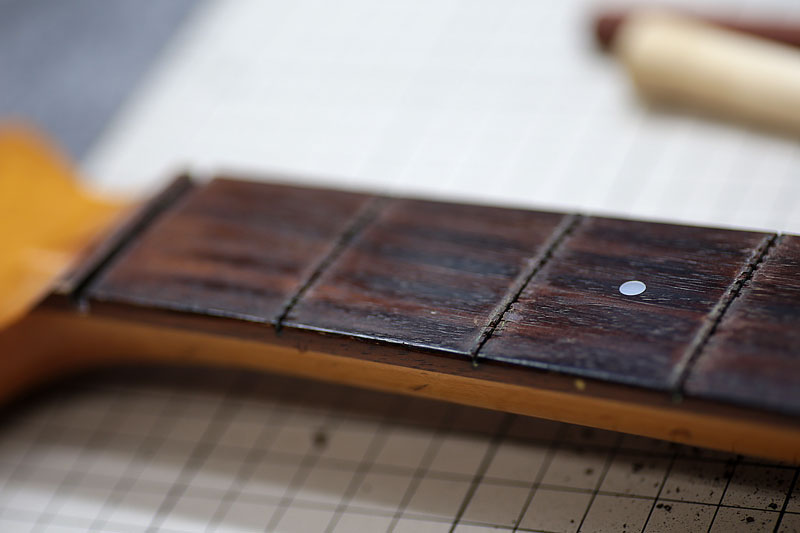
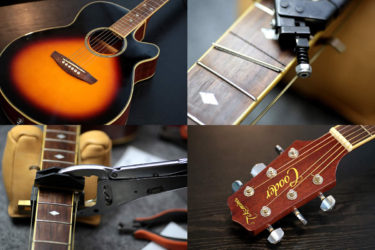
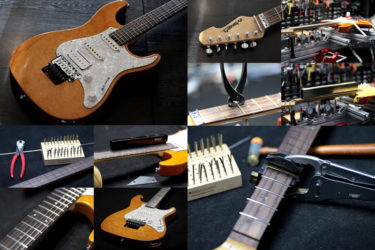
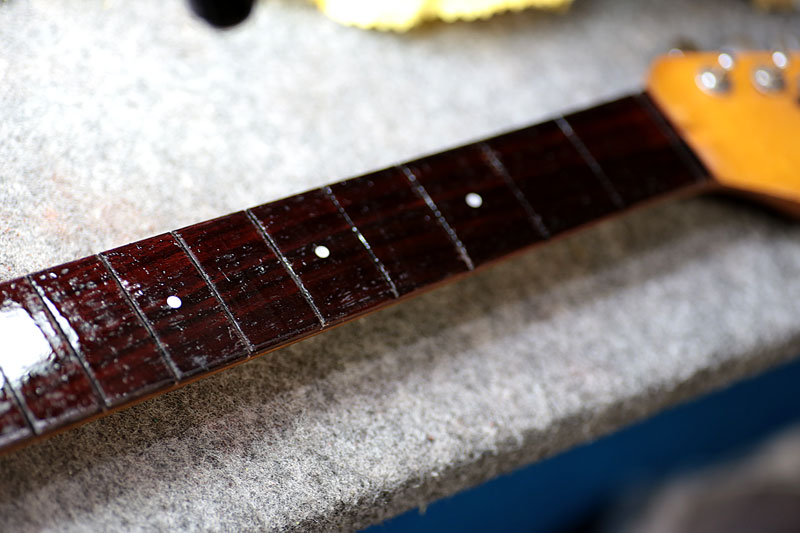
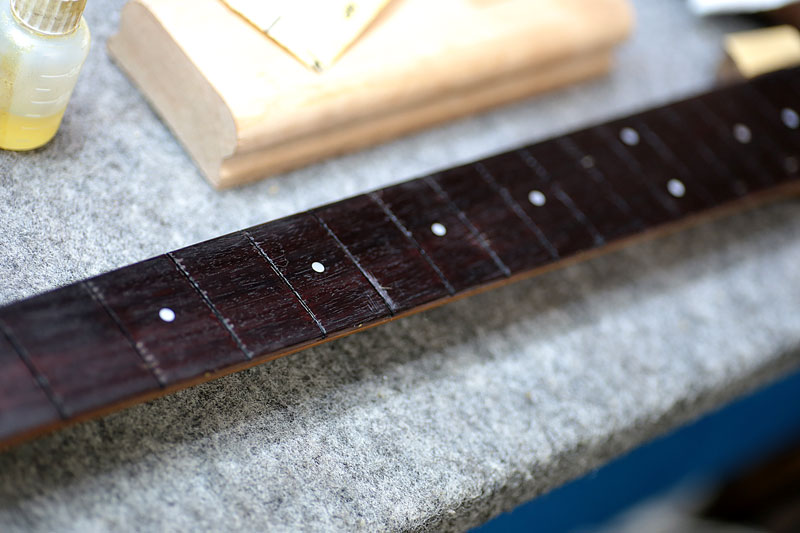
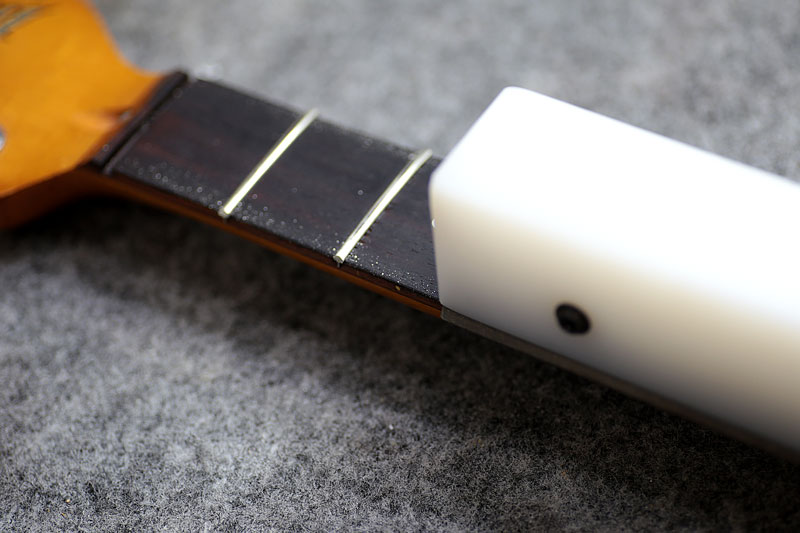
削れてしまった溝に、同じローズの破片を粉末にして埋め戻し、溝を切り直します。
指板のアールに合わせて研磨します。
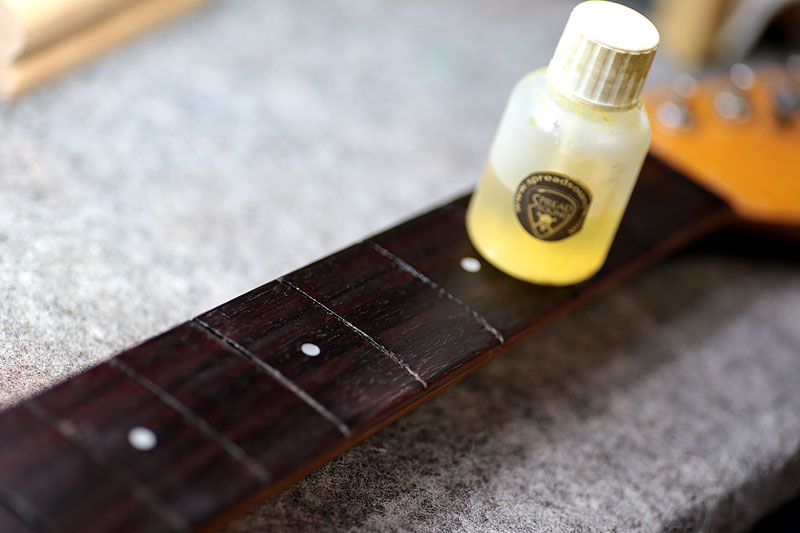
指板には、いくつかのオイルを配合した物を塗ります。
フレットを打つ前に一旦オイルを塗って指板の動きを見ます。
落ち着いて来るまでフレットを打つ準備を。
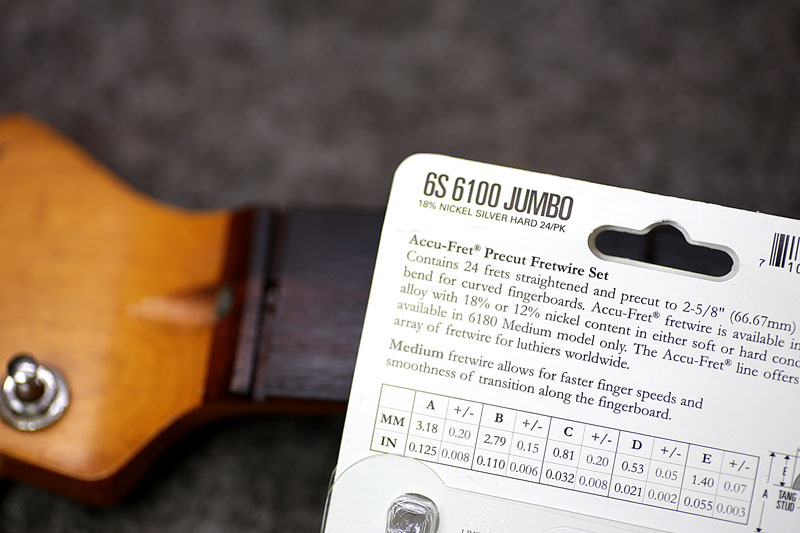
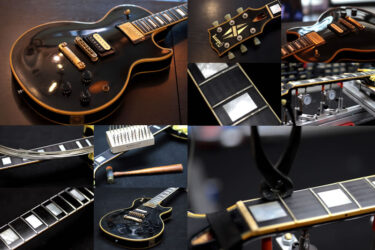
今回は、ジムダンロップの6100ジャンボフレットのご指定。
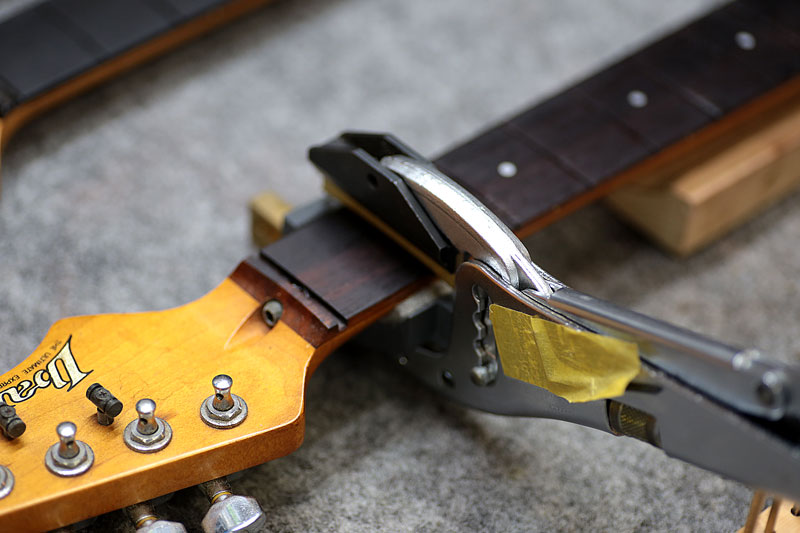
フレットプレスで打ち込みます。

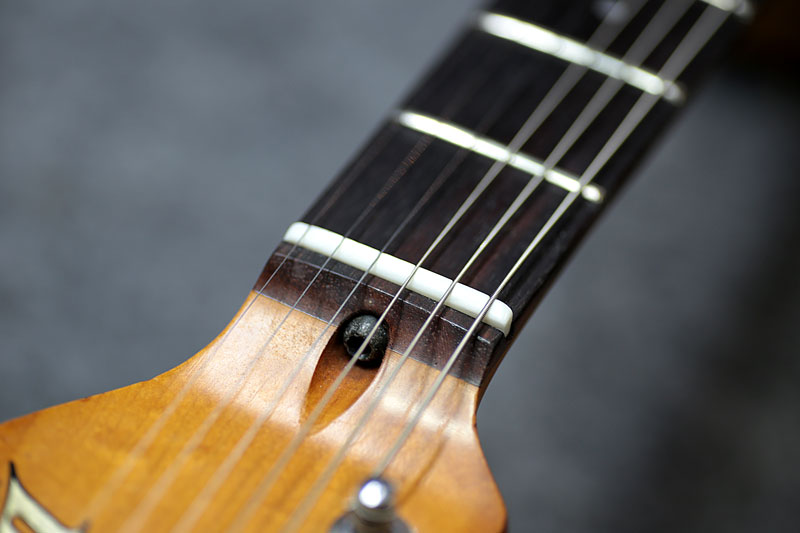
フレットサイドを角度を付けながら研磨。
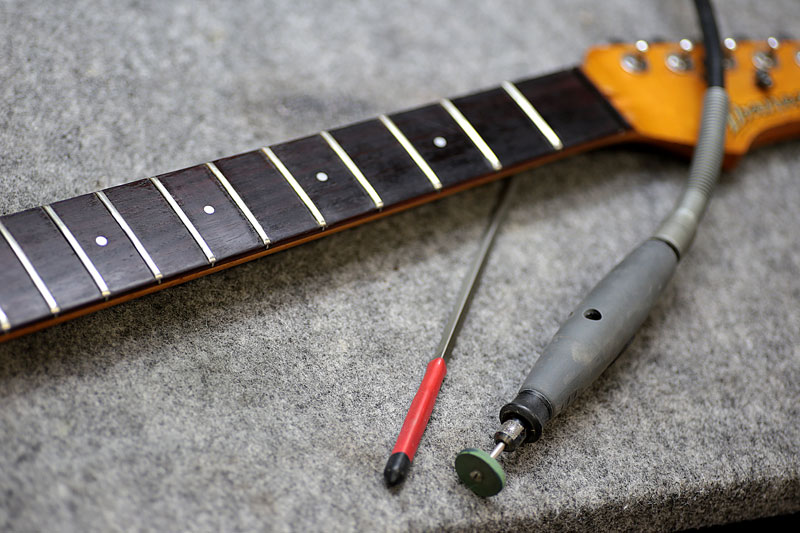
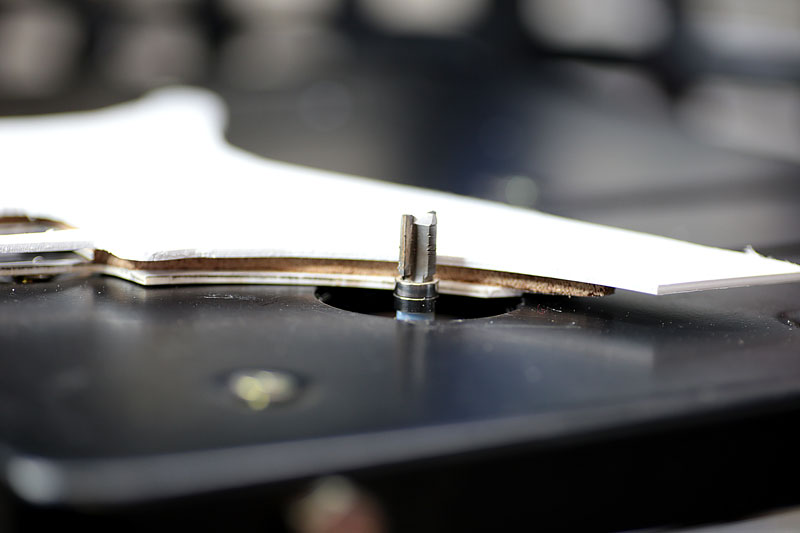
専用のやすりとドリルで、円形に仕上げます。
触って引っ掛からないのは勿論ですが、やりすぎると弦落ちするので程ほどの丸みに。

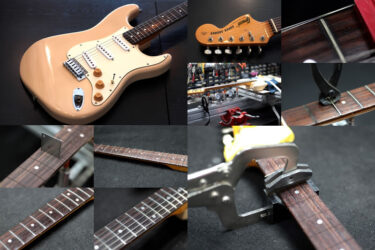
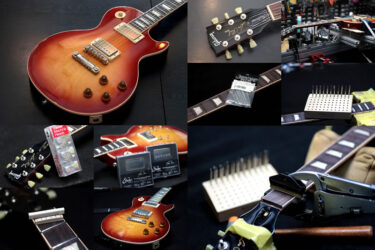
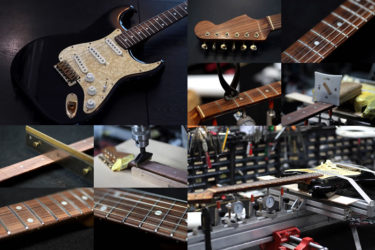
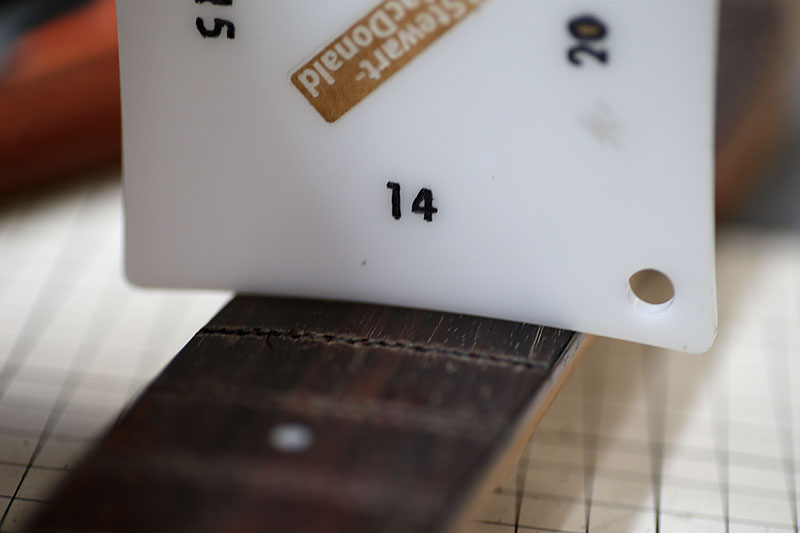
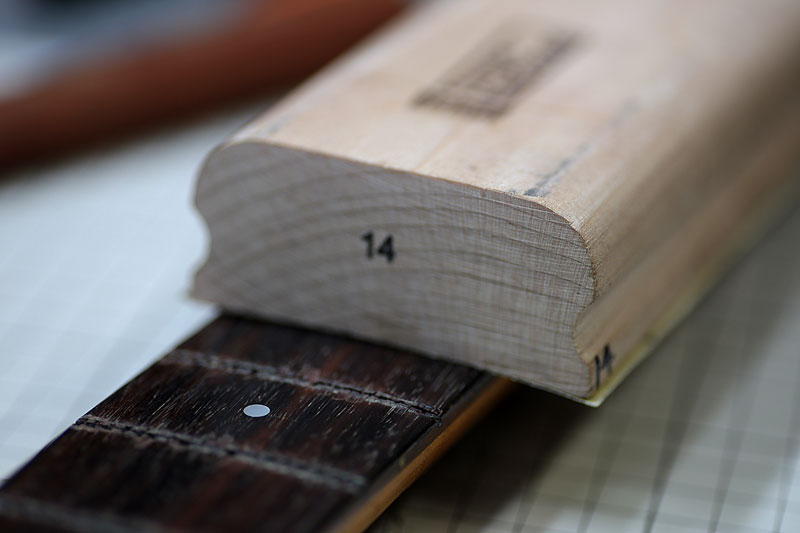
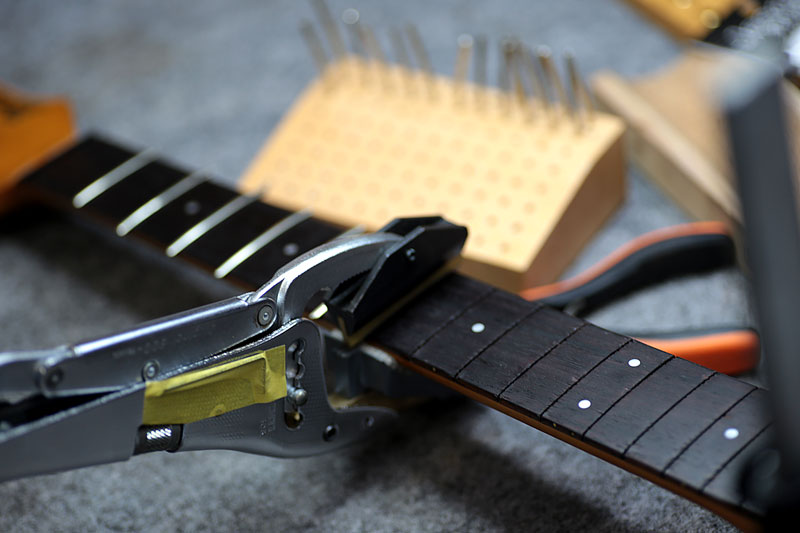
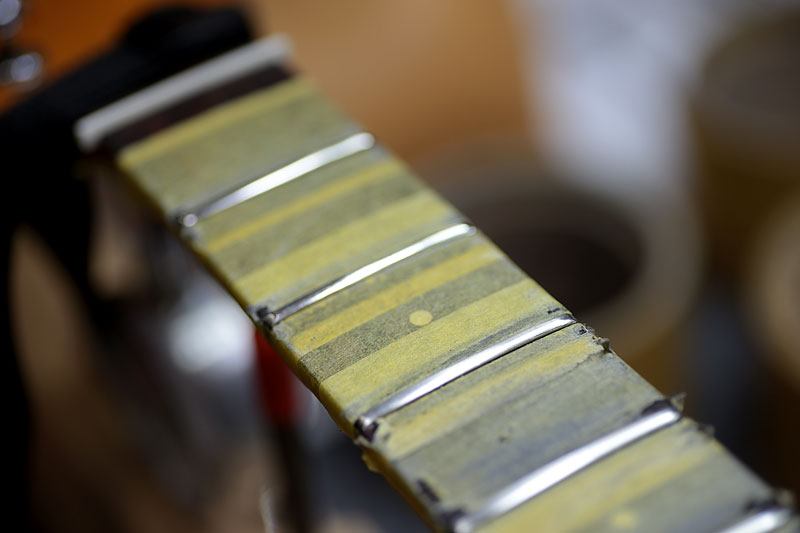
フレット交換後はネックジグでフレット上をフラットに仕上げます。
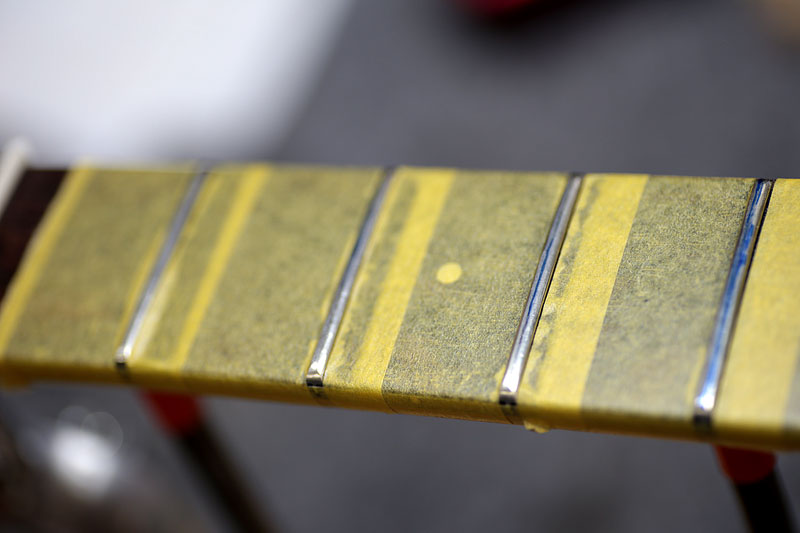
フレットを打っただけではフレット面は高さが合っていなく、ガタガタな状態。

一つ一つ高さを確認し、研磨する場所にマーキングします。
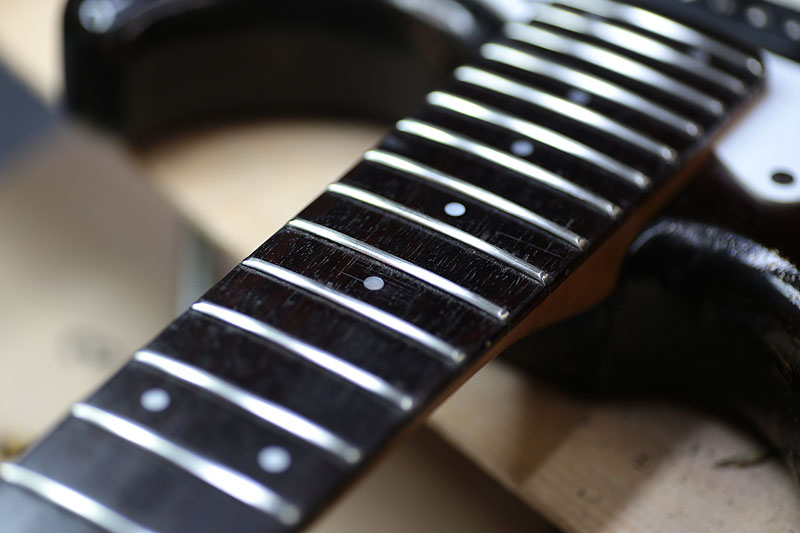
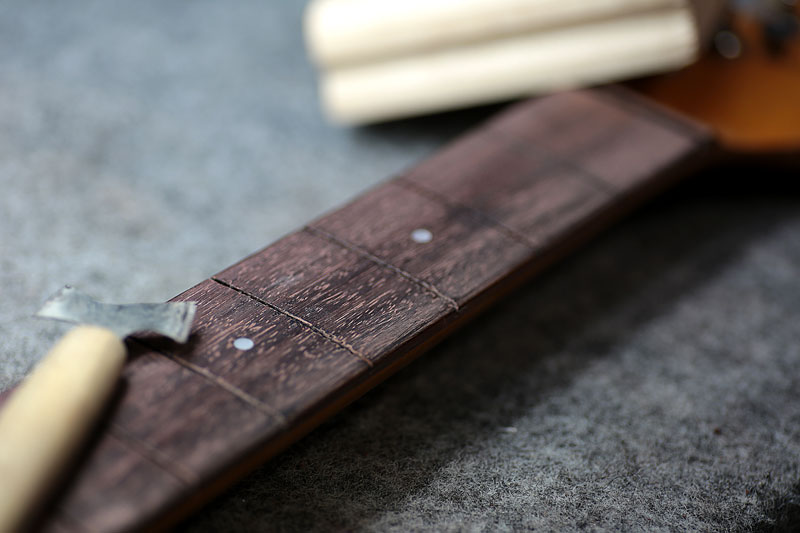
研磨完了。
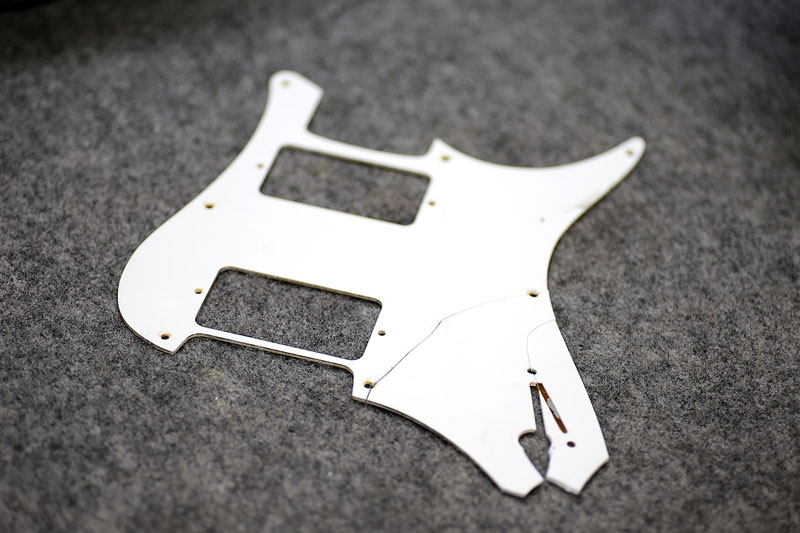
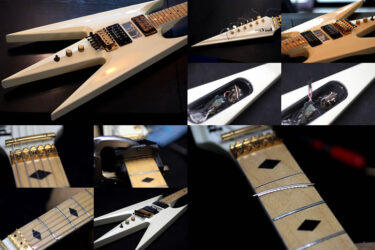
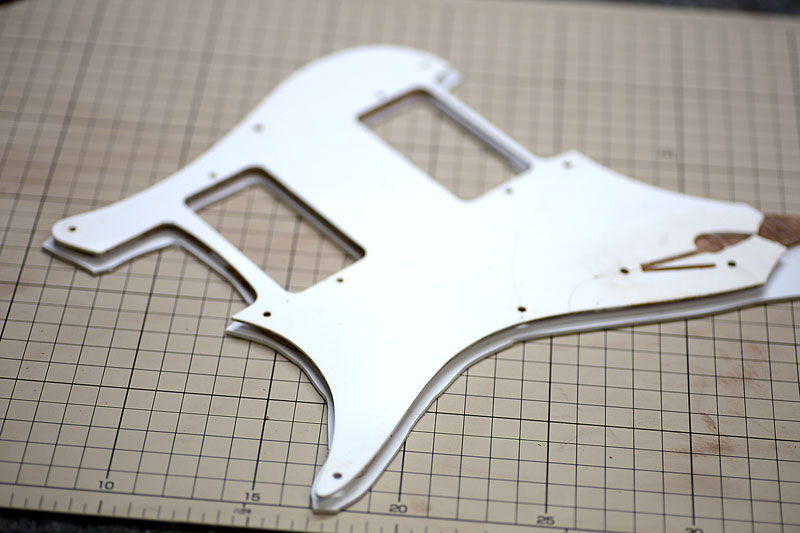
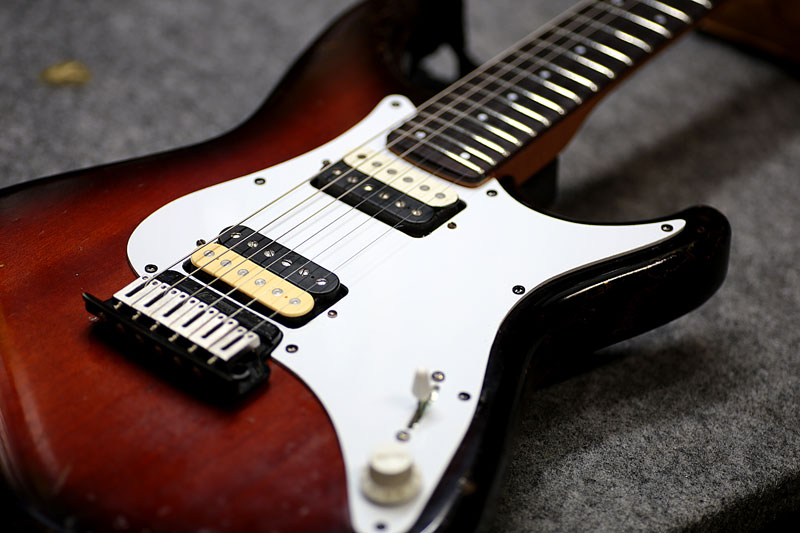
ピックガードは割れてしまったオリジナルから復元。
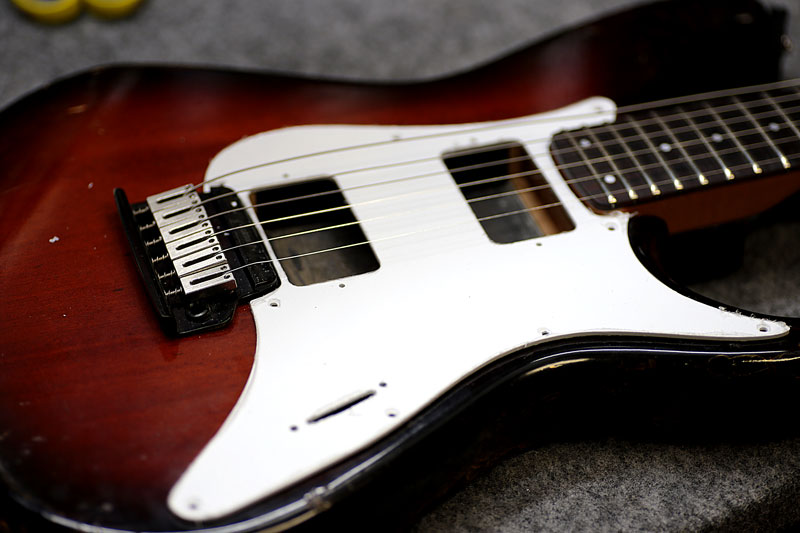

ボリュームポットの位置指定は、指が当たらないように一番下に移動。
トラスロッドが効いていてもネックの材のコンディションによって、弦を張る前と張った後でのしなり(曲がり)が大きい場合があります。ネックジグでの調整ならば、弦を張った際のネックの曲がりを維持しながら研磨出来るので弦を張った時のフレットの高さが綺麗に合わせる事が可能です。