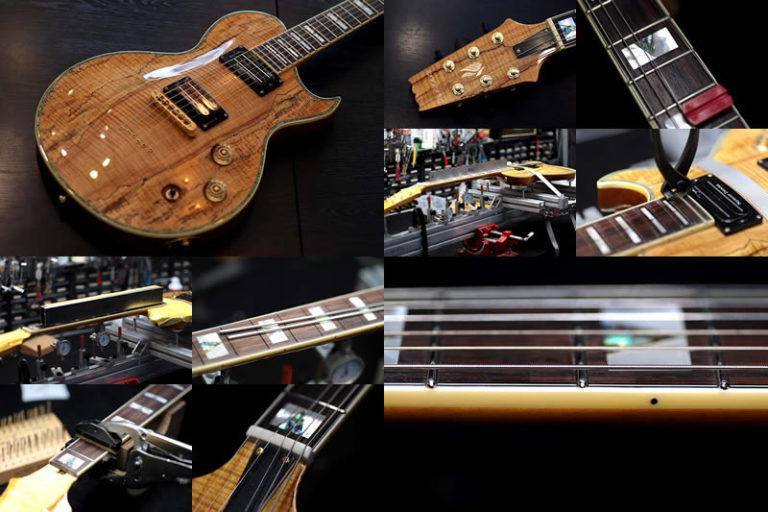
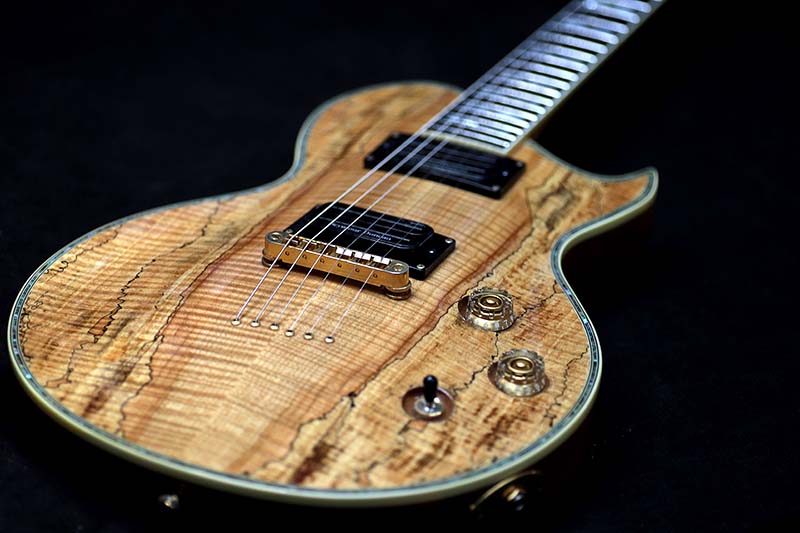
Aria Pro II PE
Repair of the Day
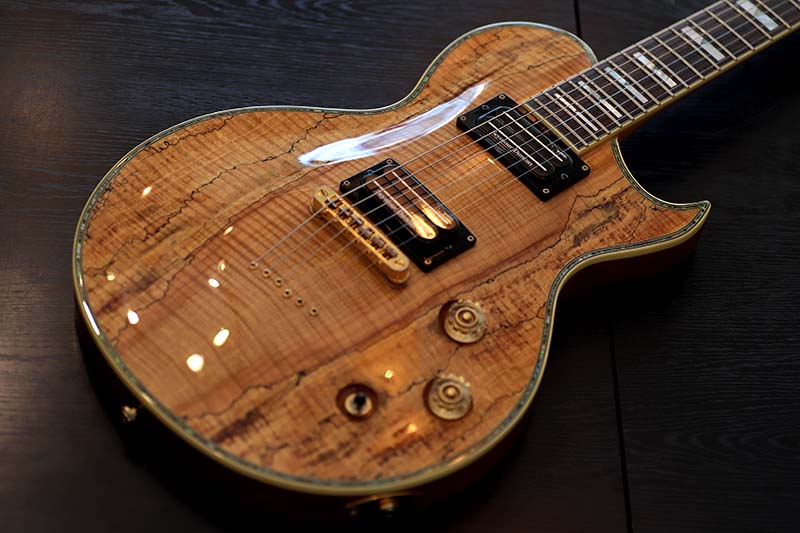
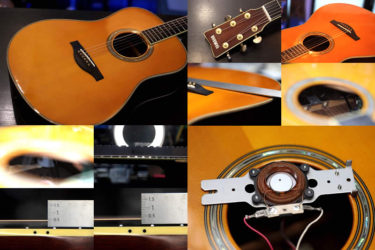
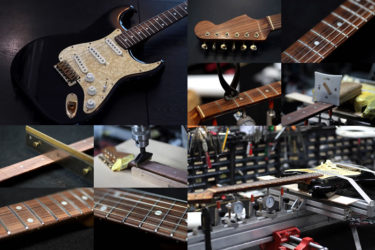
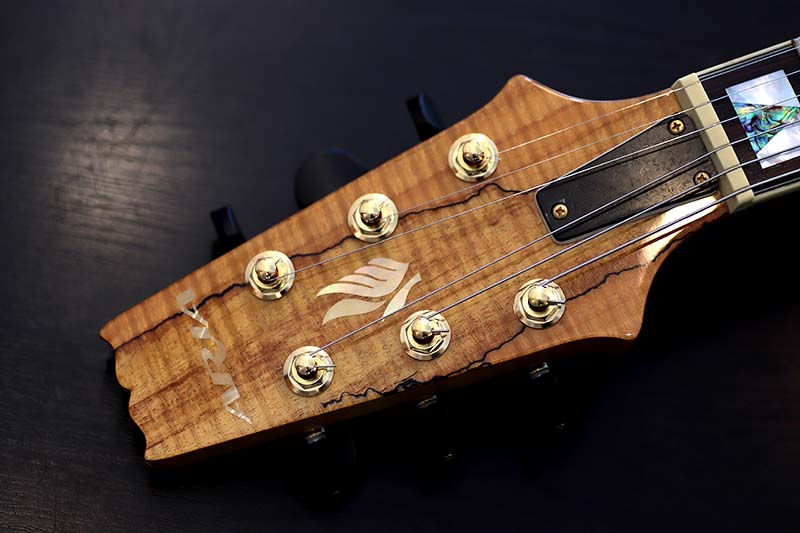
Aria Pro II のPEシリーズ
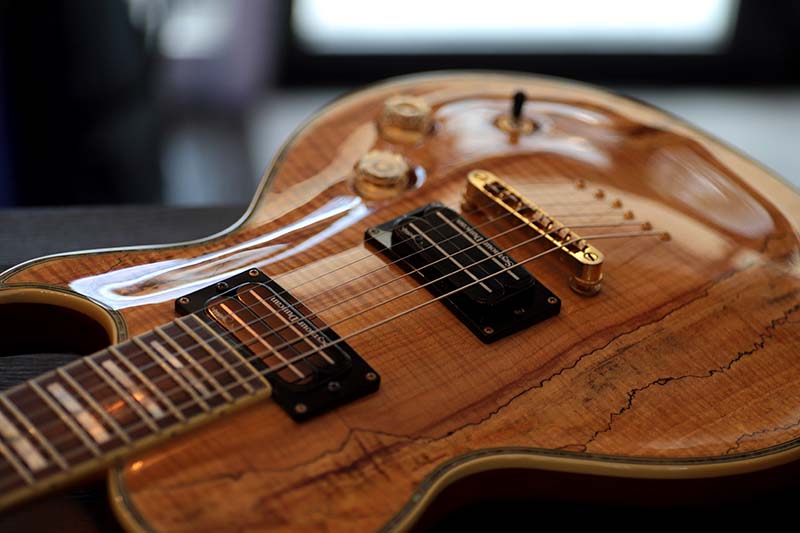
ネック、ボディ共に弦振動もビンビン鳴っており、状態はとても良かったです。
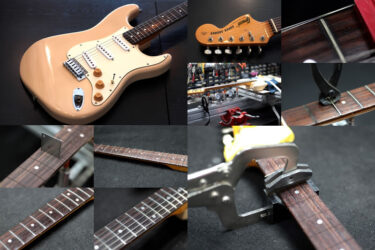
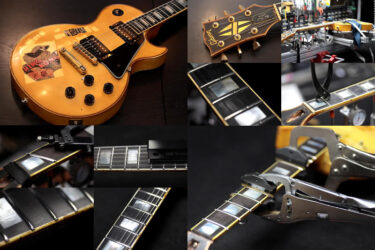
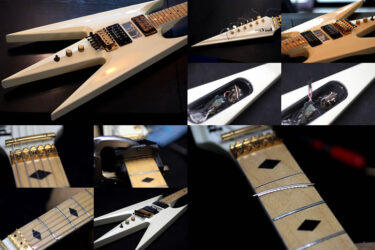
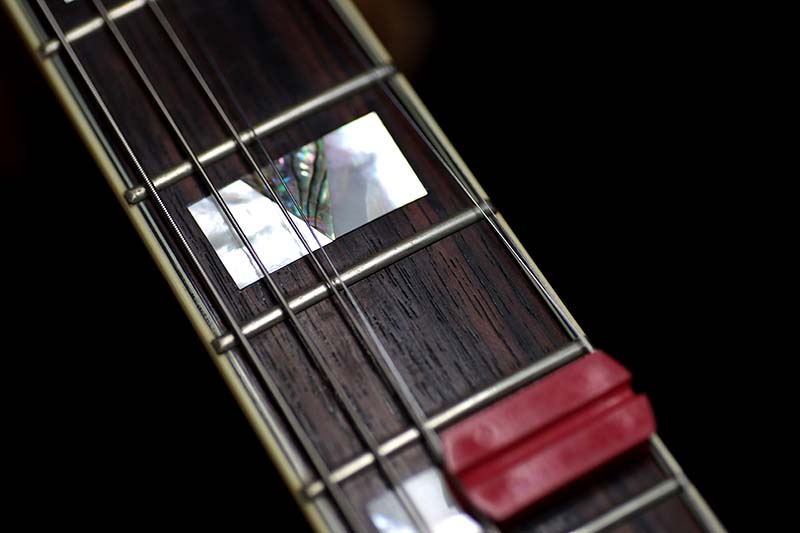
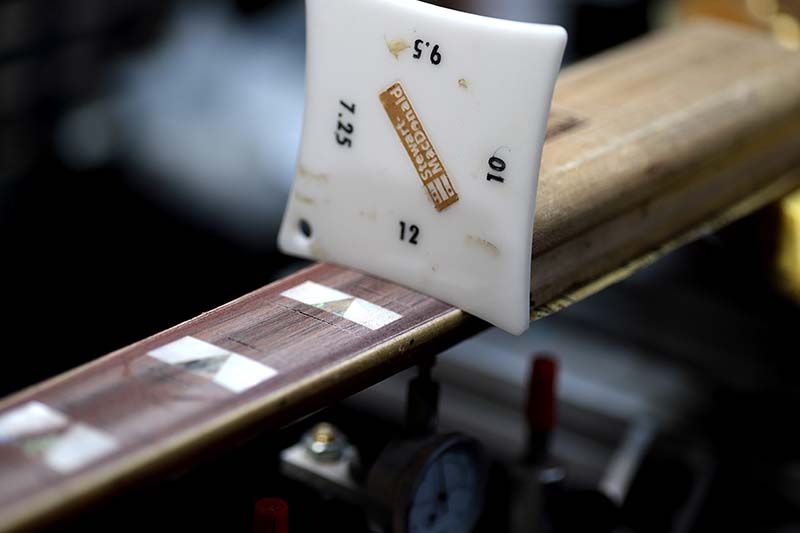
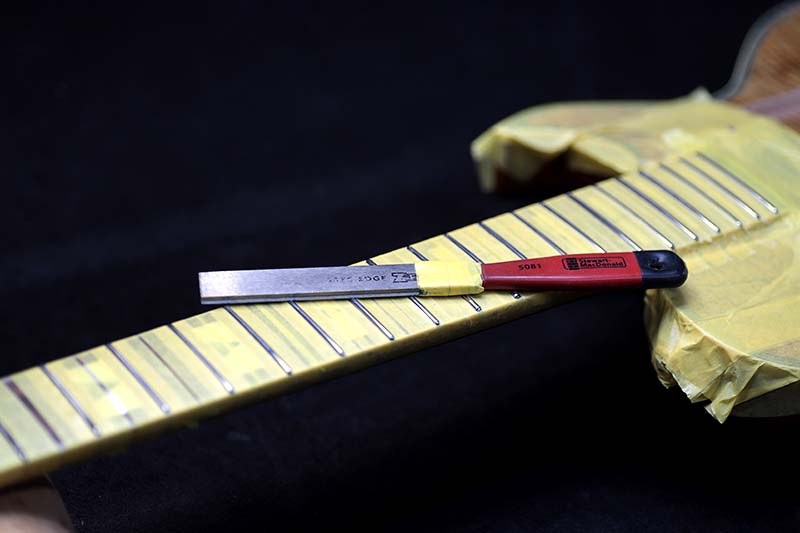
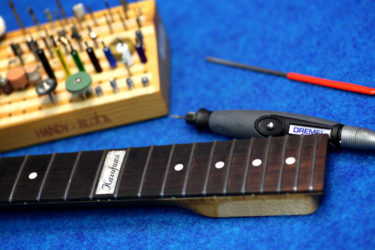
フレットの状態
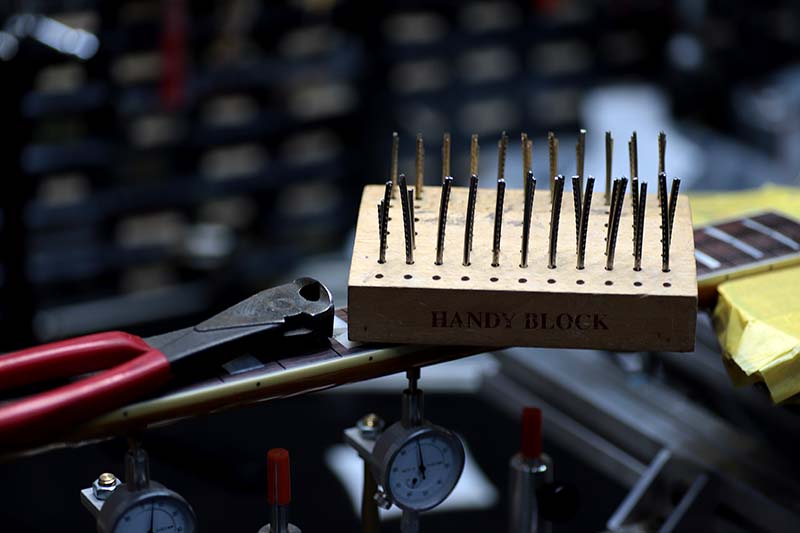
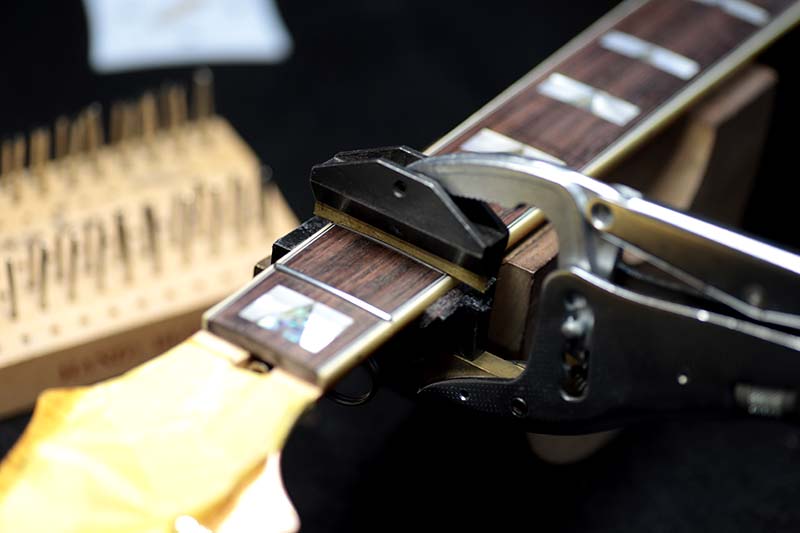
フレット抜き、ネックジグ
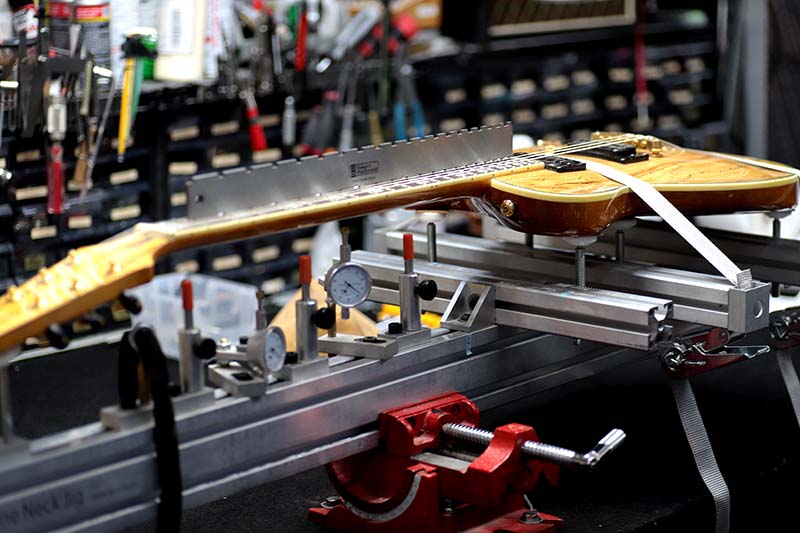
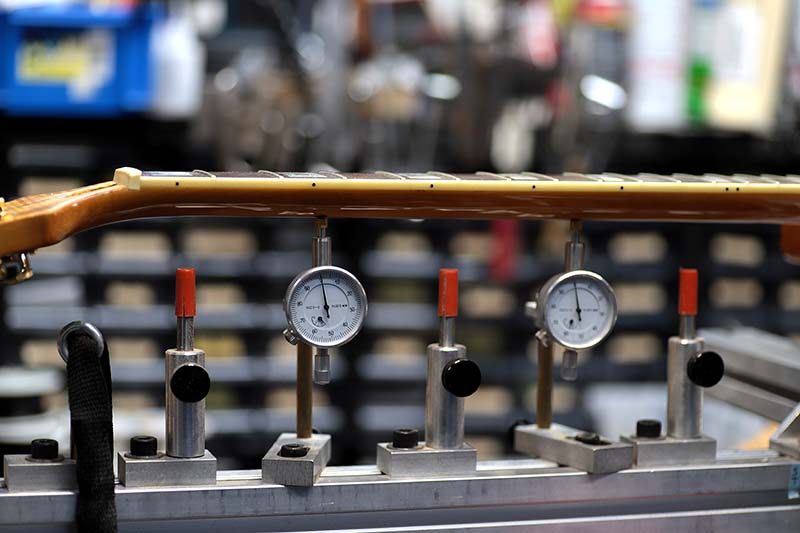
ゲージが合うまで大分かかりました。
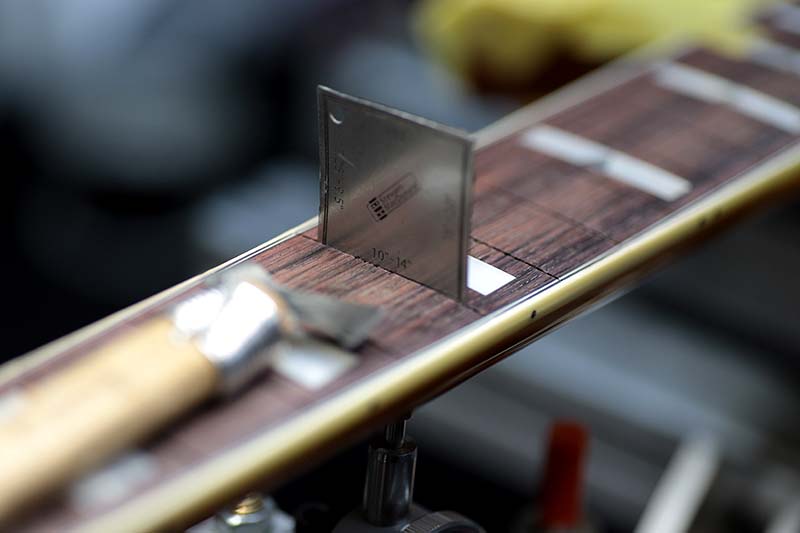
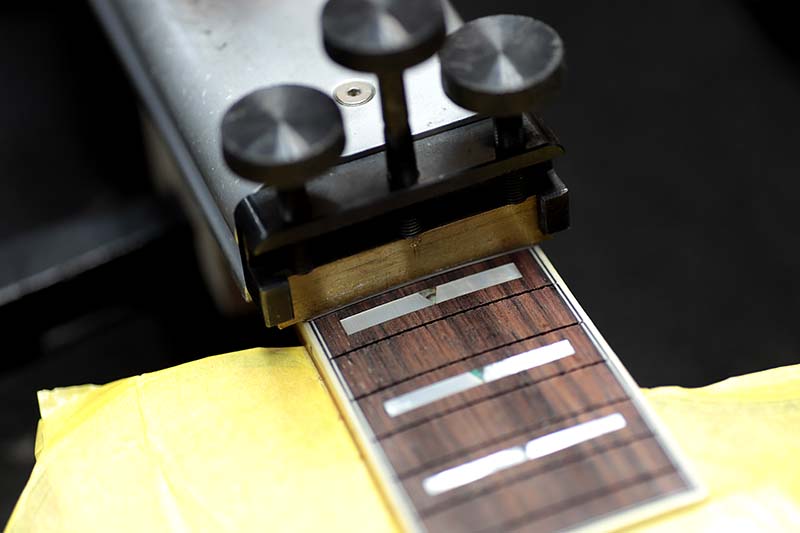
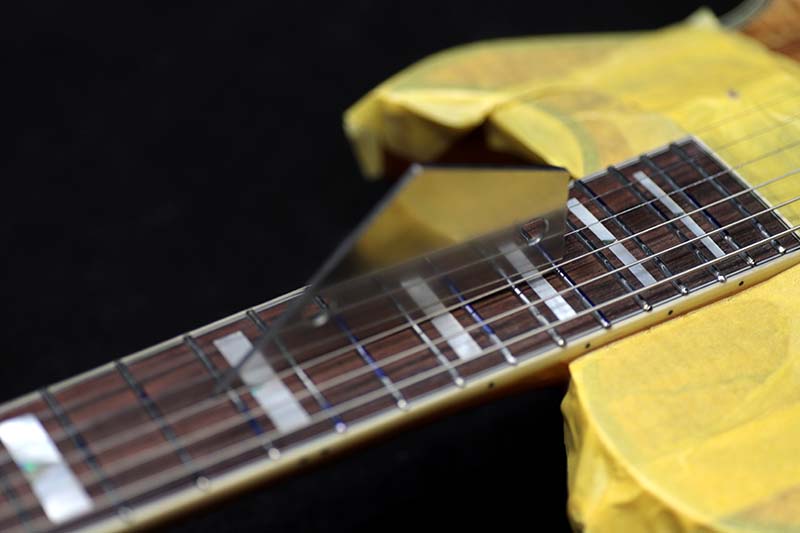
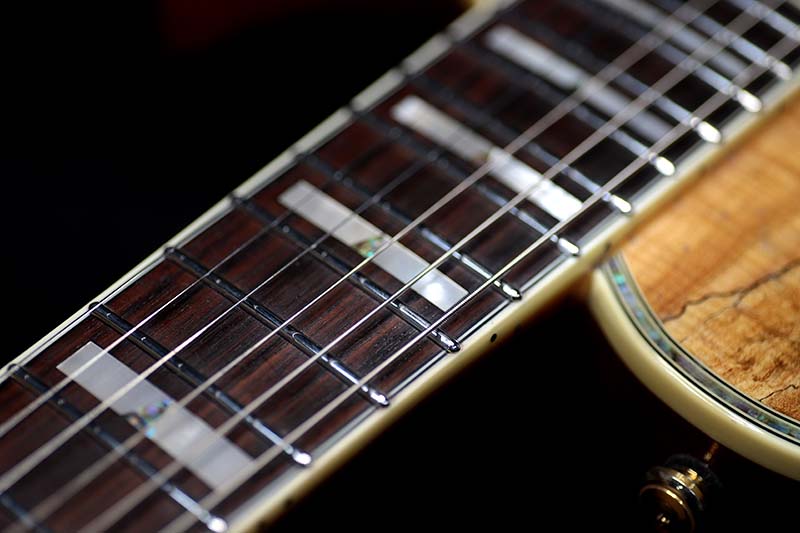
指板研磨
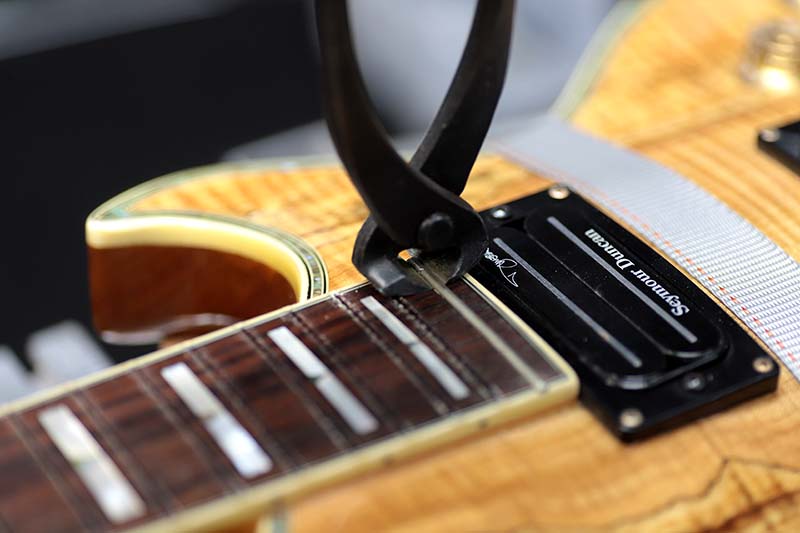
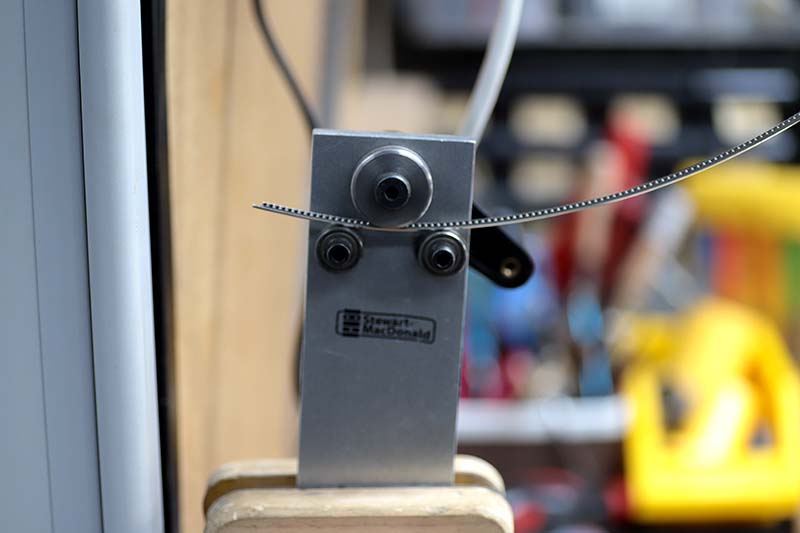
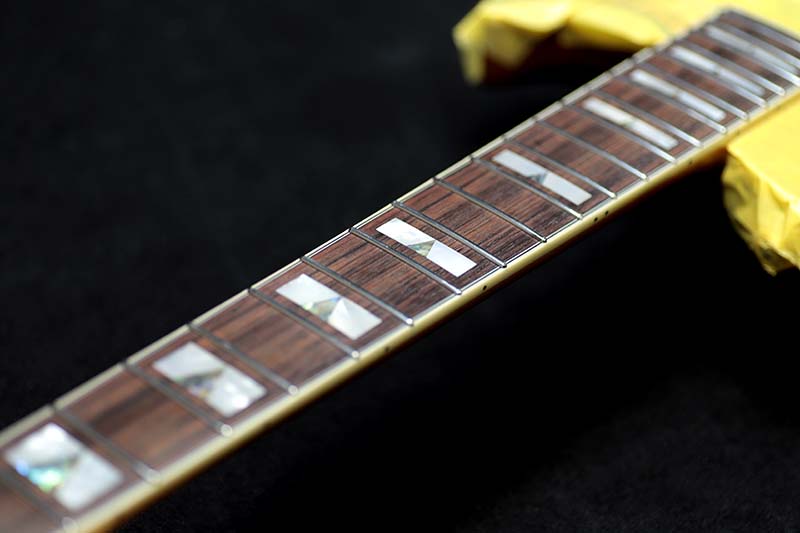
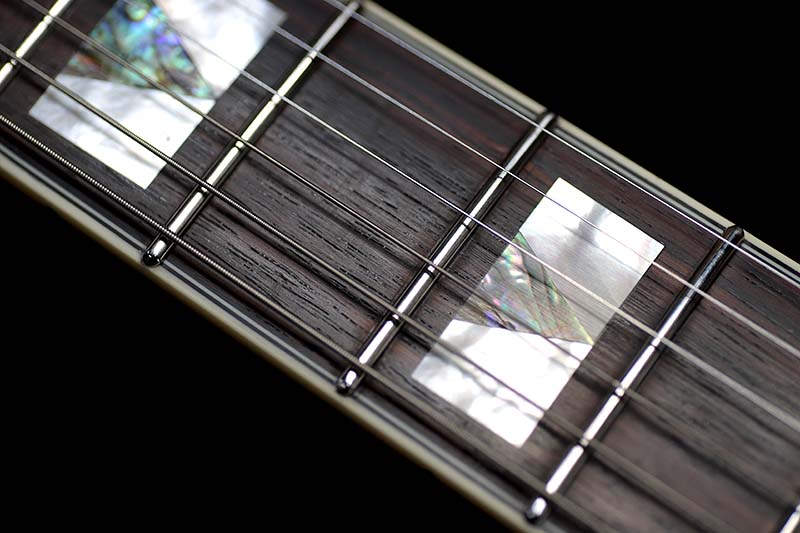
ステンレスフレット
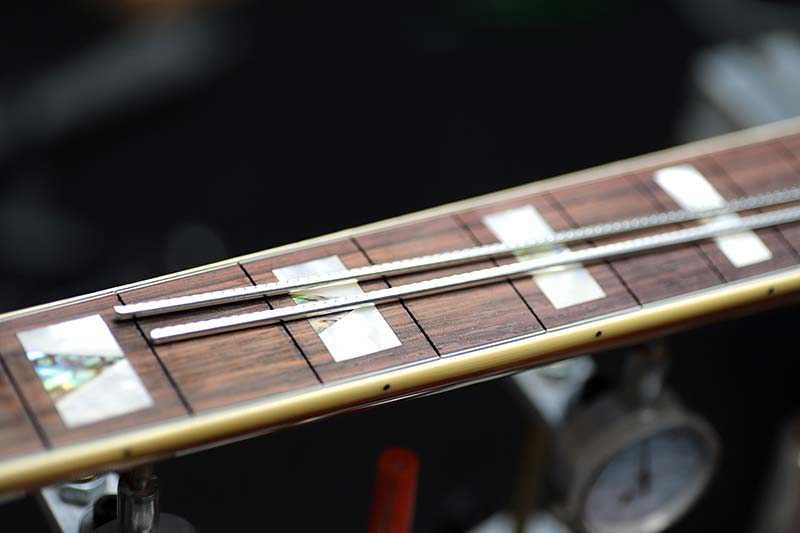
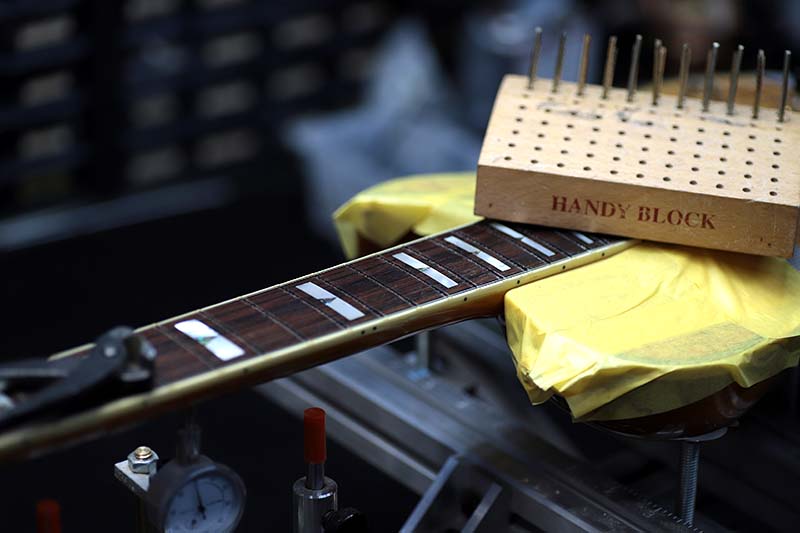
少しだけアールをつけておきます。
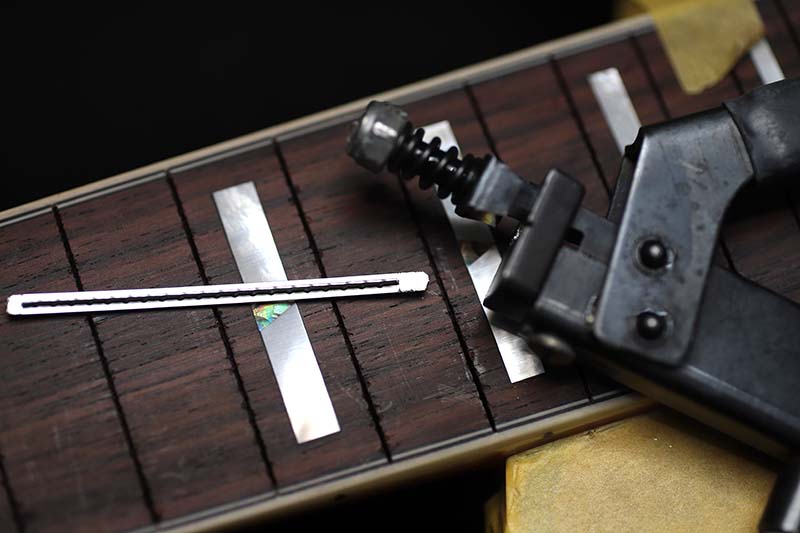
同時に両端をボール状に丸める作業も行いました。
これで均等に力が掛かってデコボコ無く打ち込めます。
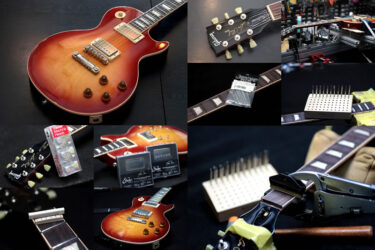
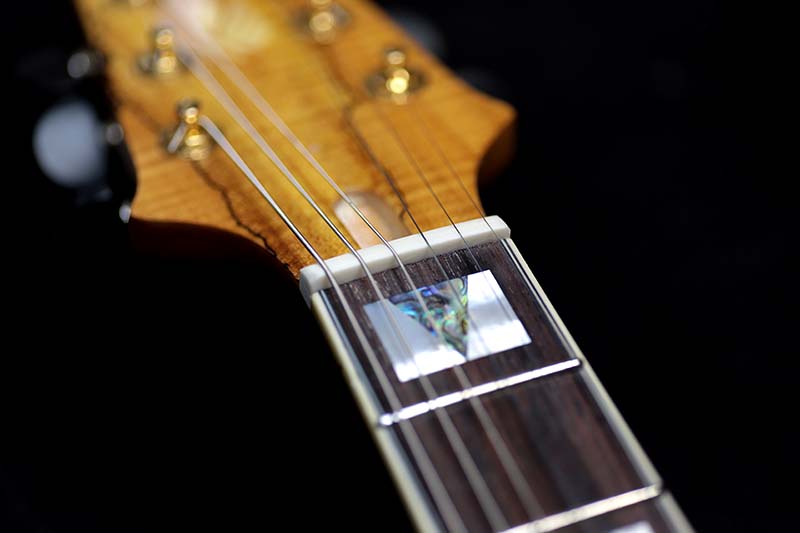
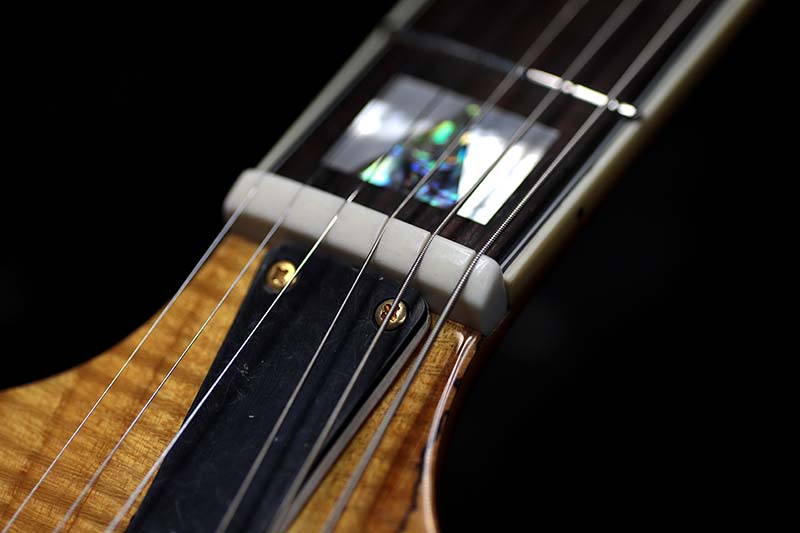
ナット製作
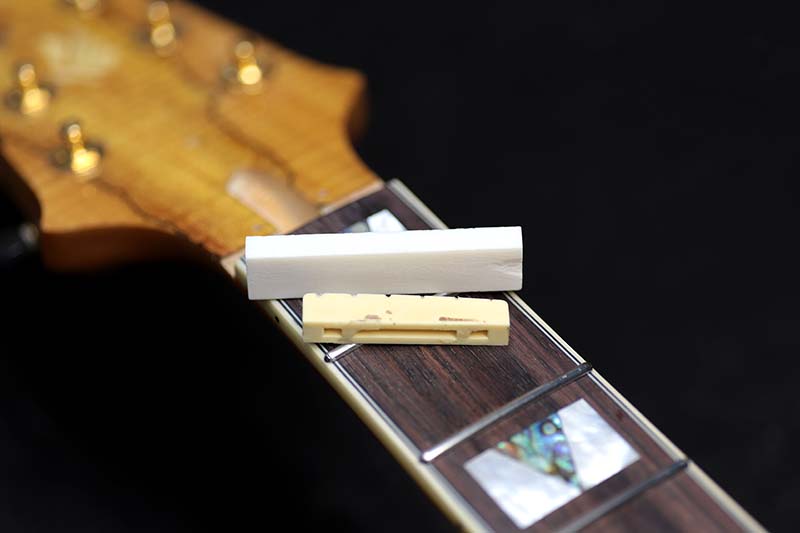
プラスティック製のナットから牛骨製に交換。
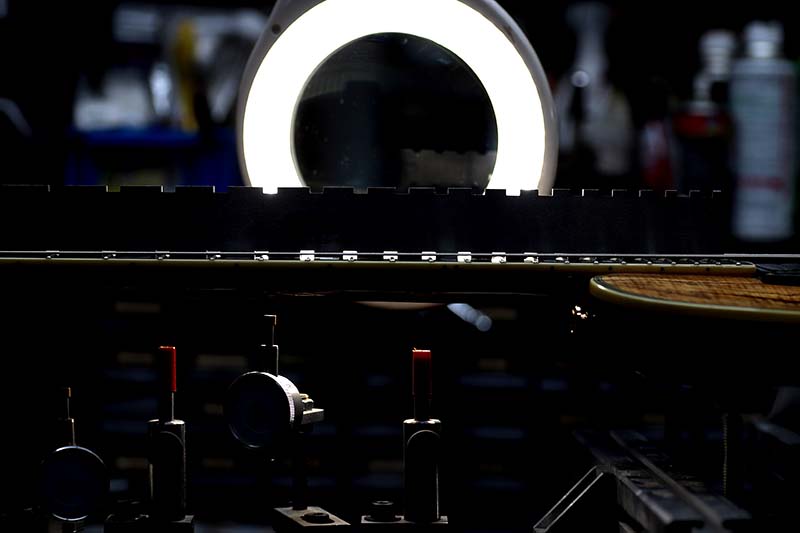
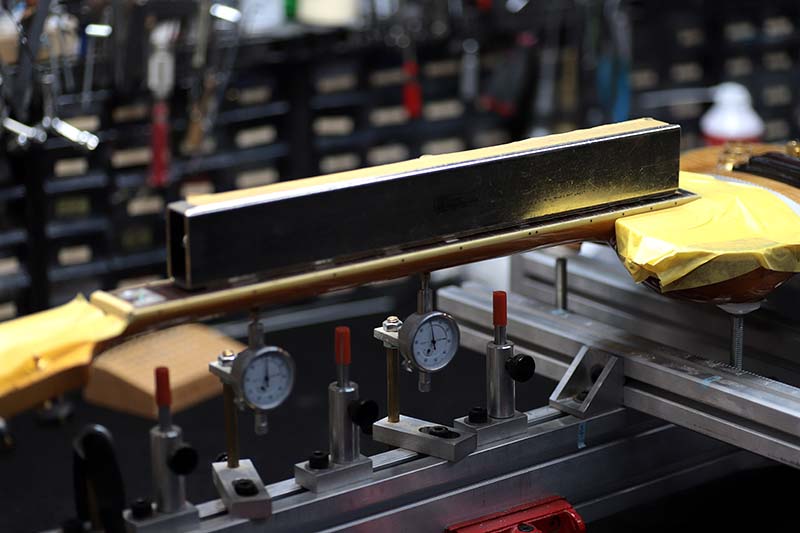
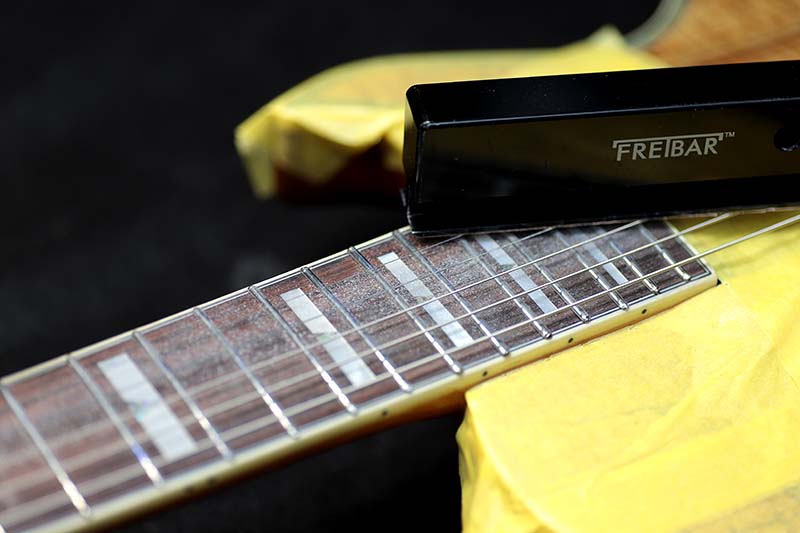
フレット研磨
弦を張ったまま研磨していきます。

今回のようにヘッド角のついたギターは、弦を張った時と張ってない時で、ネックのしなりが全く違います。弦を張らずにフレットを研磨した状態と弦を張った状態では、精度が変わってきます。


痛くなく手に優しいです。
ただ、早くて1か月、長くても半年も経つと、突然違和感無く落ち着いたサウンドになります。
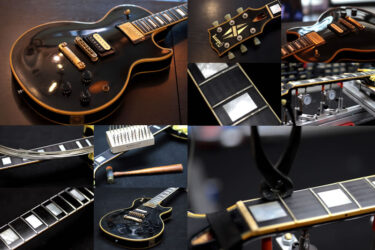
今回は当店でステンレスフレットに交換して、それ以来ステンレスフレットの虜になったJETのカズフミに最終チェックを行って貰いました。
合わせて読みたい
Guitar Repair of the Day Stainless Steel Refretting 沖縄 コザ のバンド "JET" のカズフミ御大のメインギター フレット打ち替え。 今回はステンレスフレット[…]
KAZUFUMIのギターをステンレスに打ち換えたのが2013年。
もう9年も前なんですね。
9年間、毎週末何セットもライブをこなしていてもほとんど減っていないそうです。
ステンレスフレットのギターを自分以外のギターで感触を試す機会はあまり無かったようで、新鮮だったみたいです。
こちらもいろんなインプレッションを貰って参考になりました。
ギター、等の修理は お気軽にご相談下さい。
お願いいたします。