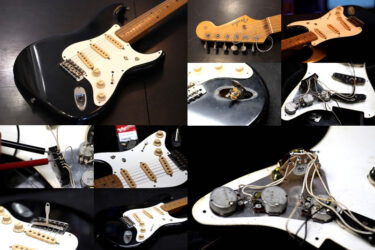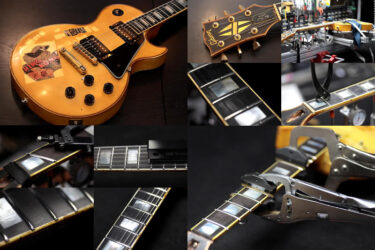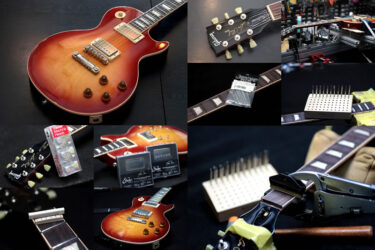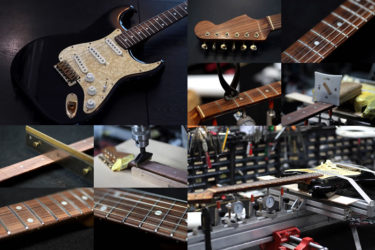
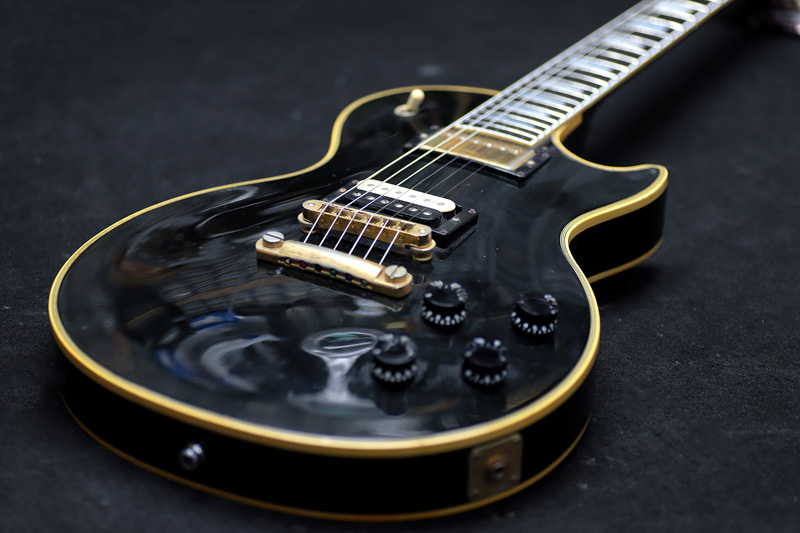
GIBSON Les Paul Custom
Repair of the Day

GIBSON Les Paul Custom
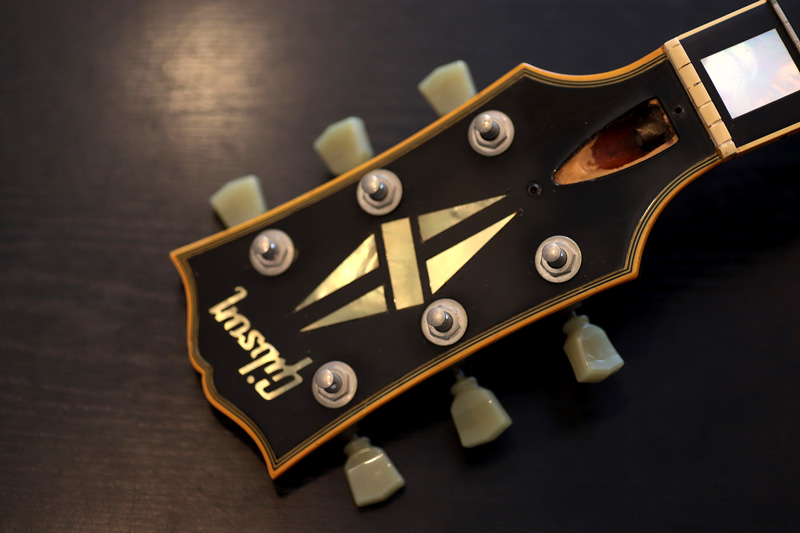
ギブソンのレスポールカスタム

かなり使い込まれていて、表面が飴色に変色していました。
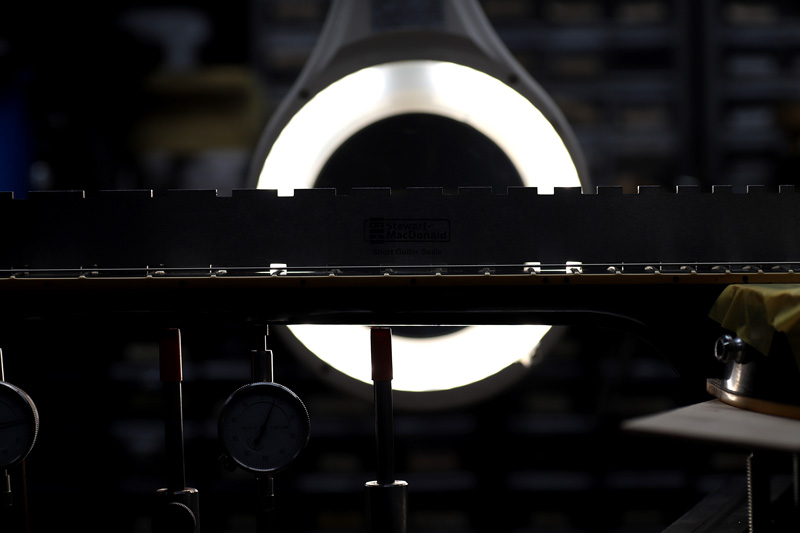
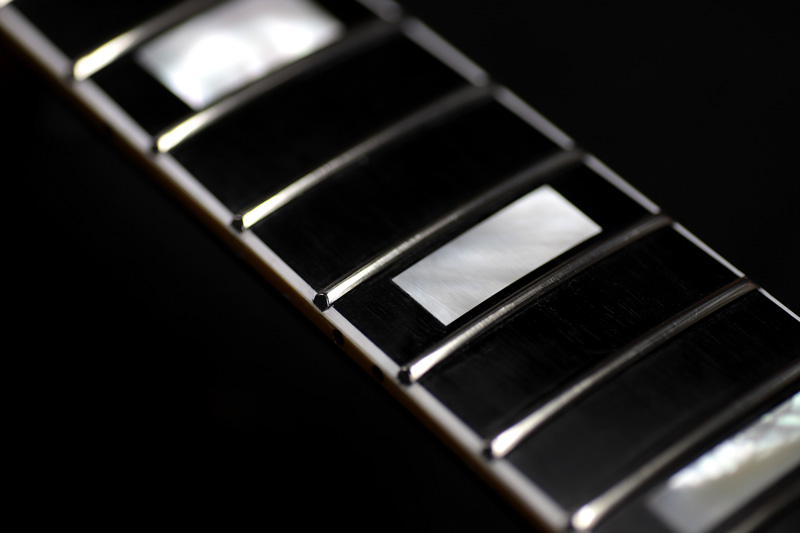
フレット状態
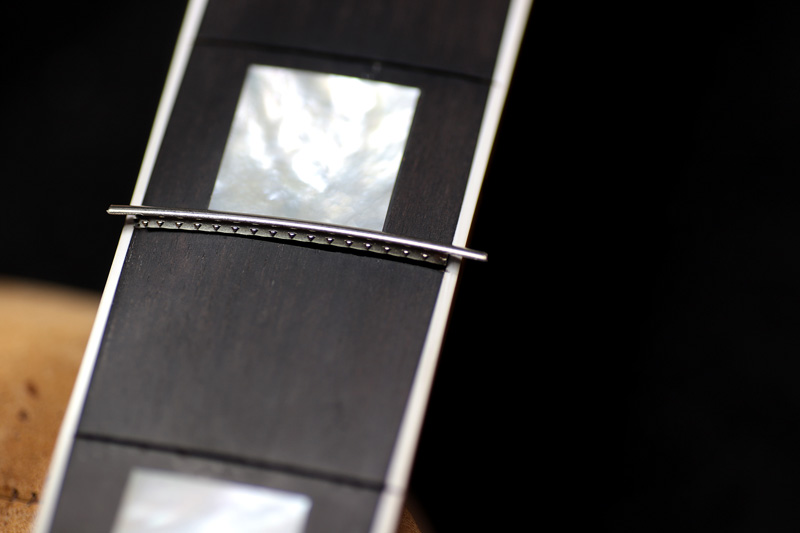
長い間使い込まれフレットはデコボコに。
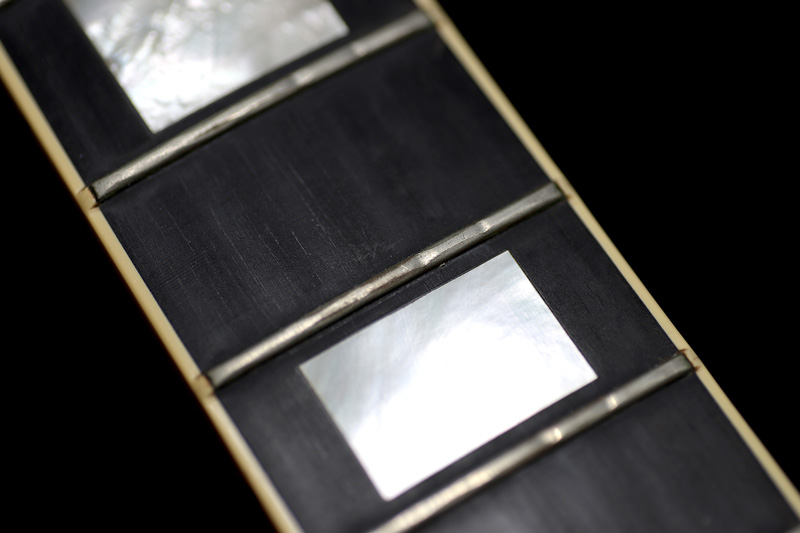
一部は指板と高さが変わりませんでした。
全てのフレットを交換します。
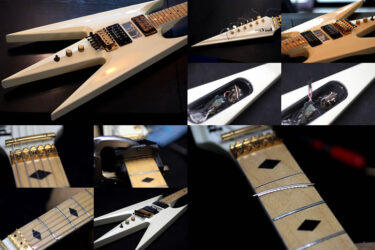
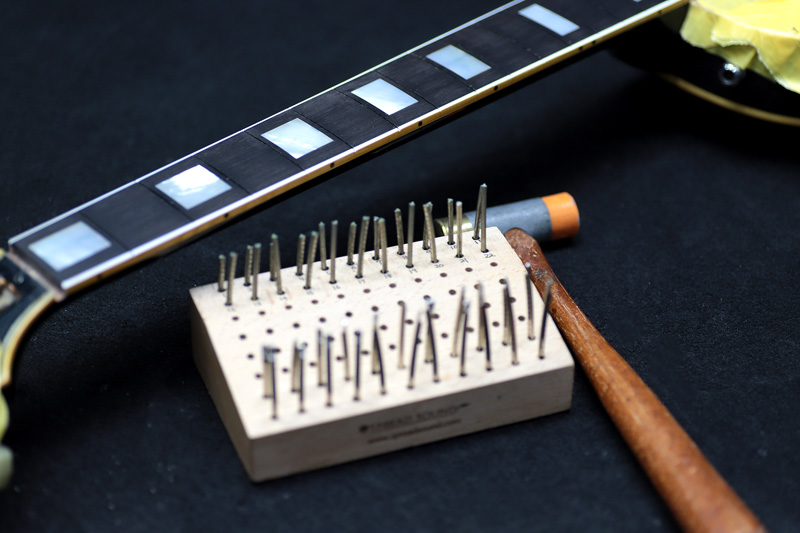
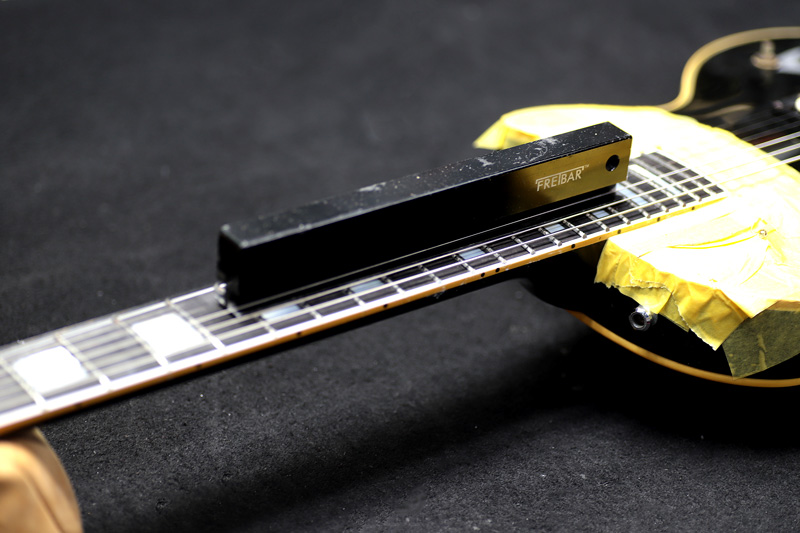
フレット抜き
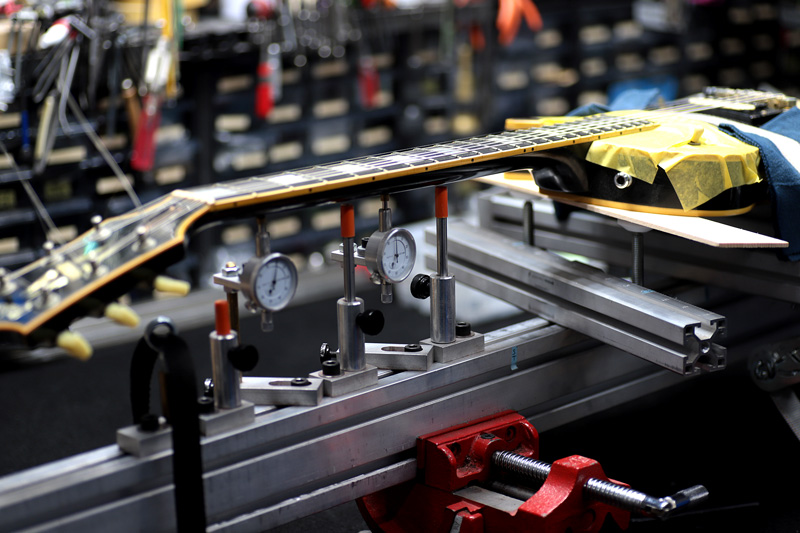
フレットを抜くためネックジグへセット。
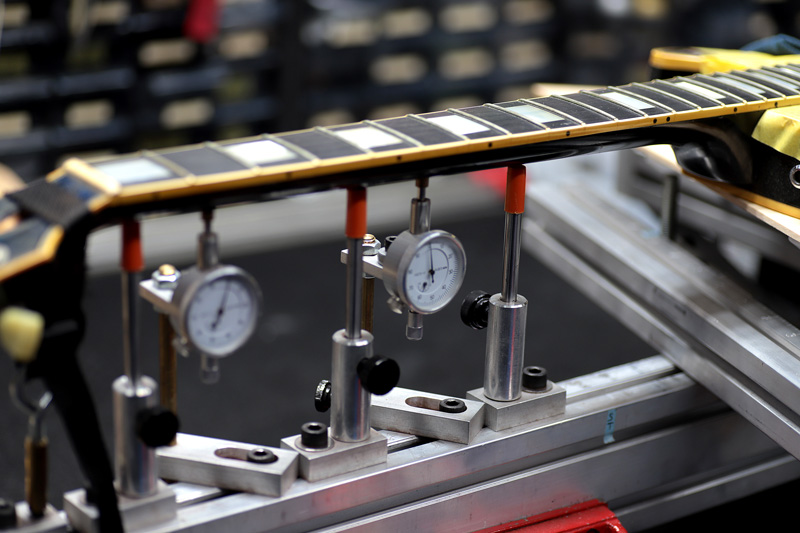
ネックは少し順反り
指板をストレートにする為トラスロッドを調整します。
少しづつ締めます。
大分真っすぐに。
この状態でフレットを抜きます。
ゆっくり挟んで抜いていきます。
全てのフレットが抜き終わりました。
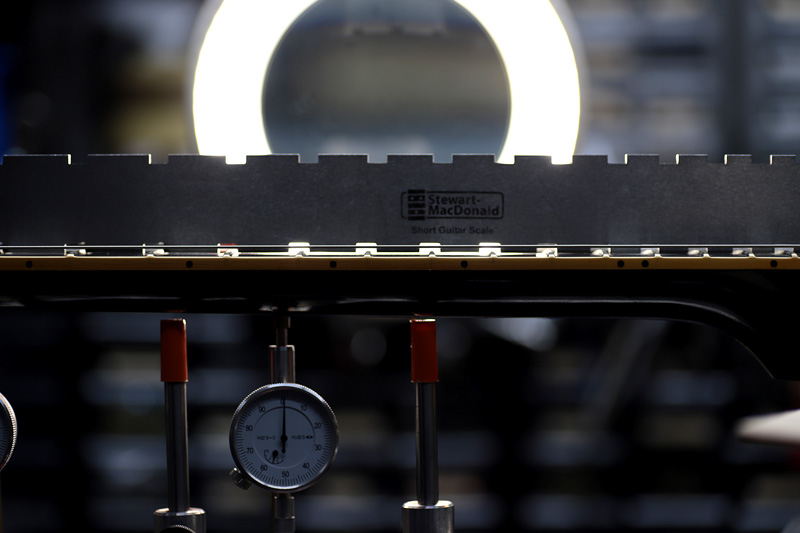
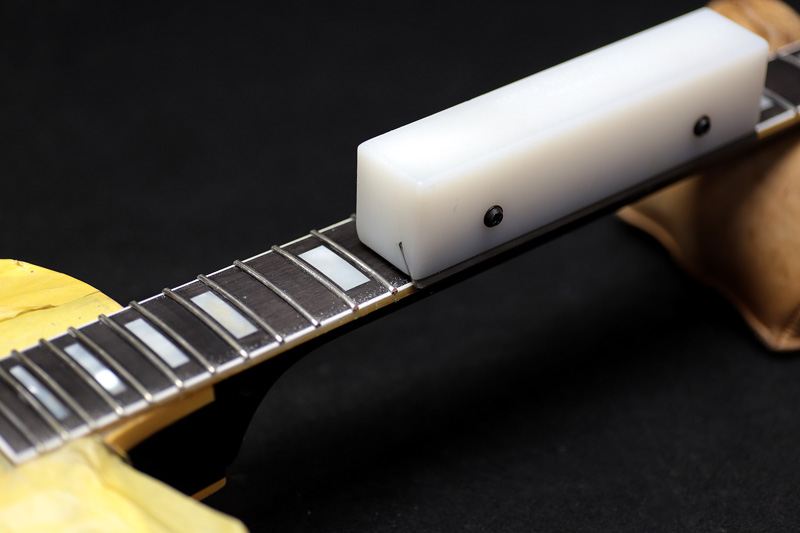
指板調整

ガタガタになった指板をストレートに研磨。
その後アールの付いたブロックでラウンド状に。
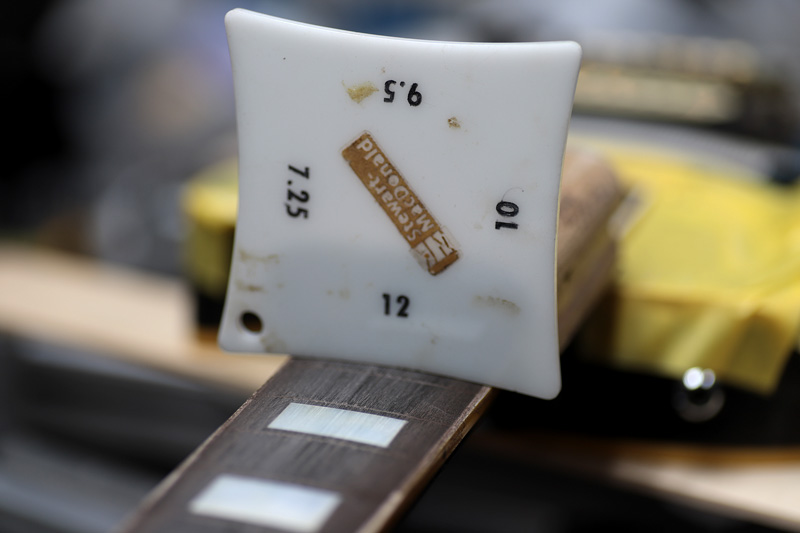
レスポールの指板アールは12インチ。
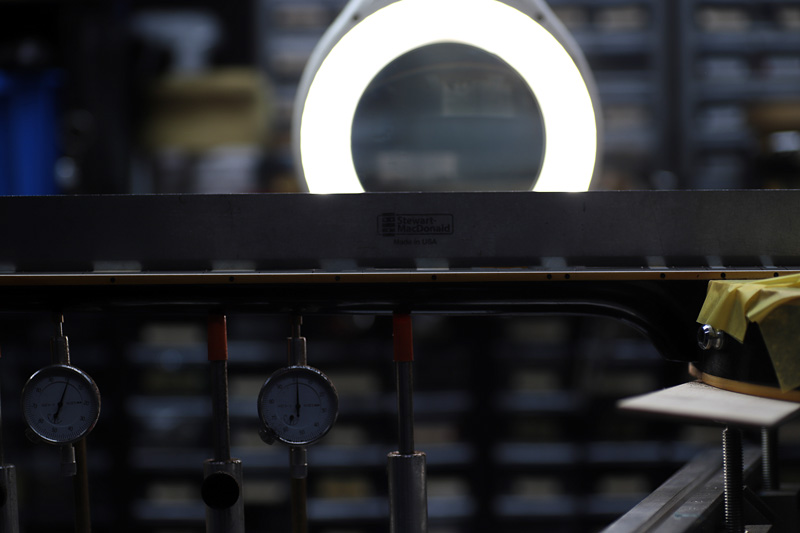
完全に隙間なくフラットに仕上げます。
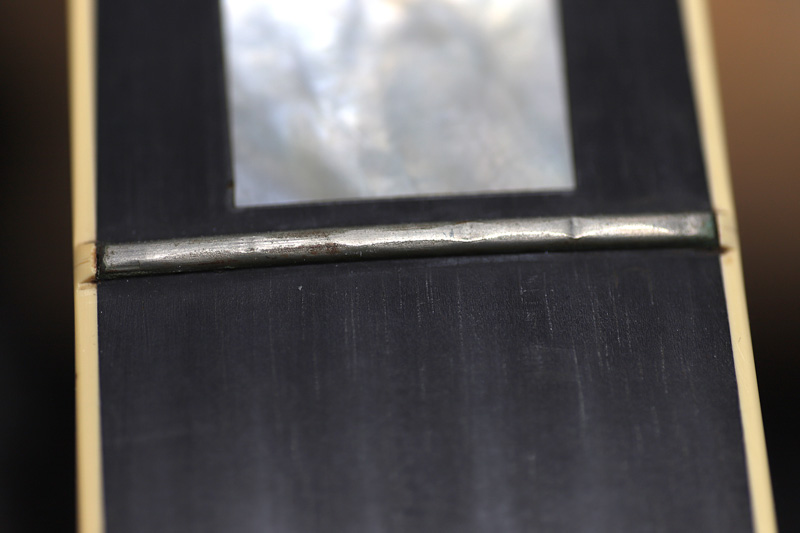
フレット打ち

指板が綺麗になったのでフレットを打っていきます。
フレットの足幅に合わせて溝を調整。深さを均一にします。
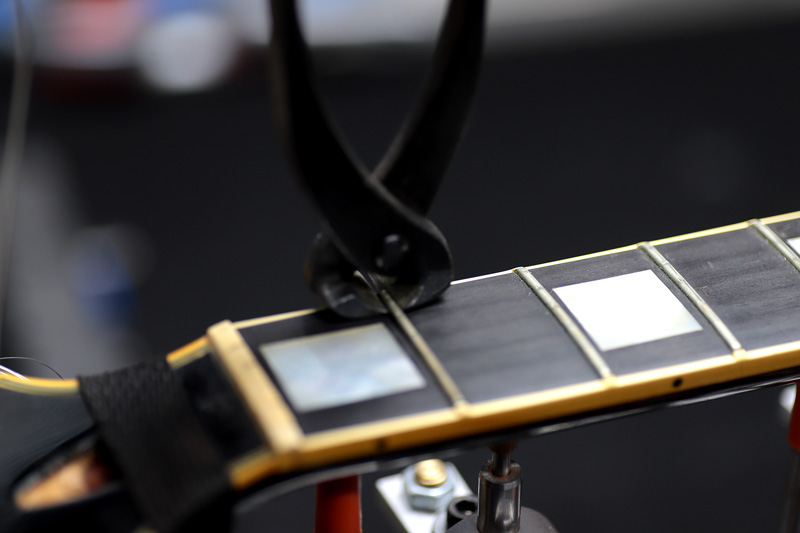
今回はJESCARのフレットに交換。
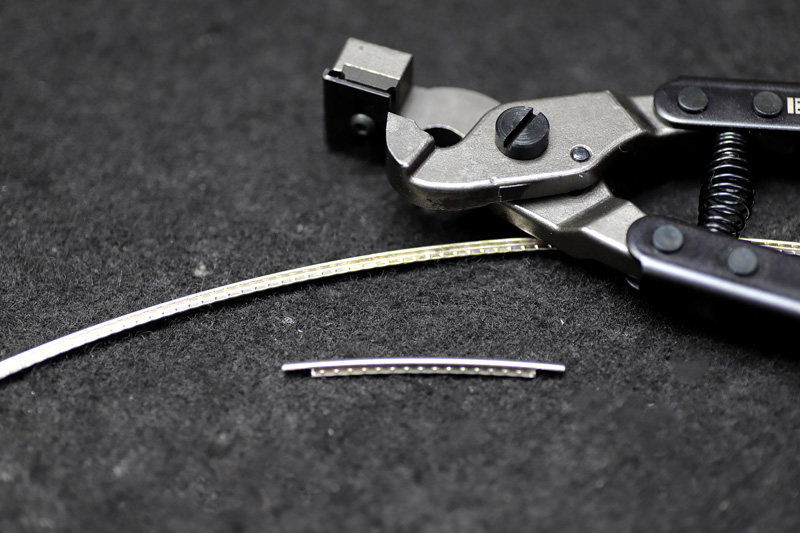
レスポールはネックサイドにバインディングが巻いてある為、フレットの端をタングニッパーで落とします。
白いバインディングの上にフレットの端が乗るようにします。
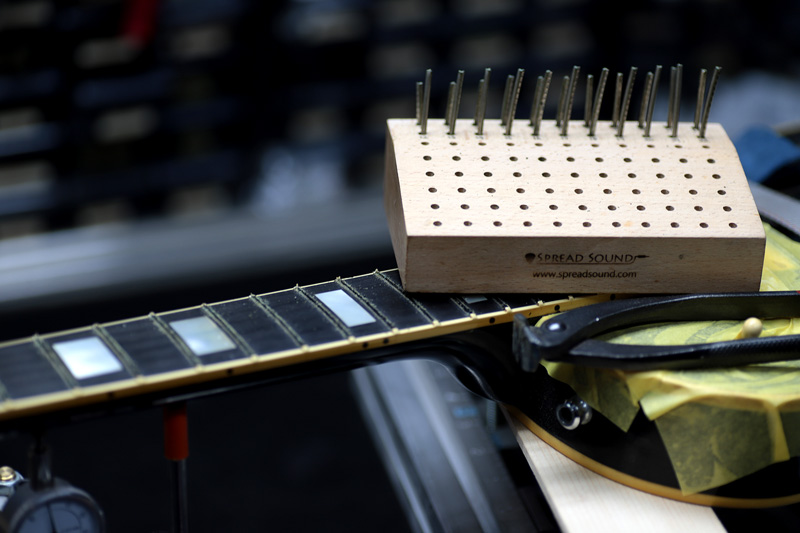
全て加工し終わったのでフレットを打っていきます。
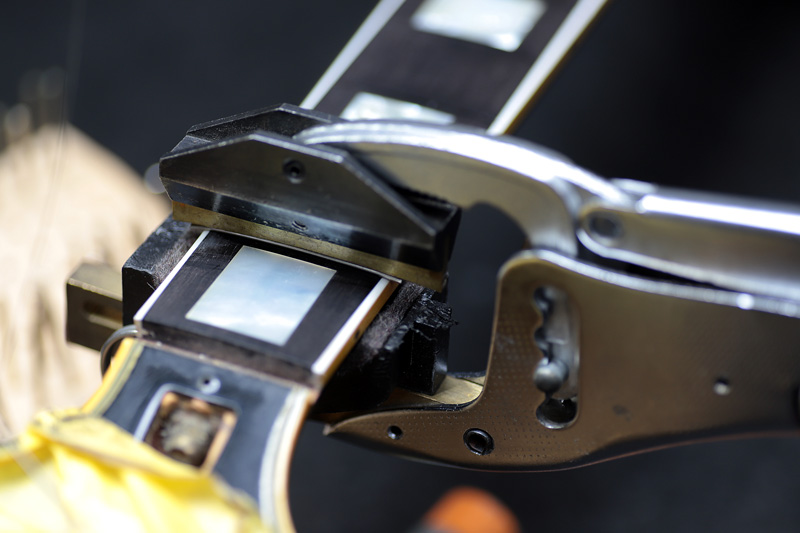
軽くハンマーで打ってからプレスで挟み込み。
全て打ち終わりました。
フレットエンドをカットして角度を付けます。
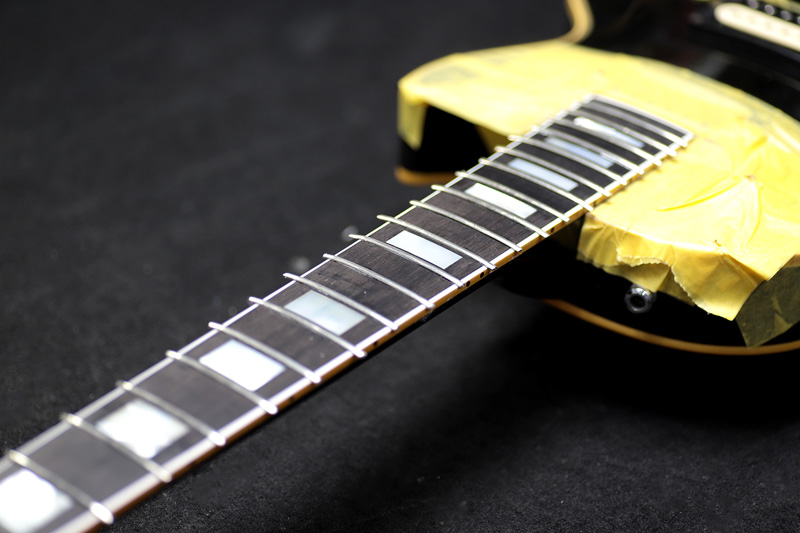
フレットすり合わせ
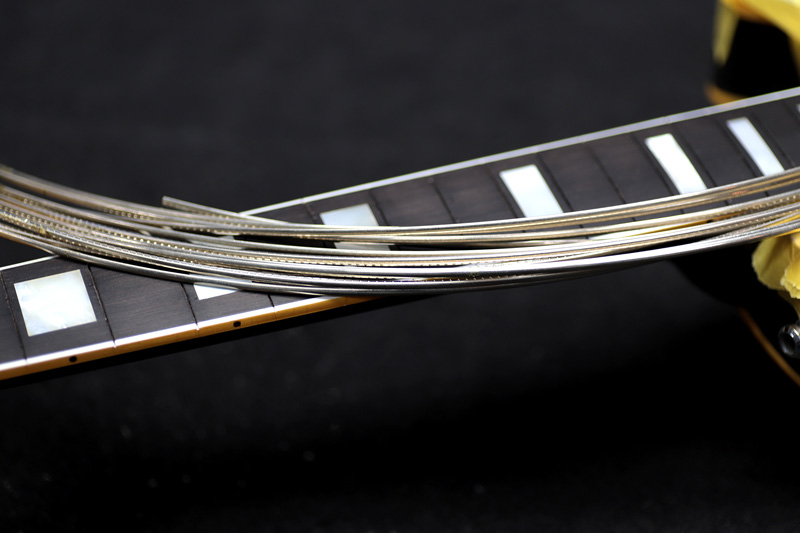
弦を張ってネックにテンションを掛けてからすり合わせブロックで調整。
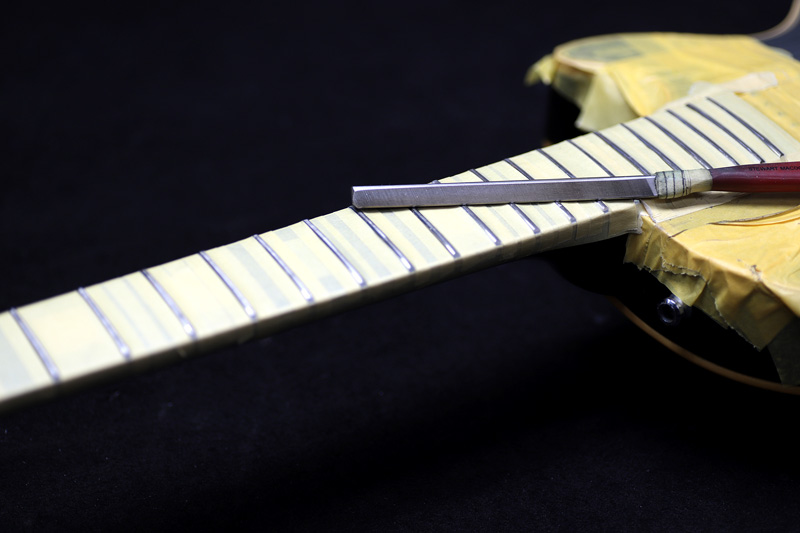
そんなに削らず済みました。
フレットの頭を丸める為ファイルで研磨。
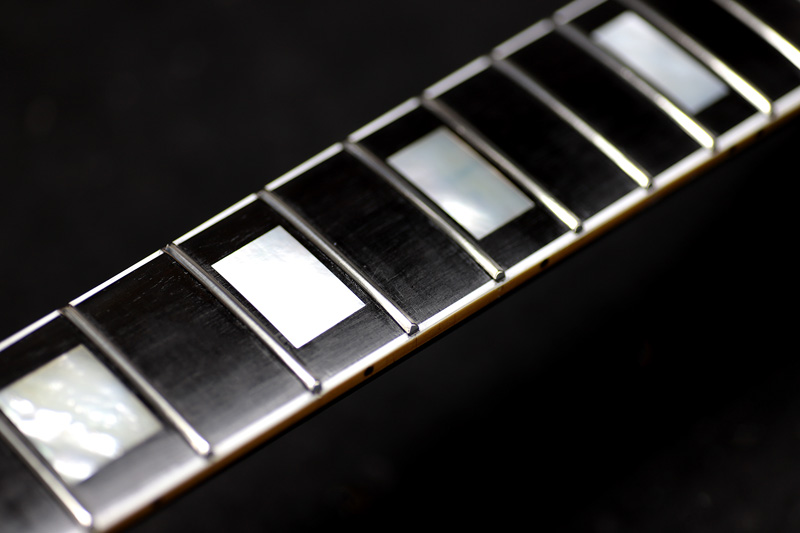
研磨、ポリッシュを行い完了。
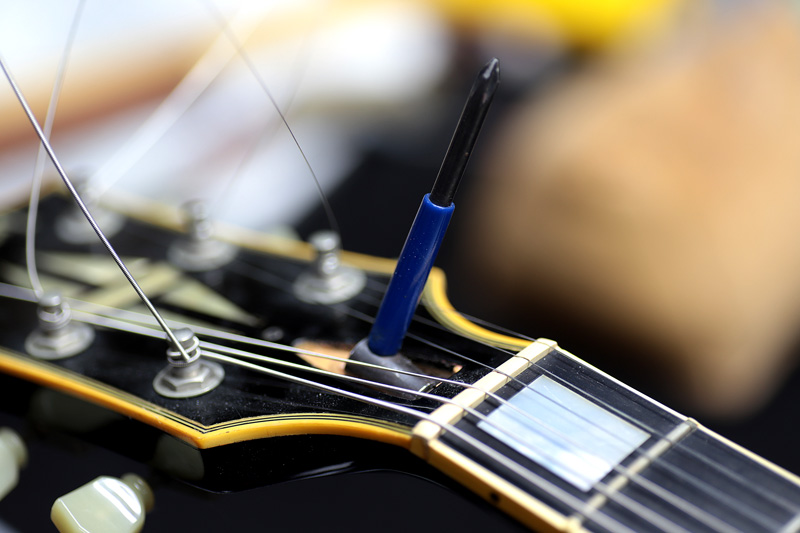
ナット交換
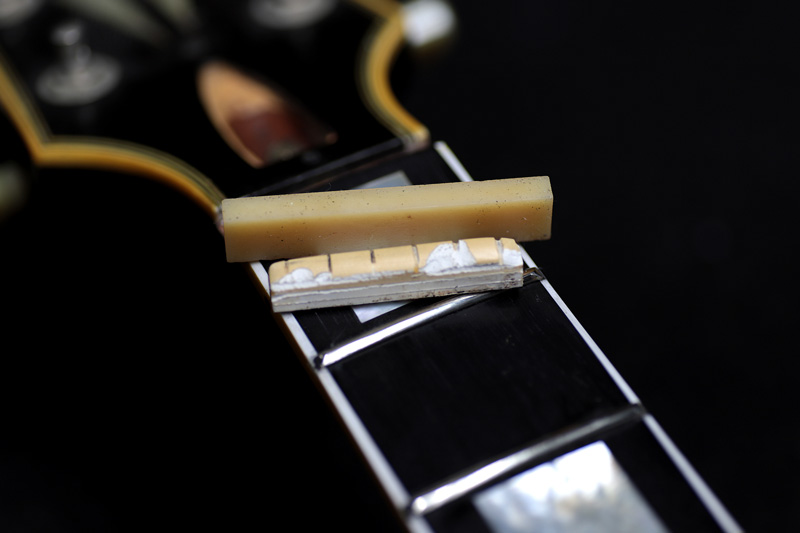
純正の樹脂製ナットから牛骨オイルナットへ交換。
ナット溝にピッタリ収まるように修正。

弦の溝を調整しナットを研磨して完了。
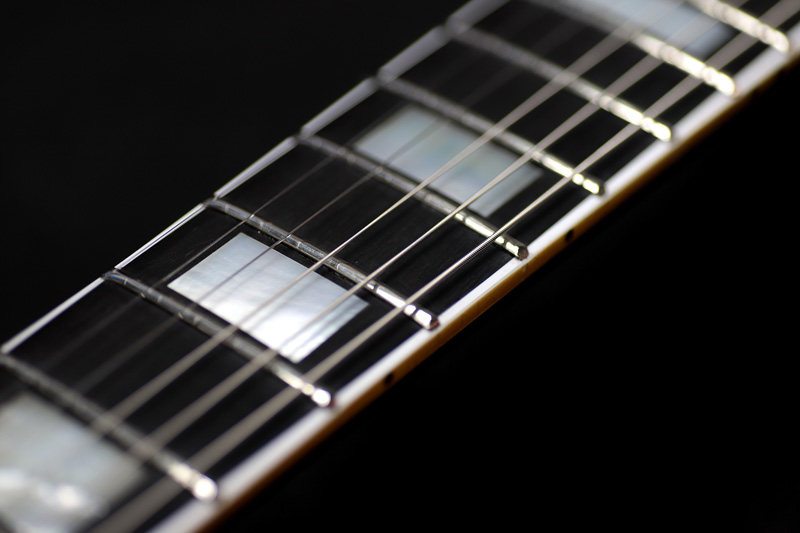
デコボコだったフレットが新品になると、ギターが新品になったかのように新鮮な印象になります。
ギター、ベース等の修理は お気軽にご相談下さい。