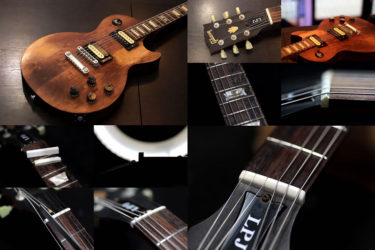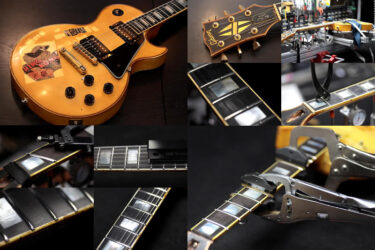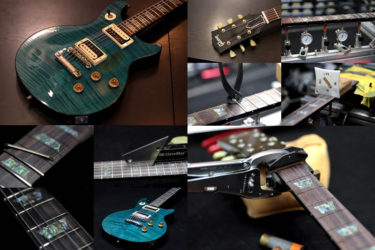
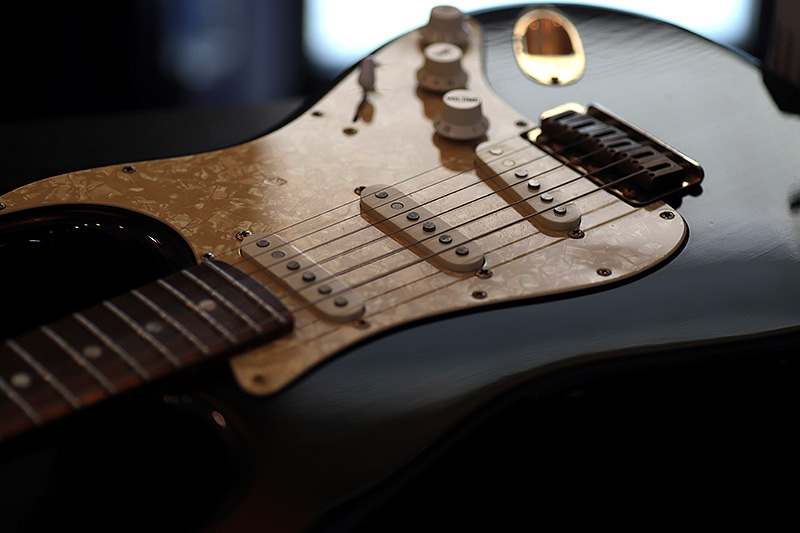
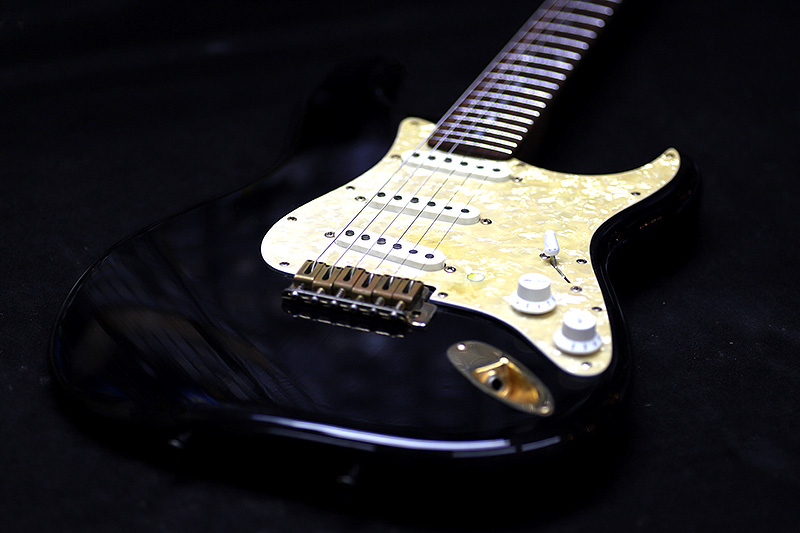
SCHECTER ストラトキャスター
Repair of the Day
シェクター ストラト
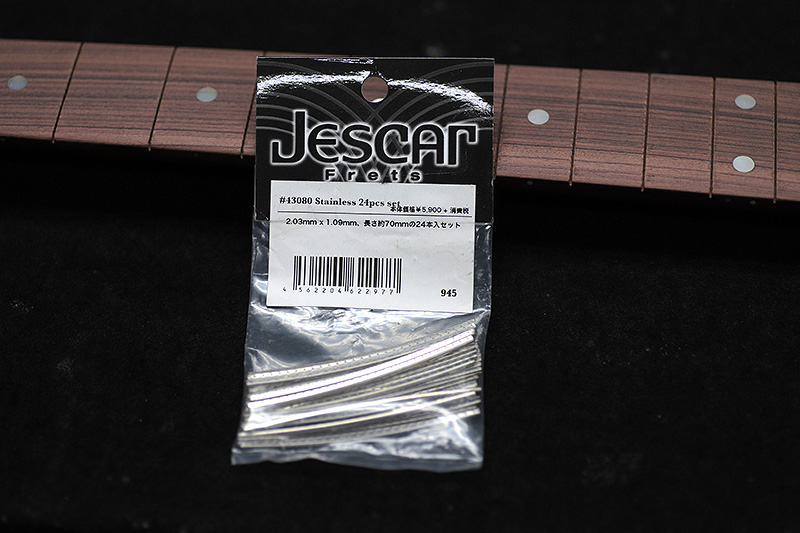
フレット
フレットはそんなに減っていなかったのですが、今回はステンレスフレットへの交換依頼。
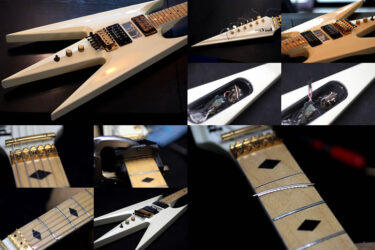
トラスロッドを調整するためネックを取り出しました。
ボディはアッシュのようです。
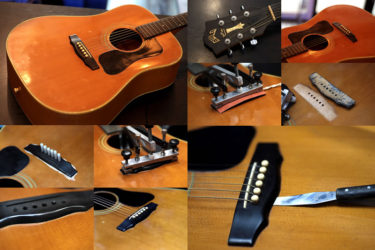
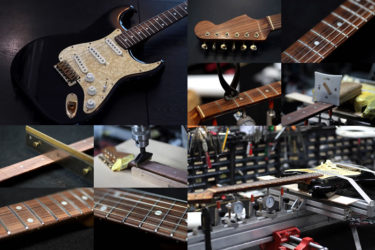
ネックジグ
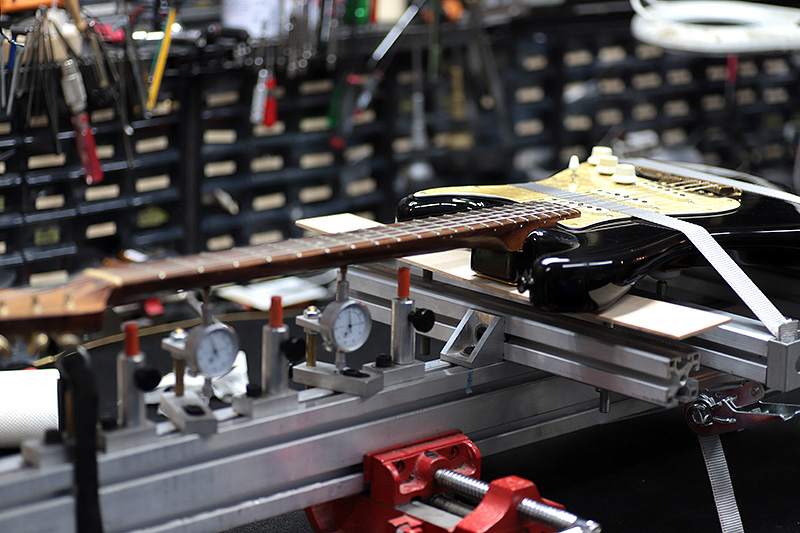
今回は指板のラジアスも変更。
一旦ネックジグに乗せてフレットを抜いていきます。
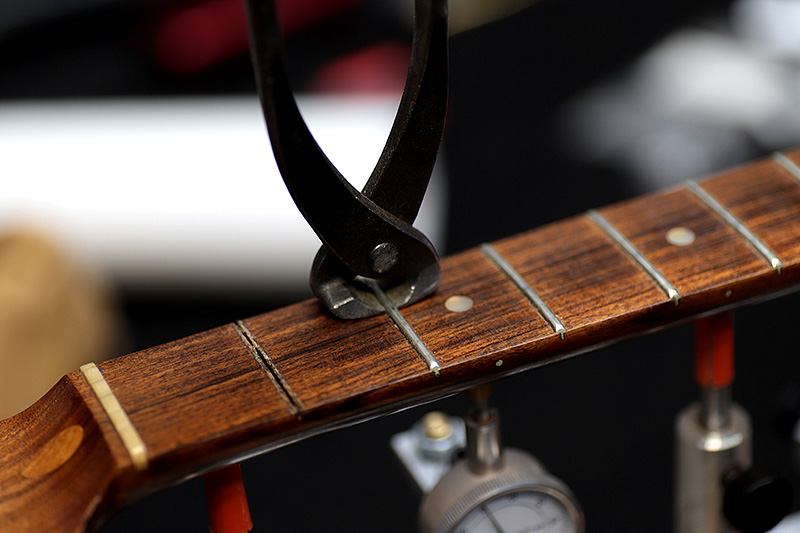
弦を外してフレットを抜いていきます。
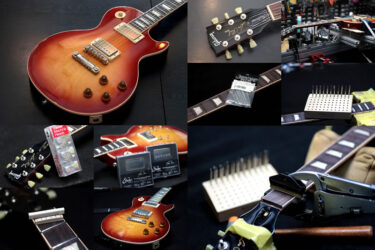
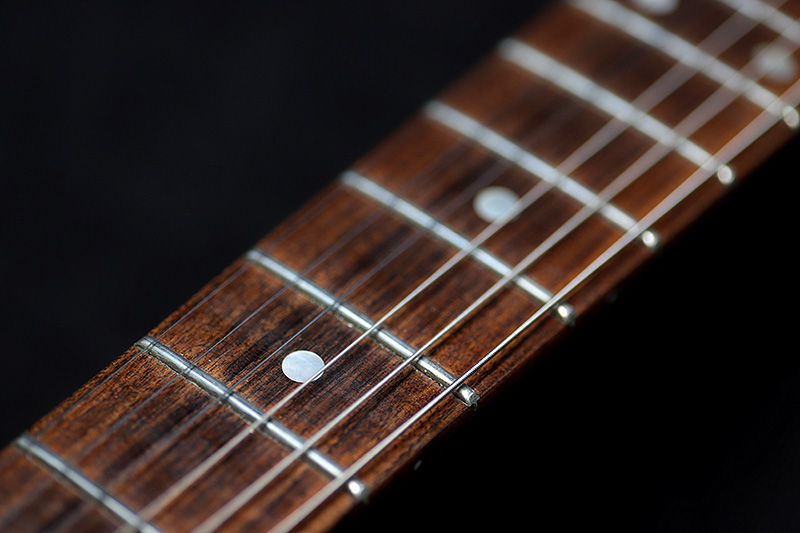
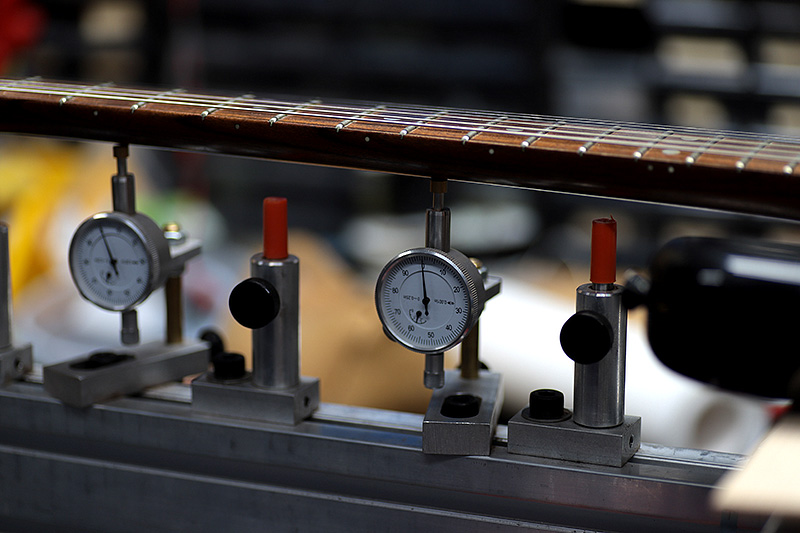
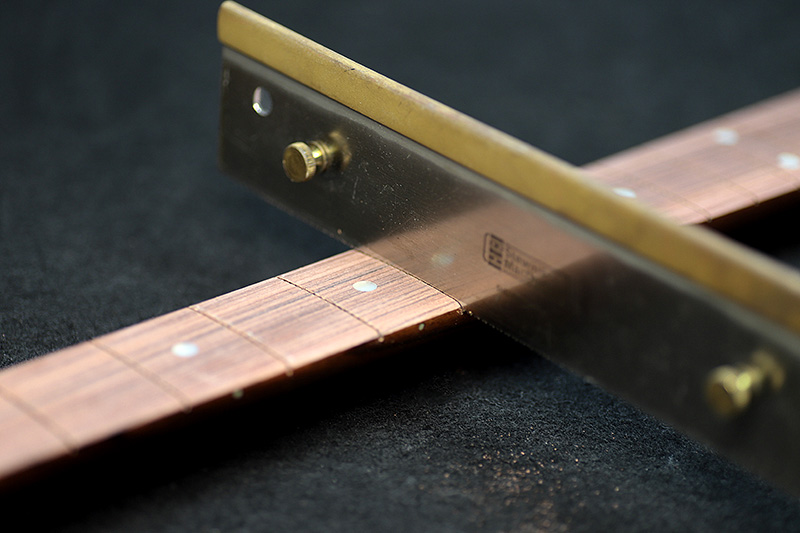
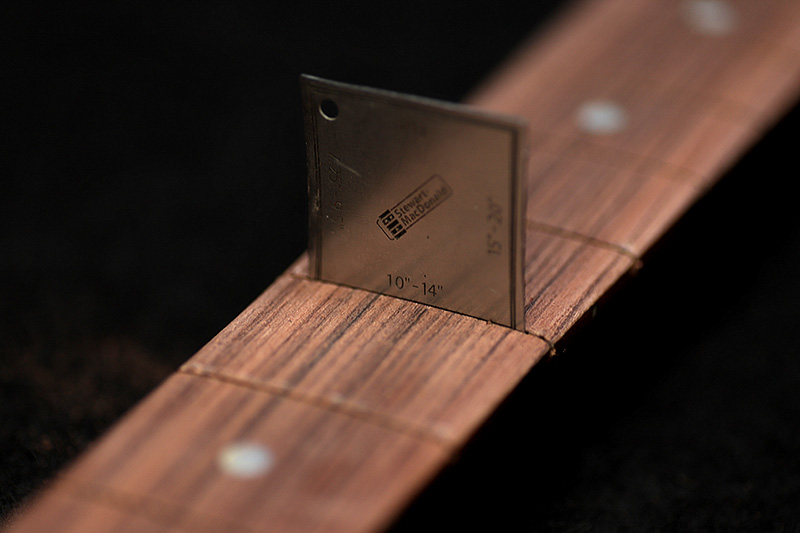
指板すり合わせ+アール変更
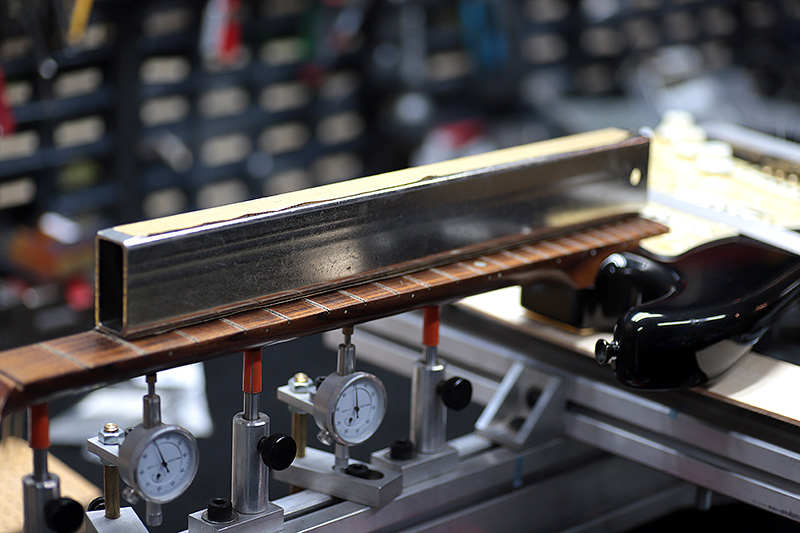
指板のアールを10インチから12インチへ変更。
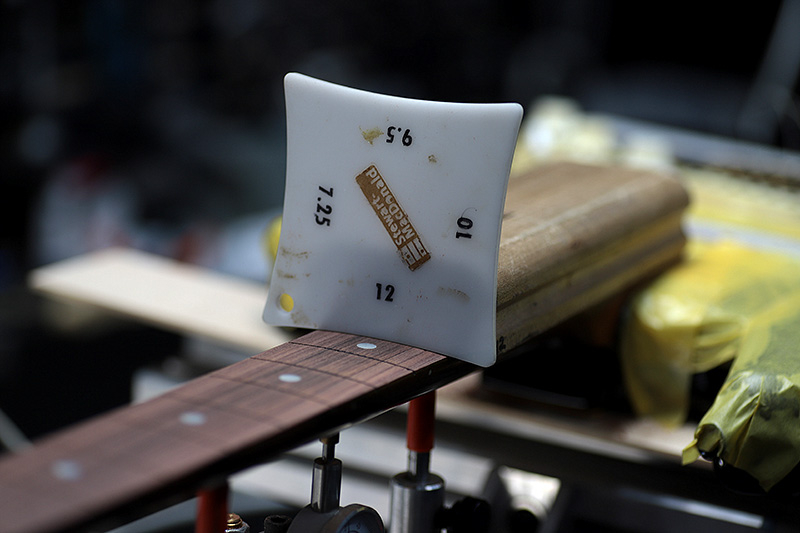
各ポジションゲージで確認しながらアールを揃えます。

完全にフラットな指板が出来ました。
ネックジグを使用しないでフレット交換を行った場合、弦のテンションをかけずにフラットにするので、弦を張ると順反りになってしまいます。正確さを求めるためにネックジグは必須。
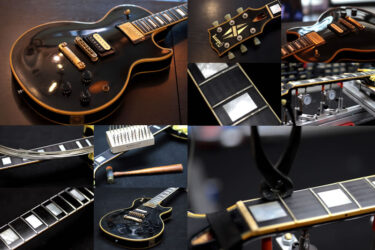
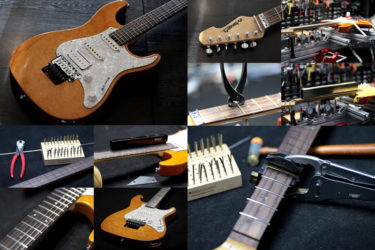
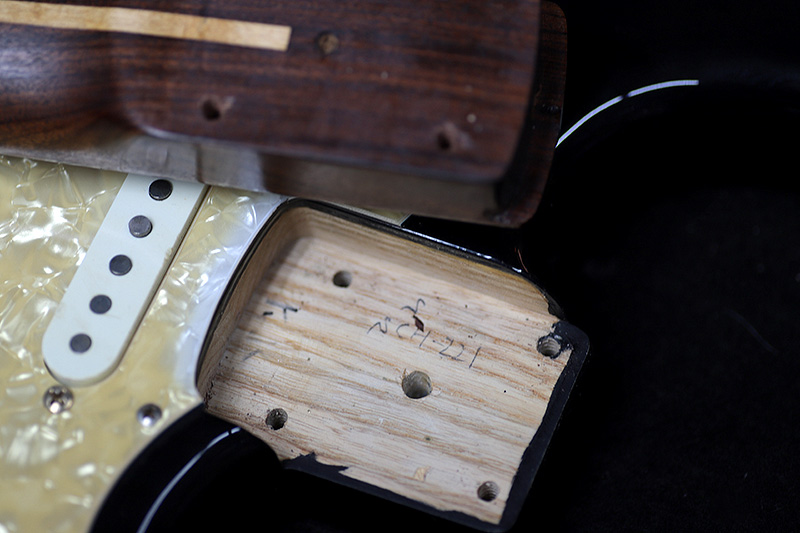
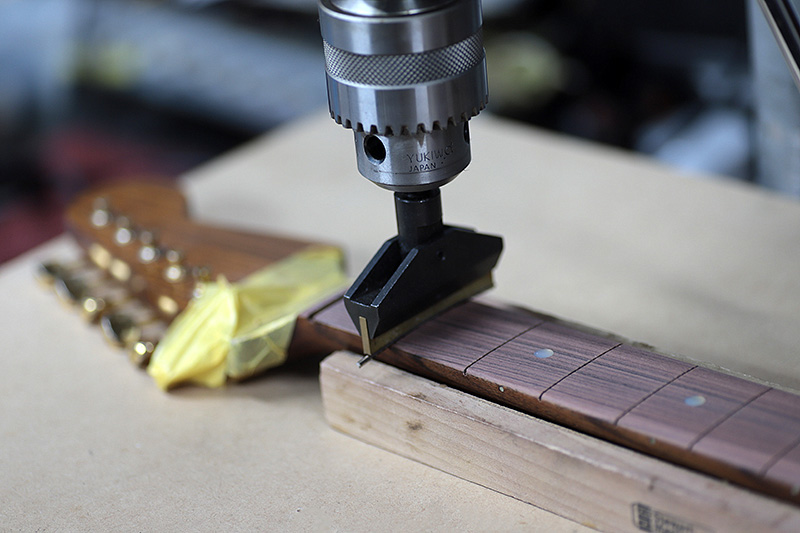
ネックジョイント穴修正
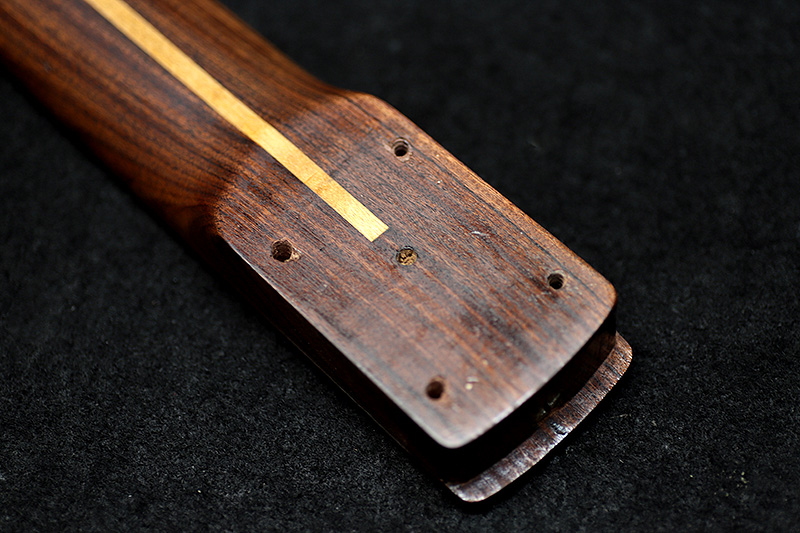
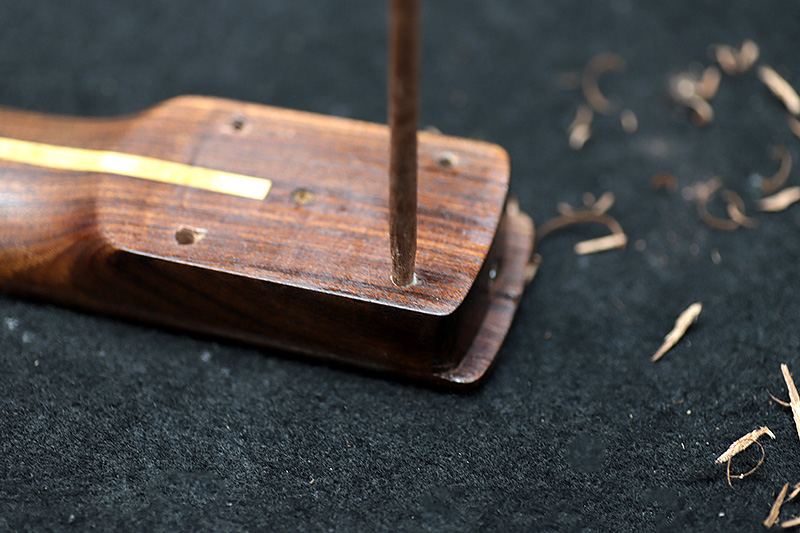
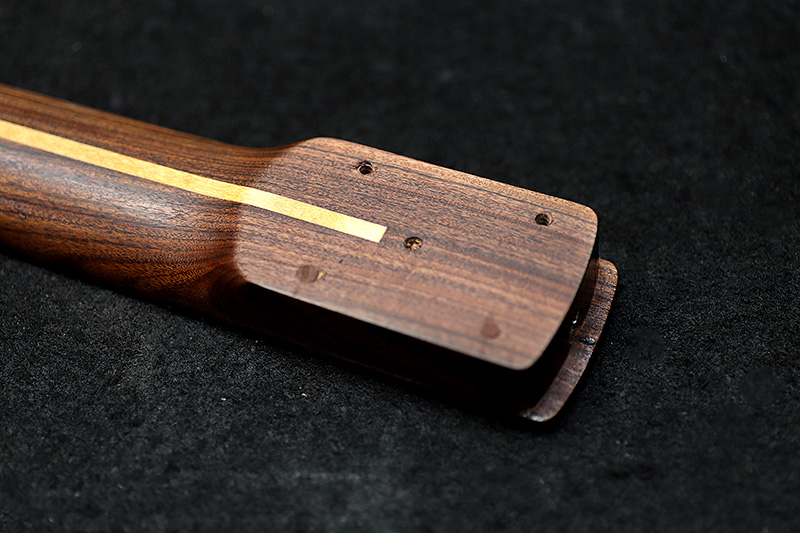
穴を埋めなおして正確に穴を開ければずれは修正可能。
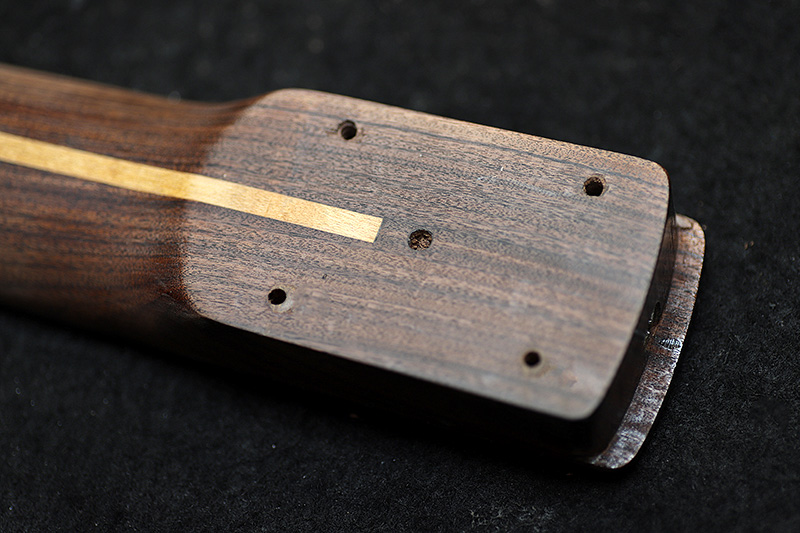
下二つの穴が修正後。
これだけずれがあったんですね。
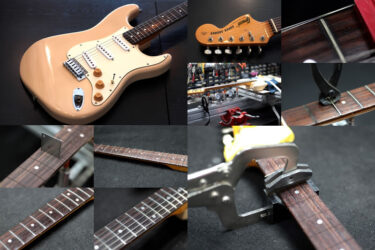
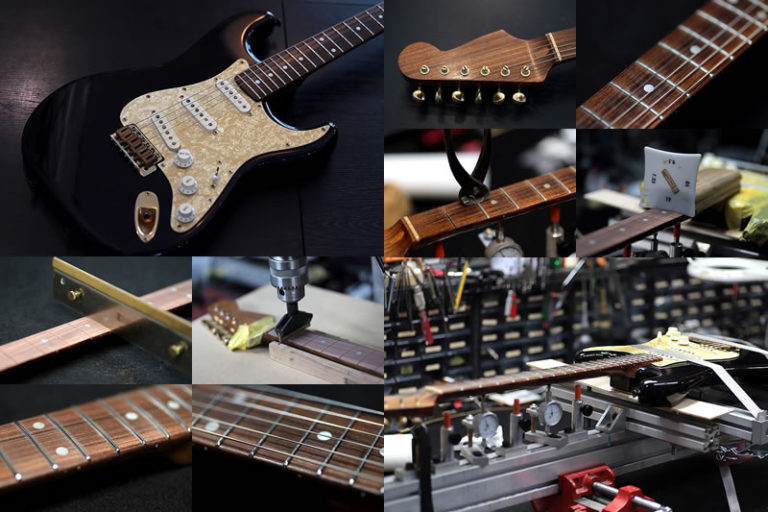
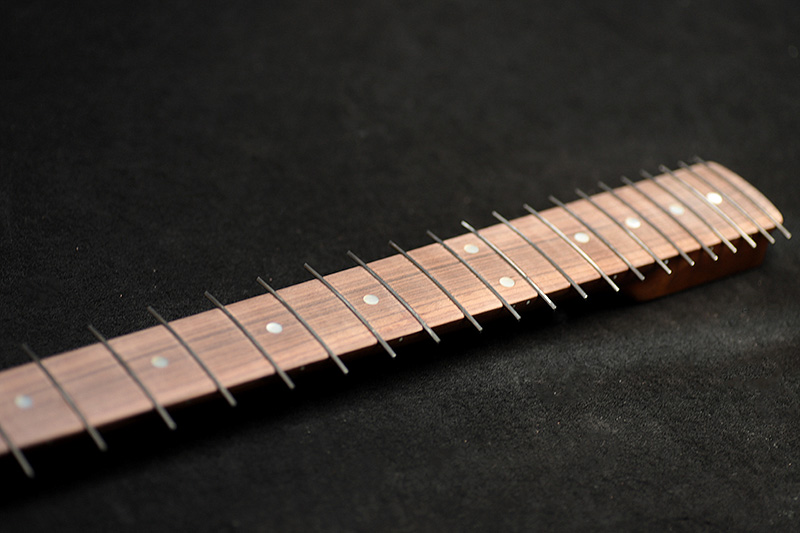
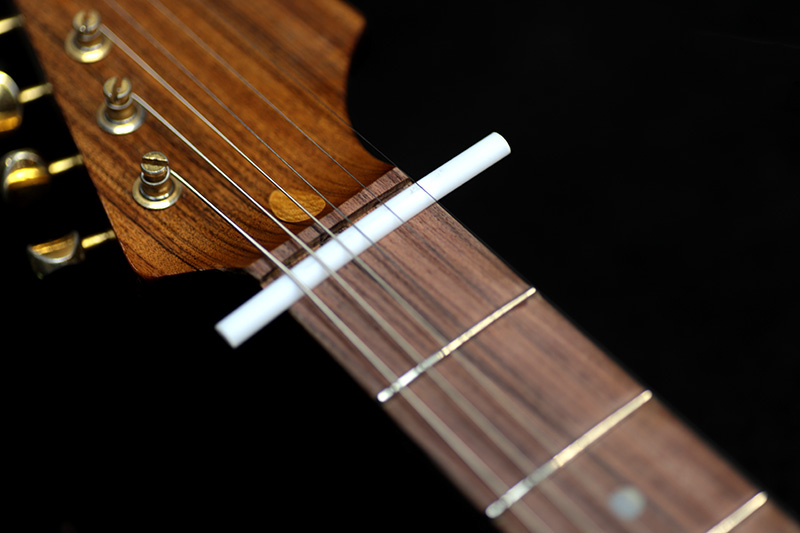
フレット打ち準備
フレット打ち
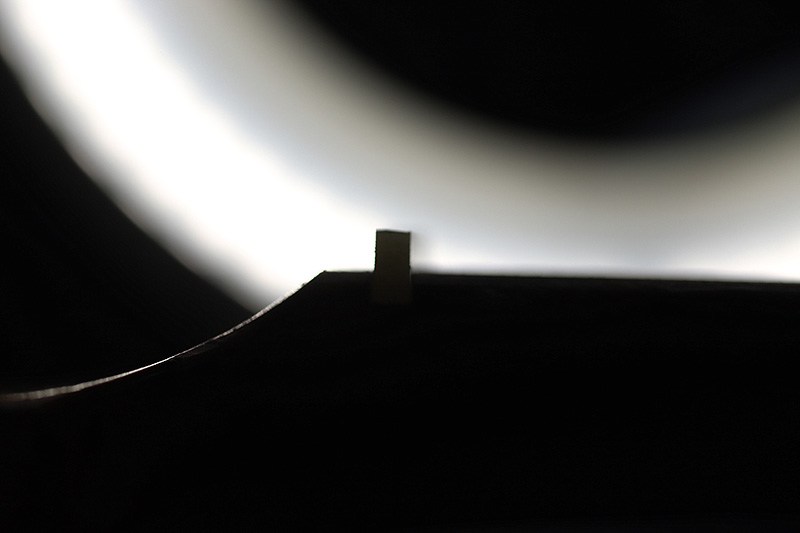
フレットの高さを1mmより少し低い位、との希望だったのですり合わせで調整します。
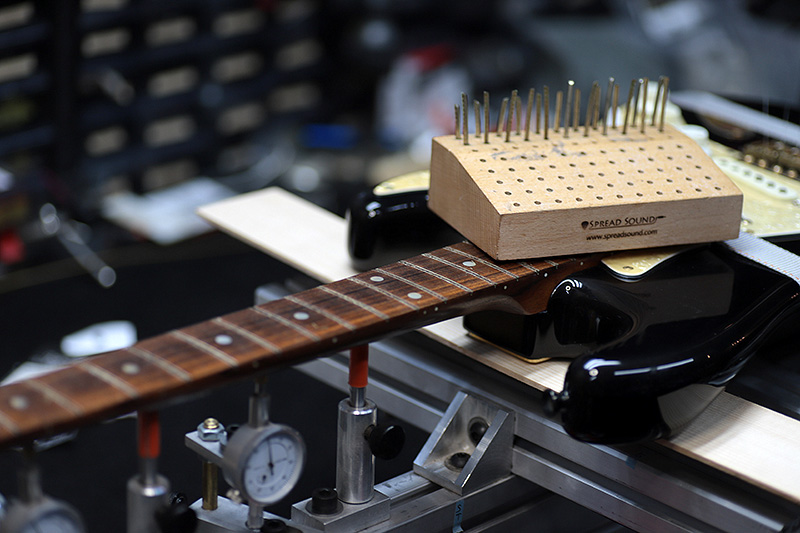
フレットすり合わせ
すり合わせも必ず弦を張ってテンションを掛けて行います。
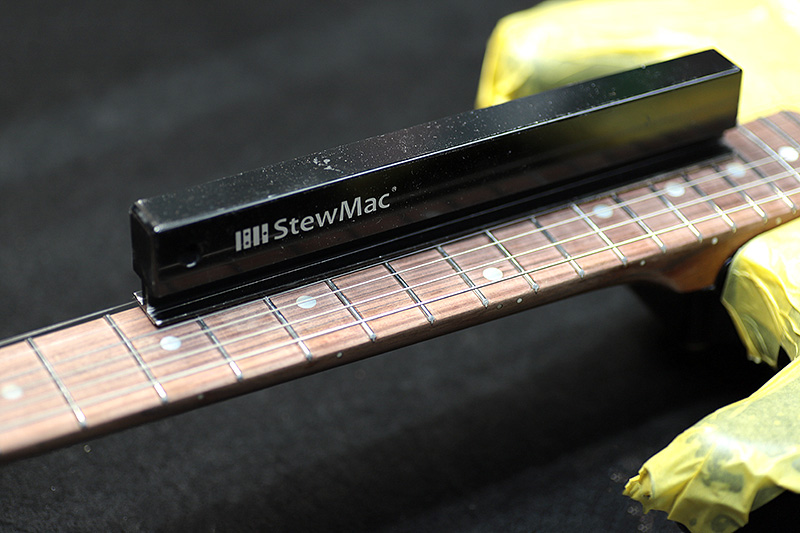
弦高を高めにして写真のブロックですり合わせ。
ステンレスは固いですね。
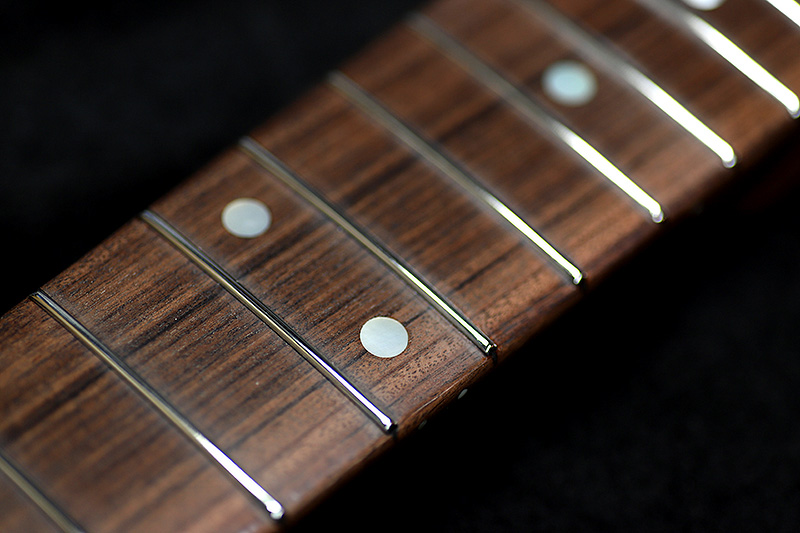
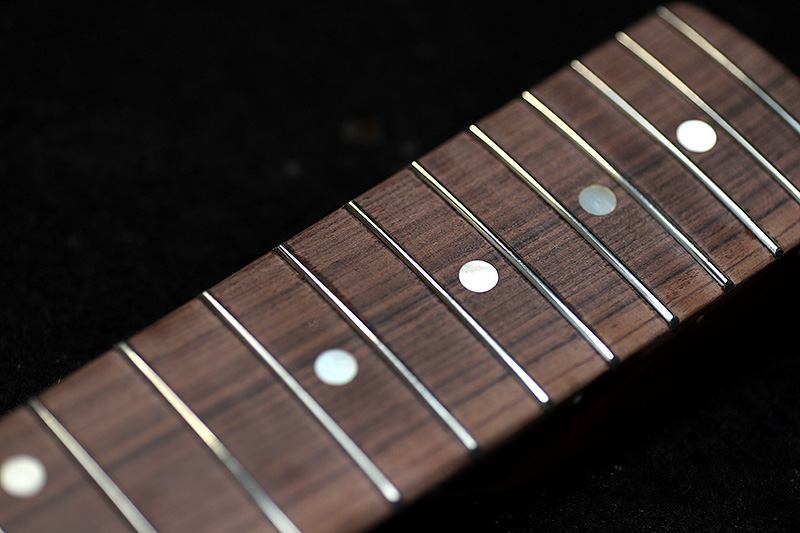
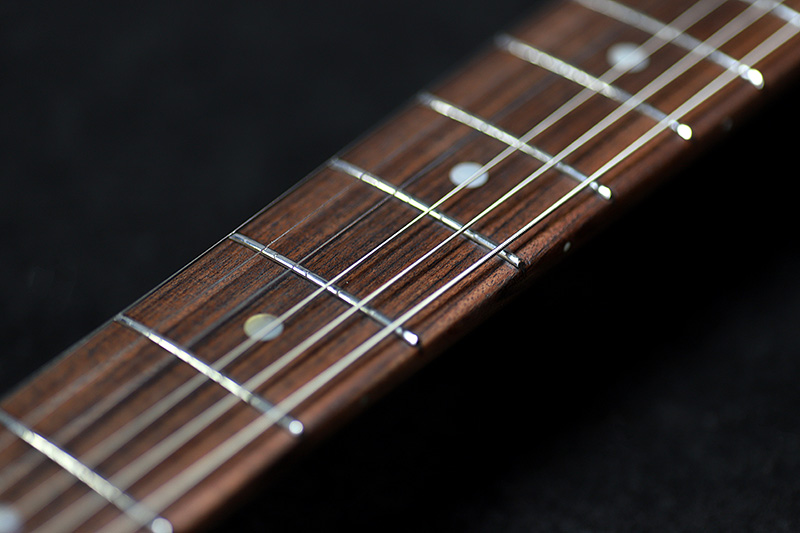
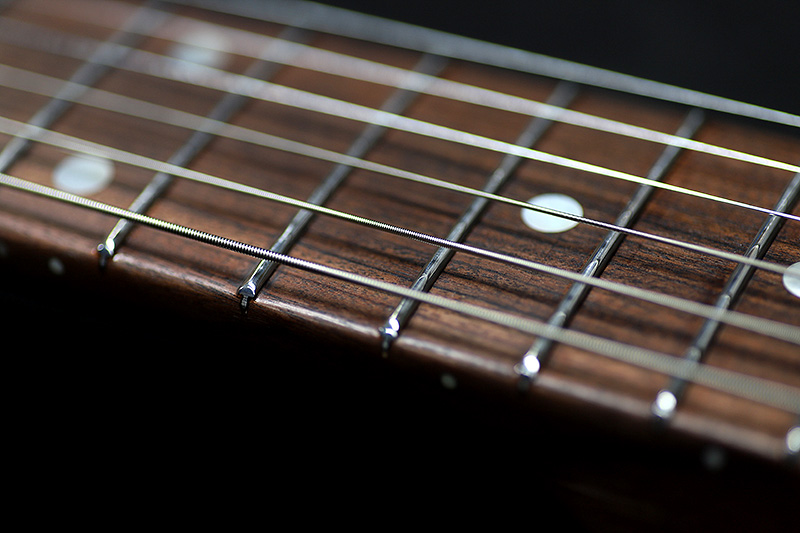
すり合わせ後、研磨、バフ掛け、コンパウンドを経てピカピカに。
フレットエンドも少し丸みを出しました。
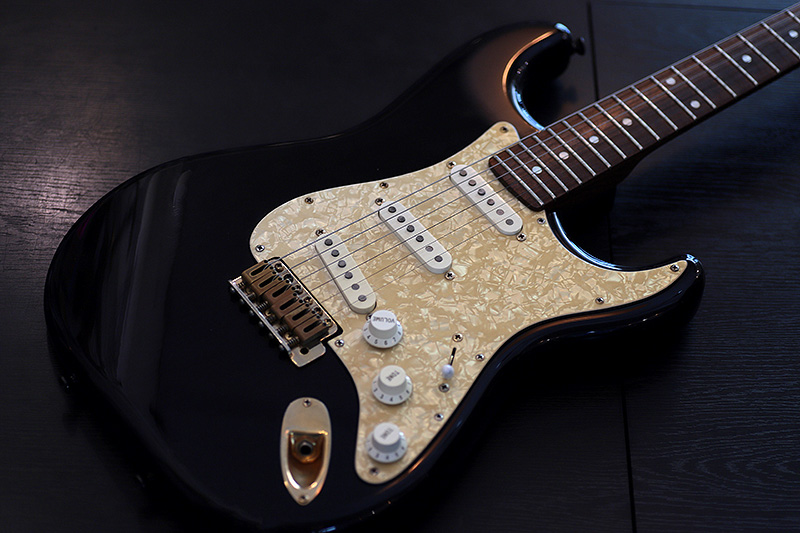
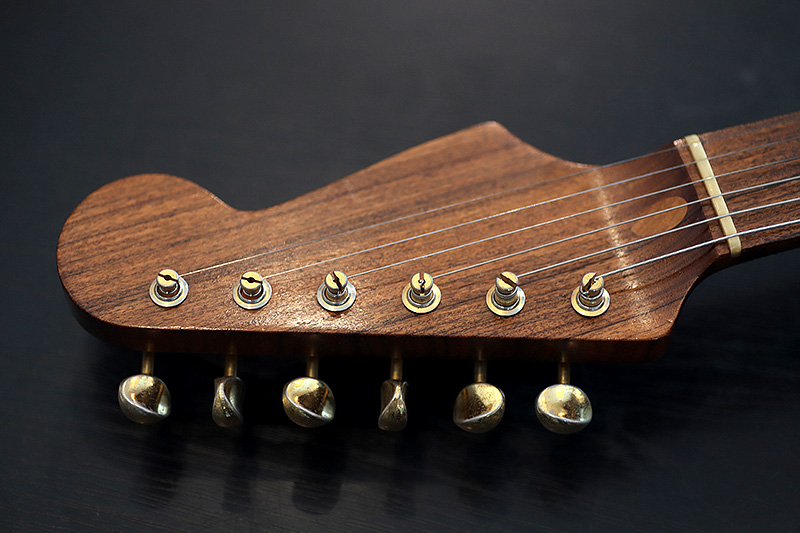
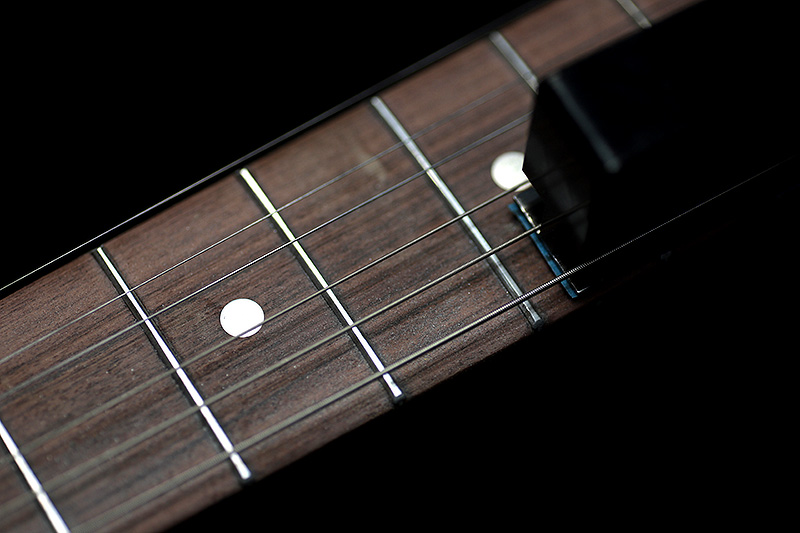
ナット交換
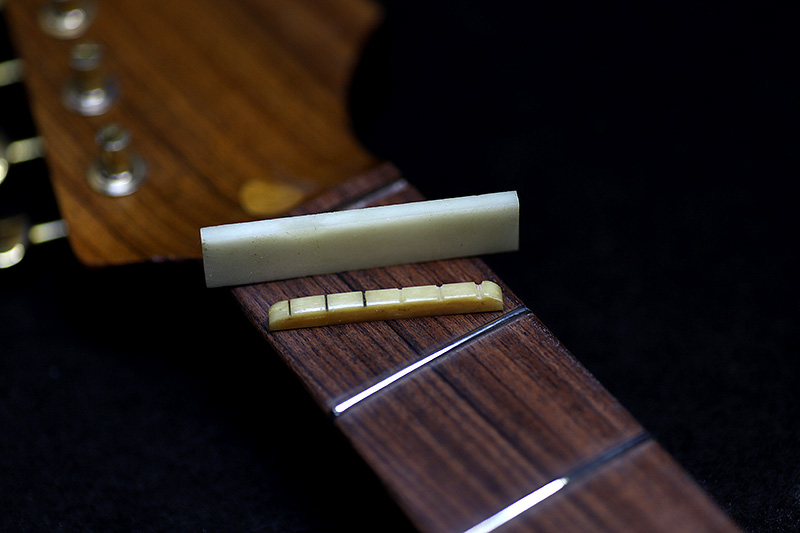
続いてナット交換。
大分すり減っていたので牛骨に交換。
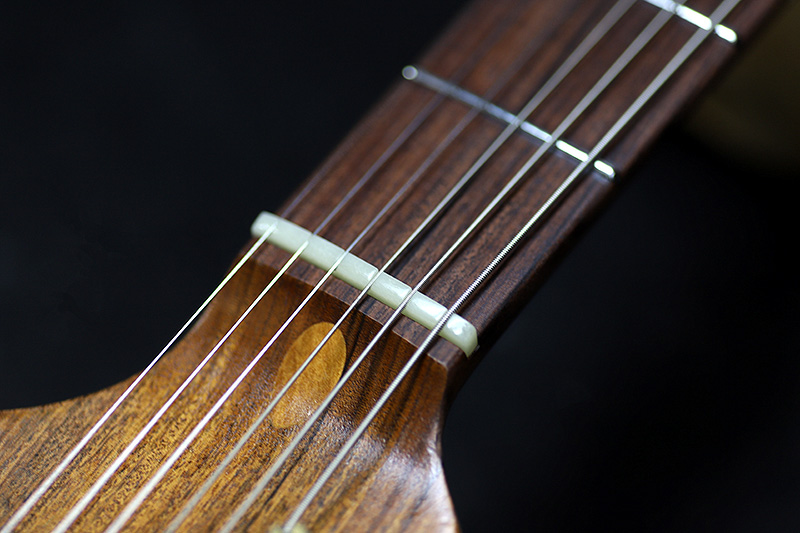
その後ナットをコンパウンドで磨いて艶出し。
ステンレスフレットは一度使うとやめれないです。
ニッケル素材からステンレスに代わるので、弦をタッチした際の感覚、音質は多少固くなります。
ただ、使い始めて数か月経つと段々とキラキラした部分が落ち着いてきて(多分耳が慣れて)違和感が無くなった、という感想が多いようです。
なによりメンテナンスフリーと言われる位、すり減る度合いが格段に低くなるので、ポジション毎のバラつきがなくなりコードのボイシングに濁りが無く綺麗です。
イントネーションの狂いが少なく、チョーキング時の引っ掛かりも無くスムーズ、何年もフレットが減らない、ときたら使わない選択肢はないですよね。
ギター、ベース等の修理は お気軽にご相談下さい。
お願いいたします。