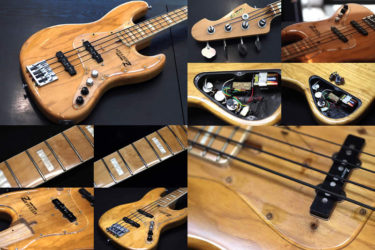
Fernandes TE-240HT
Repair of the Day
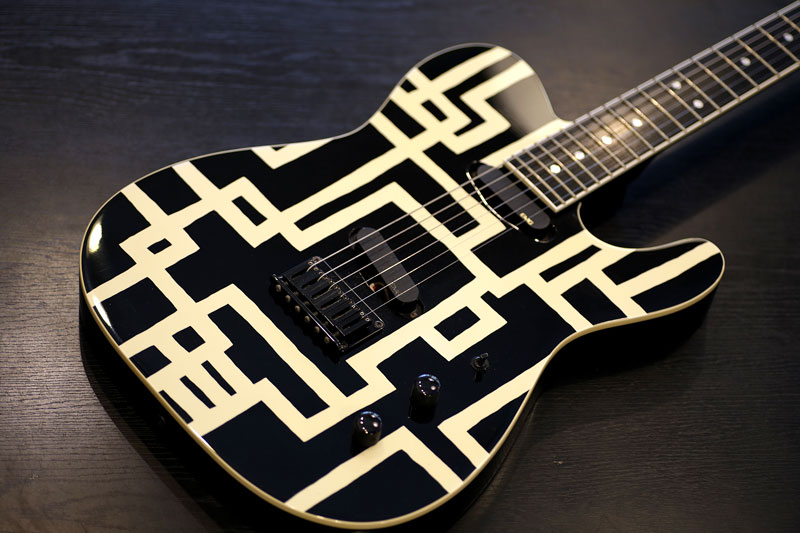
Fernandes TE-240HT
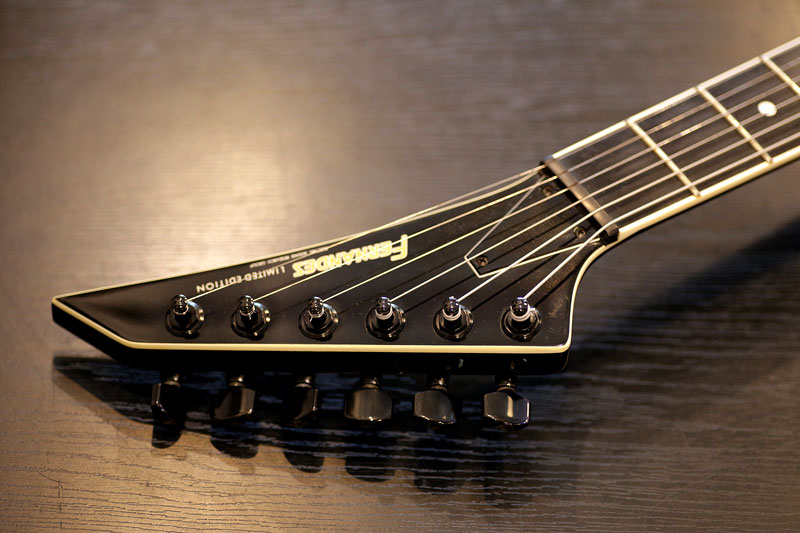
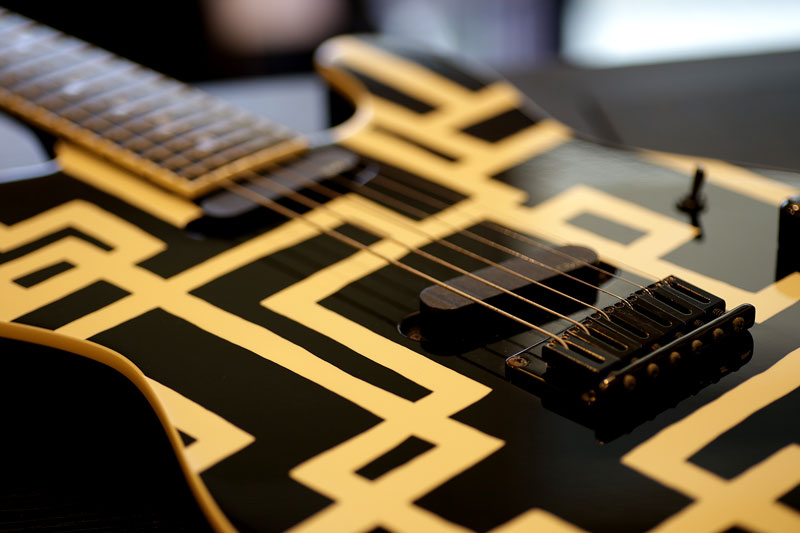
90年に本人仕様のプロモデルとして発売された TE-240HT 。
TE-95HTと比べて材質、パーツなどほぼ全ての仕様が違っています。
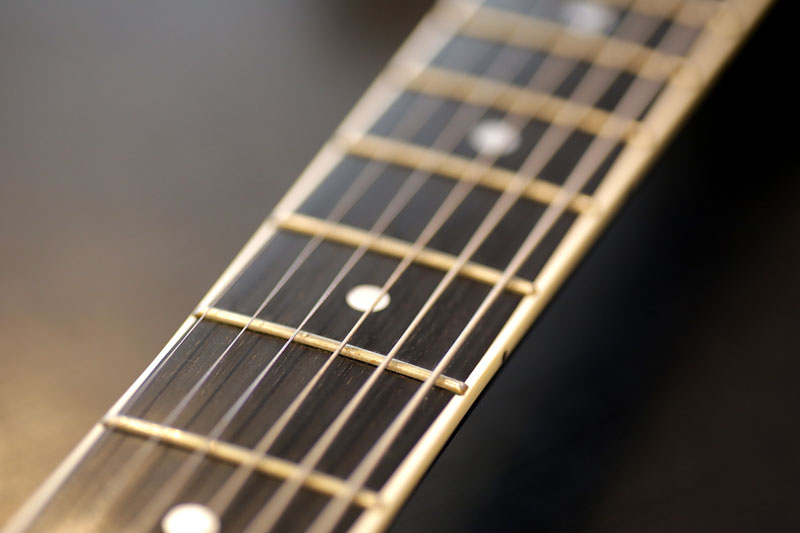
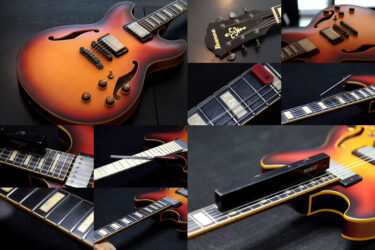
今回はフレットのビビりが多いとの依頼。
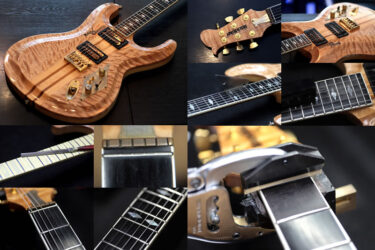
フレットすり合わせ
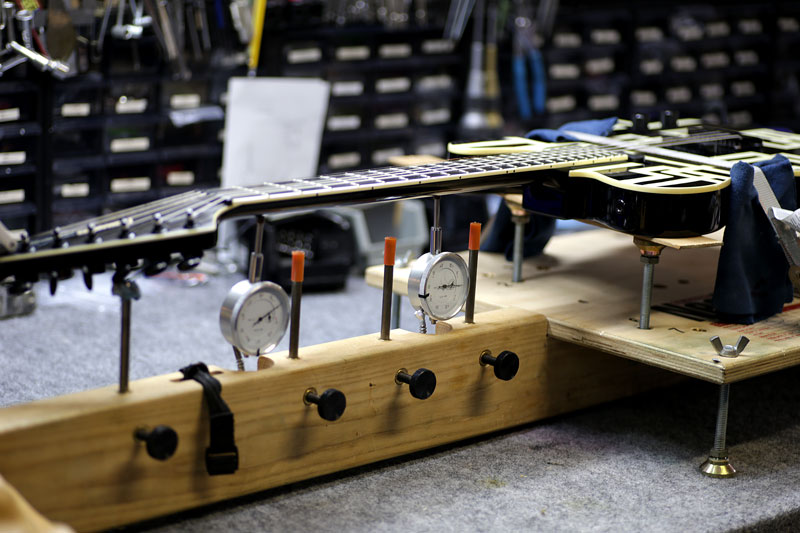
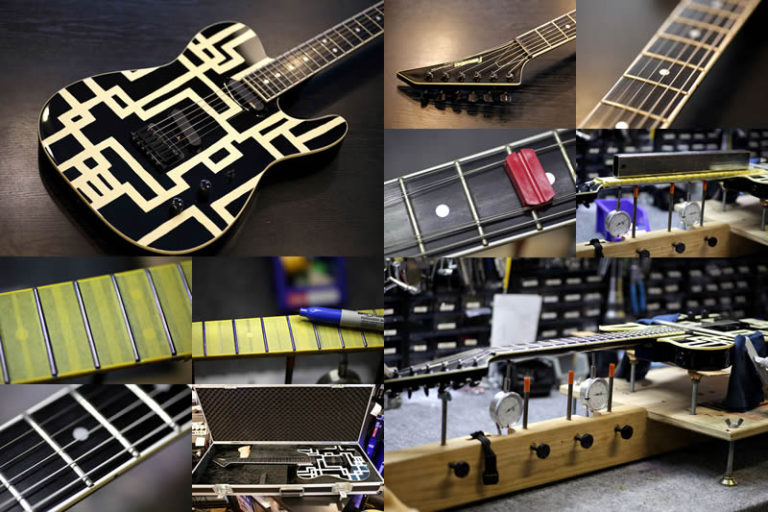
ネックジグにセットして作業。
弾きこんだフレットはかなりガタガタ。
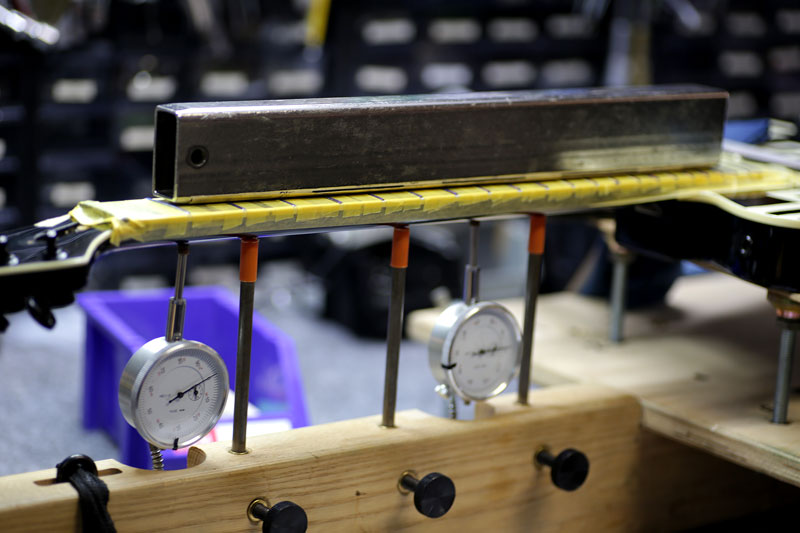
弦を外して、弦を張った時と同じテンションにセットし、フレット上を研磨します。

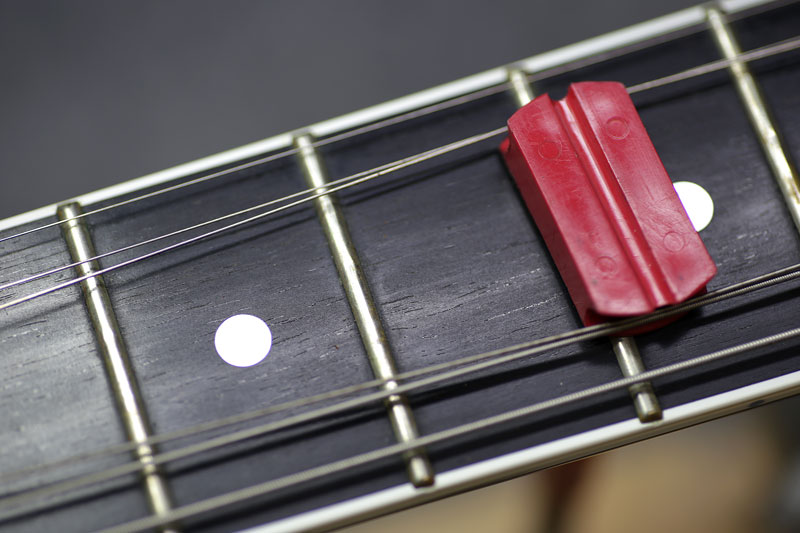
ガタガタのバラつきがなくなり、均一に。
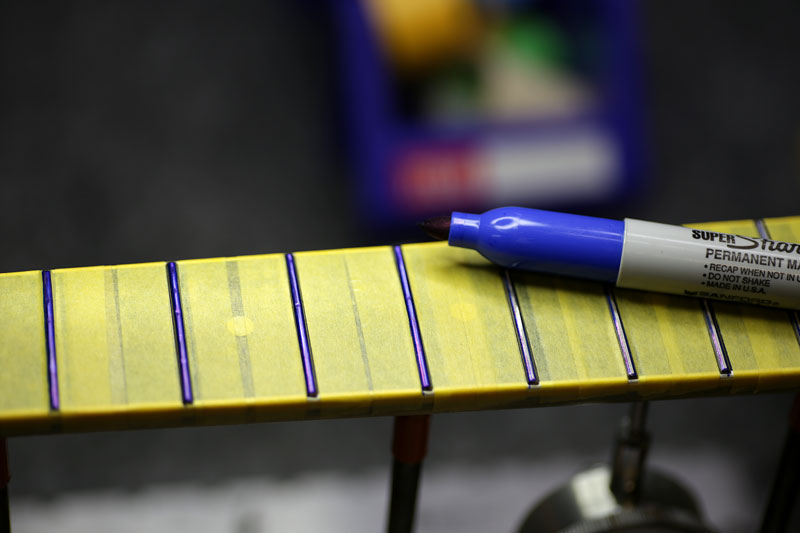
但しフレット上が角ばっているので、ラウンド状になるように角を落としていきます。
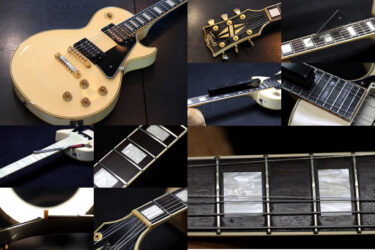
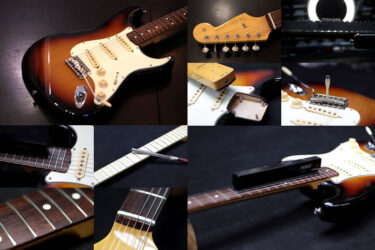
すり合わせ後
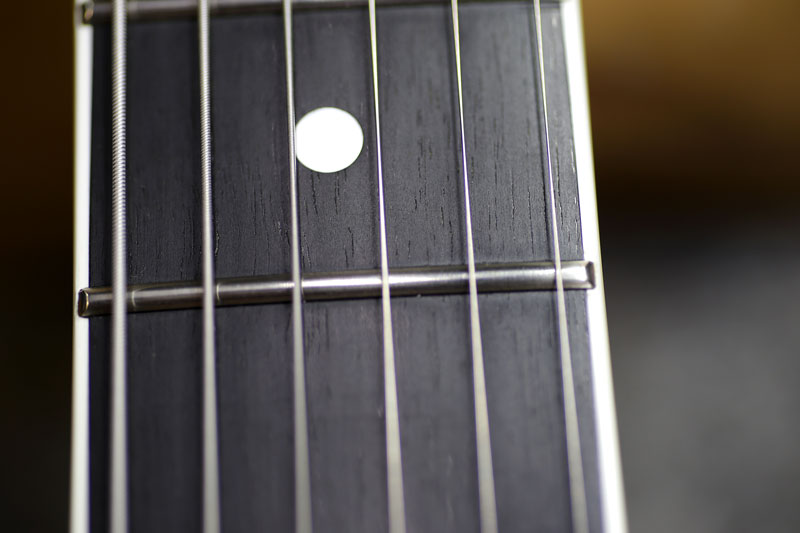
綺麗な丸みに仕上げてポリッシュ。
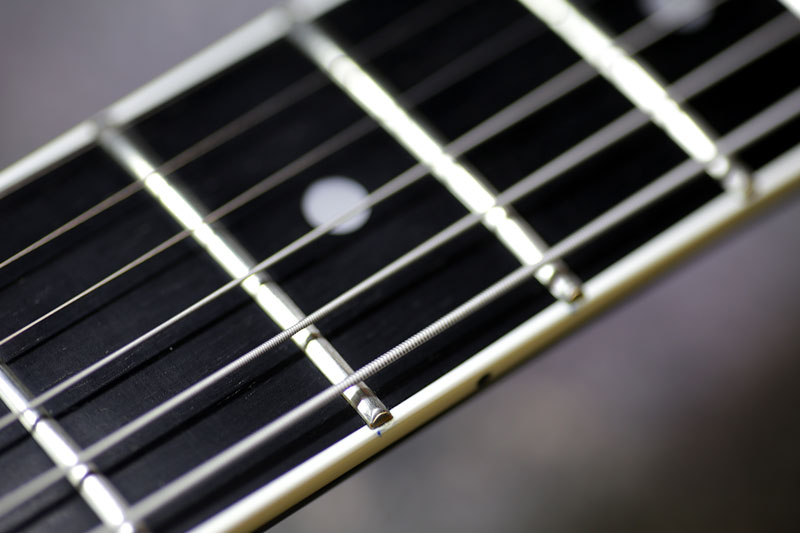
ビビりは全く無くなりました。
サドル駒 ネジ交換
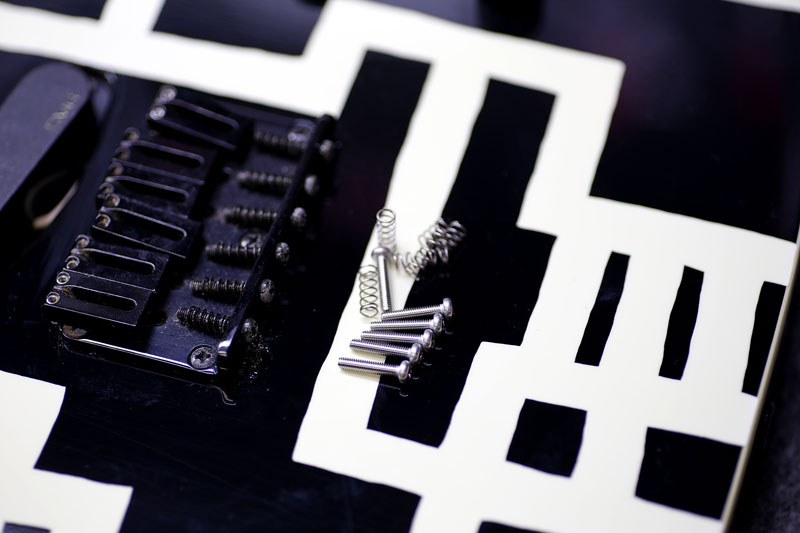
錆の少ないステンレス製のネジに交換。
沖縄での楽器保管は、気が付かないうちに海風に触れてしまい、手入れを怠ると直ぐに錆びてしまいます。
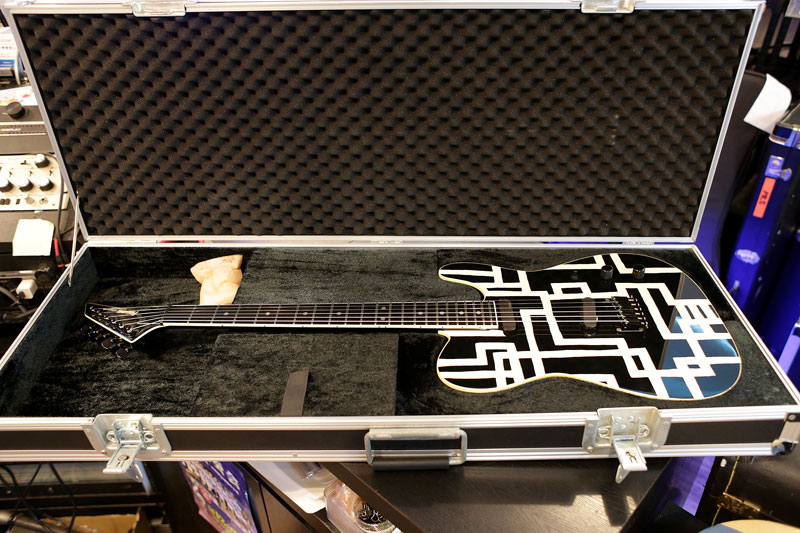
ケースもフライトケース仕様で豪華です。
ギター、等の修理は お気軽にご相談下さい。
お願いいたします。