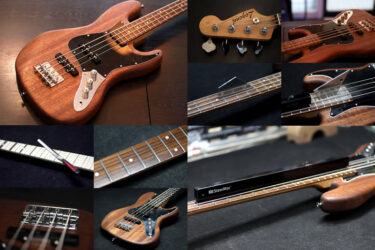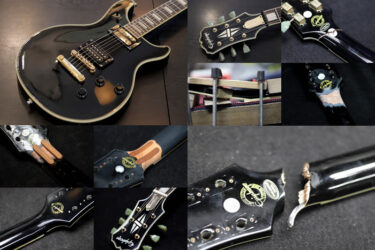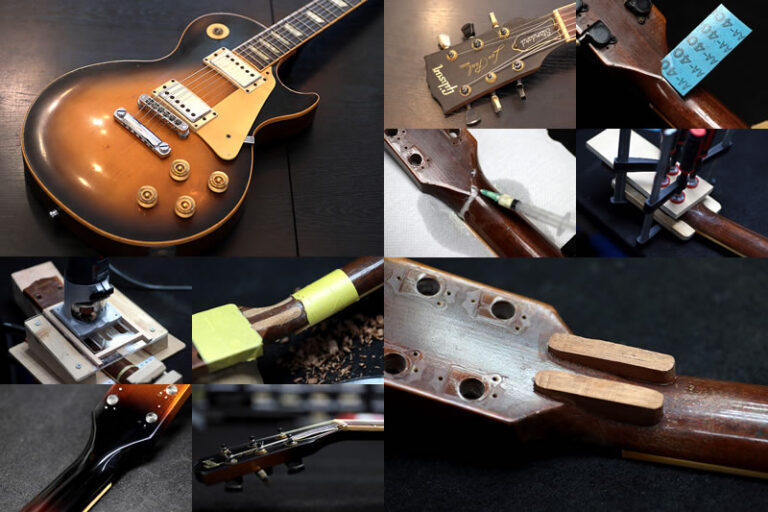
GIBSON Les Paul
Repair of the Day
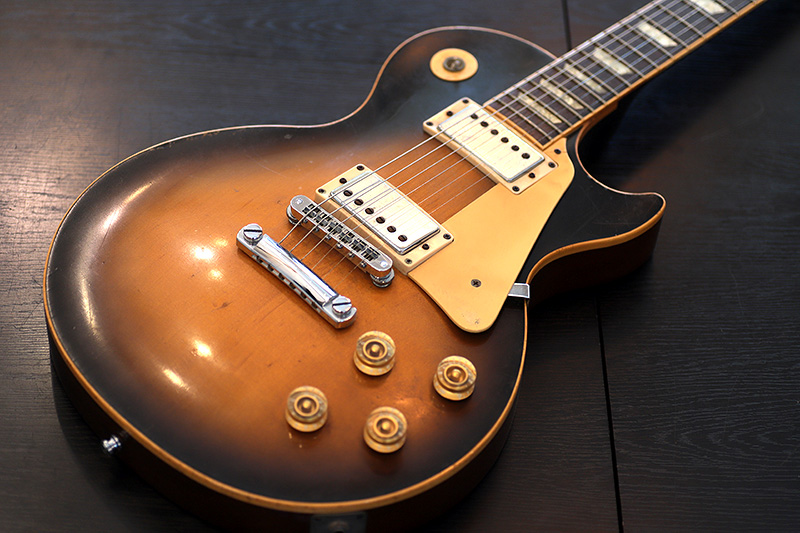
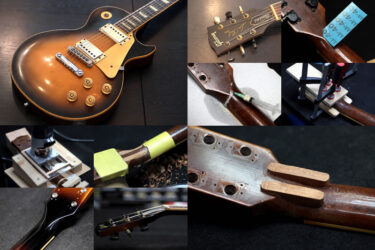
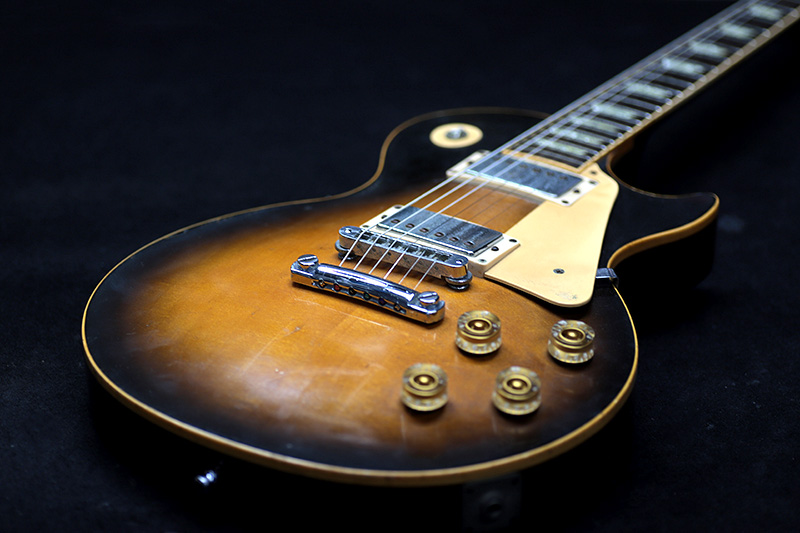
GIBSON Les Paul
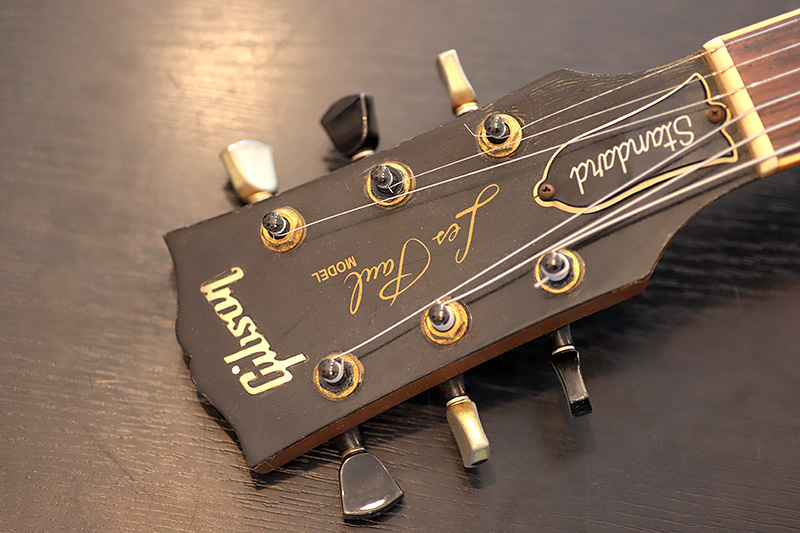
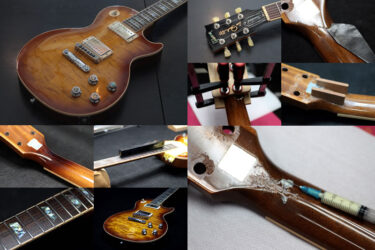
ギブソンのレスポールスタンダード
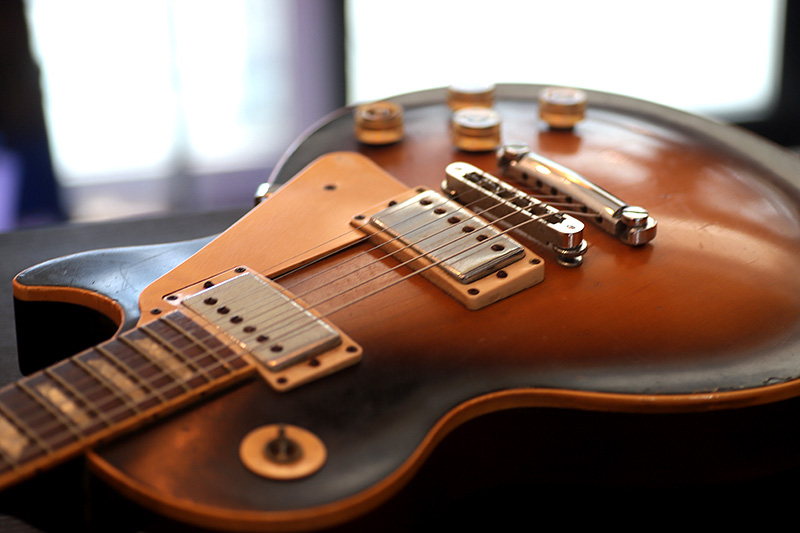
タバコサンバーストの焼け具合が良い感じ
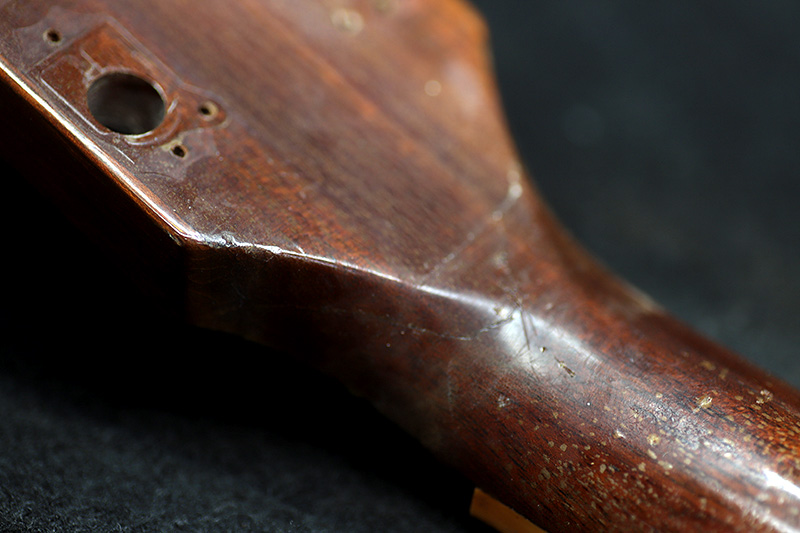
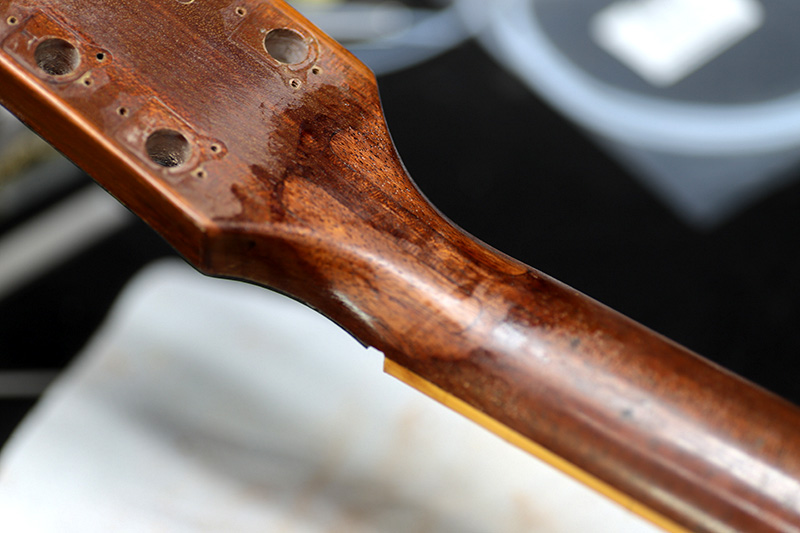
ネック折れ
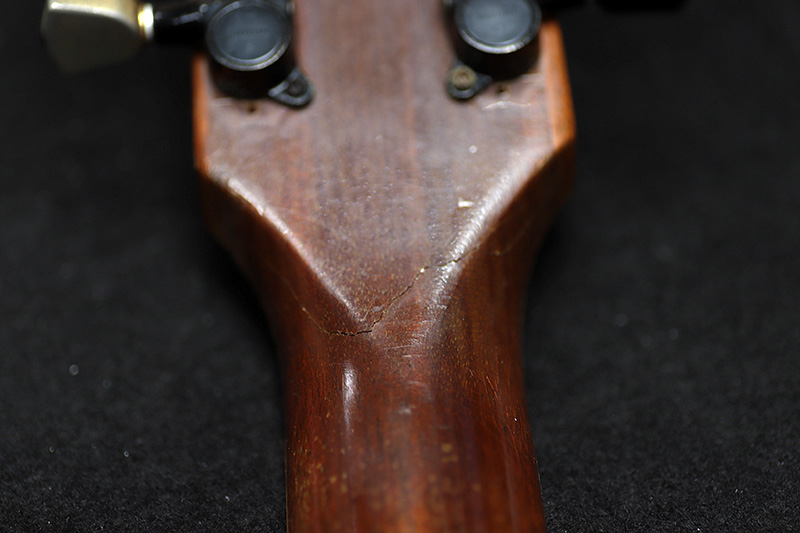
ネックにヒビが入ってしまったの事。
見た目は余り分かりませんね。
割れ目から紙を入れてみると結構入ります。
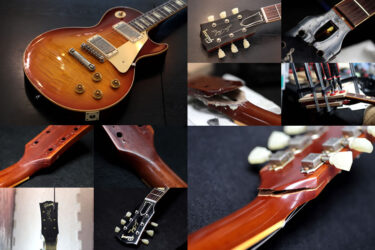
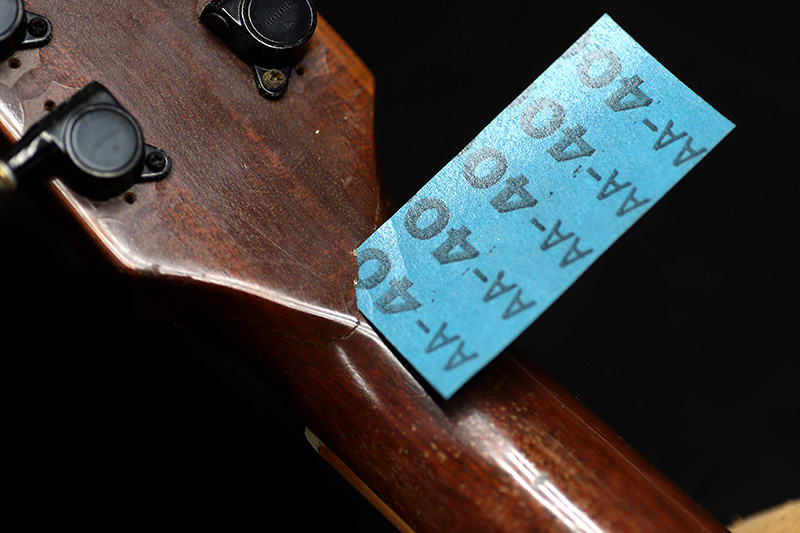
接着
一旦割れ目部分の深さを確認。
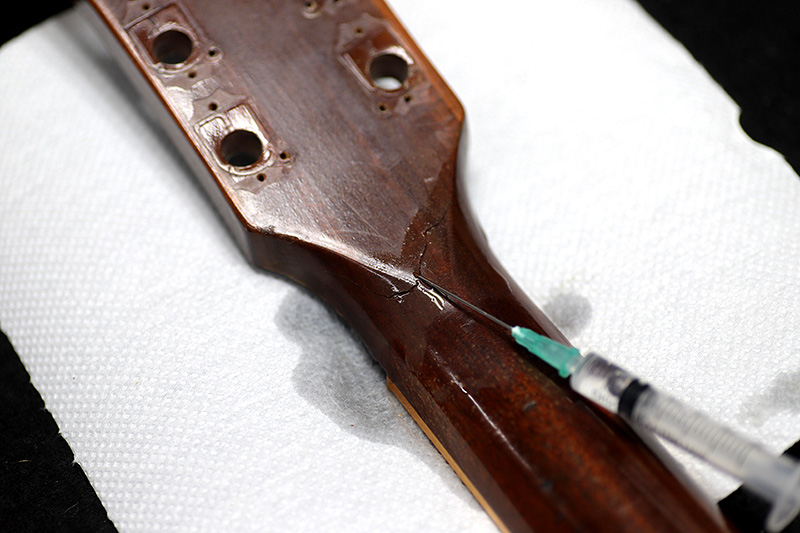
隙間から水を入れます。
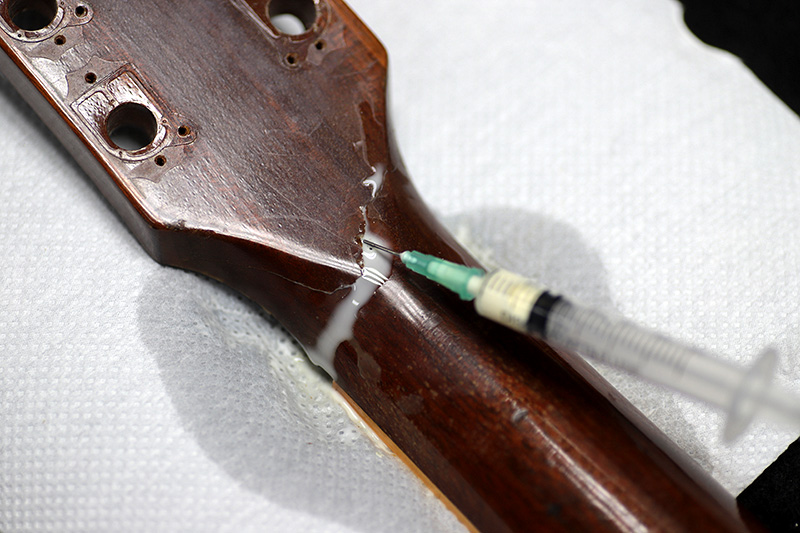
次に薄めた接着剤を入れ漏れ出た量を確認。
もう少し濃いめの接着剤を流し接着させます。
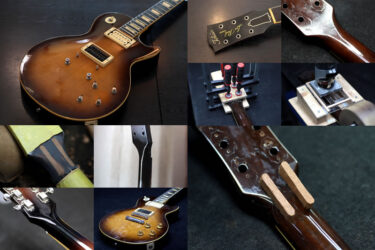
接着クランプ
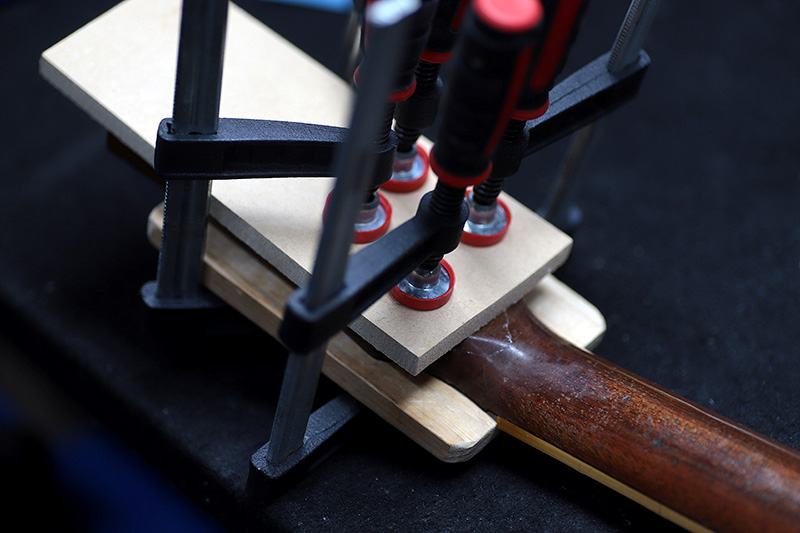
クランプして1週間ほど固着。
綺麗にくっ付きましたが強度は弱いかも。
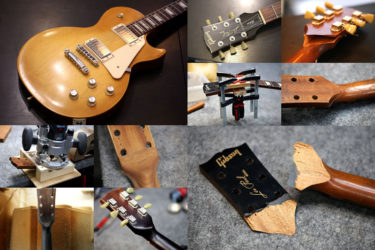
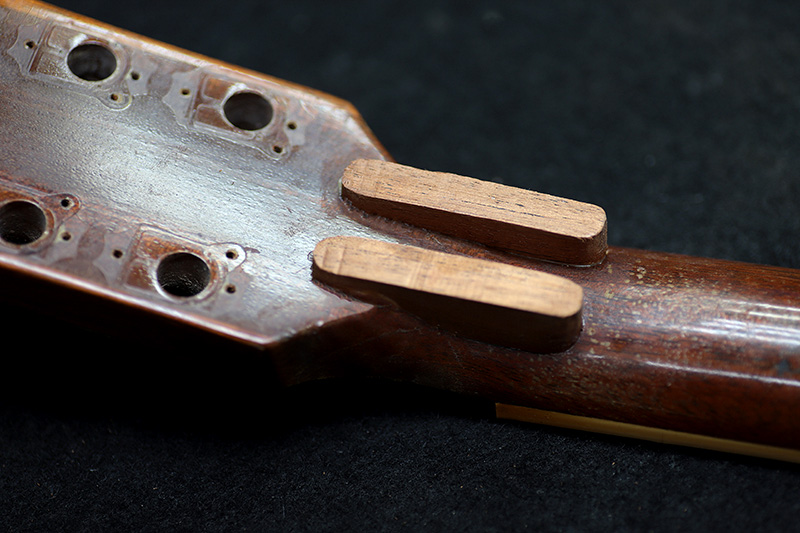
補強入れ
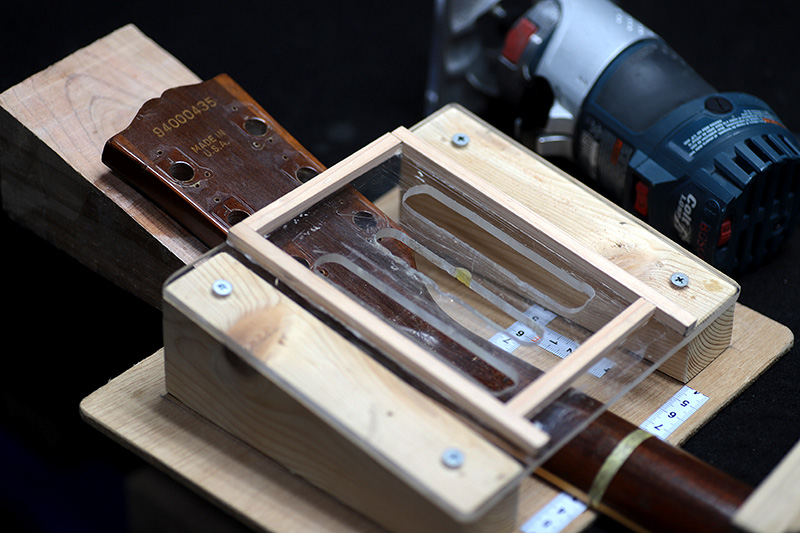
補強材を入れるためトリマーで溝を掘ります。
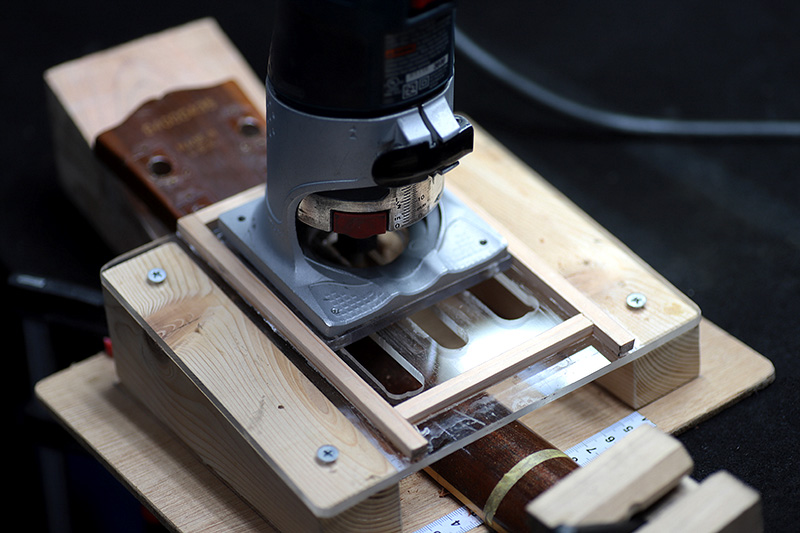
今回は細い溝を2本開けました。
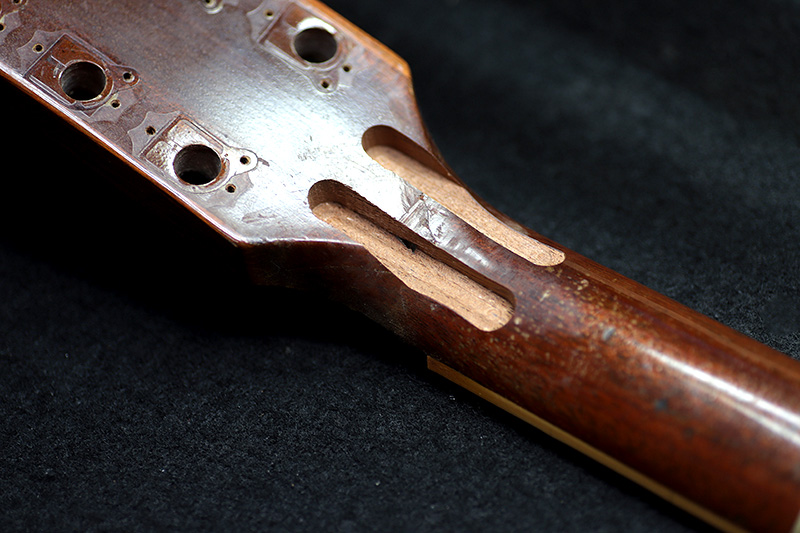
割れ目を中心とし上下に7cmくらい。
補強材
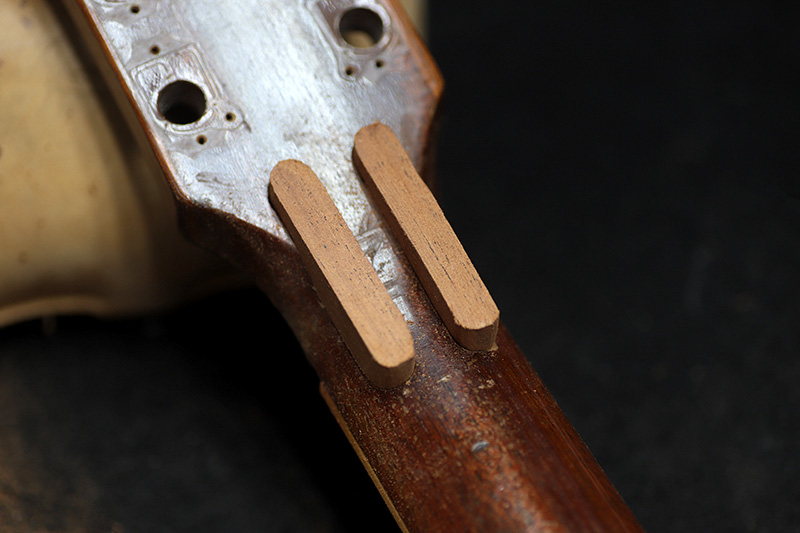
ネック材と同じマホガニーを切り出し、溝のサイズにフィットするように加工。
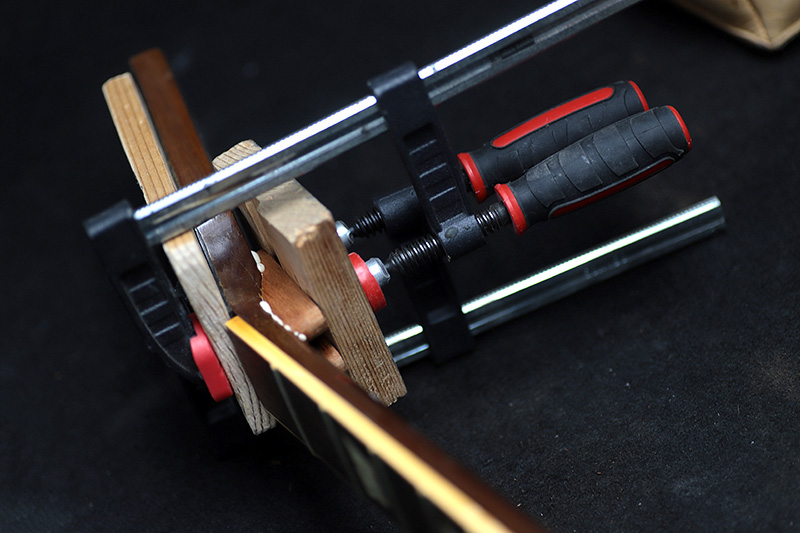
溝に接着材を入れてクランプします。
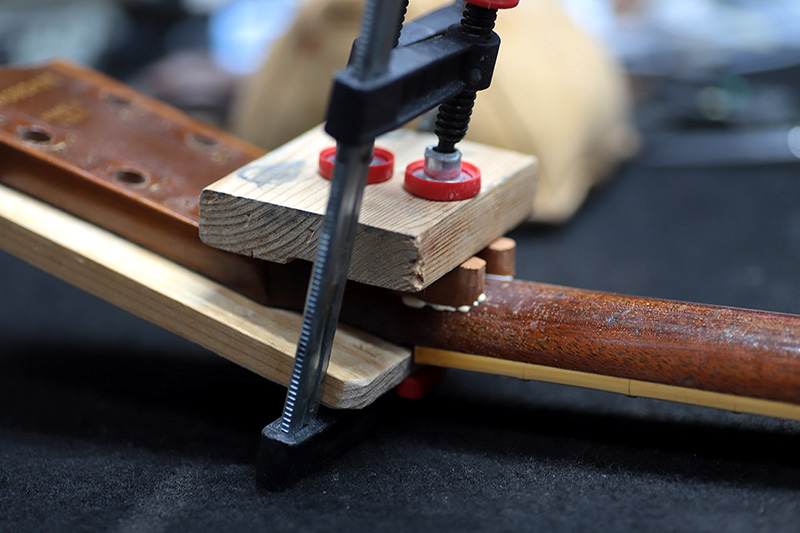
この状態で10日くらい。
しっかり乾燥し水分も抜けました。
強度は全く問題ないですね。
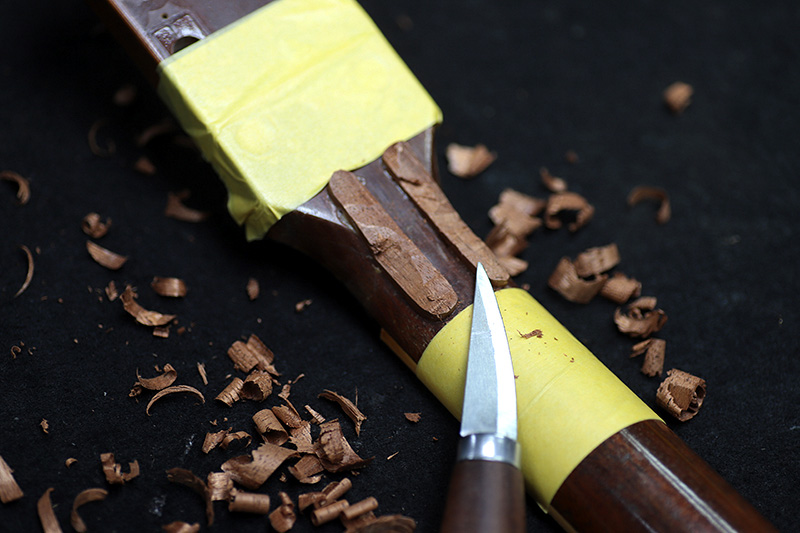
ナイフで余分な部分をトリムし
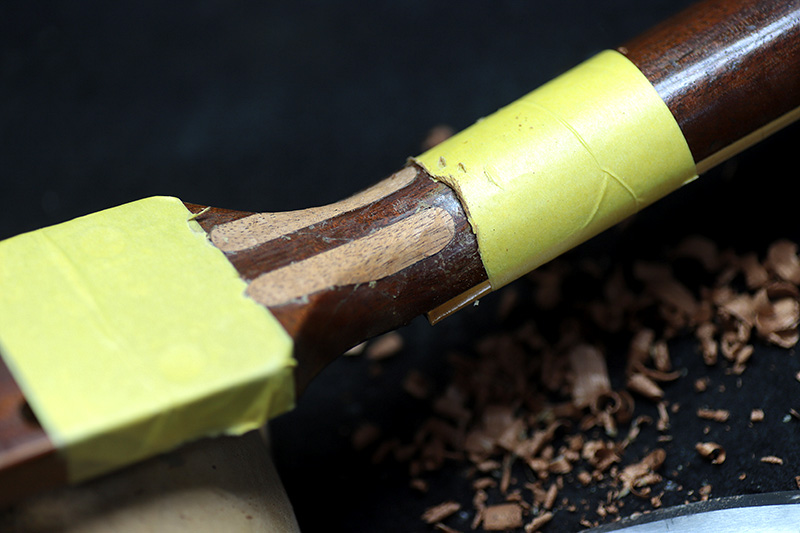
面が合うところまで加工。
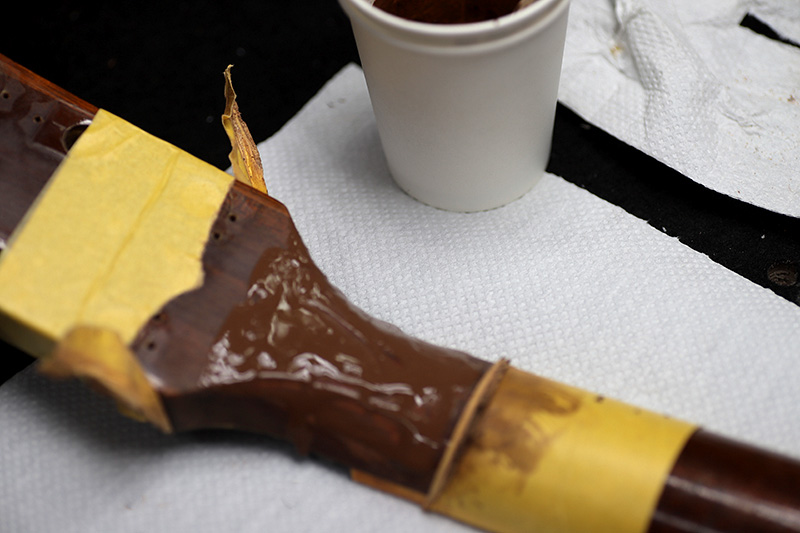
フィラーに少しブラウンを入れて木地着色。
塗装
乾燥したらウッドシーラー

今回濃いめのブラウンでバースト加工させました。
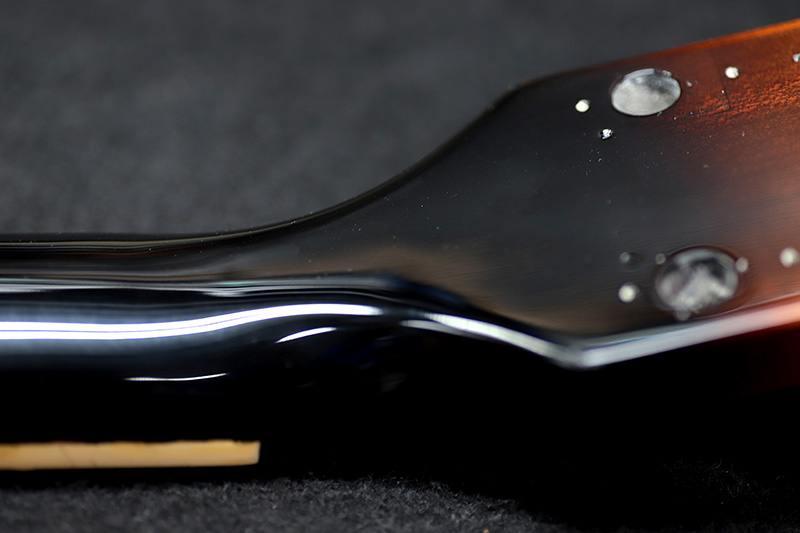
補強の跡も見えず自然な仕上がり
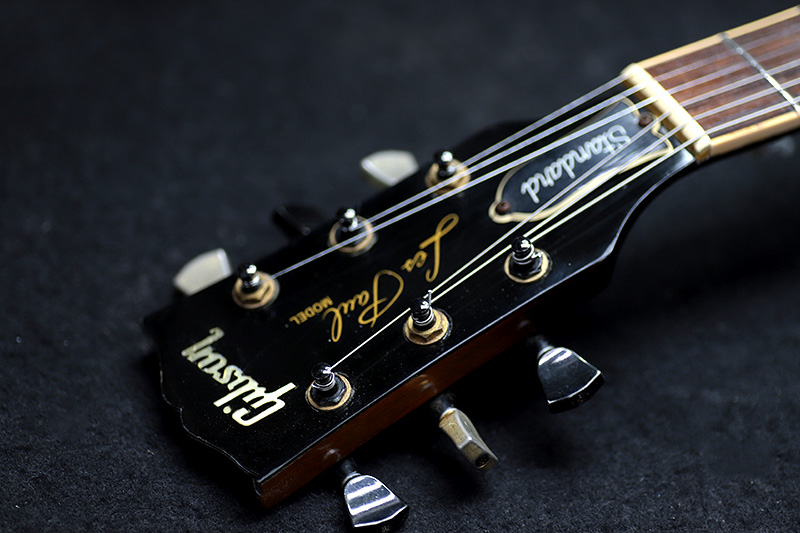
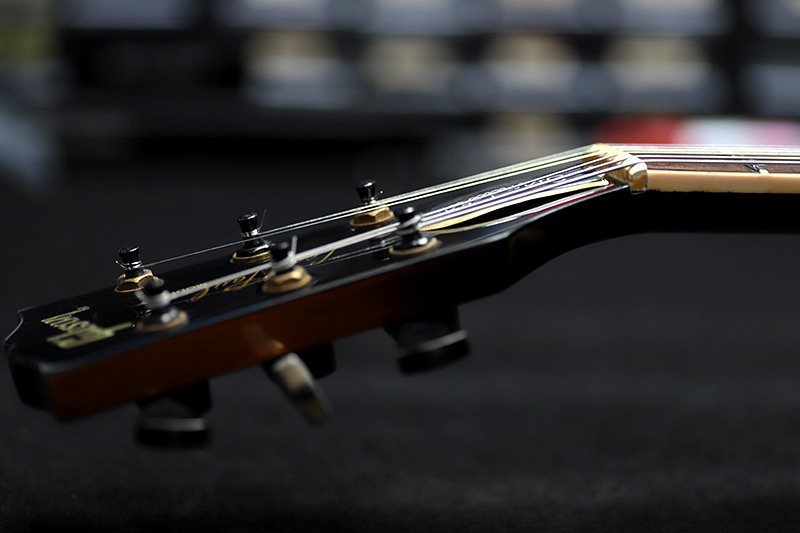
セットアップ
ヘッドトップもクリアーを吹いてバフ掛け。
弦を張って全体調整します。
塗装から1週間ほど経ちましたが問題なさそう。
ネックにヒビが入ったり折れてしまった時は、直ぐに弦を外して修理に出して下さい。
弦を張ったまま弾いたり、弾かずにケースに入れて放置してしまうと、割れ目が変形したり
広がったりします。
綺麗に割れて時間が経っていない時は、補強材を入れずに接着だけで済む事もあります。
ギター、ベース等の修理は お気軽にご相談下さい。
お願いいたします。