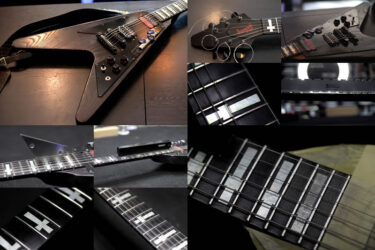
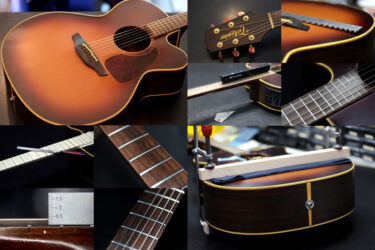
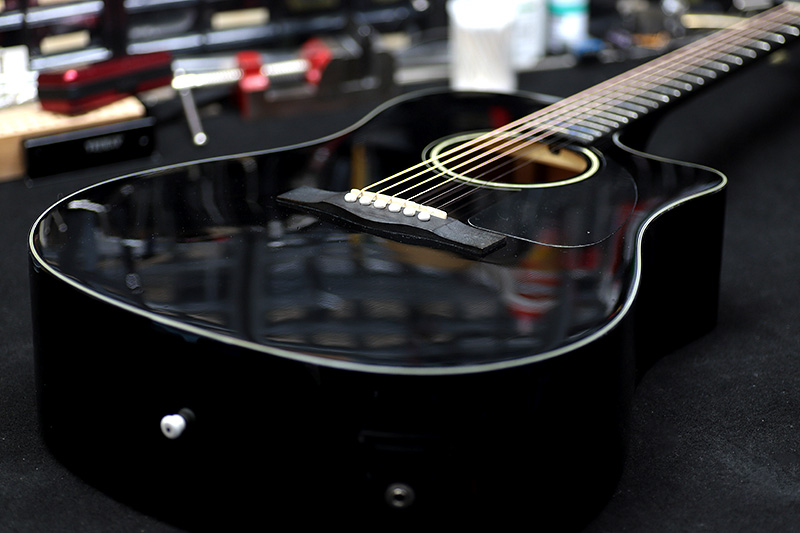
Fender CD-60CE
Repair of the Day

Fender CD-60CE
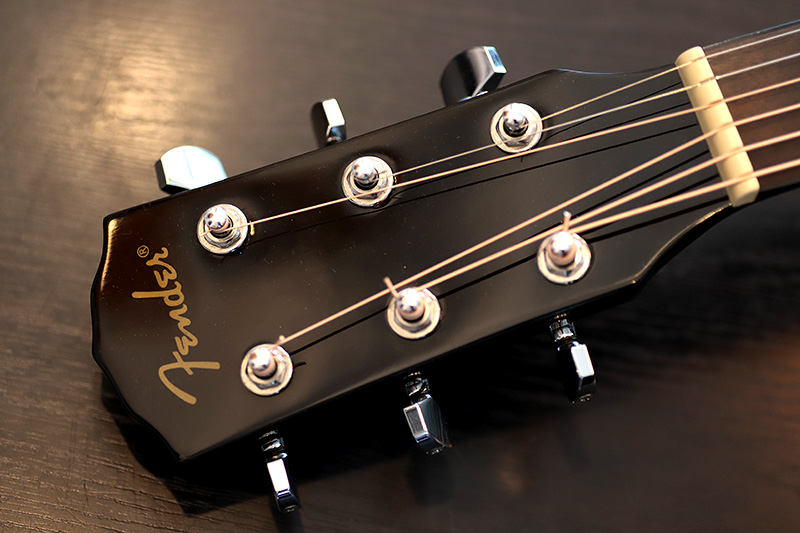
フェンダーのアコギ
フェンダーのアコギがエントリーレベルで非常に人気があるそうです。
同機種の修理も結構多いです。
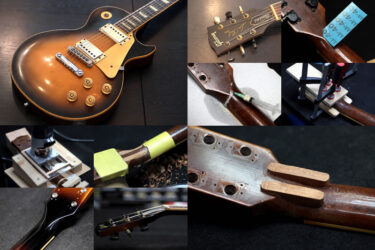
ネック状態
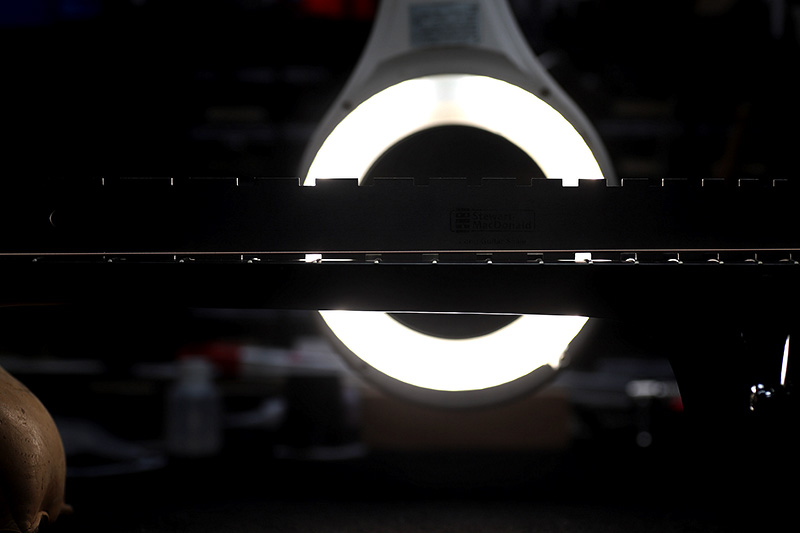
ビビりが多いとの事で持ち込まれました。
ネックの状態を見ると、かなりの逆反り。
真ん中はくっ付いていますが、両サイドに開きがありますね。

レンチでトラスロッドを調整します。
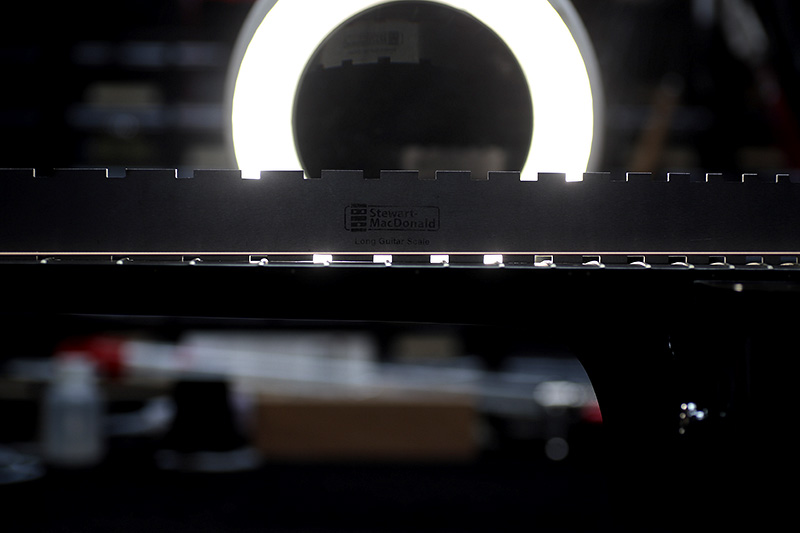
ほぼ真っすぐになりました。
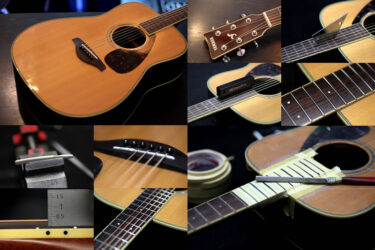
ブレーシング
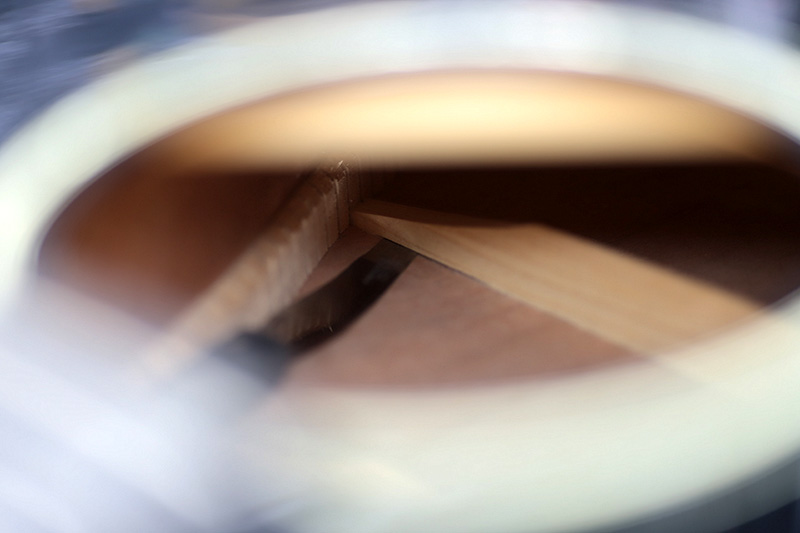
裏板を叩いてみると、かなりの異音が。
ブレーシングに剥がればありました。

1か所だけだったのでクランプ無しで接着。
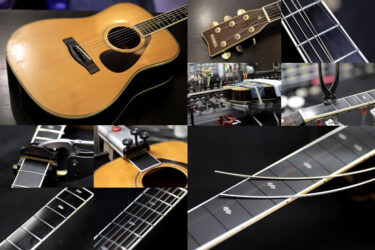
フレットバズ
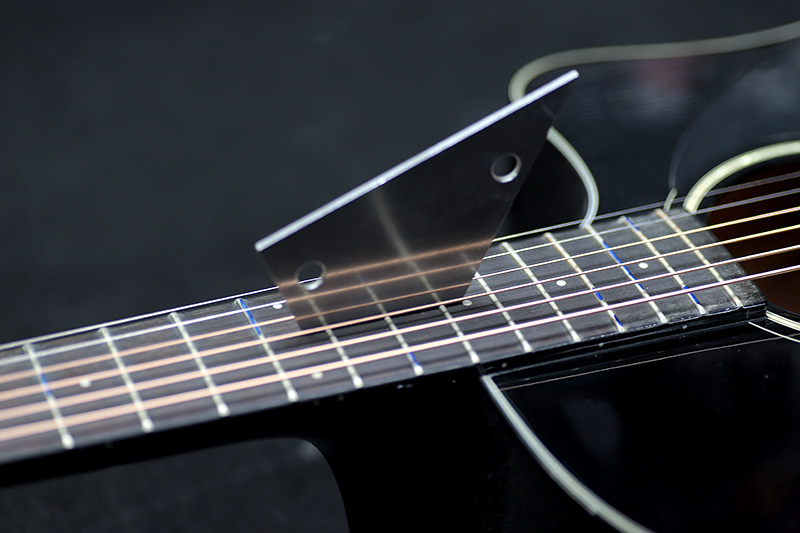
フレットに詰まりがあり、かなりビビりがありました。
全範囲に渡って浮きがあったのですり合わせを行います。
すり合わせブロックで削ります。
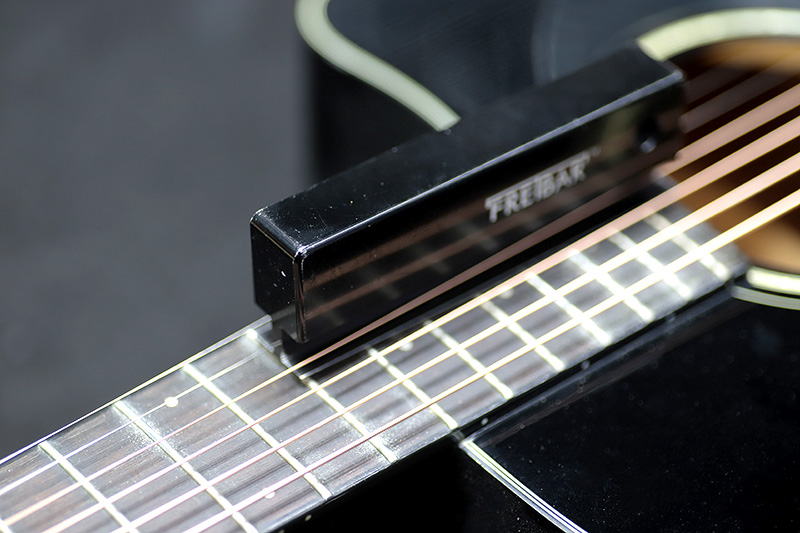
フレットすり合わせ
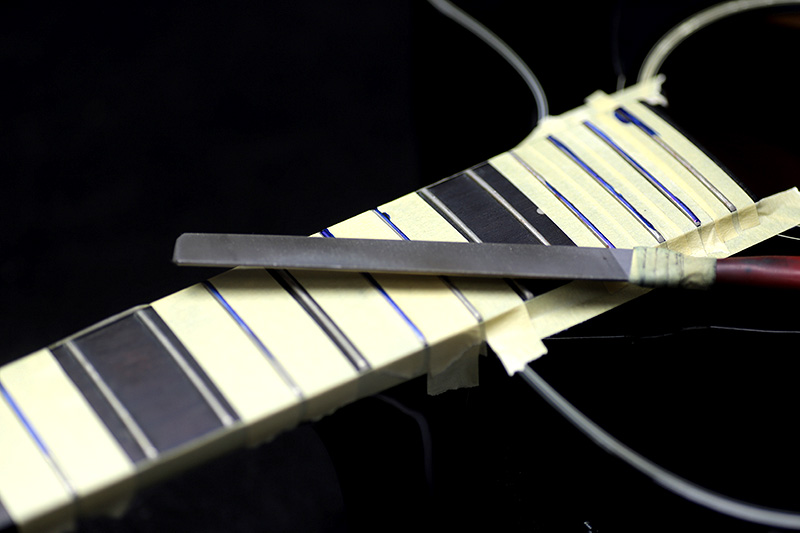
平にしたフレットトップを三角ファイルで丸めていきます。
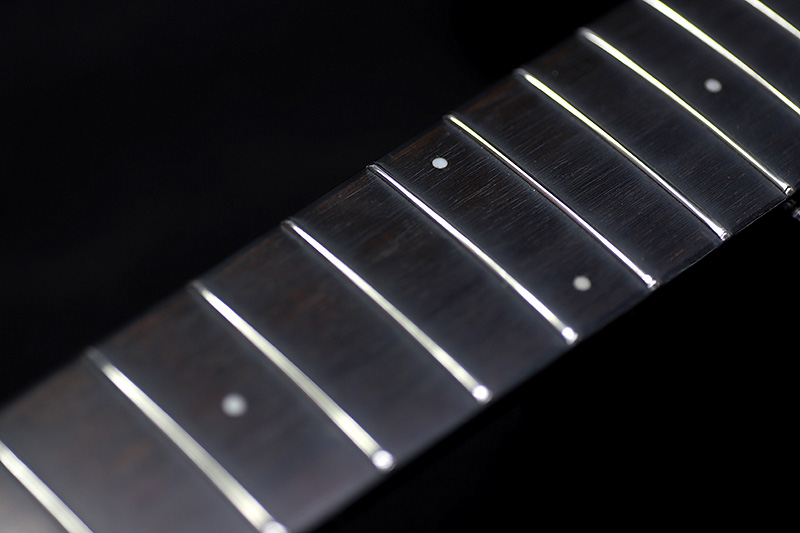
コンパウンドで磨きバフ掛けしました。
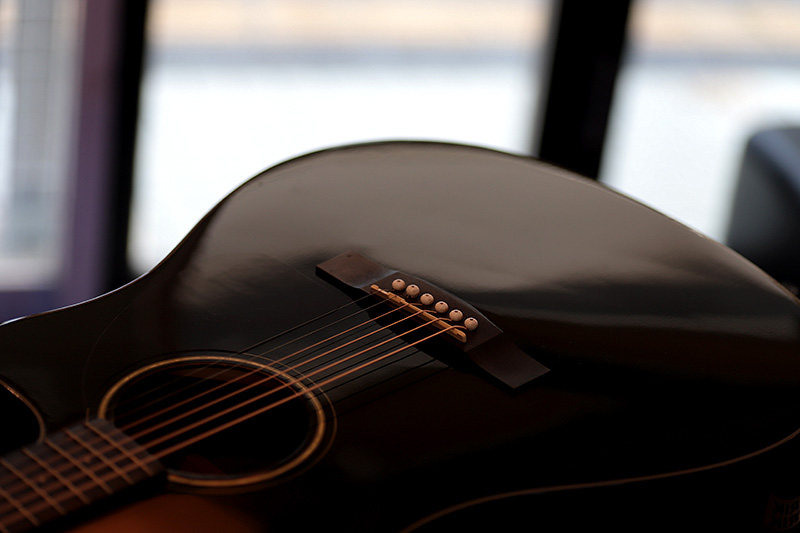
全体調整
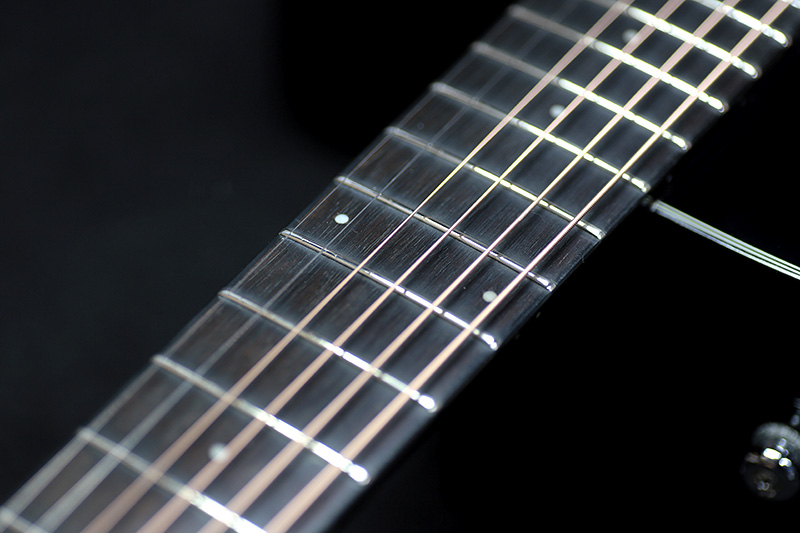
弦を張ってサドルを少し調整。
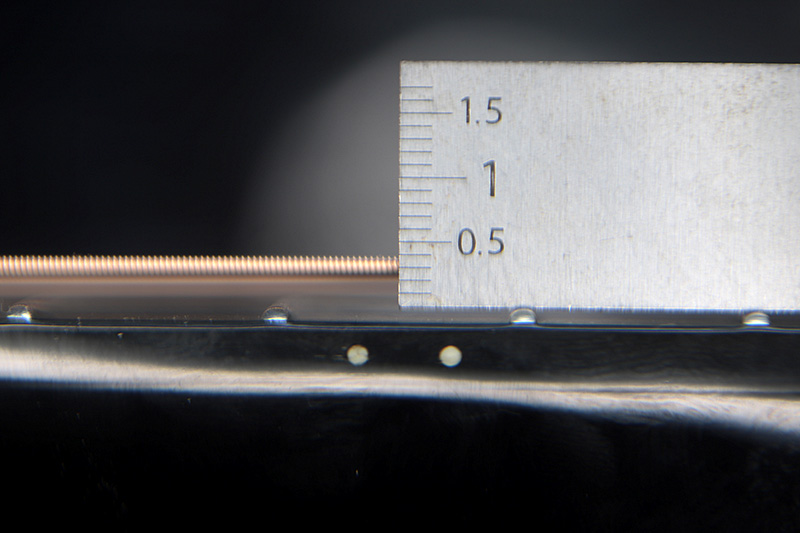
弦高も12フレット付近で2.3mmほど。
かなり低くなりました。
ボディも軽くバフ掛けしてクリーニングしました。
ビビりのストレスも無くなり、バランスの良いサウンドになりました。
ギター、ベース等の修理は お気軽にご相談下さい。
お願いいたします。