Epiphone Tak Matsumoto
Repair of the Day
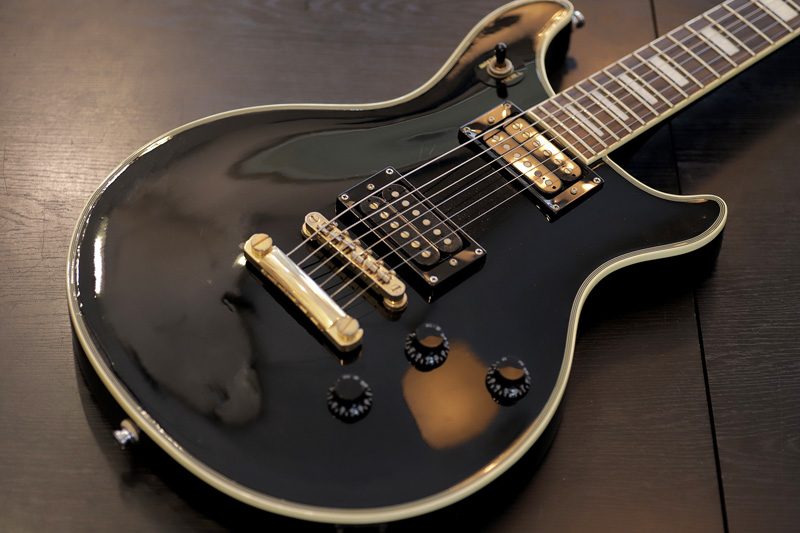
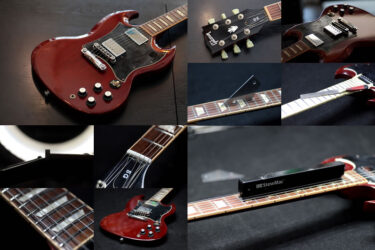
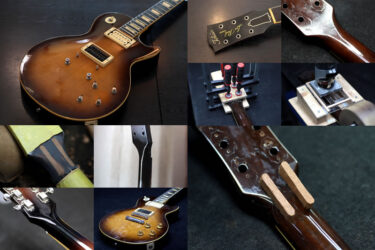
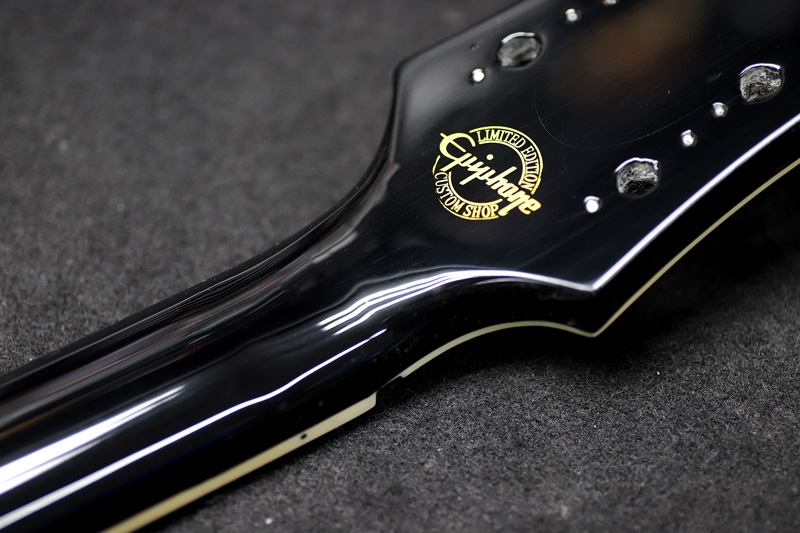
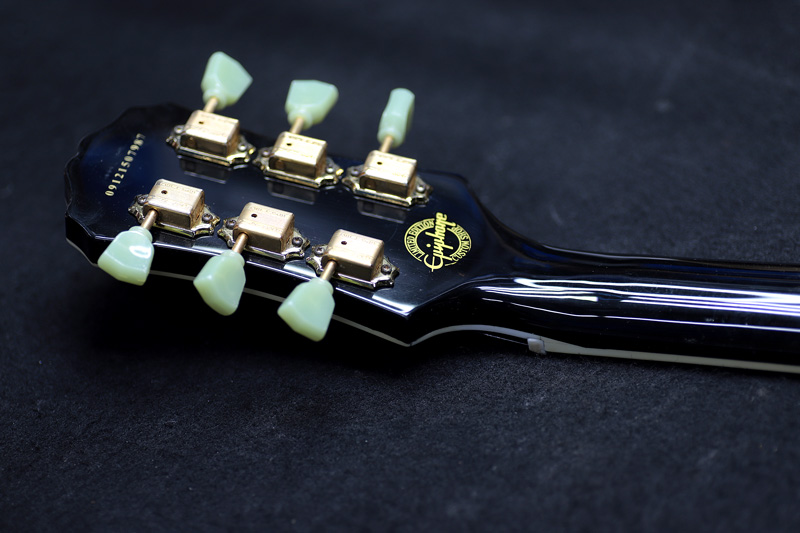
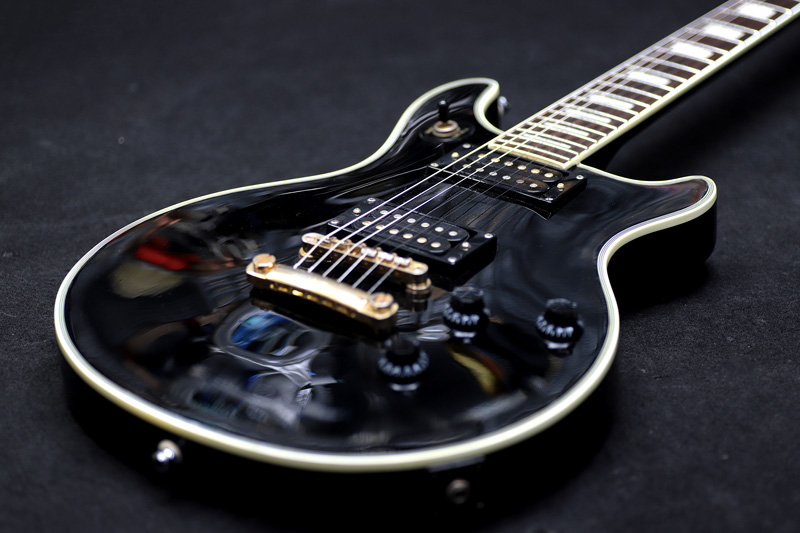
Epiphone Limited Edition Tak Matsumoto DC Custom
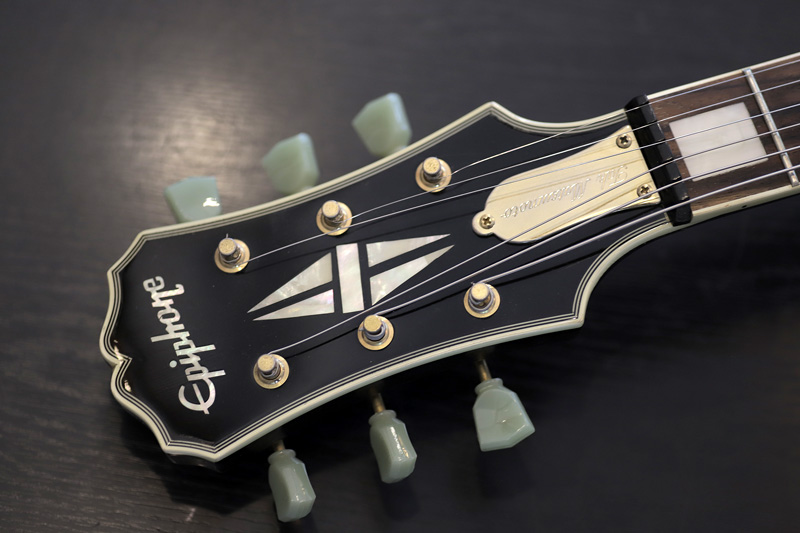
エピフォンから発売されているB’zのTak松本モデル。
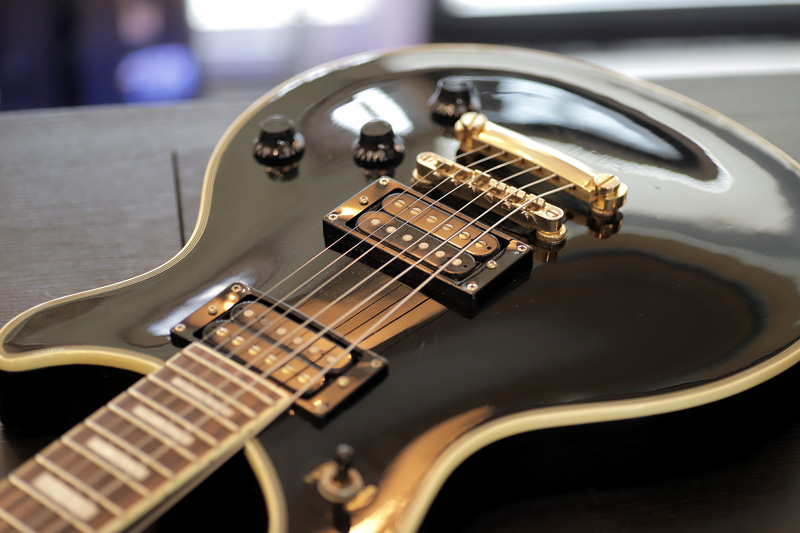
ローズウッド仕様の初期のモデルです。
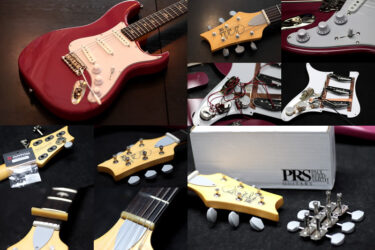
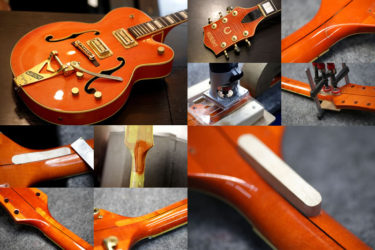
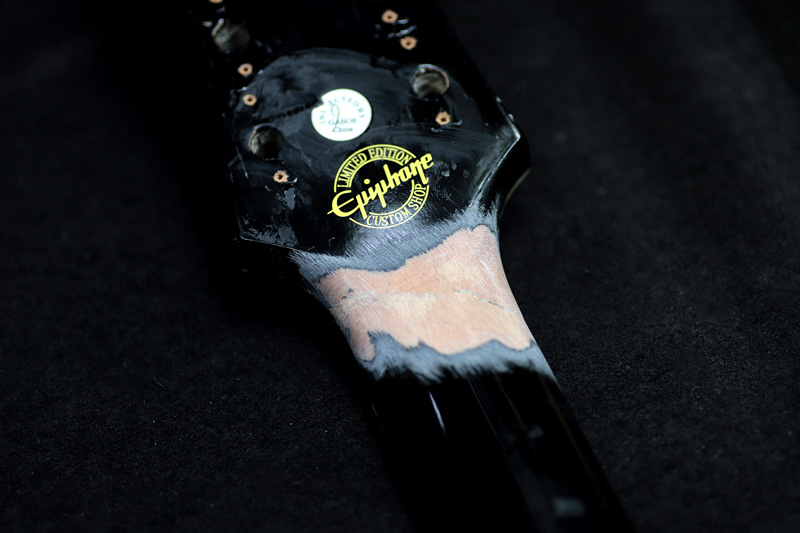
ネック折れ
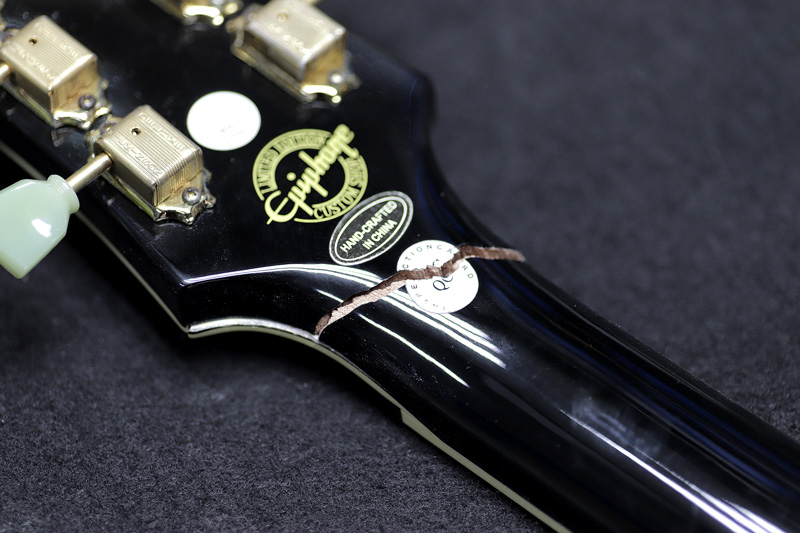
表から見ると分からないのですが、ご覧のようにネックが折れてしまっています。

折れたというよりは捻じれてもげた感じで
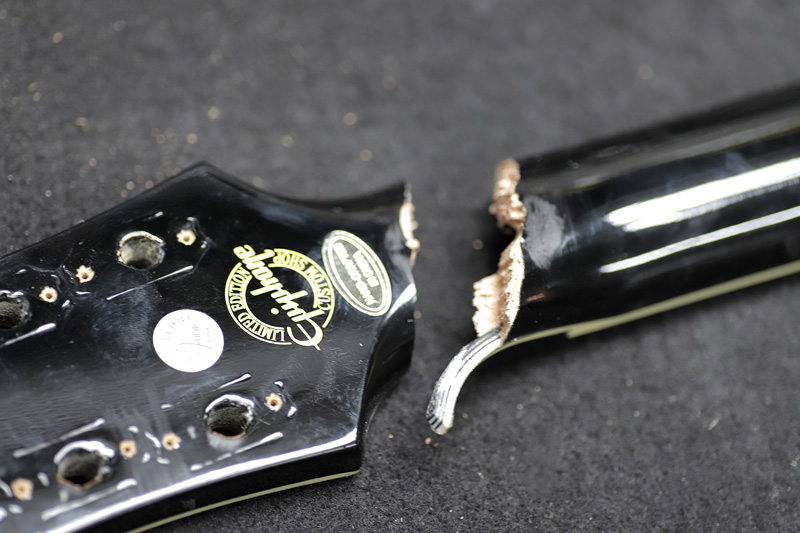
実は完全にポッキリいっています・・・
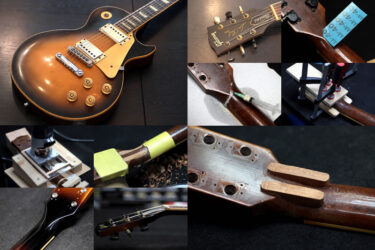
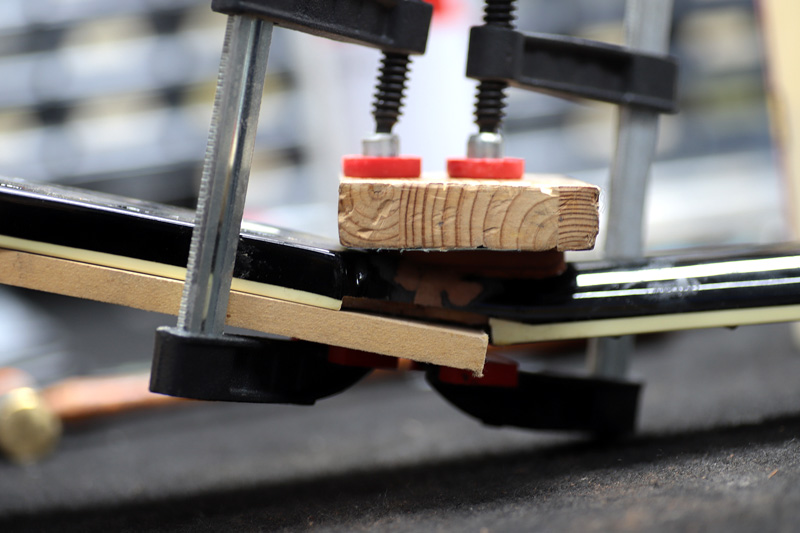
接着
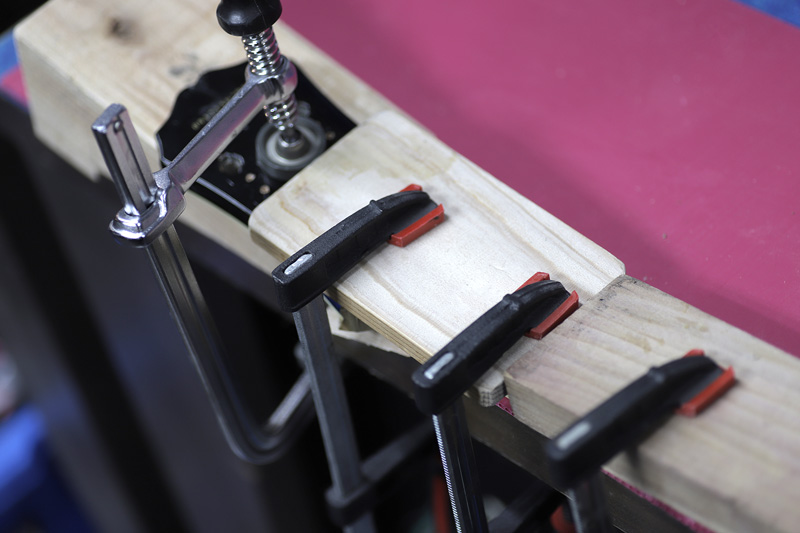
接着でどこまでくっつくのか?
とりあえずやってみます。
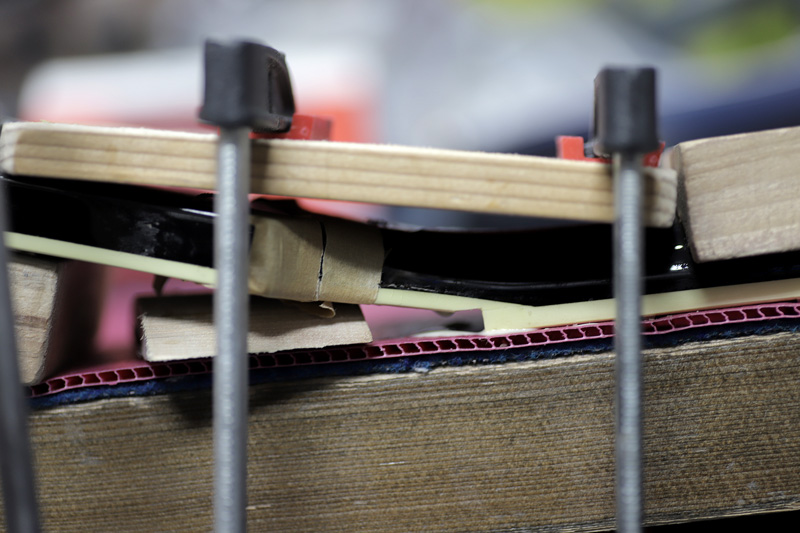
縦横から圧を掛けてクランプし暫く固着させます。
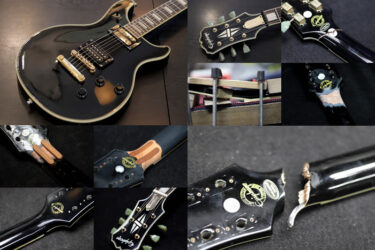
補強
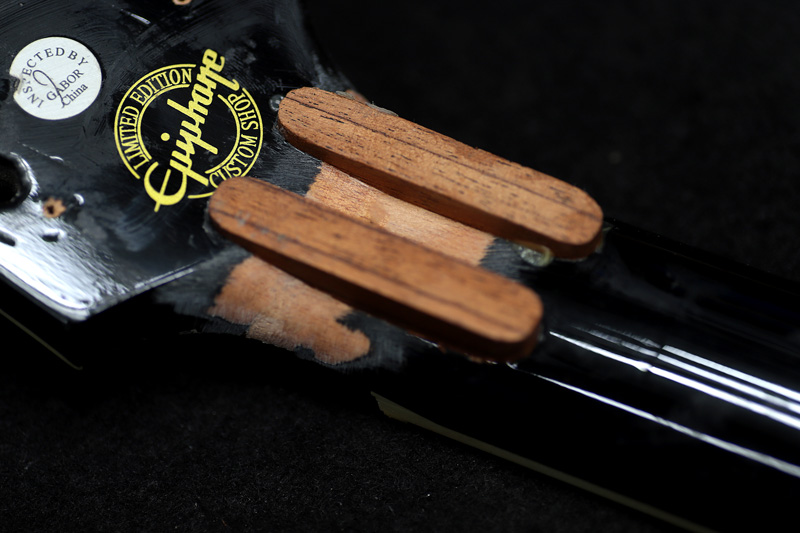
およそ10日ほど置いて接着面を削ってみました。
綺麗にくっ付いていますが、少し強度が足りなそう。

トリマで穴を掘って補強を入れる事にします。
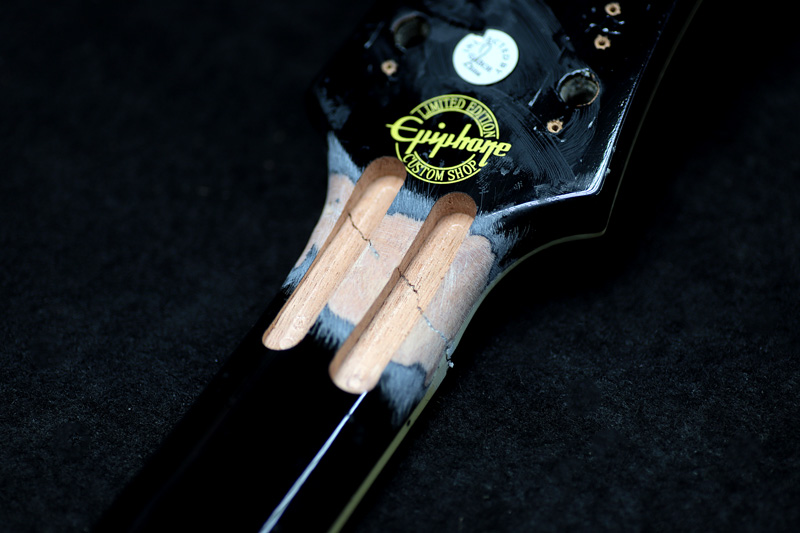
ヒビで無く、表まで継ぎ目があるので少し深く穴を掘りました。
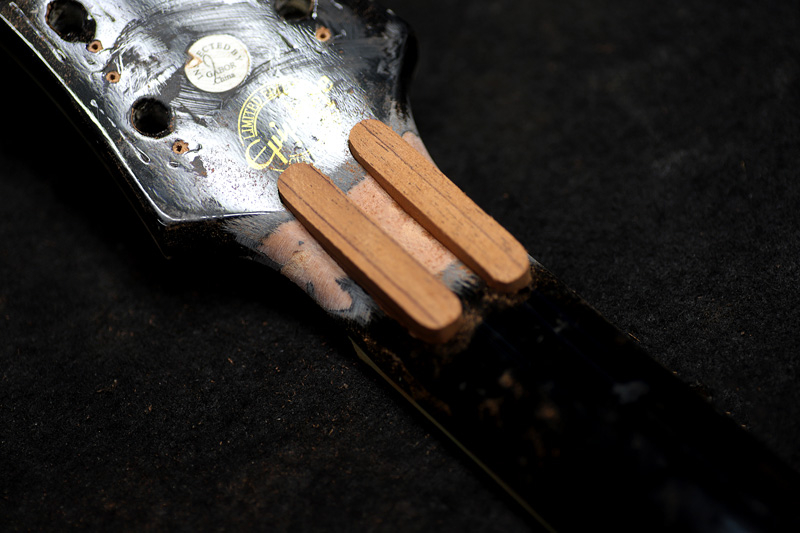
補強材を入れます。
上下からクランプして乾燥を待ちます。
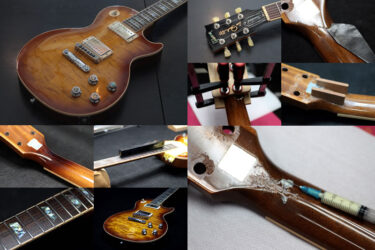
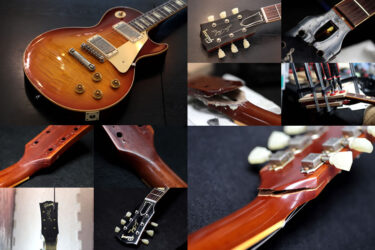
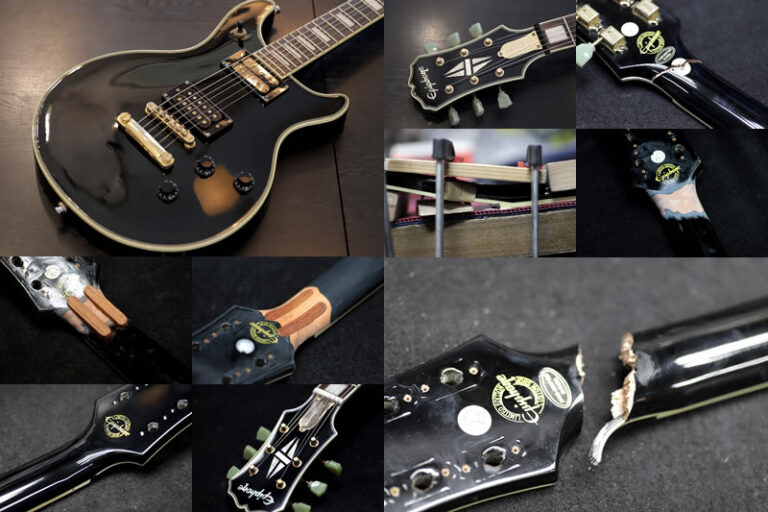
トリミング 塗装
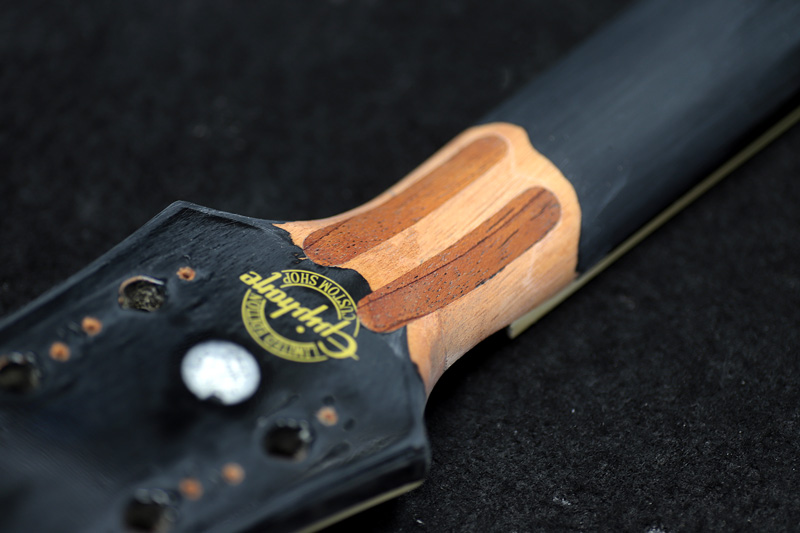
なんとかカスタムショップのロゴは残せました。
強度も問題無さそう。
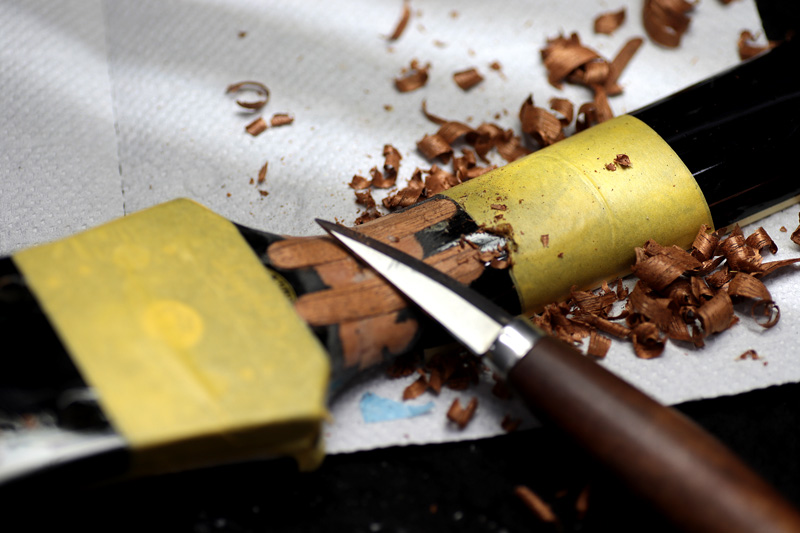
余分をトリミングし下地を整えます。
目止めも塗って、シーラー、着色、クリア塗装に入ります。
クリアが乾燥しバフ掛けを行った状態。
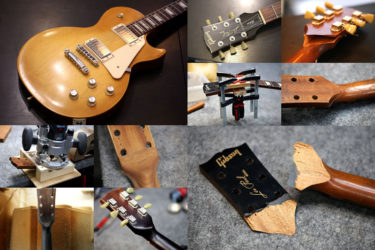
ナット製作
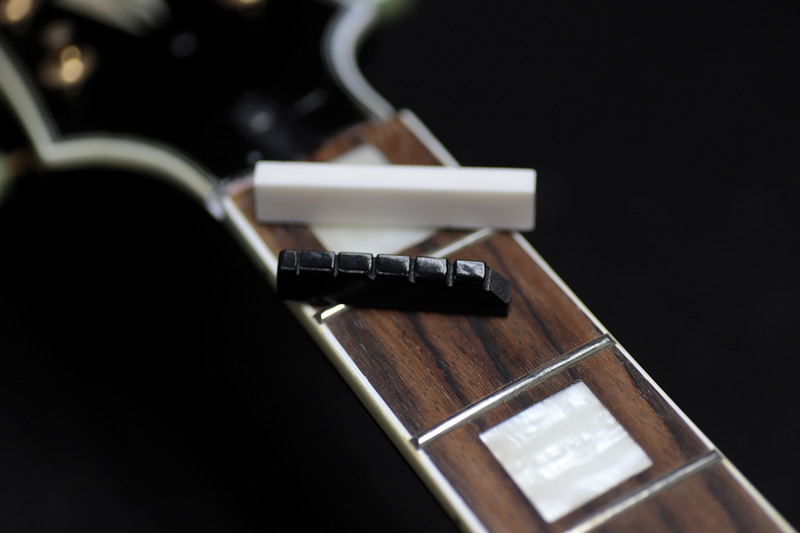
落としてネックを追ってしまった際にナットも欠けてしまったので、牛骨にて製作。

隙間なくフィットさせ
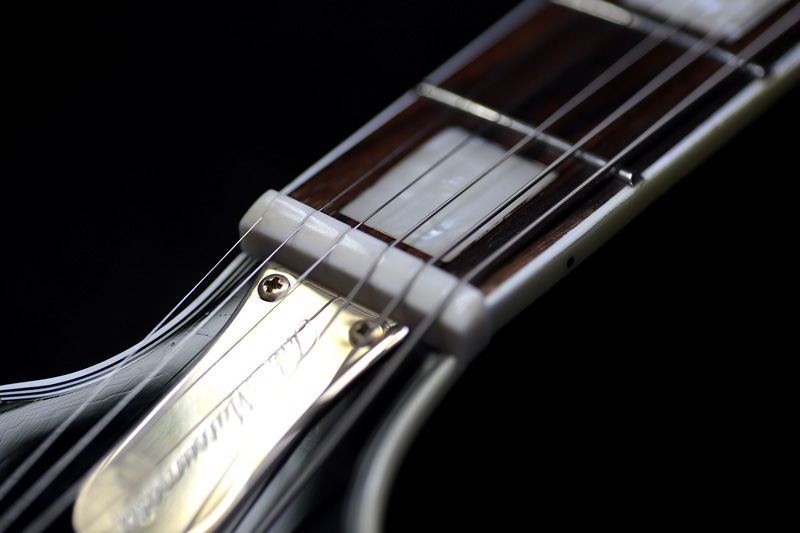
弦を張って溝の調整。強度も問題無し、チューニングも安定しています。
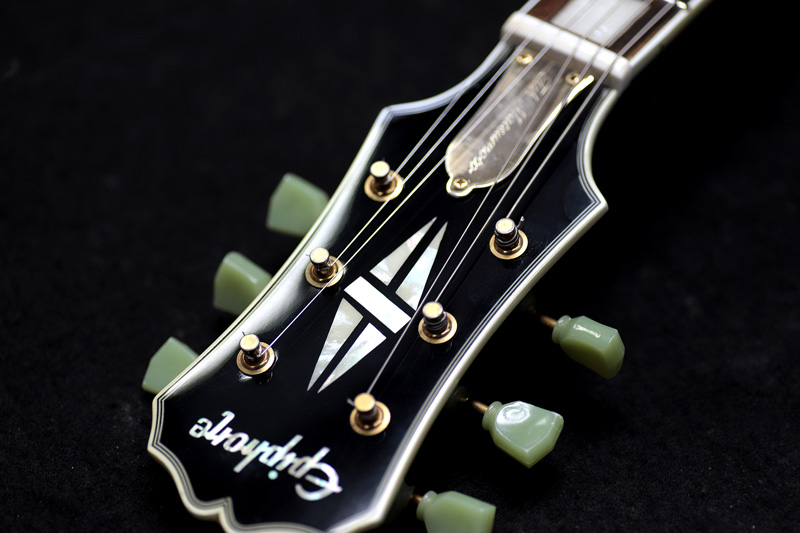
ヘッドも割れ目も塗装を行い、全体をクリア塗装しました。
かなりの複雑骨折でしたが、無事に手術完了。
ギター、ベース等の修理は お気軽にご相談下さい。