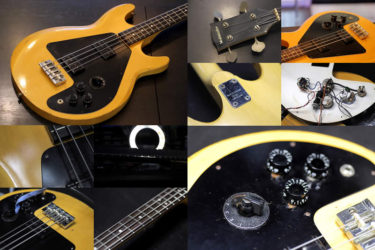
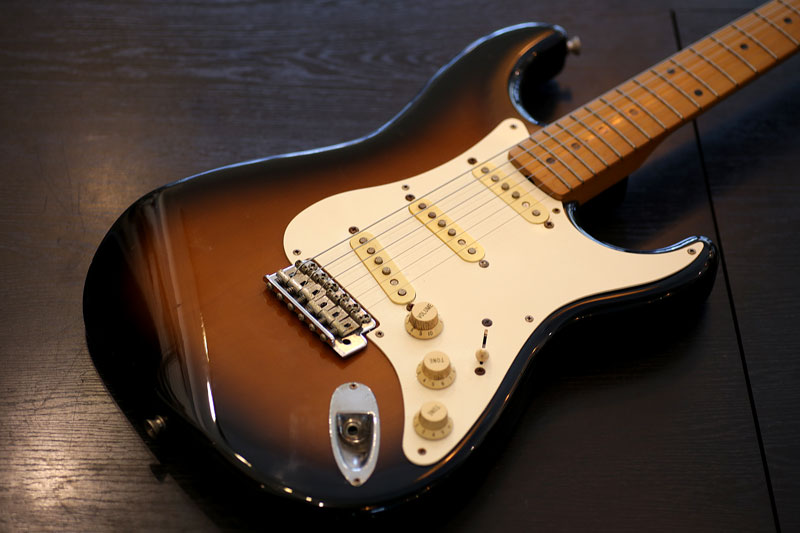
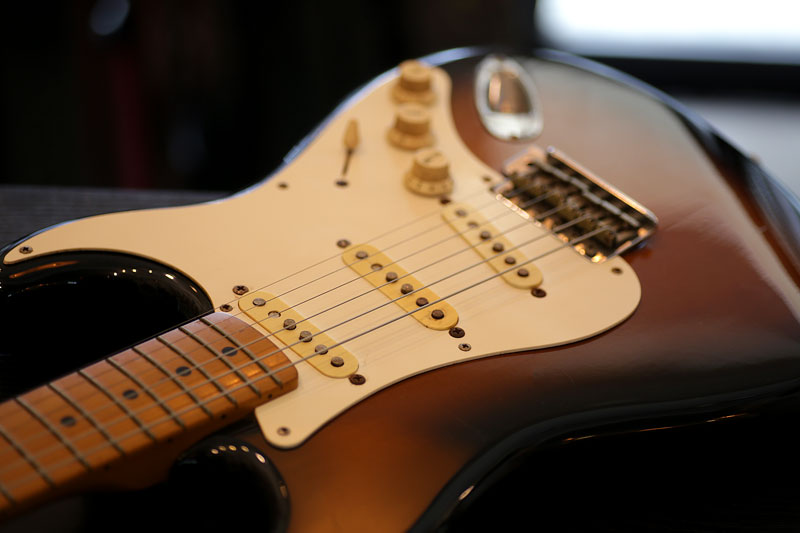
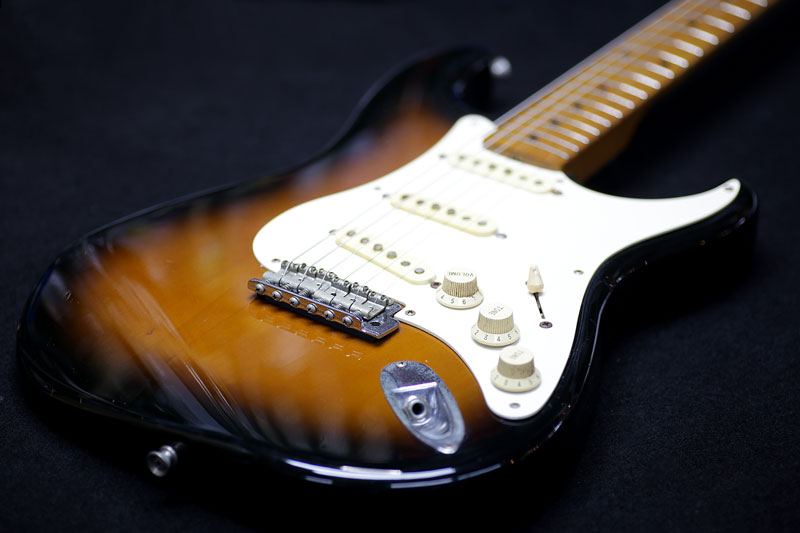
Fender Japan Stratocaster
Repair of the Day
Fender Japan Stratocaster – Potentiometer

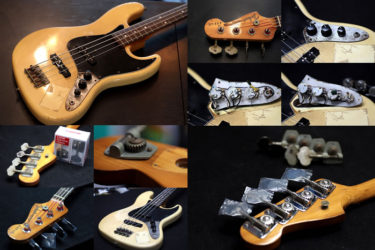
Fender Japanのストラトキャスター。
30年位前のモデルで暫く弾いていなかった、との事。
経年で退色していった感じで雰囲気出ています。
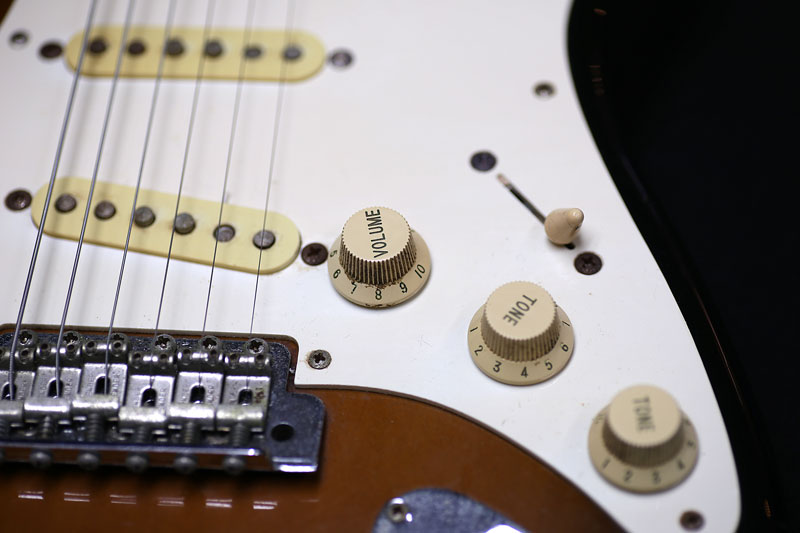
ポットを回しても回らないので交換しようと思い、ピックガードを外してみると・・・
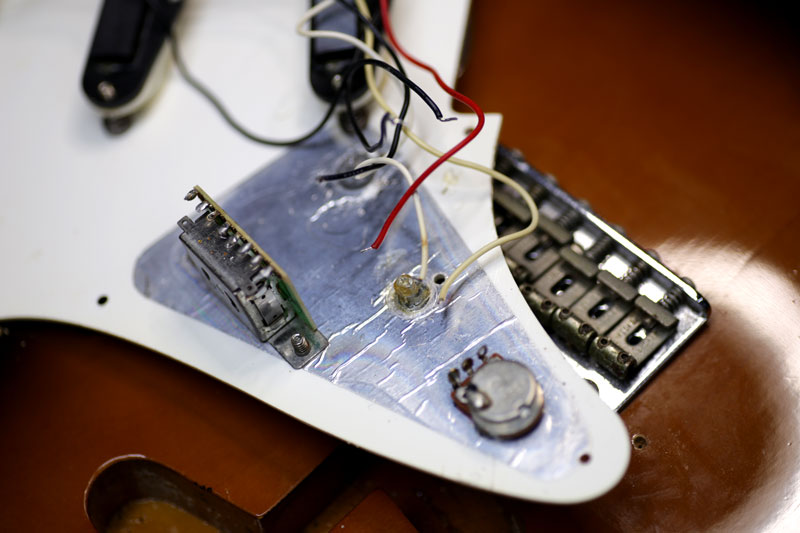
ポットが二つ無くなっており、トーンは配線されていませんでした(笑)
スイッチは生きていたのでそのまま流用。
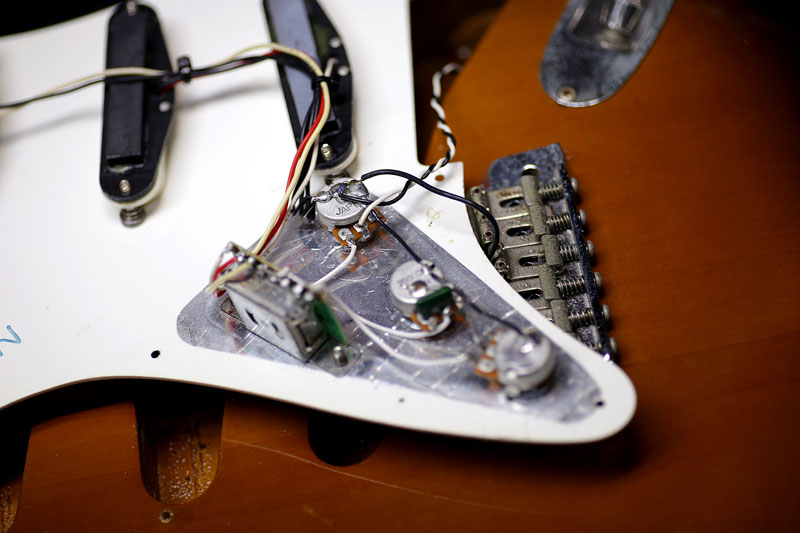
ポットは全て交換し配線しなおしました。
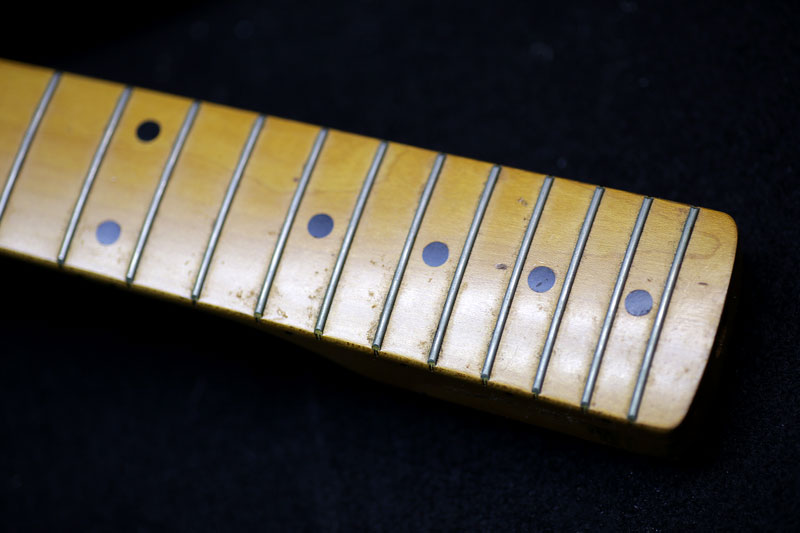
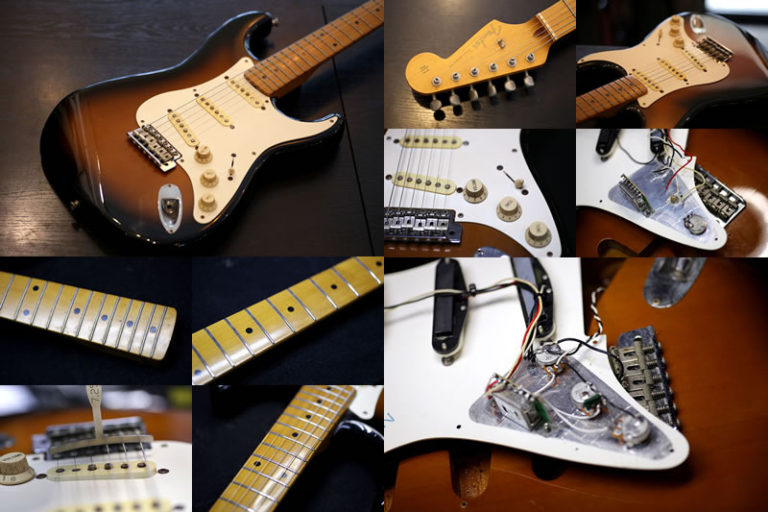
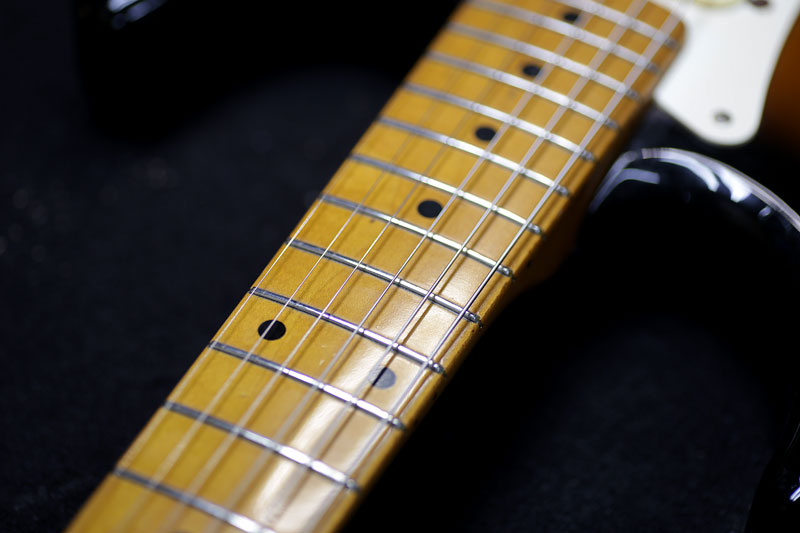
フレット、指板も暫く触っていなかったので、手垢、油、カビでいっぱい。
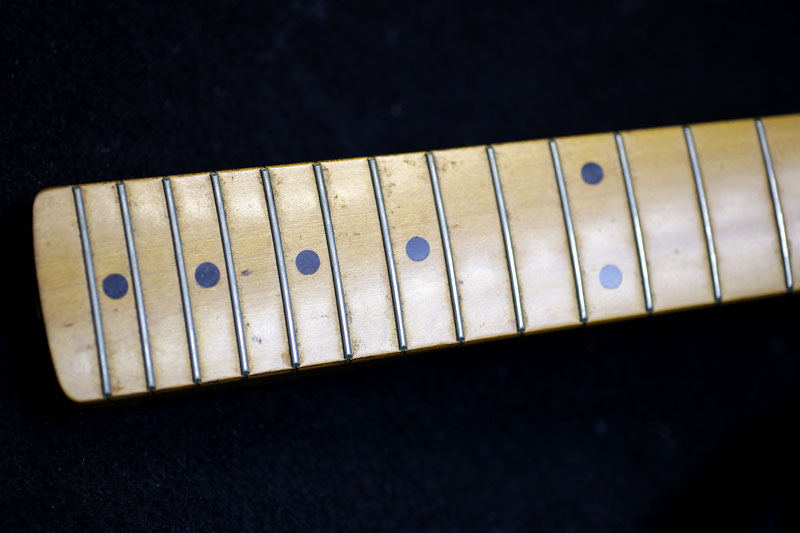
指板の塗装も艶が無いです。
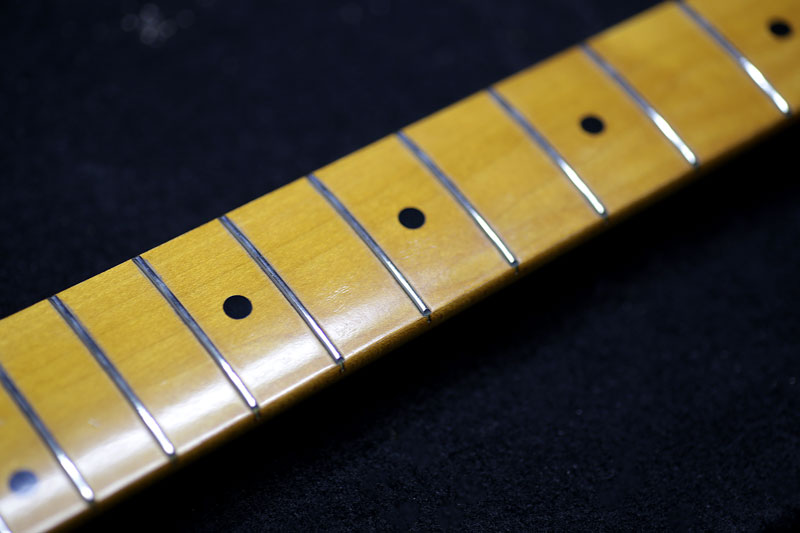
クリーニング後、バフ掛けしピカピカになりました。
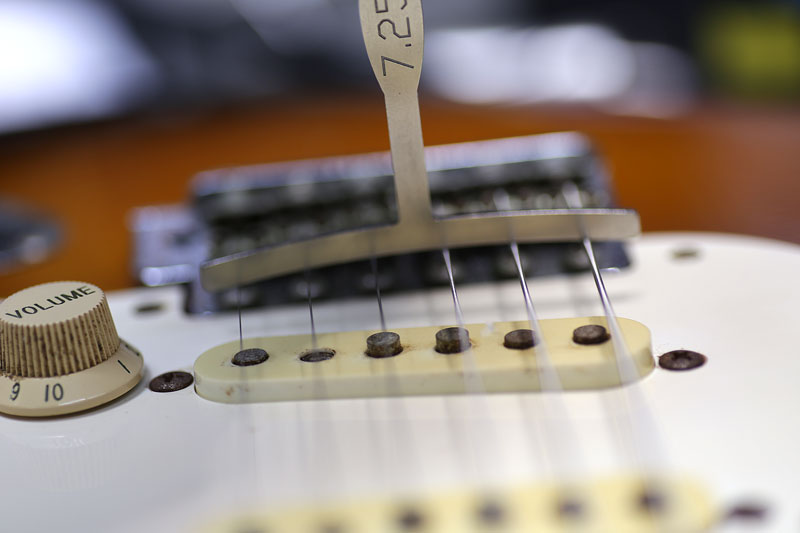
続いてブリッジ周り。
サドルの高さをネックのアールに合わせて調整。
ここを合わせないと音詰まりの原因になります。
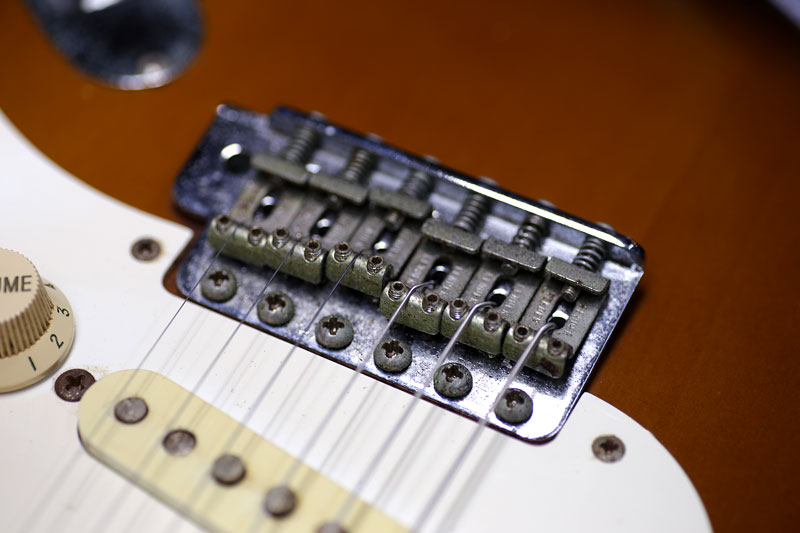
6点のネジも調整。
オクターブ調整も行いました。
ネックのトラスロッドを調整し弦を張り直し完了。
全体調整をしてどうなりますか?
との質問を頂く事があります。
全体調整で目指すのは、ギターの鳴りが最大限引き出せるようセッティングを出します。
全てのパーツが規定値になるように調整し直します。
ギター、ベース等の修理は お気軽にご相談下さい。
お願いいたします。