Guitar Repair of the Day
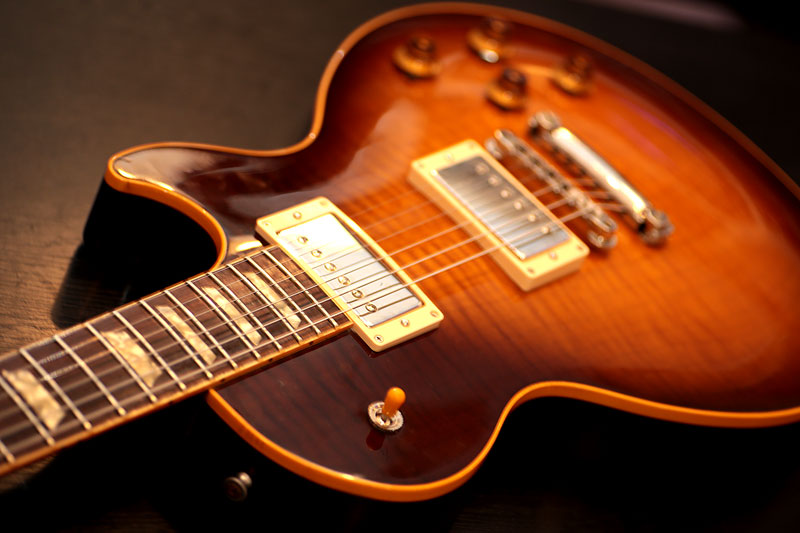
GIBSON Les Paul Standard
ギブソン レスポールスタンダード。
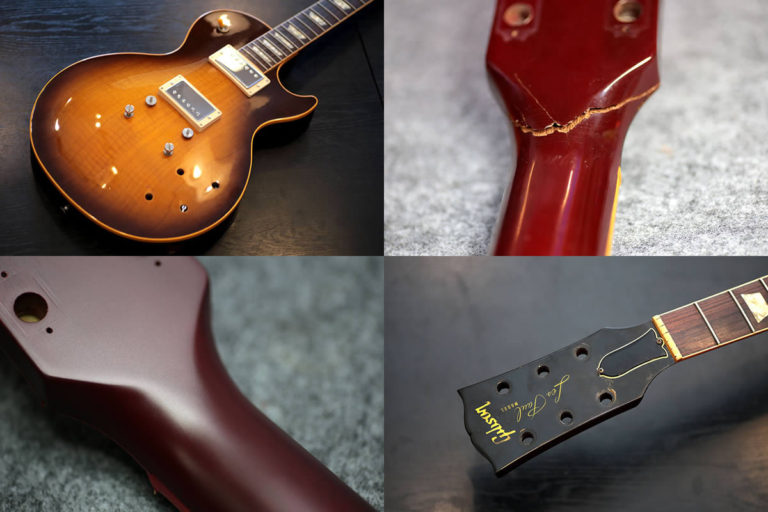
そんなに古い物では無いですが、ネックが折れてしまい長い事使っていなかったみたいです。
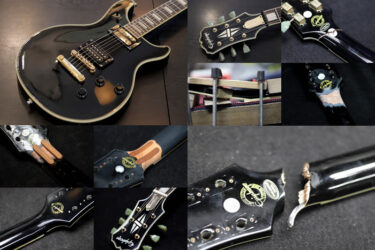
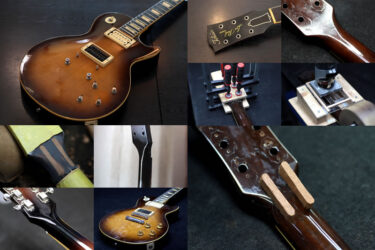
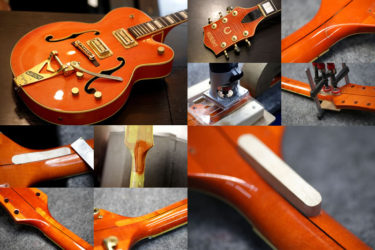
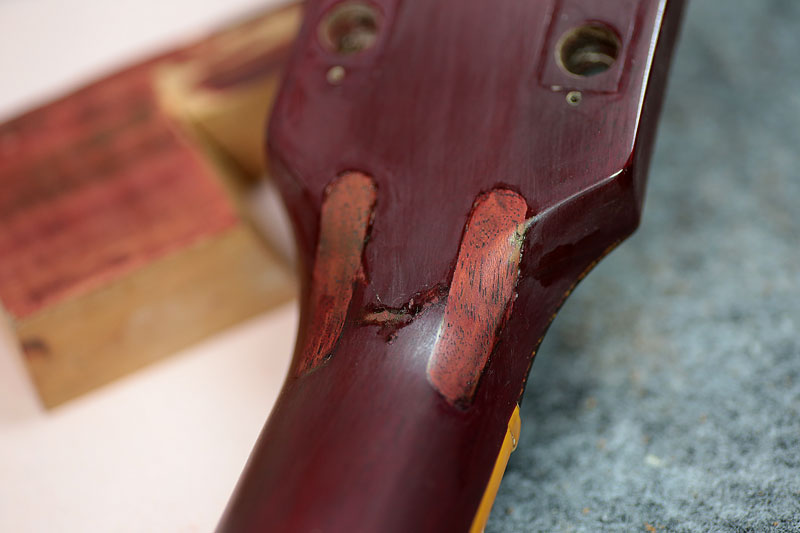
ネック折れ

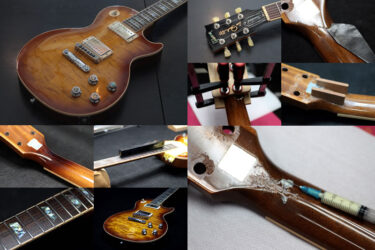
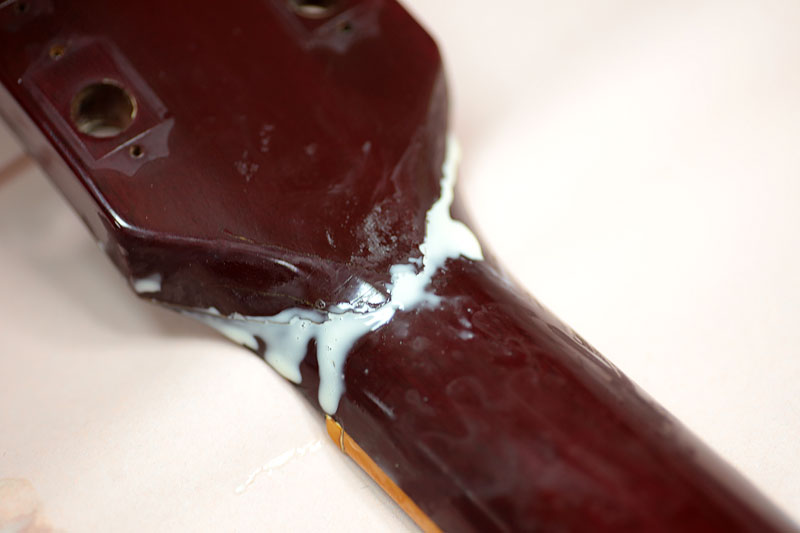
折れた断面ですが、かなり奥まで亀裂が入っています。

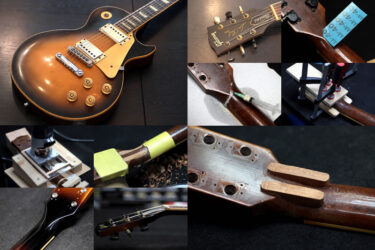
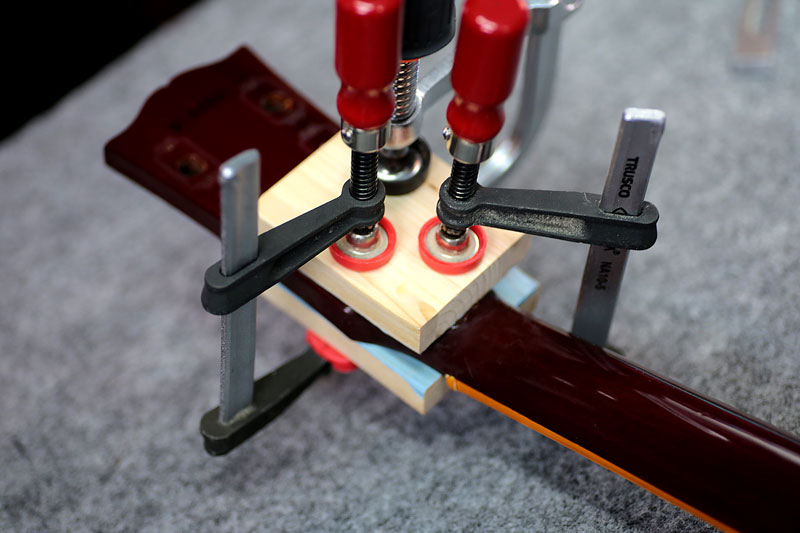
一旦タイトボンドを塗ってクランプし、数日間固着させます。
その後強度を見ながら、必要であれば補強を入れます。
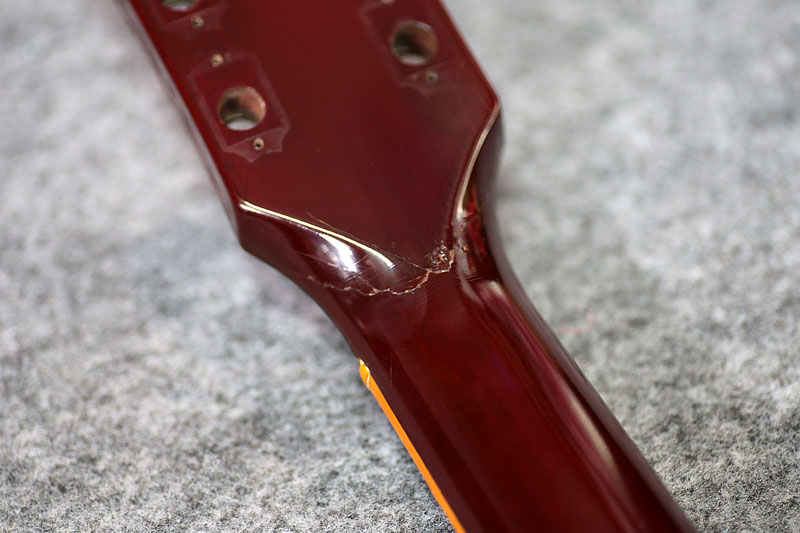
断面に開きも無く、完全にピッタリくっつきました。
但し亀裂部が深かったので、今回は補強材を入れます。
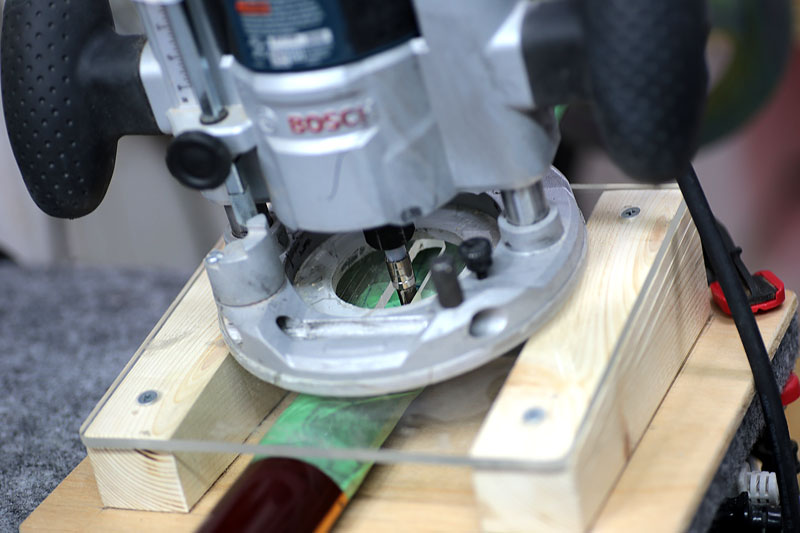
補強材
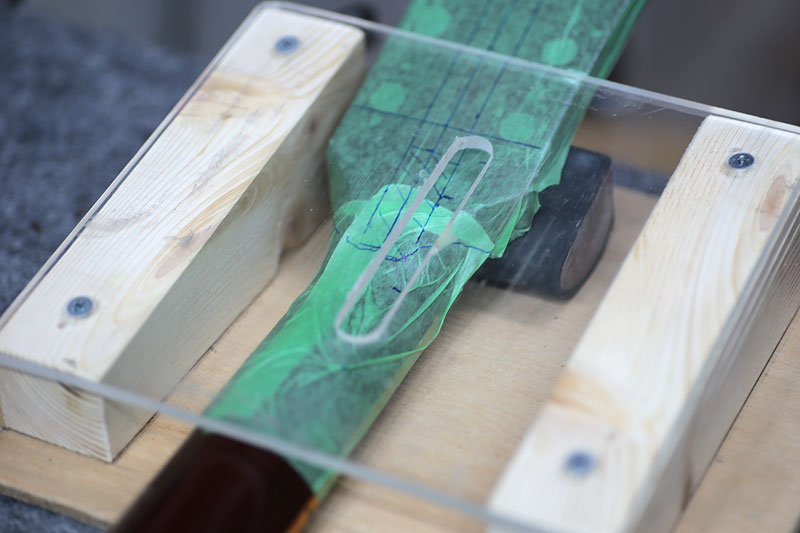
専用のテンプレートで補強の為の穴を開けます。
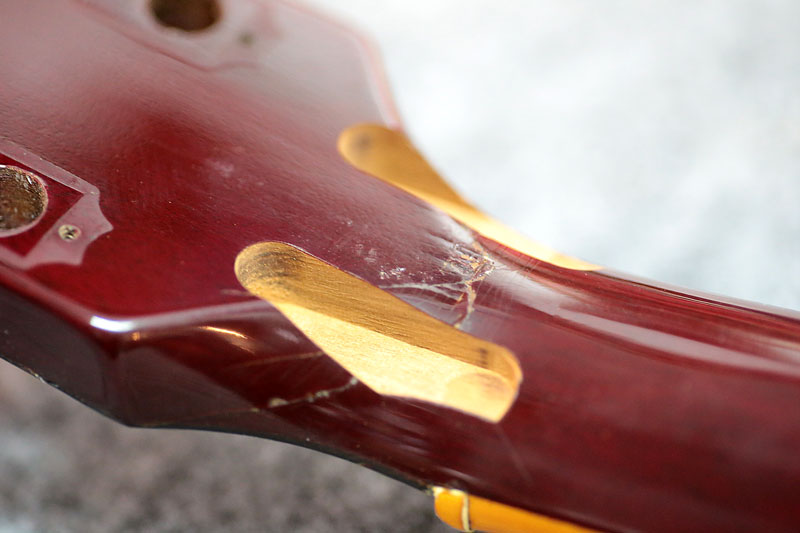
補強材を入れる為に開けた穴の断面を見ると、亀裂部分は綺麗にくっついています。
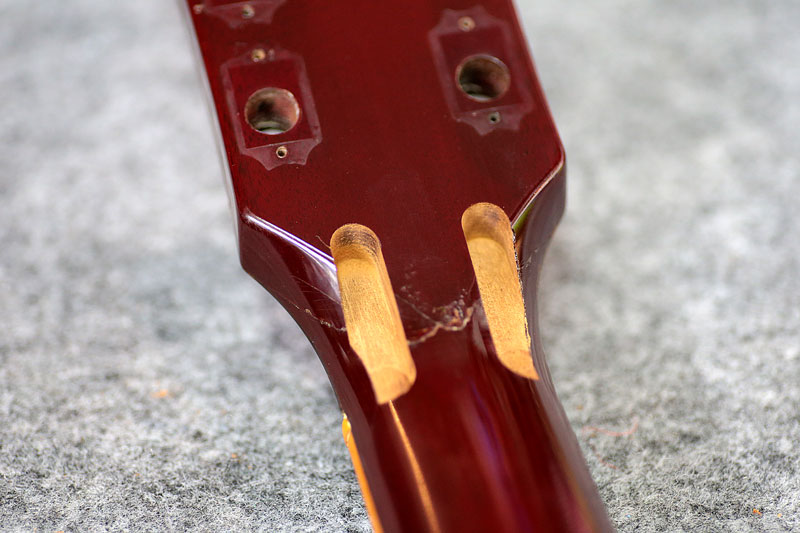
今回は、ネック材と同じく マホガニーの補強を入れました。
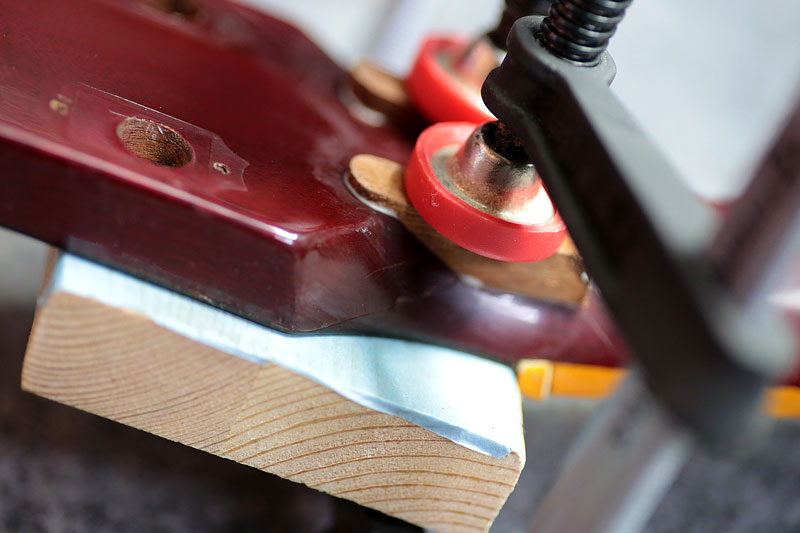
また数日クランプして固着を待ちます。
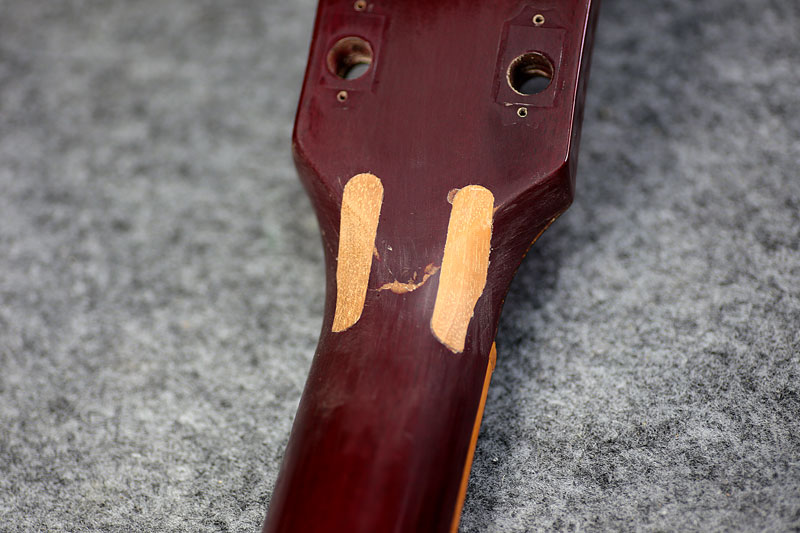
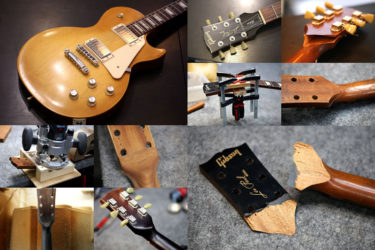
その後、ノミにて綺麗に成型。
着色・塗装
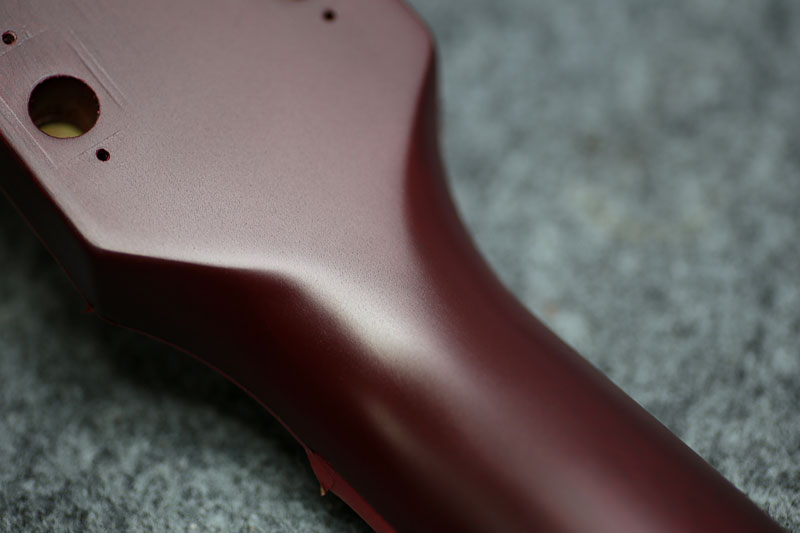
塗装の前に、生地着色。
元のマホガニーに似せるよう、導管を少しだけ手書きで追加。
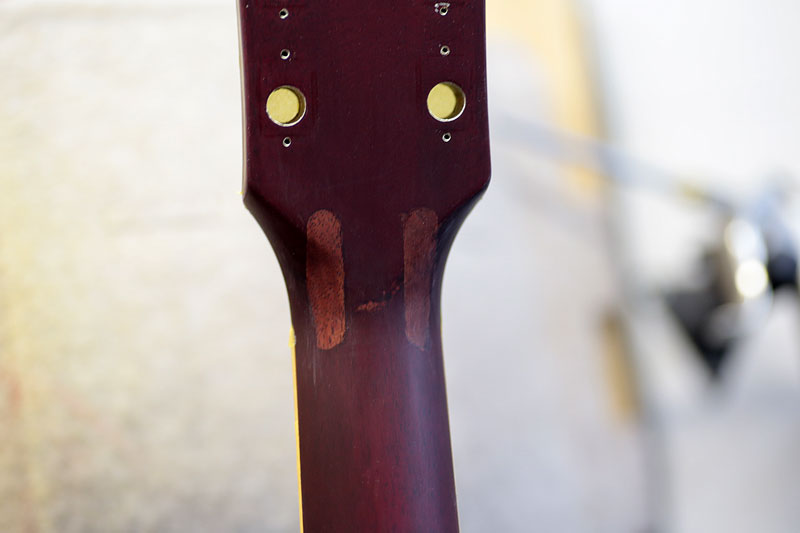
極力シースルーのカラーリングに仕上げるので、薄いチェリーレッドを調色し少しずつ重ねていきます。
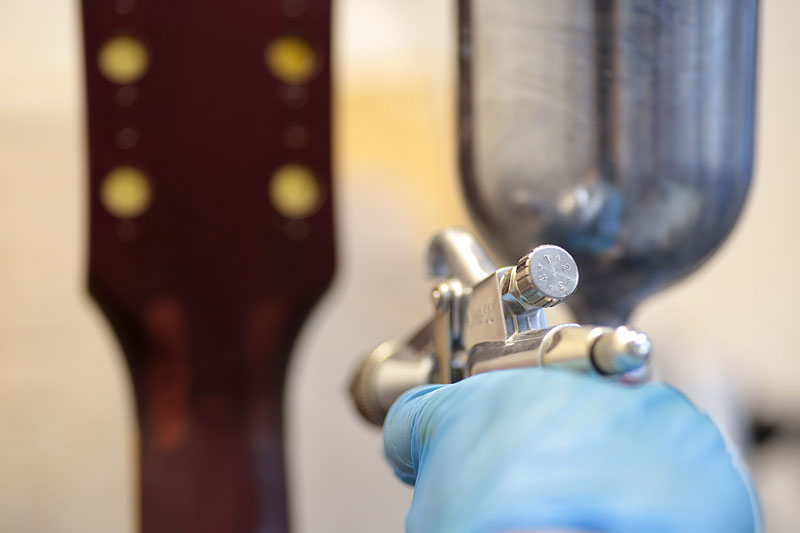
IWATA低圧ガンを使用。
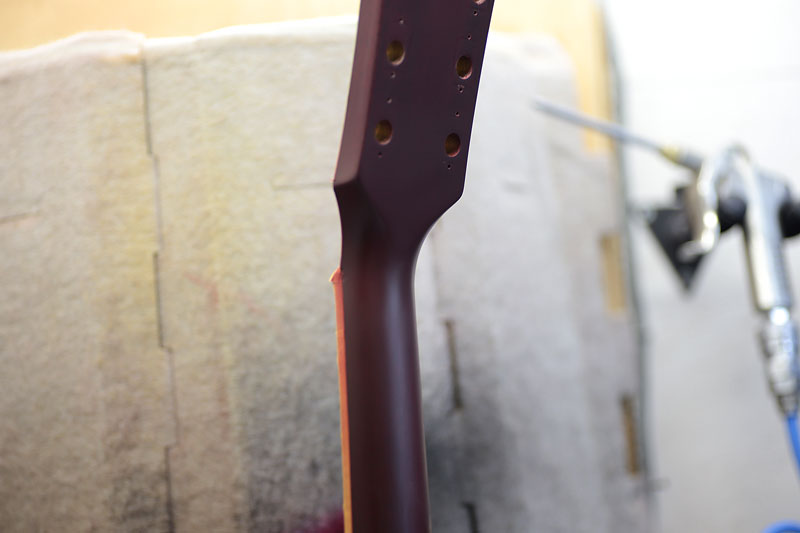
何度も何度も色味を確認しながら塗り重ねていきます。
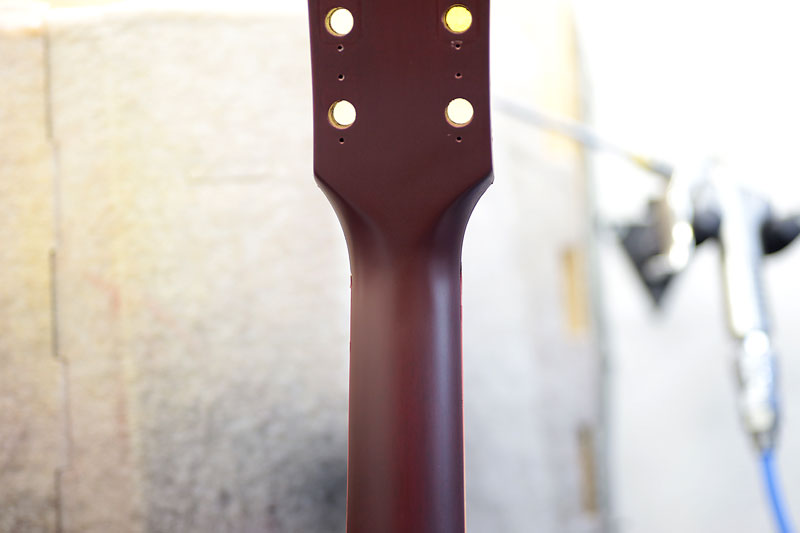
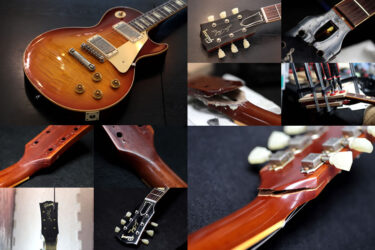
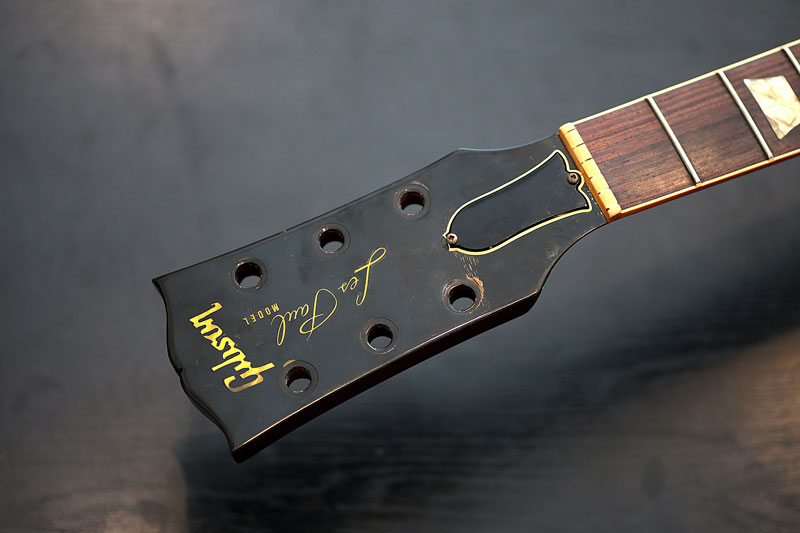
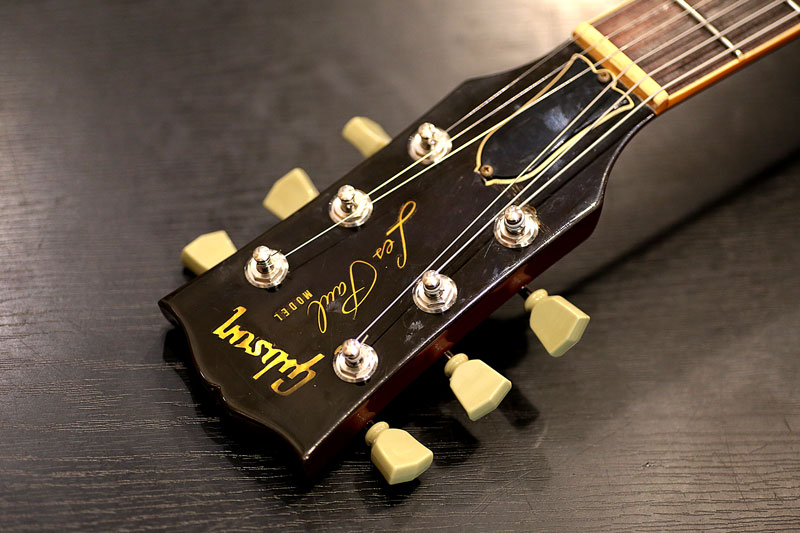
ほとんど継ぎ目が分からなくなりました。

アップで見るとこんな感じです。
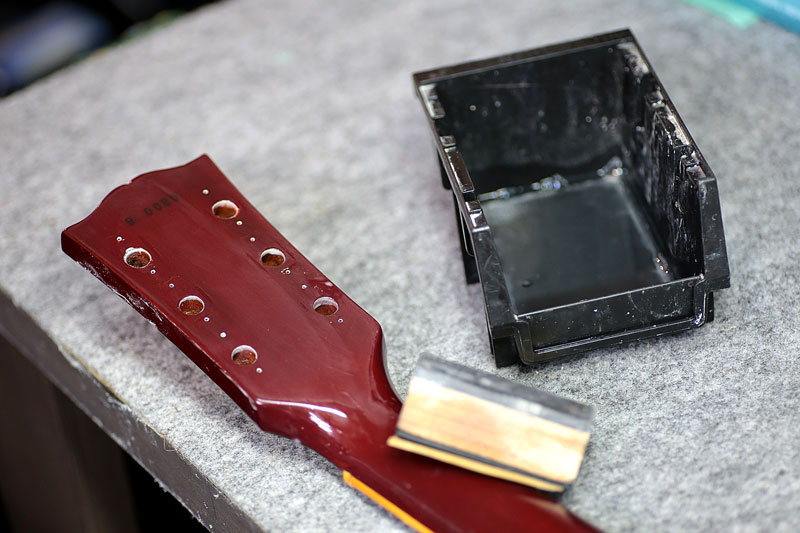
水研ぎ研磨をしてバフの準備。
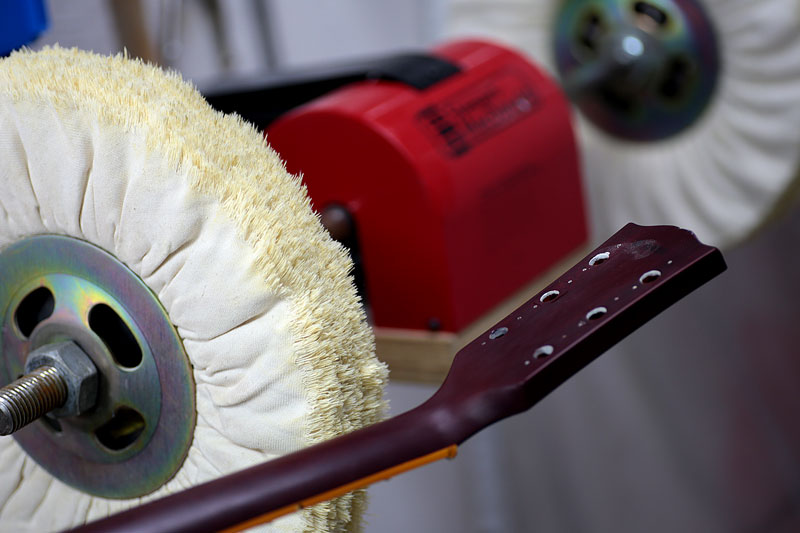
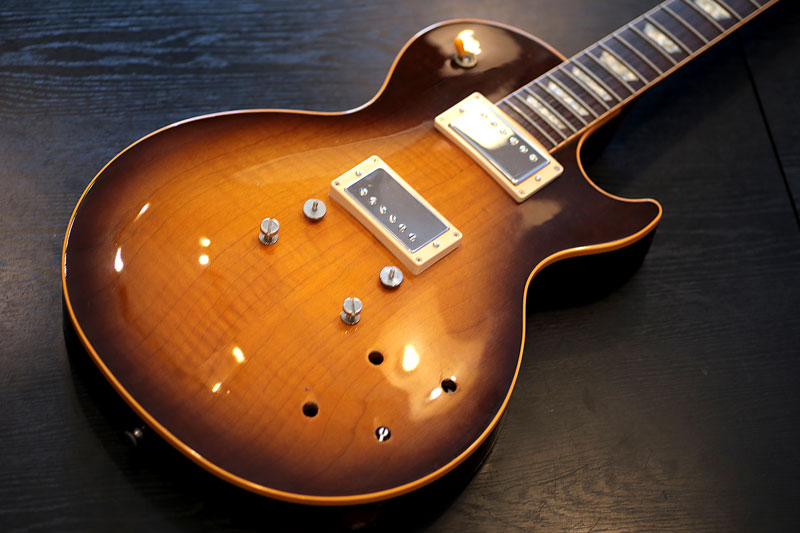
バフがけ
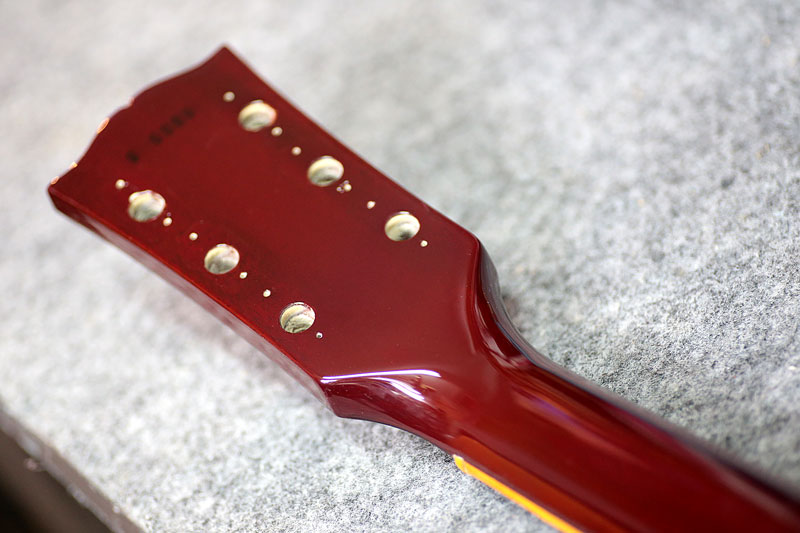
塗装完了です。
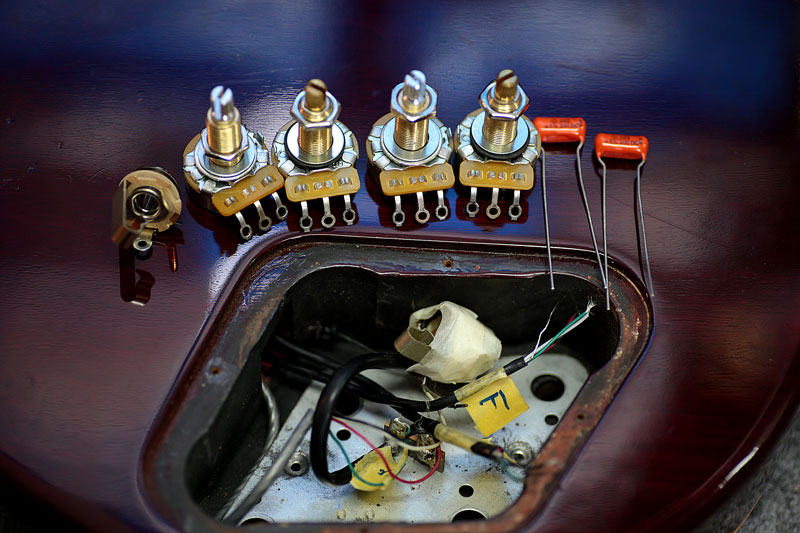
今回はコントロール内を全て入れ替えます。
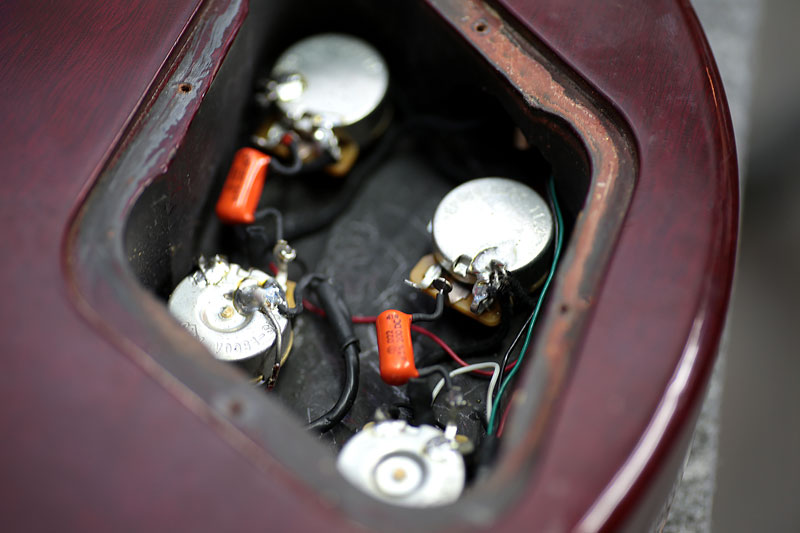
無駄な配線を省いて、半田も最小限に。
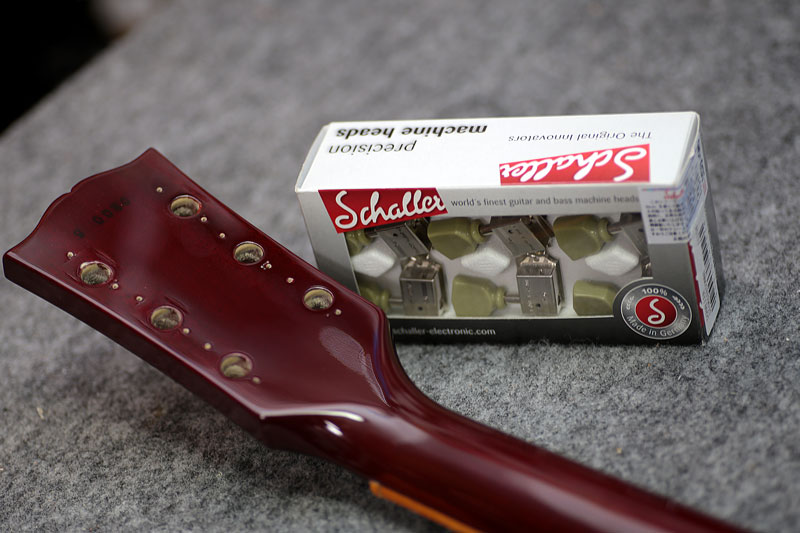
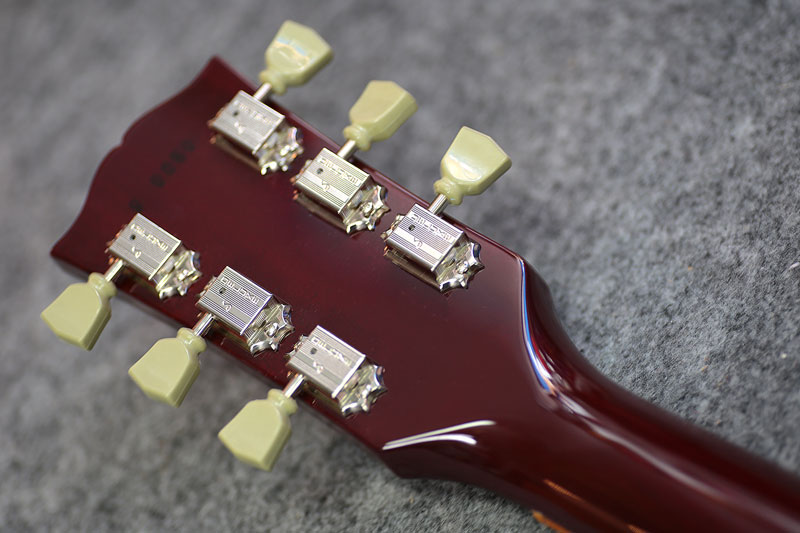
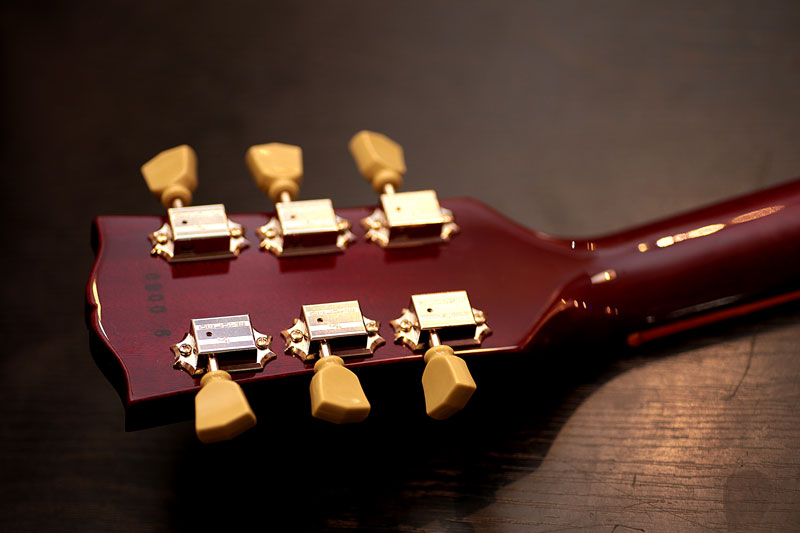
ペグはお客様のお持ち込みで、シャーラーのペグを付けました。
ネック折れの場合、方法・工程にもよりますが、ほとんど修復可能です。
もし折れてしまったら、直ぐに弦を外し(緩めるだけでもいいです)修理に出したほうがいいです。
当店の場合、塗装をしなければ修理代が2万円で収まるケースが多く、補強+塗装を入れても4万円代で済む事がほとんどです。(他店は6万円以上する事も)
折れた部分の色合わせも、今回のケースのようにほとんど同じカラーリングで仕上げ可能です。
言われなければ分からない位、自然な仕上がりです。
折れたまま押し入れに仕舞っている方も多いようで、中には25年間直していなかった方もいらっしゃいました。
是非ご相談下さい。
修理内容のご相談、金額の確認、などお気軽にお問い合わせ下さい。
メールの方は こちら から
宜しくお願いいたします。
ギター、等の修理は お気軽にご相談下さい。
お願いいたします。