Guitar Repair of the Day
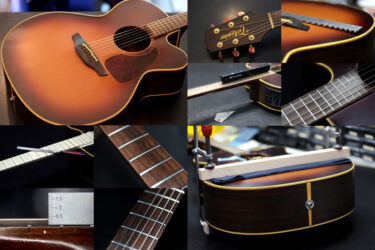
GIBSON J-200 100th Anniversary

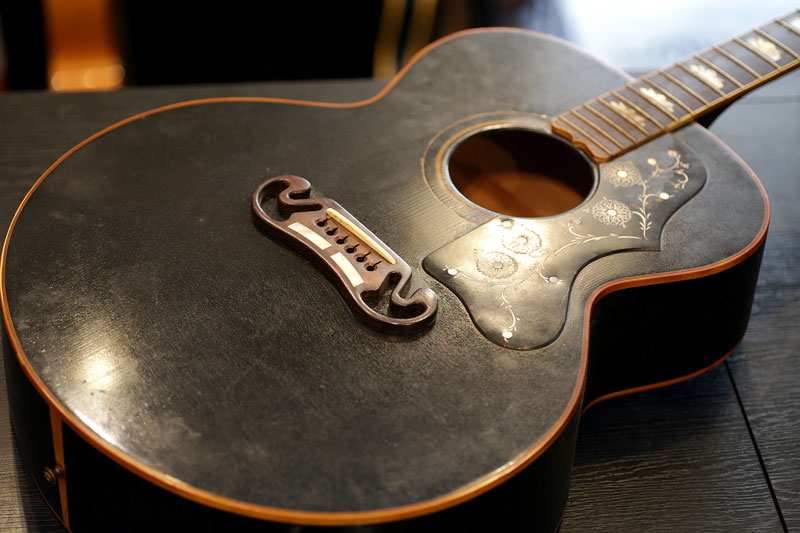
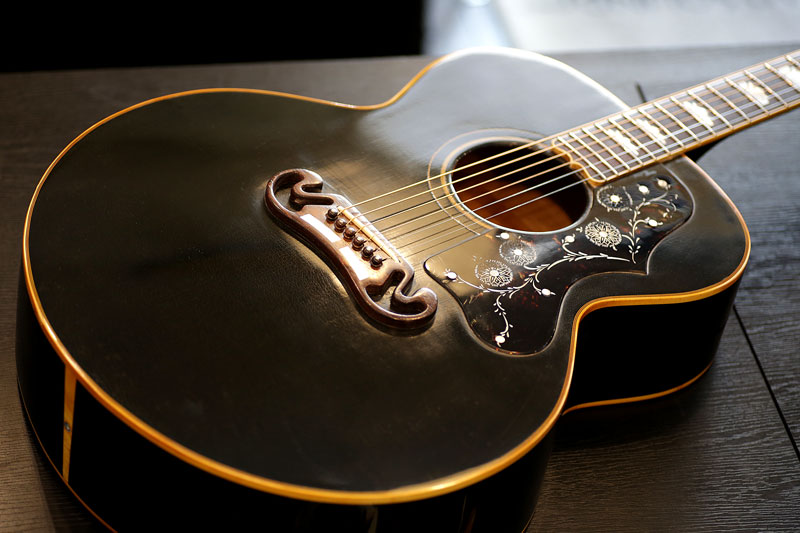
1994年ギブソンの100周年記念に発売されたJ-200。25年を経て写真のような風貌に・・・
ウェザーチェックは避けられないとしても、トップのクリアーが飴色に焼け溶けてひび割れボロボロになっていました。
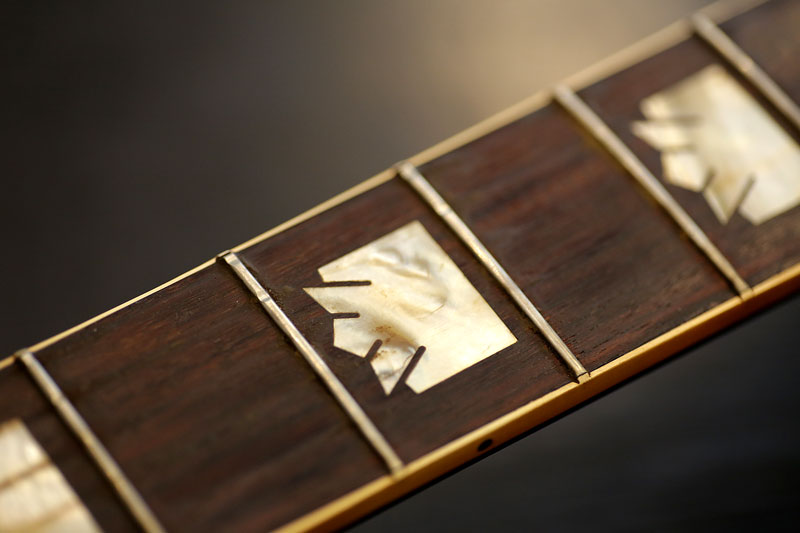
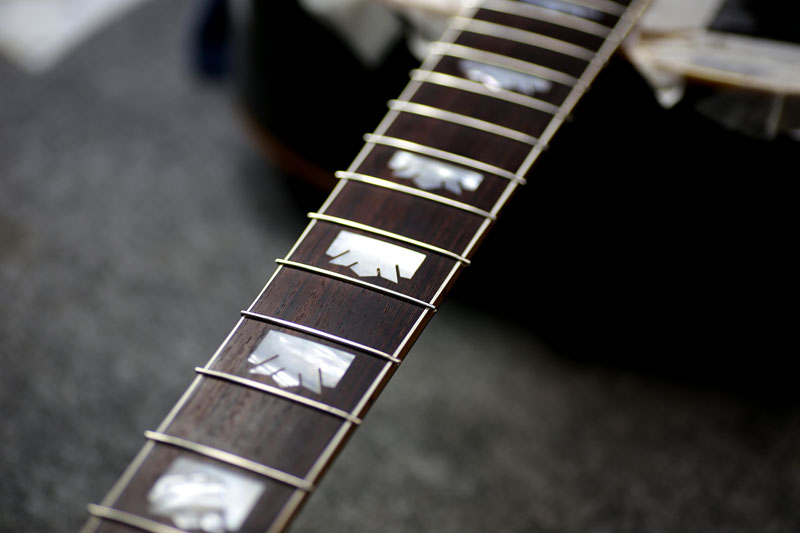
フレットは減って殆どフラットになっていました。
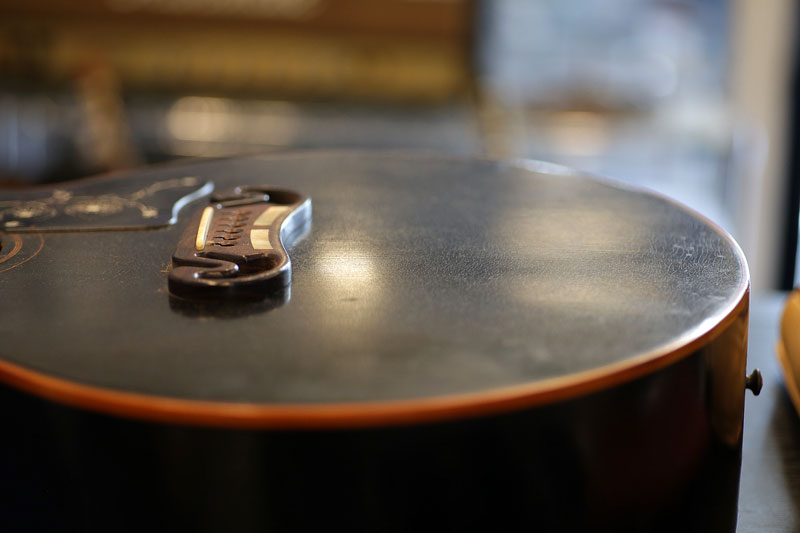
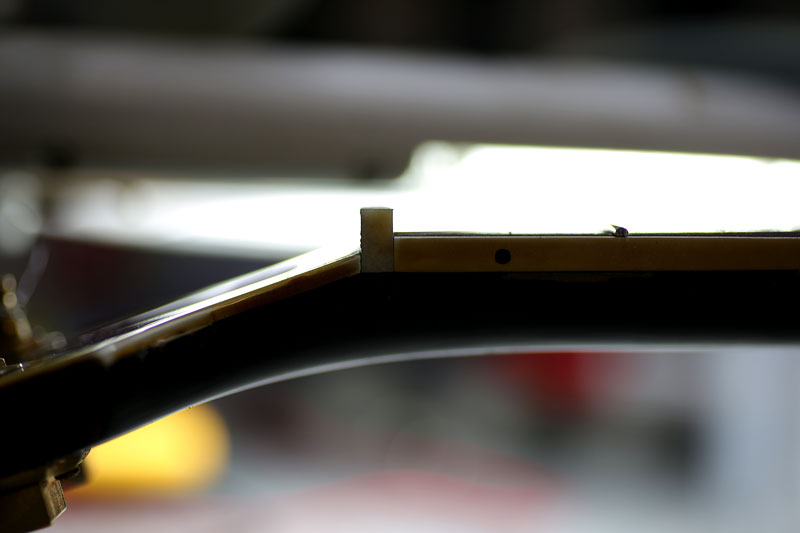
TOPブリッジ付近が浮いています。
内部のブレーシングに数か所浮きがあり、トップ板が支えきれなくなり、盛り上げってしまったようです。
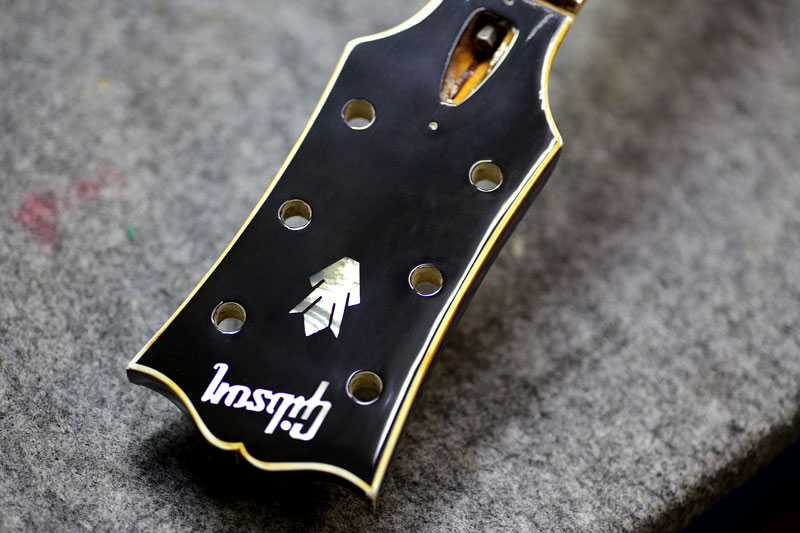
再塗装・ オーバーラッカー
先ずは塗装から。
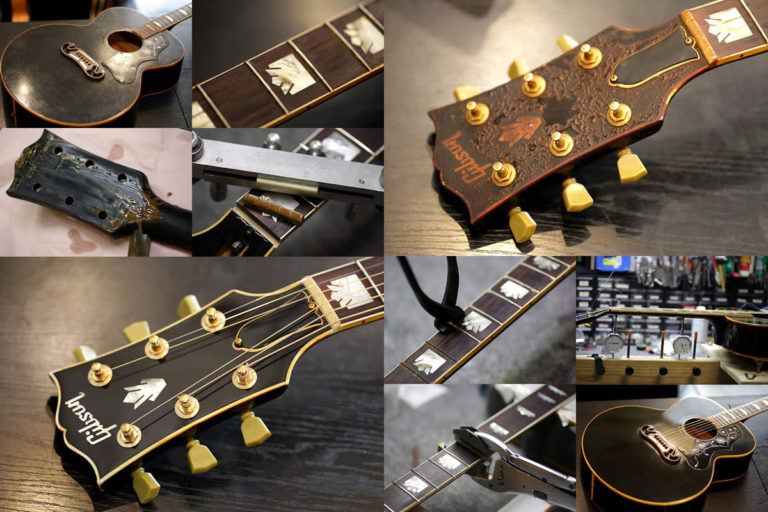
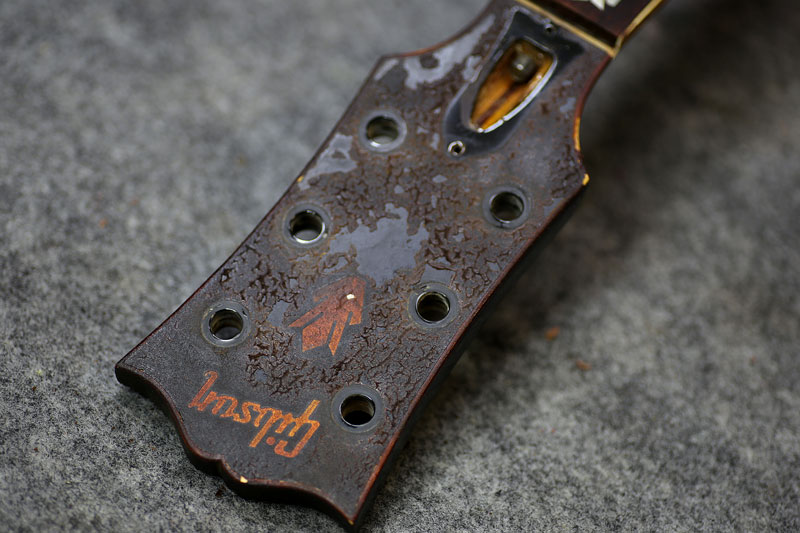
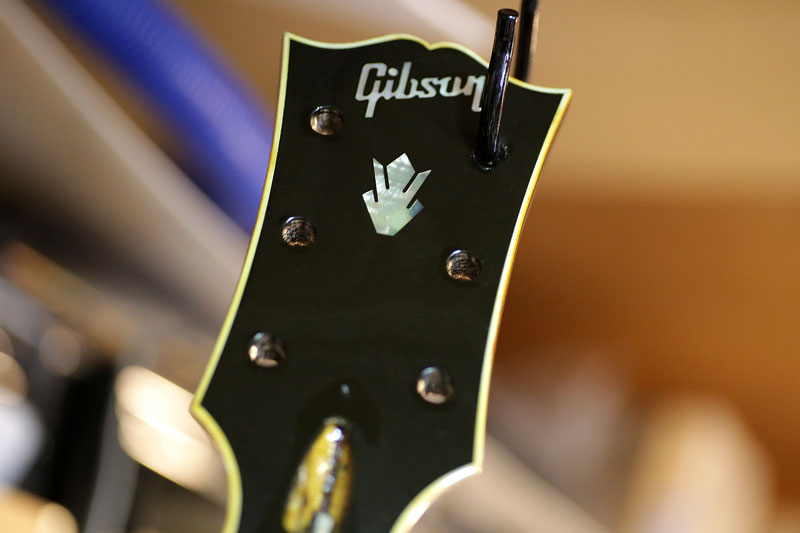
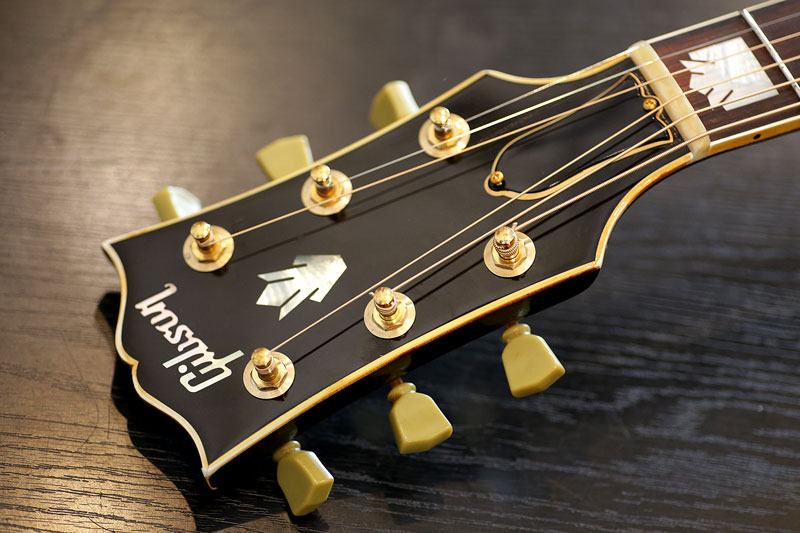
このボロボロのヘッドトップ部。
塗装を少しずつ剥がしていきます。
サンディングシーラー部までは剥がさず、汚く浮いているトップコートのみを綺麗にします。
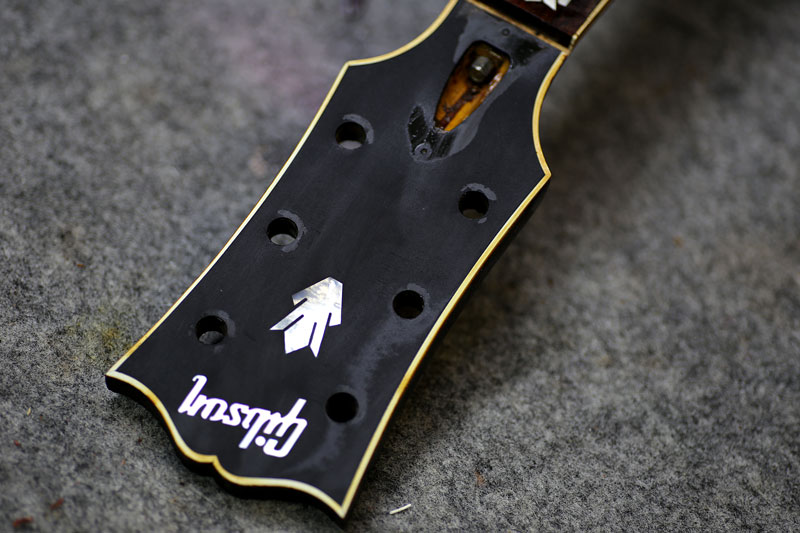
裏側も水研ぎ研磨してみると、ご覧のような色に・・・
ヤニ、油、埃、などが混ざっているのでしょう。
とてつもない匂いです。
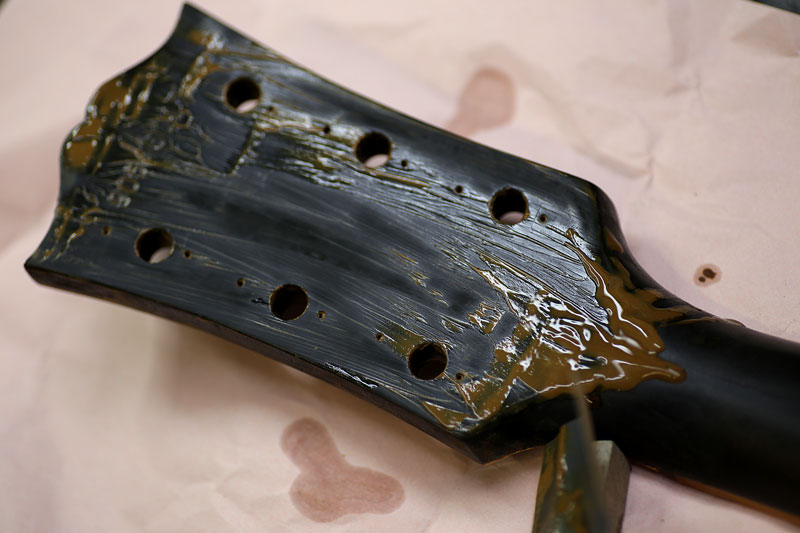
軽く何度かオーバーラッカーをします。
薄く数回重ねました。
硬化を待って研磨します。
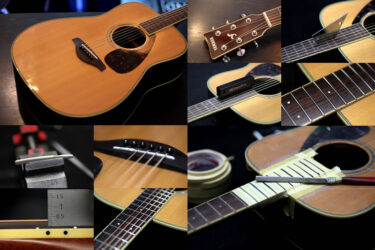
フレット交換
その間にフレット作業。
1本ずつ抜いていきます。
抜き終わったフレット。
ほとんど残っていませんでした。
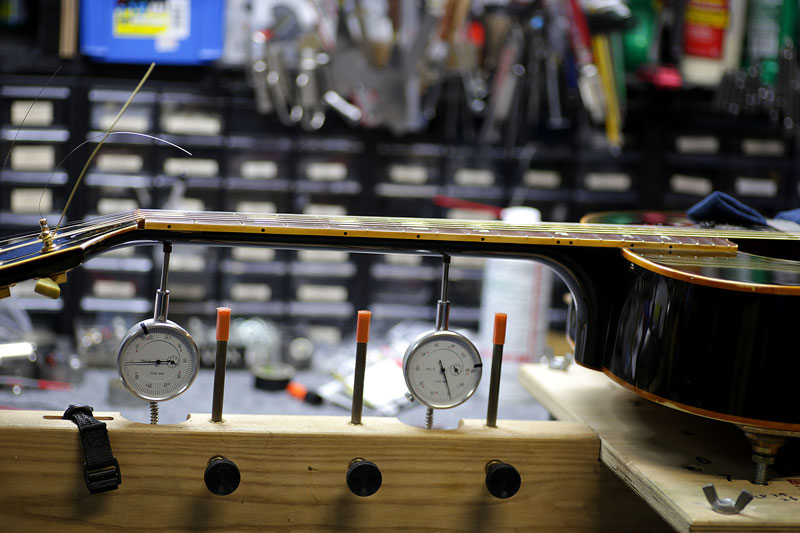
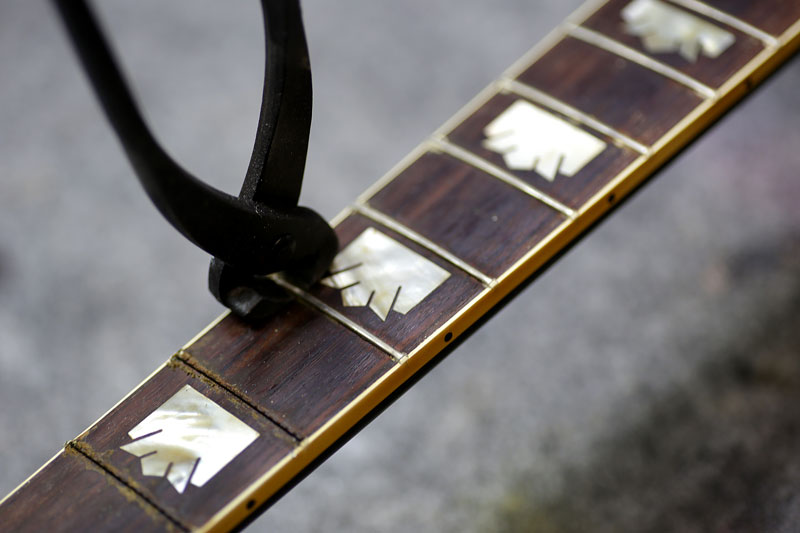
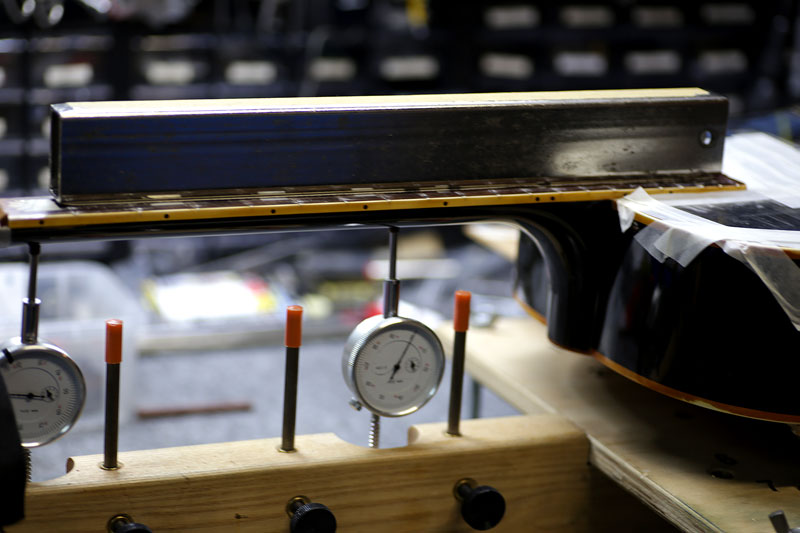
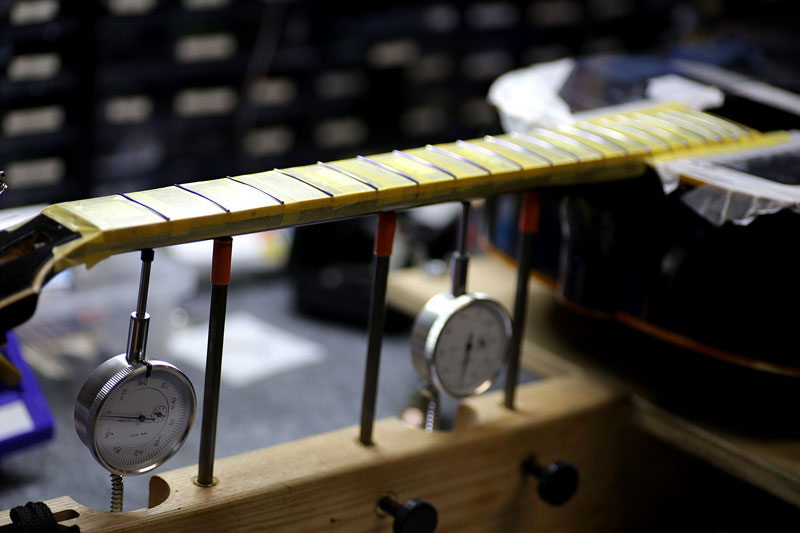
その後ネック冶具にセットし、弦を張ってネックにテンションを掛けた状態(弾くときと同じ状態)にして、指板を研磨します。
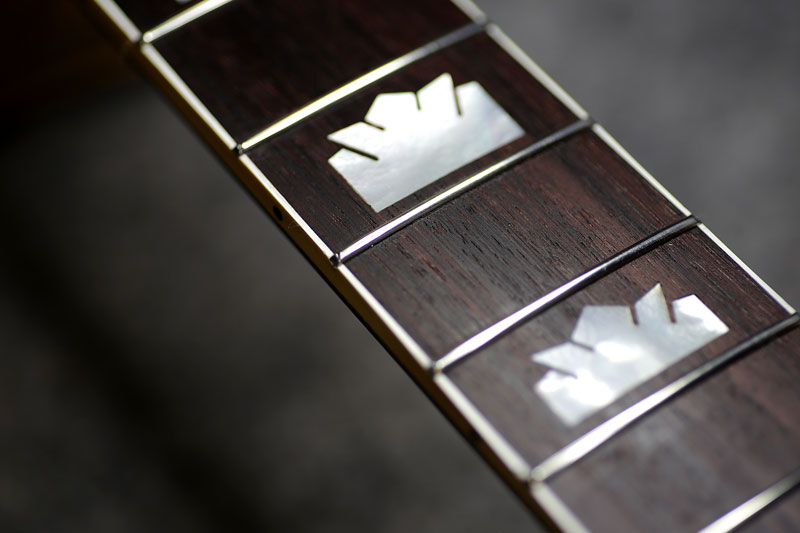
25年も弾いていると、指板はボコボコの状態になります。
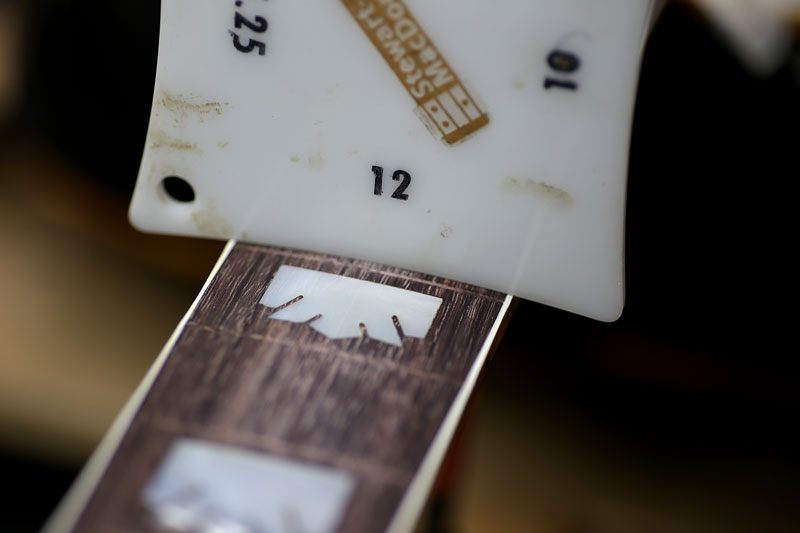
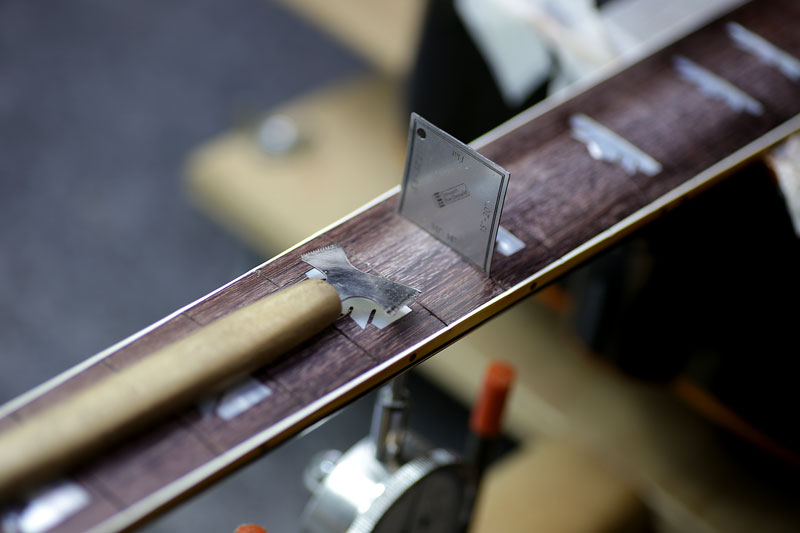
ラジアス値は12インチ。
均一にアールがつくように、12インチのブロックで研磨していきます。
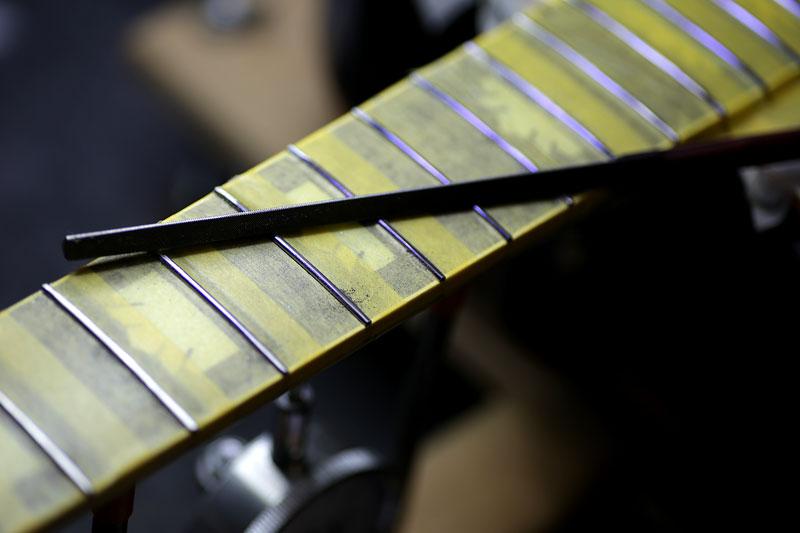
整ったところで、フレット溝の深さを調整。
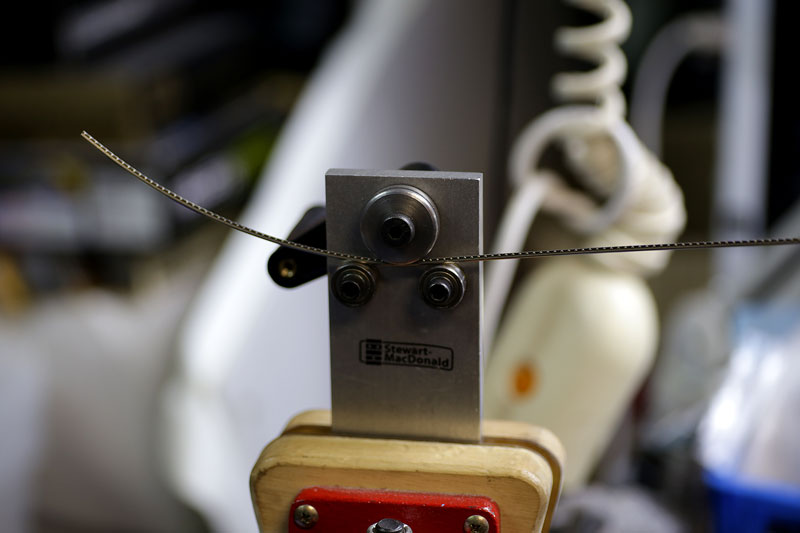
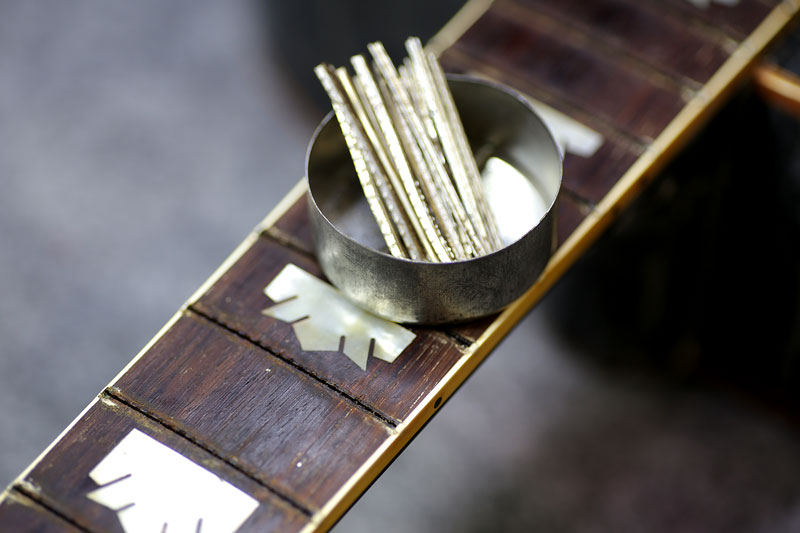
ギブソンサイズのフレットを、12インチのアールに合わせて曲げます。
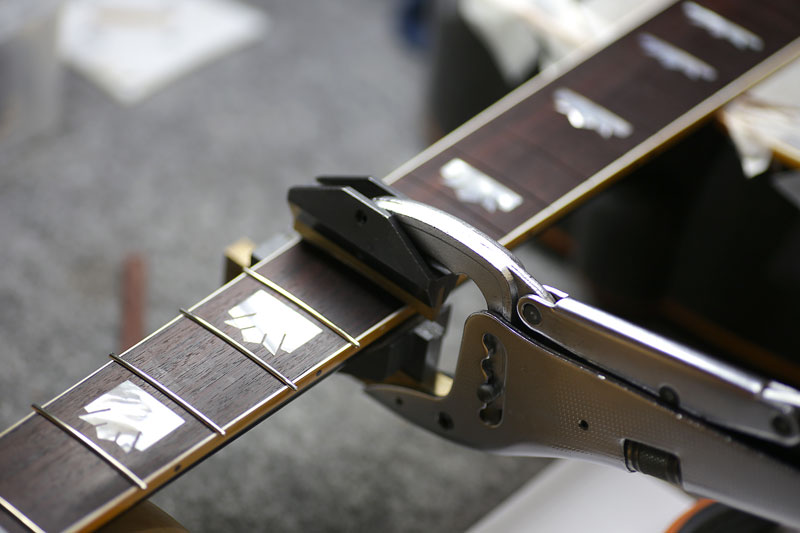
ローフレットはプレスで打ち込んでいきます。
ネックエンド付近は、ご覧のような冶具で打ち込みます。
フレットを打ち終わった状態。
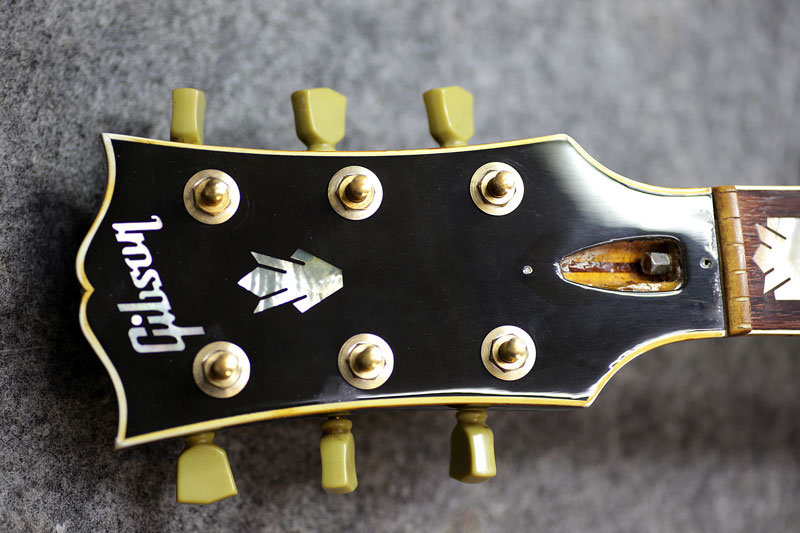
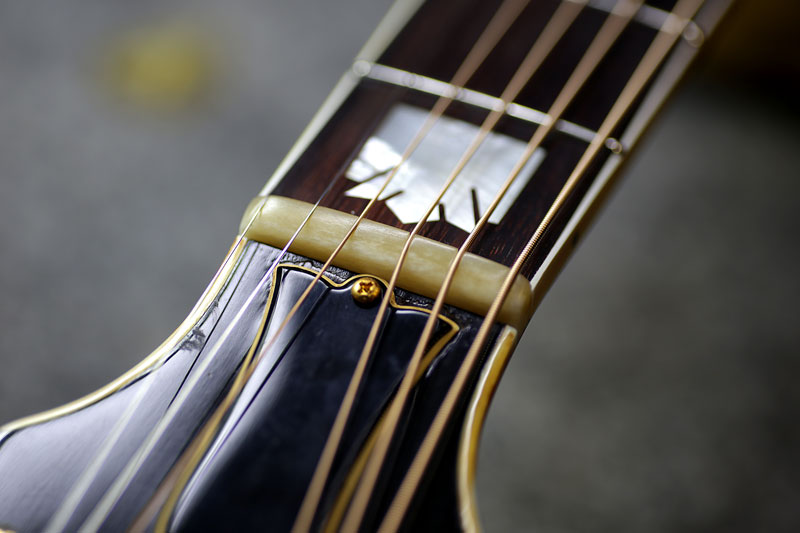
ナット交換
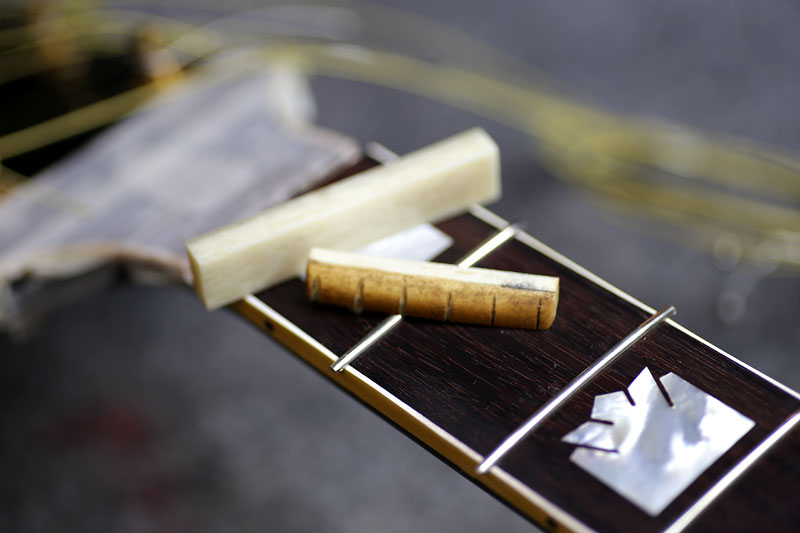
フレットの研磨前に、ナットを仕上げます。
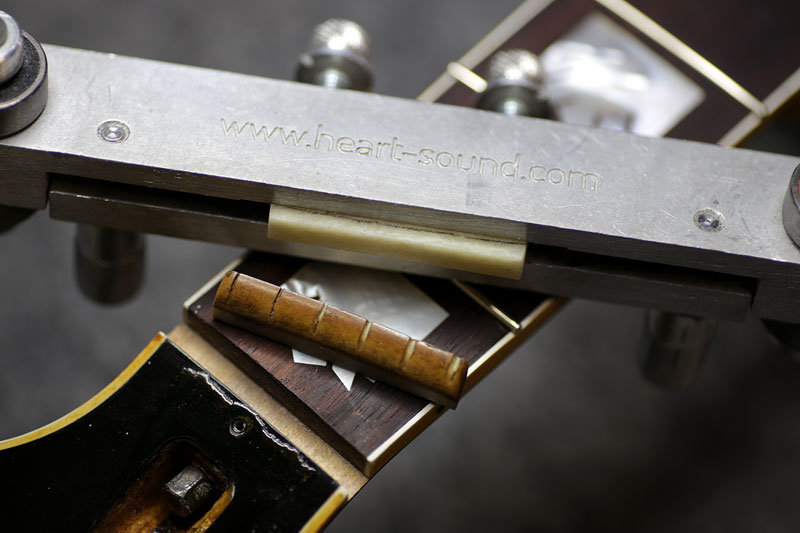
牛骨をご覧のような冶具にセットし
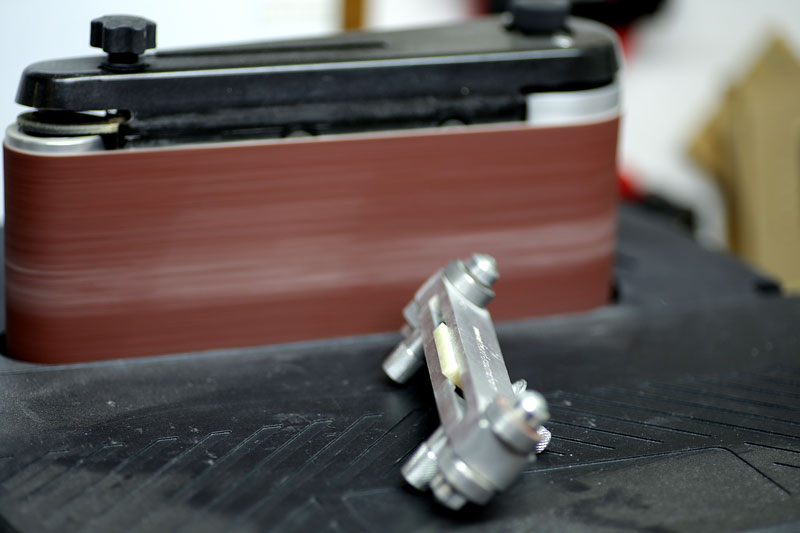
ベルトサンダーで余分な部分を落とします。
何度も何度も底面を確認し、ナット溝にピッタリ隙間無く納めます。
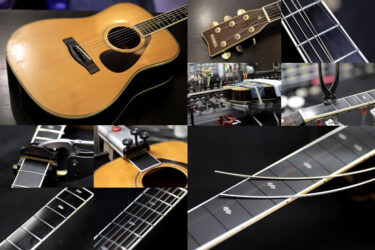
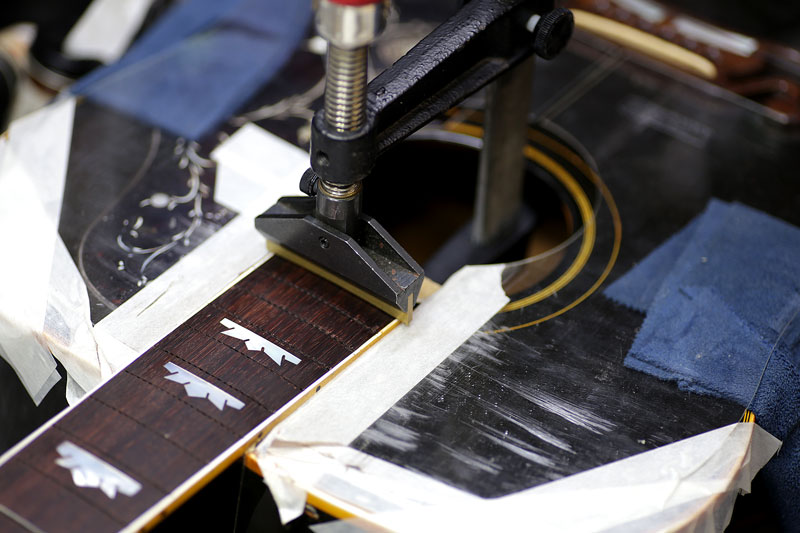
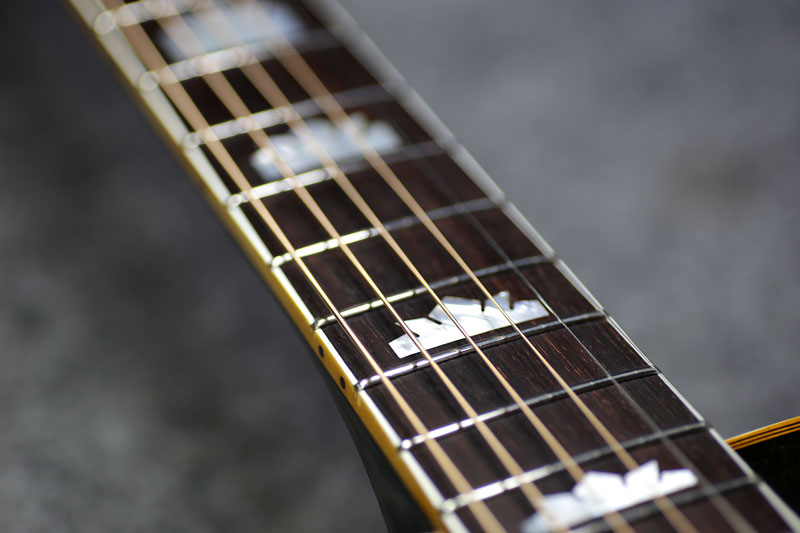
フレットすり合わせ
フレット研磨
高くなった部分を落とし、全体を揃えます。
ネック冶具にセットして使用する弦のテンションを掛けて作業を行うので、弦を張った後のフレットのガタツキは殆どありません。
研磨、コンパウンドを経てピカピカに。
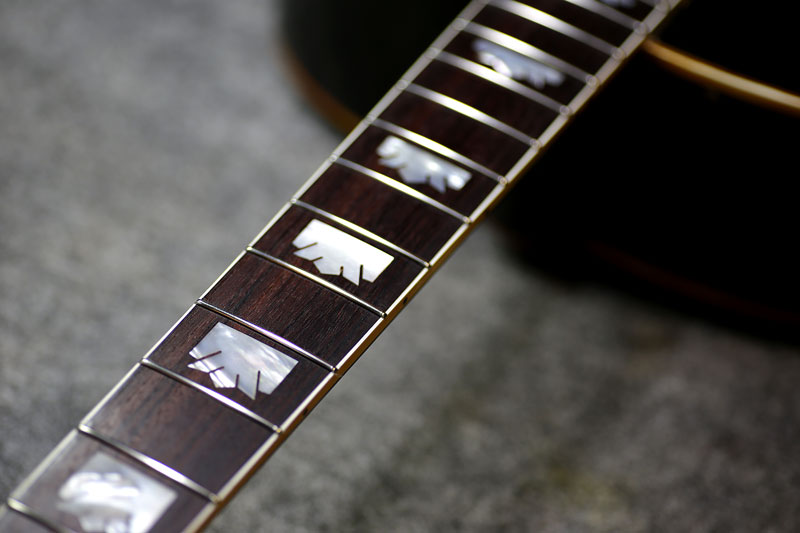
バインディング部サイドも綺麗に仕上げました。
もう一度最初の状態から
研磨、塗装後
ボディも最初の状態から
塗装、研磨、バフ掛け後
25年分の経年劣化の修復は時間が掛かります。
ボディの膨らみをクランプで徐々に下げていくのに1か月くらい、トップの塗装を剥がし、再度オーバーコートするのに乾燥まで1~2か月。
フレットを打ち直してナットも交換して約3か月で完了。
車と同じで、1年に1度検査して状態を見るだけでも、長く使える状態をキープ出来ますよ。
何十年もメンテナンスしていないギターや、壊れてしまっていたギターも修理可能です。
是非ご相談下さい。
メールの方は こちら から
宜しくお願いいたします。