Martin D-28
Repair of the Day
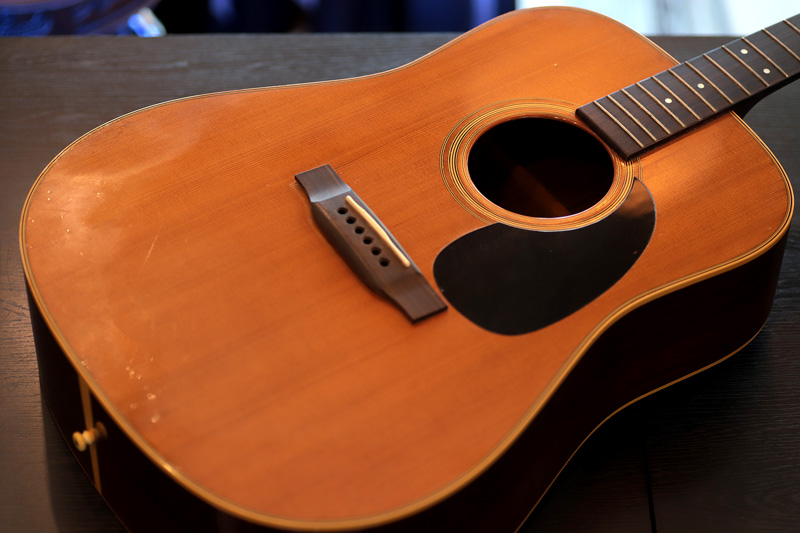
Martin D-28
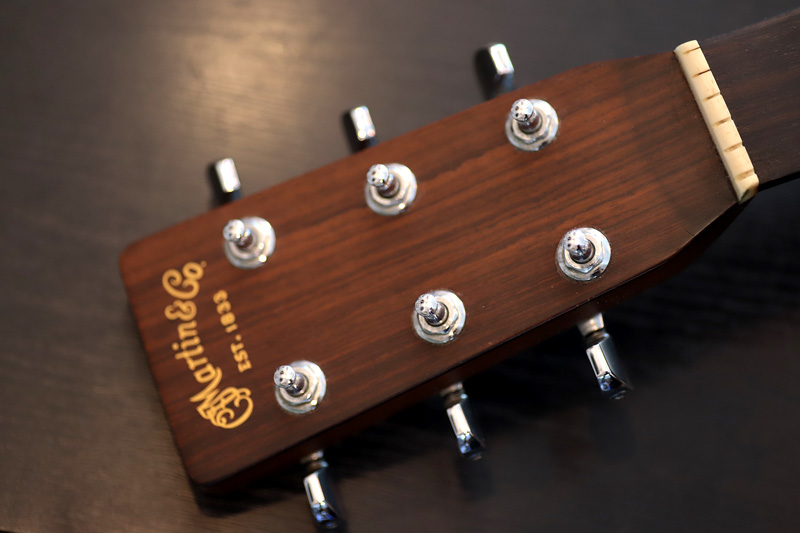
マーティン D-28
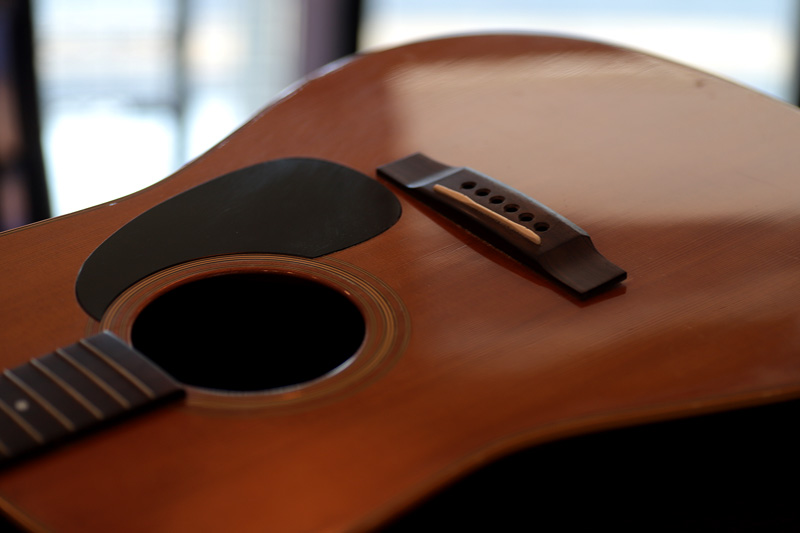
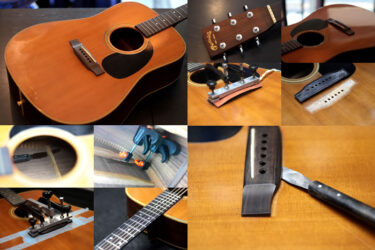
ブリッジが浮いてしまい、しばらく弾かずに置いていたそう。
色々剥がれていました。
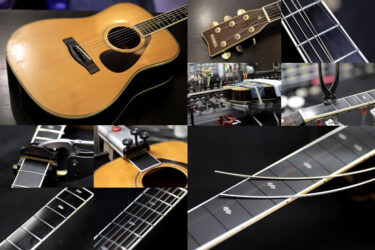
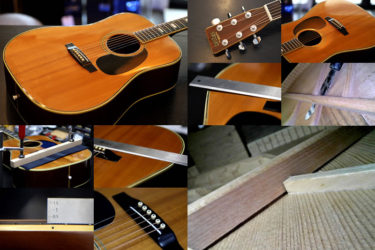
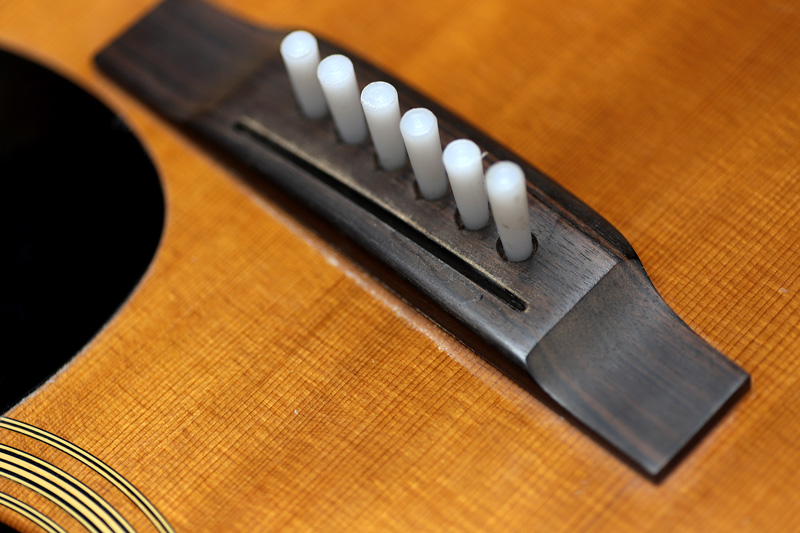
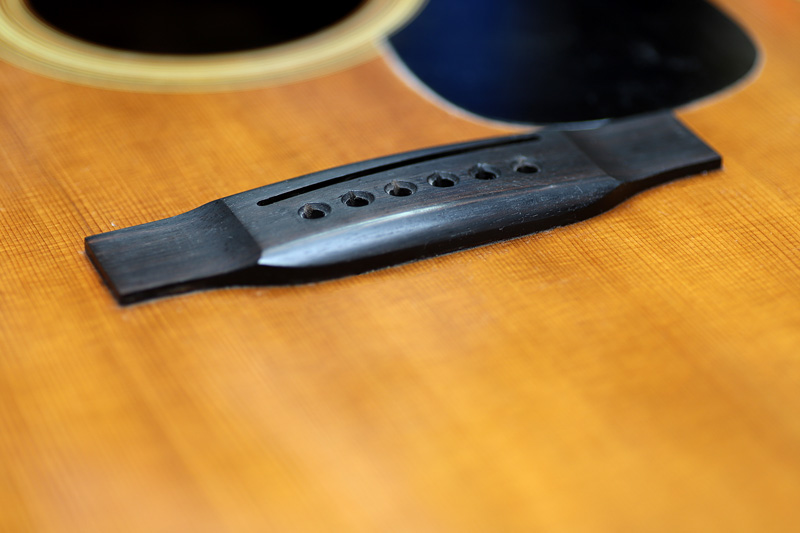
ブリッジ状態
ブリッジはかなり変形していました。結構時間が経っているのかも知れません。
右側のラインが元々のブリッジ位置。
かなりネック側に動いてしまっています。
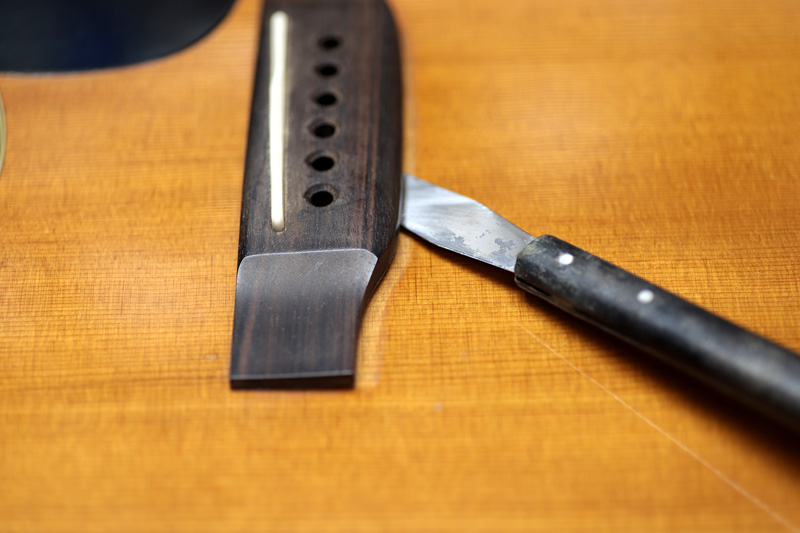
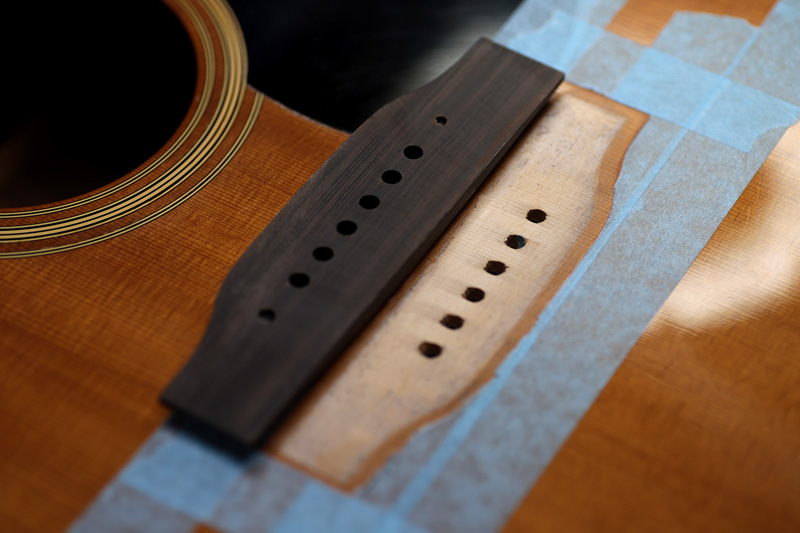
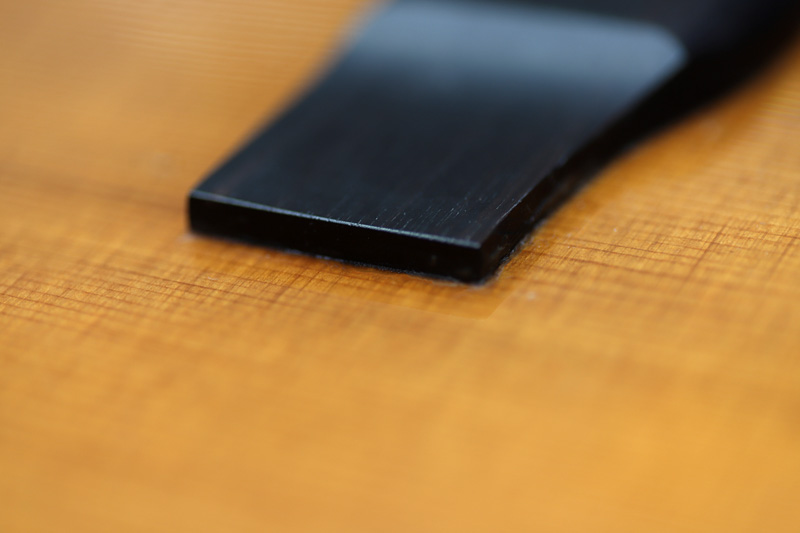
ブリッジ剥がし
一旦ブリッジを温めて剥がします。
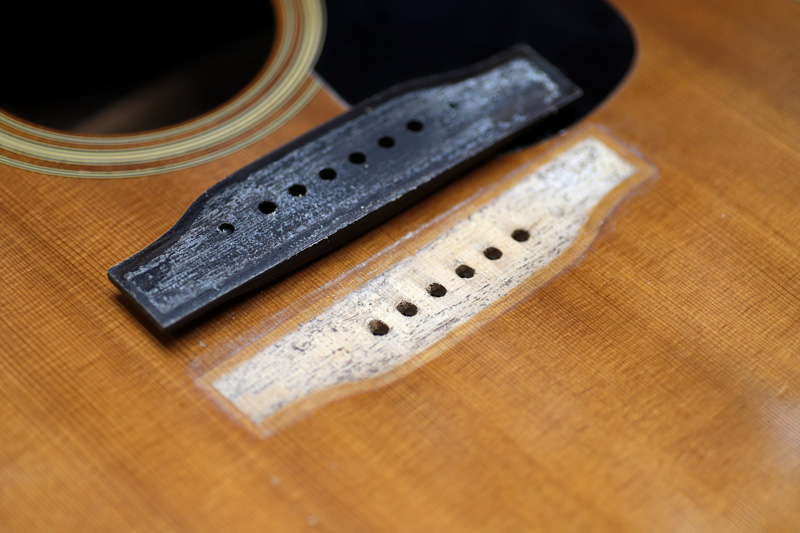
綺麗に剥がれました。
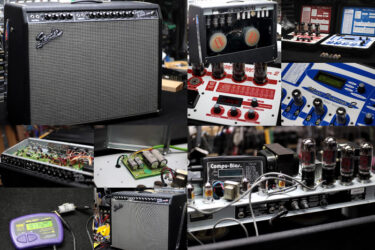
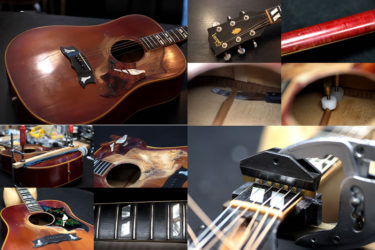
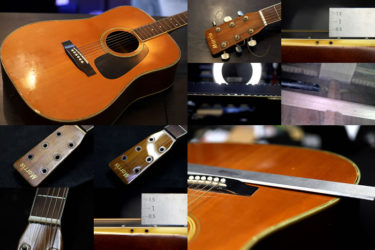
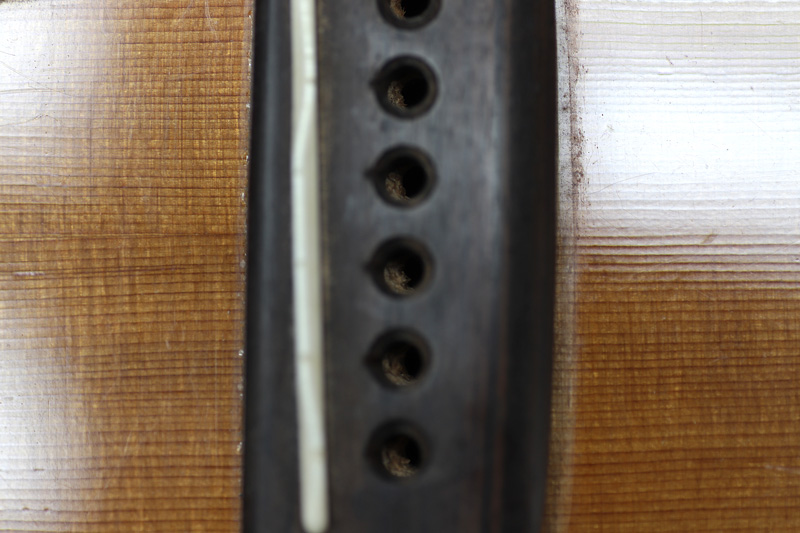
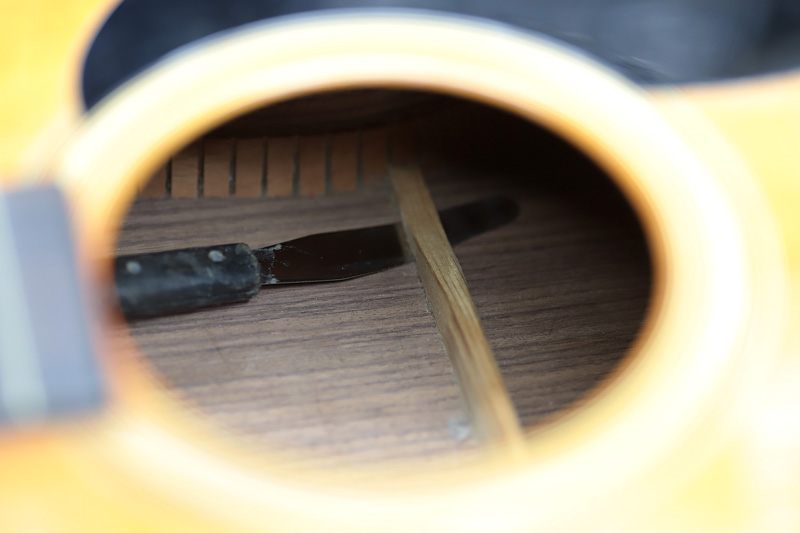
ブレーシング
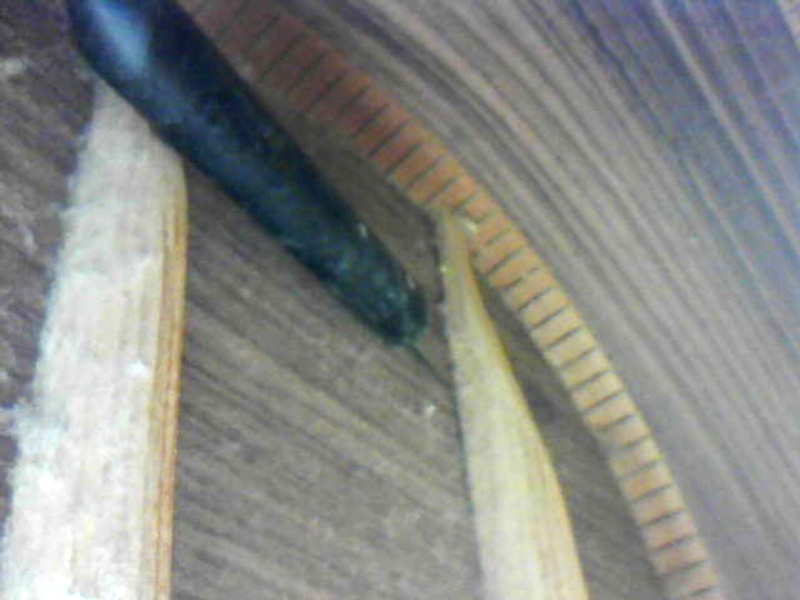
ブリッジが剥がれたのでボディ内部のチェックへ。
内部の力木 ブレーシングはほぼ全てのエリアが浮いて剥がれていました。
端っこのブレーシングも跳ね上がって変形しています。
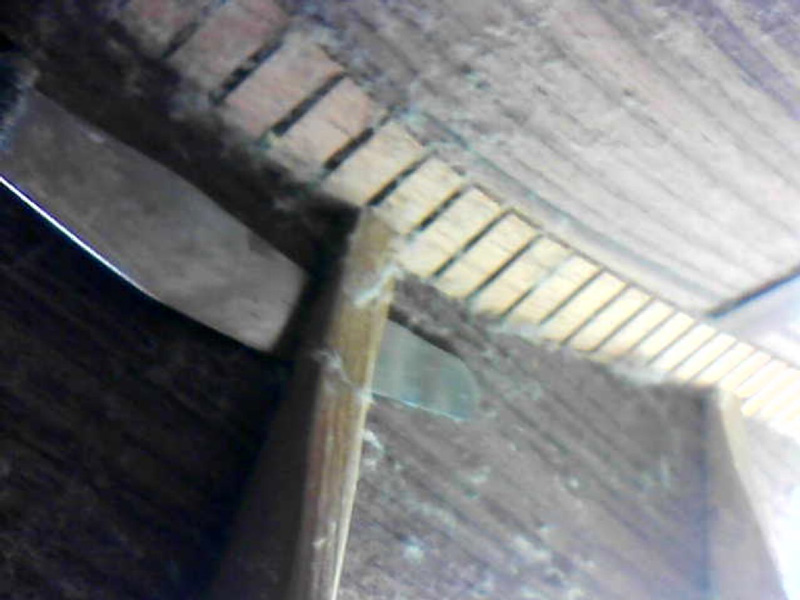
ブレーシング接着
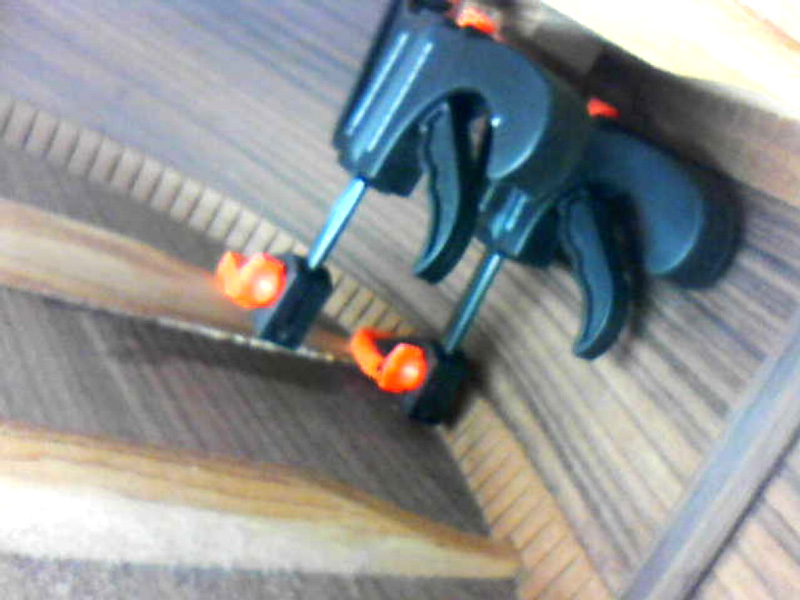
1か所づつ接着していきます。
上から軽くクランプします。
続いて真ん中
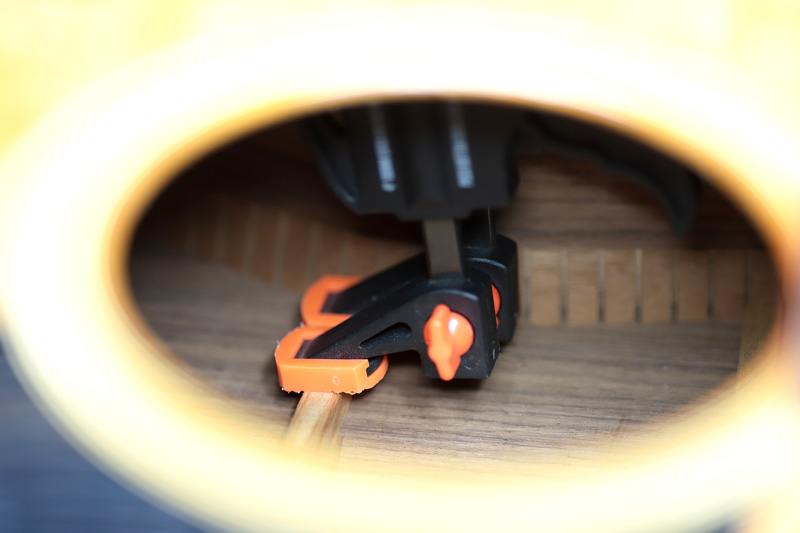
内部から、ボディトップからクランプして1週間位乾燥させます。
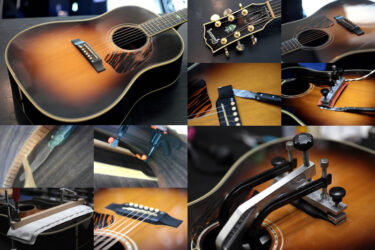
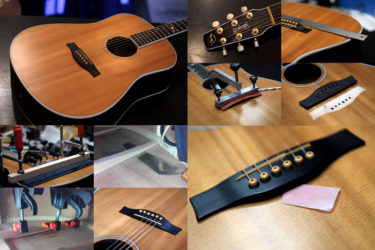
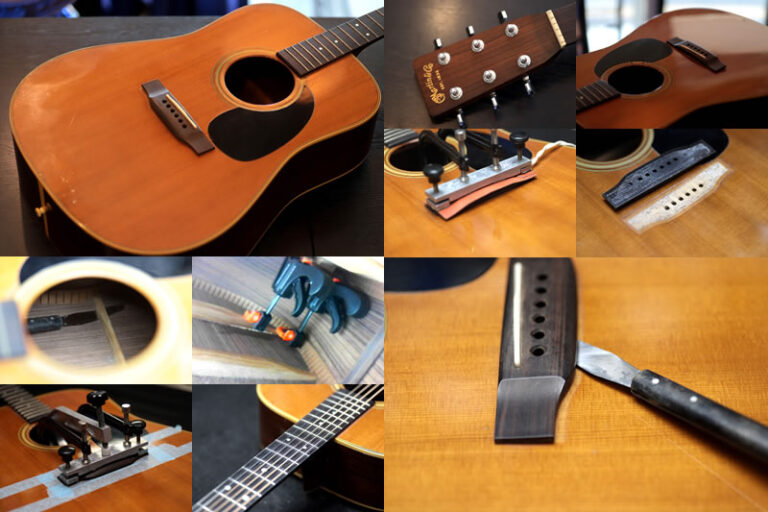
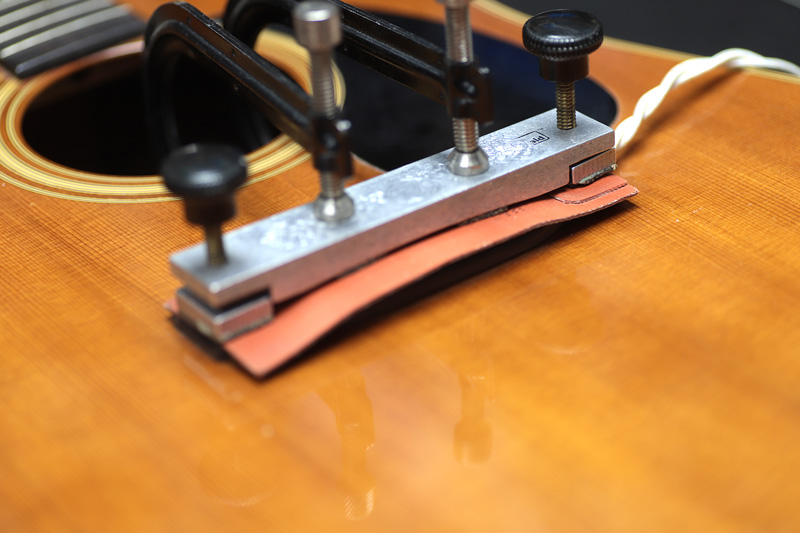
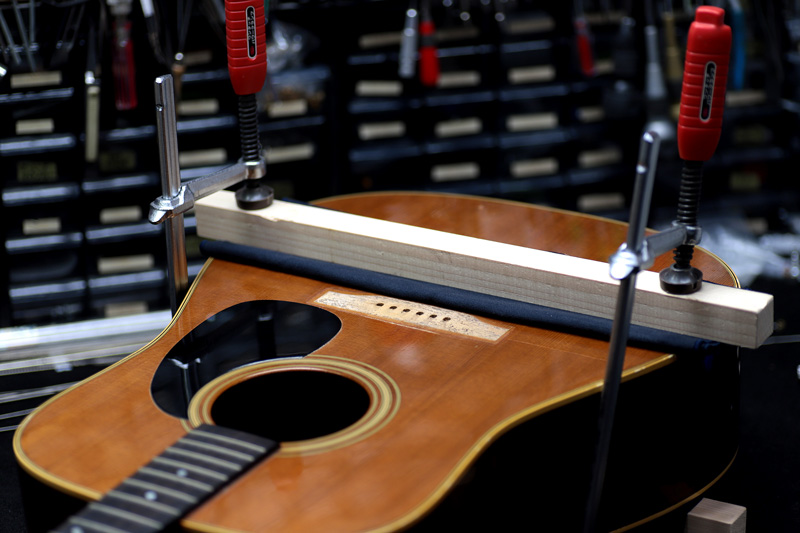
ブリッジ接着
内部の接着が終わってブリッジの接着
ピンを入れてブリッジの位置決め。
ボディ面、ブリッジ底面を綺麗に整え接着準備。
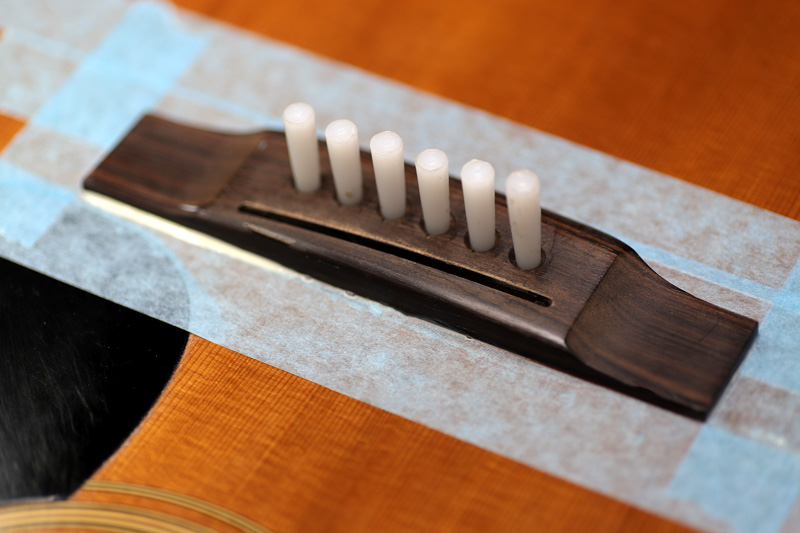
接着剤を付けて固定します。
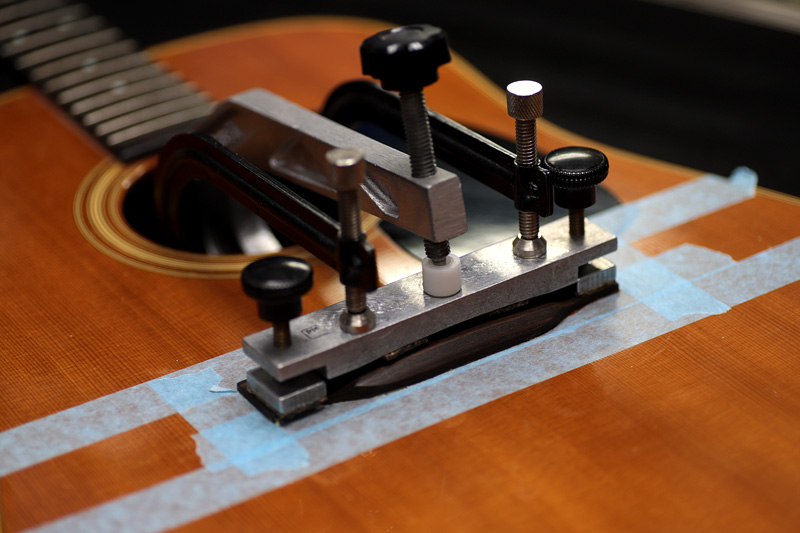
ブリッジ専用のクランプ治具で固着。
1週間位クランプさせて綺麗に接着出来ました。
変形していたサイド部もフラットに整えて隙間なく接着完了。
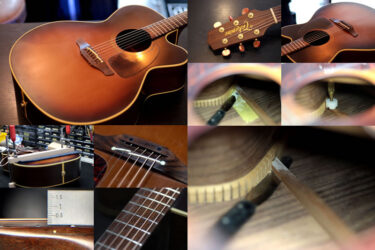
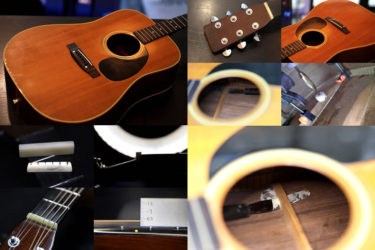
弦高調整
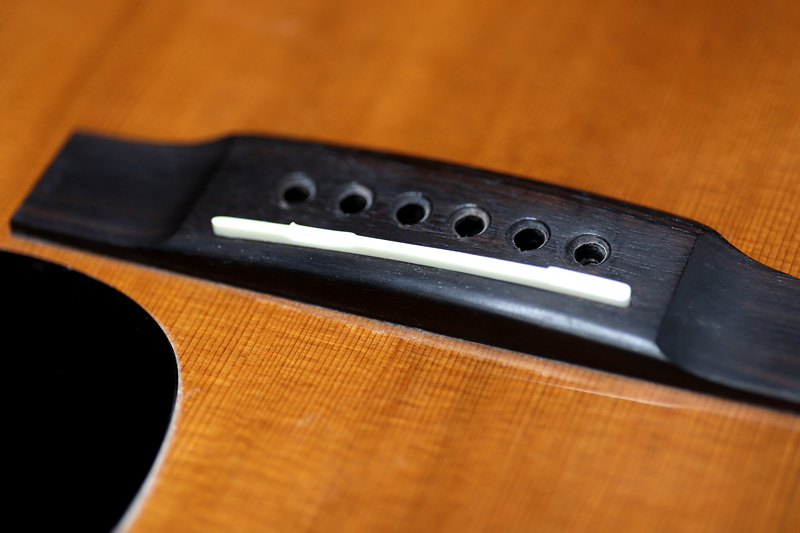
サドルは新しく作り直しました。
ストレートなタイプからオクターブ位置を合わせたサドルへ交換。
弦を張って弦高をチェック。
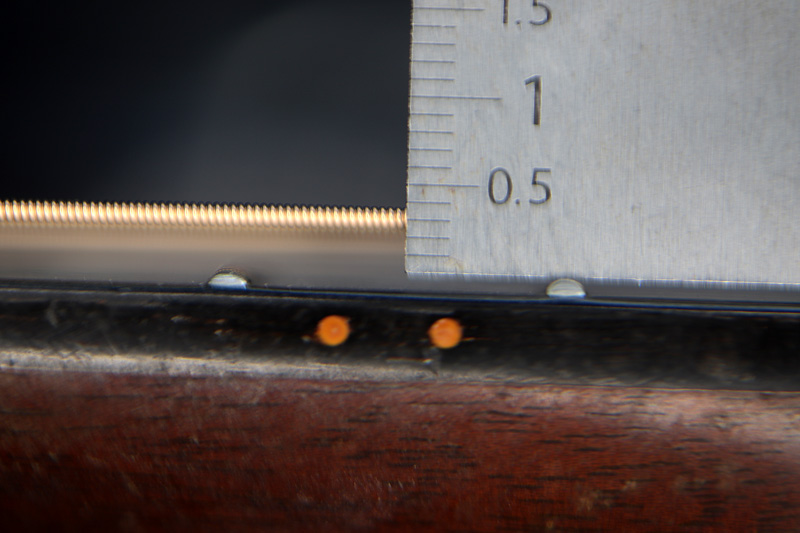
12フレットの近辺の弦高は6弦側で2.3mm位。
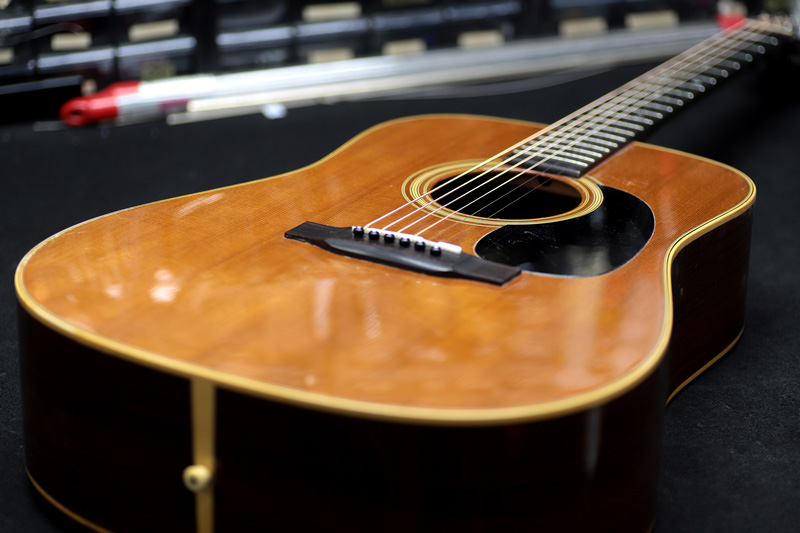
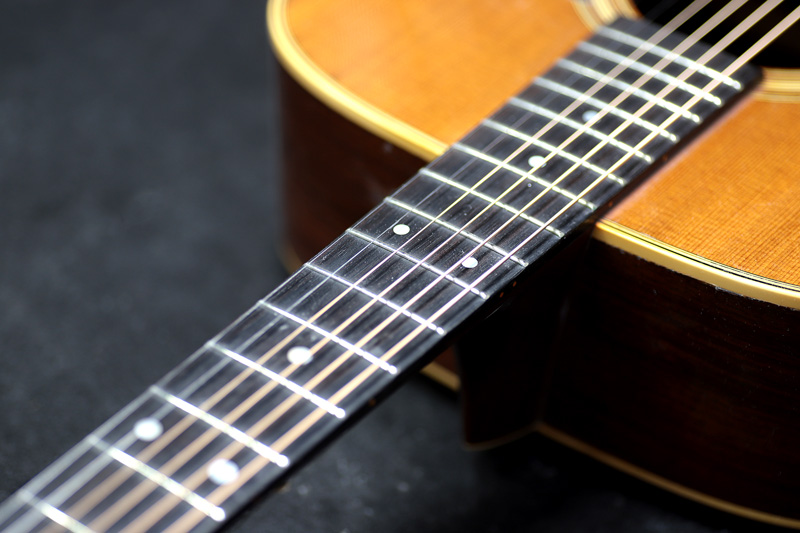
暫く鳴らしていなかったとは思えないほど、乾いて抜けのあるサウンド。
ギター、ベース等の修理は お気軽にご相談下さい。
お願いいたします。