Baby Taylor BT1
Repair of the Day
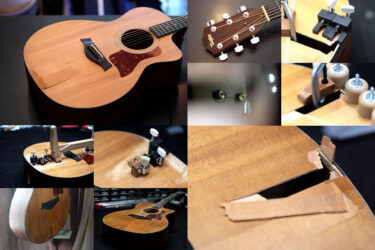
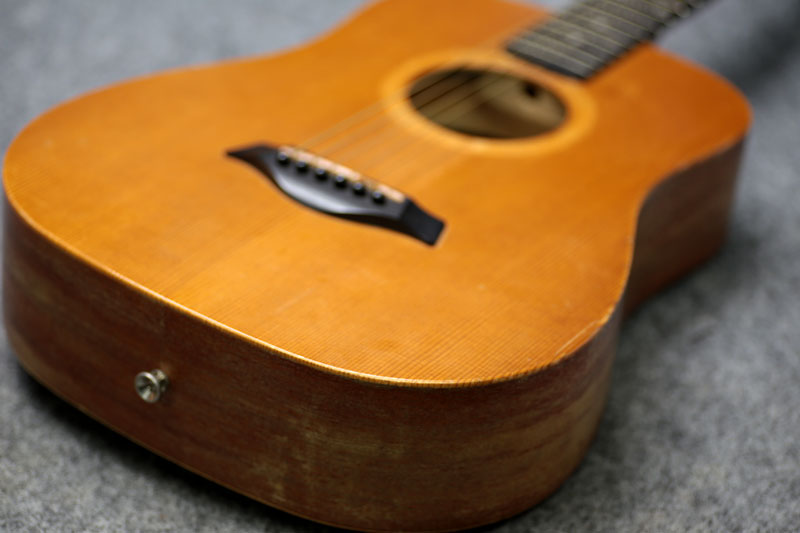
Baby Taylor BT1

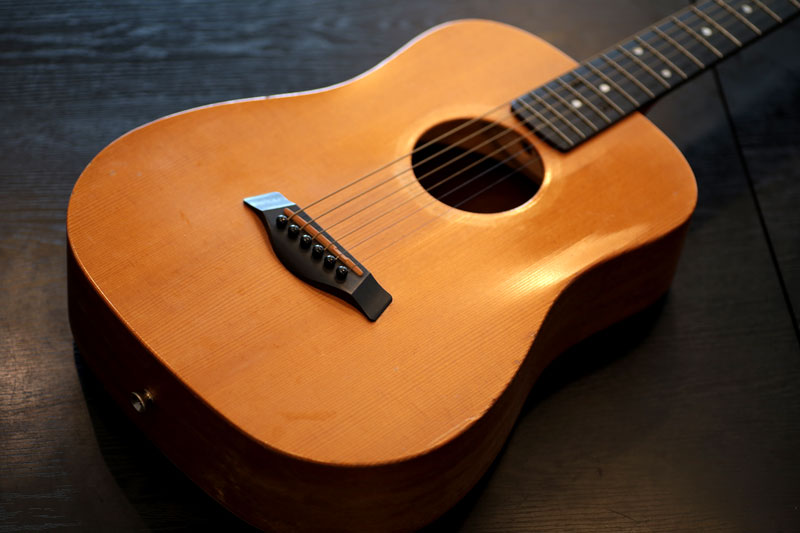
通常のギターより小さい3/4サイズのベビーテイラー。
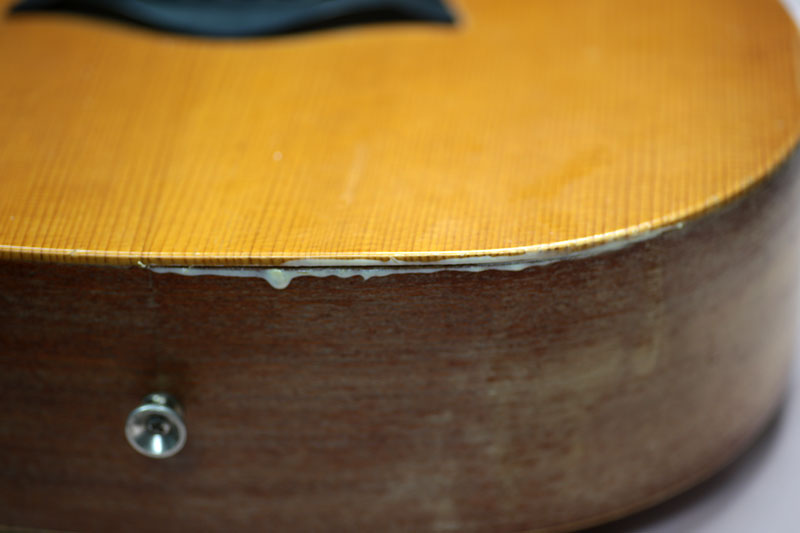
ボディトップ 状態
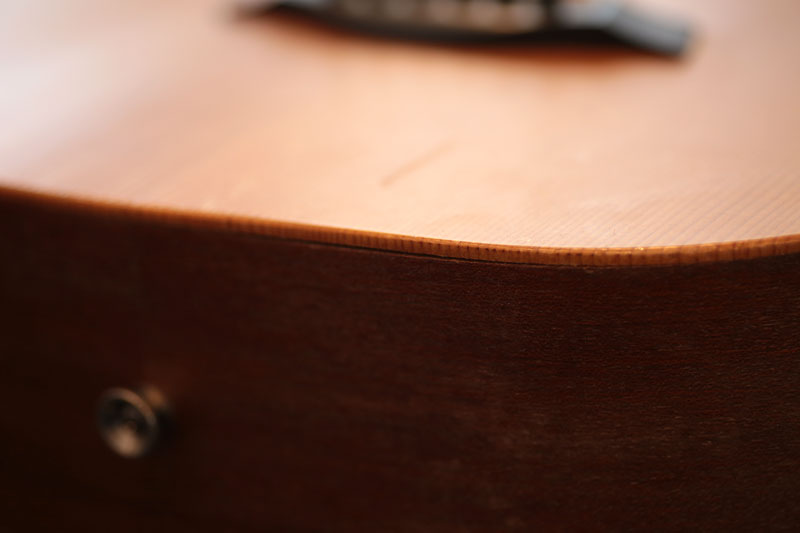
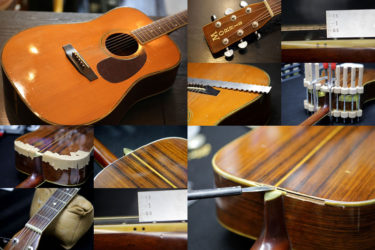
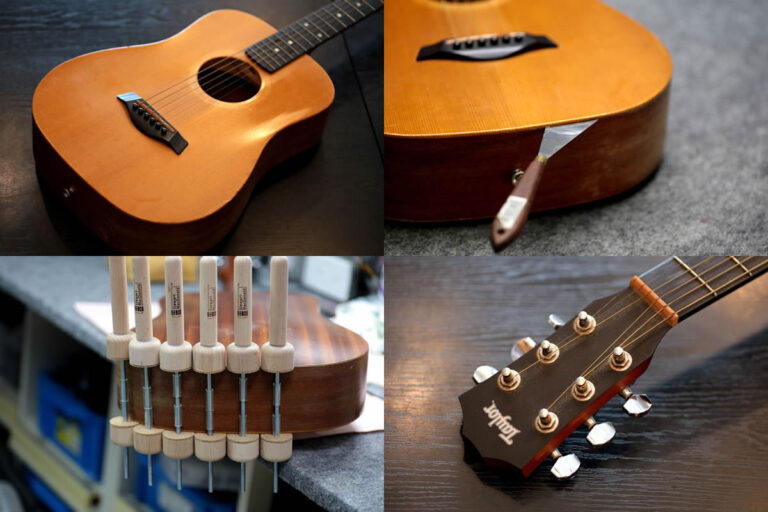
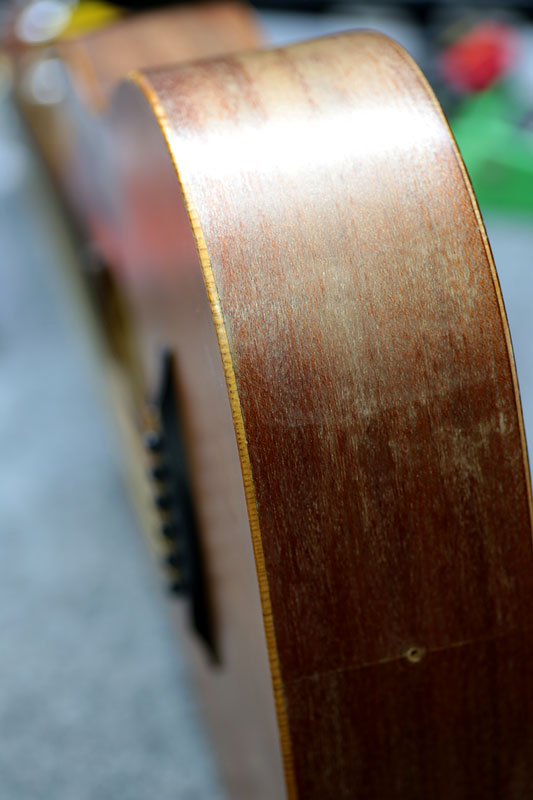
ボディの下部 サイドとトップの間に隙間が出来てしまったそうです。
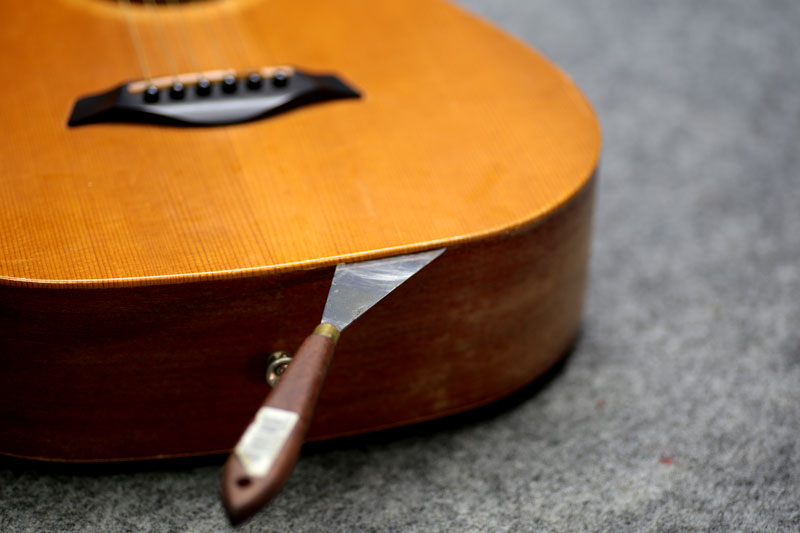
隙間にナイフを入れて接着剤を均一に流し込んでいきます。
接着
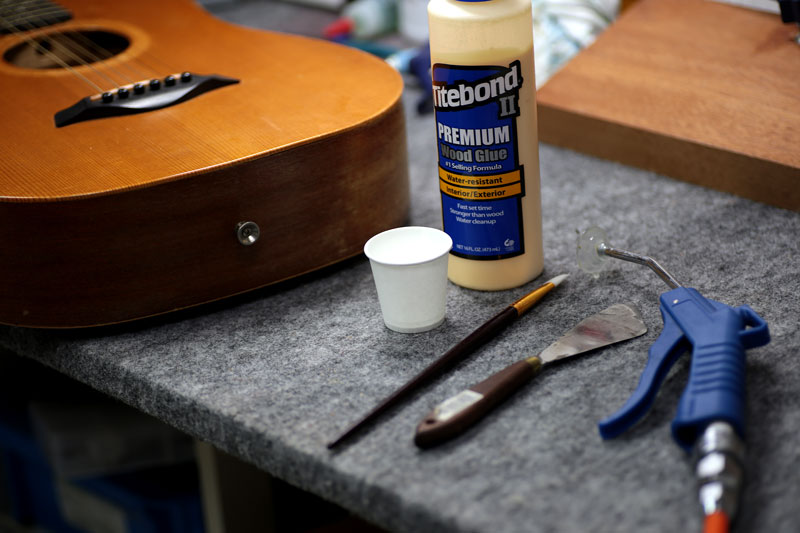
今回はタイトボンドのプレミアムを使ってみました。
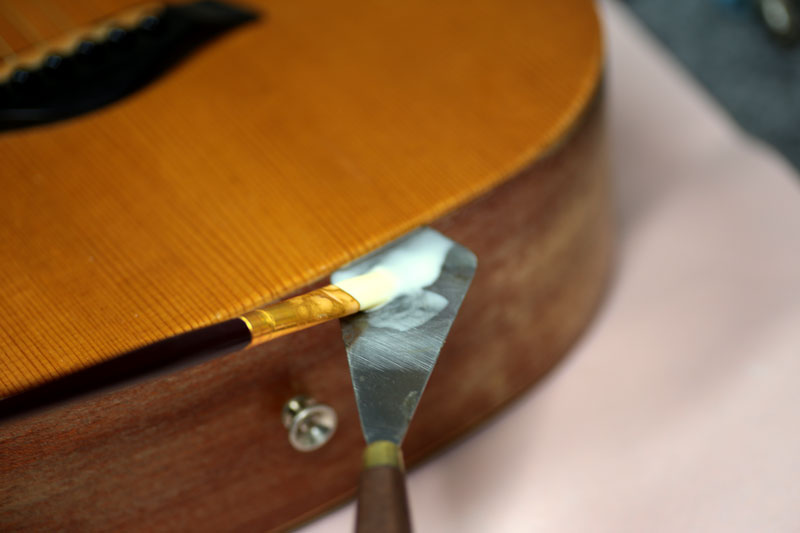
ナイフに接着剤を乗せて、トップ板面とサイド板面にまんべんなく塗布。
サイドに粘度を上げた接着剤
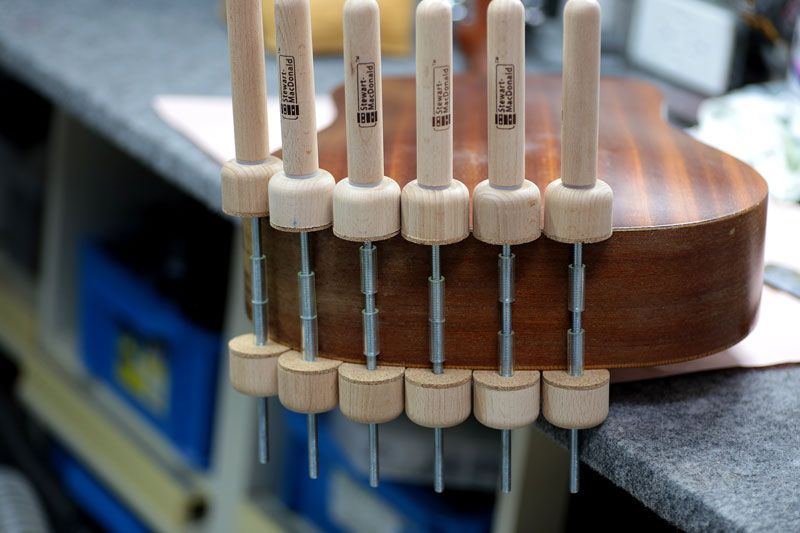
クランプ
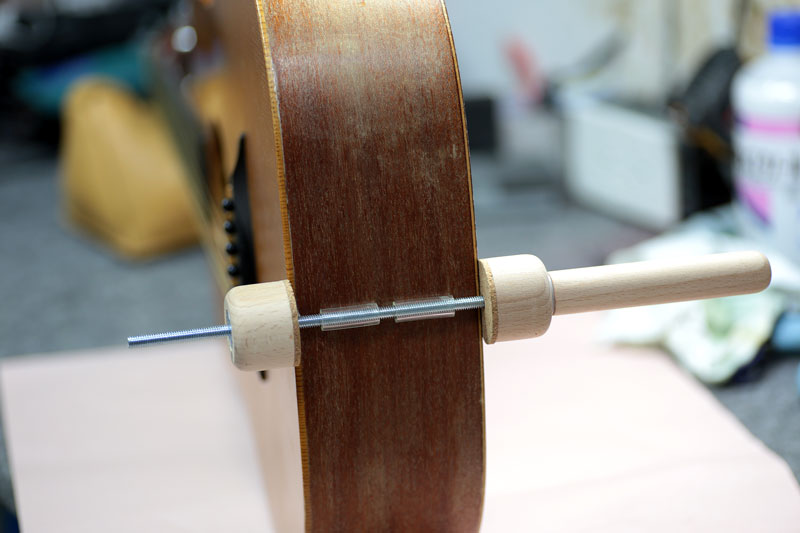
その後専用のクランプにて固定。
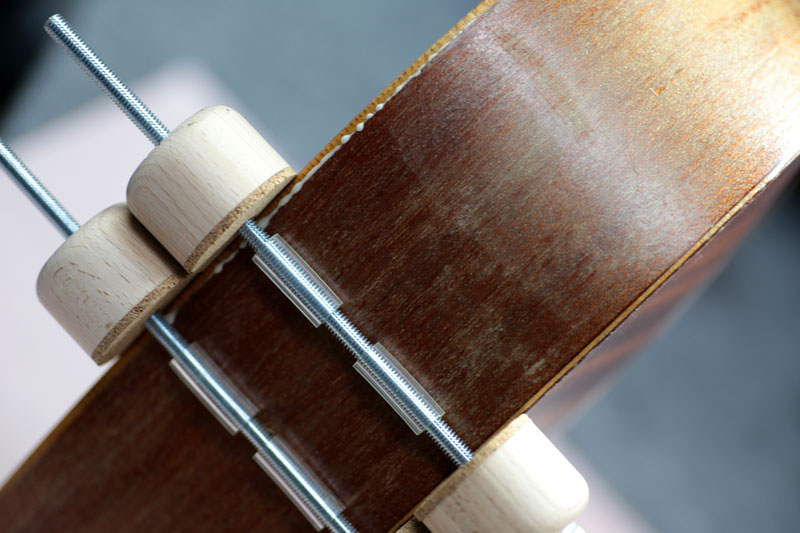
接着剤がはみ出るくらいまで締め上げ
はみ出てきた接着剤をふき取りながら固定すること1週間。
綺麗に接着できました。
研磨
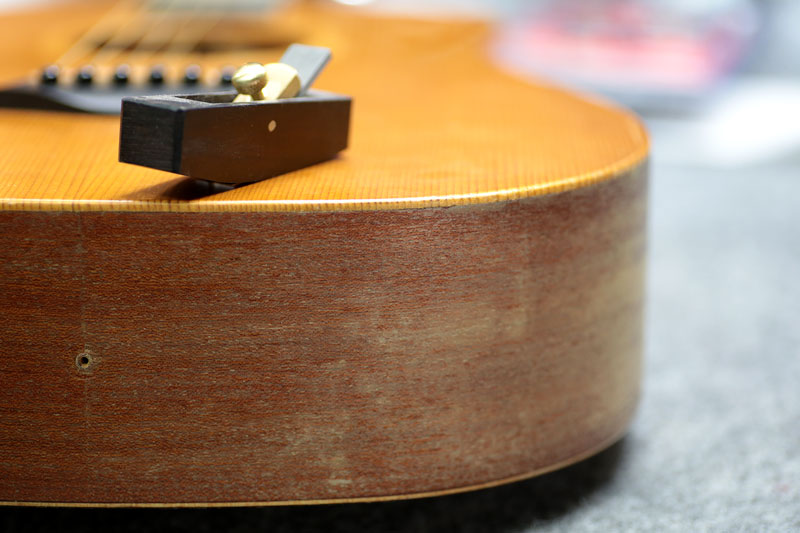
固着後はカンナやヤスリで綺麗に整形します。
全く隙間なく仕上がりました。
ギター、ベース等の修理は お気軽にご相談下さい。
お願いいたします。