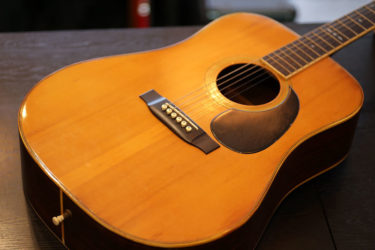
RYOJI MATSUOKA
Repair of the Day
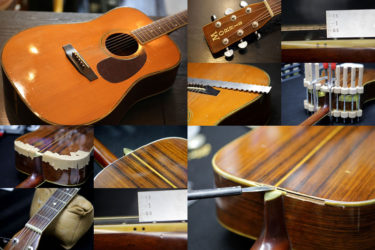
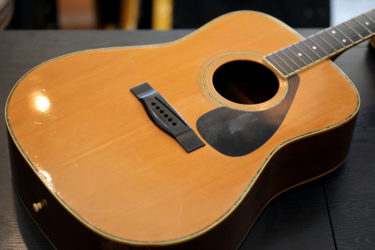
松岡良治 クラシックギター
70年代の個体ながら保管状態は良かったです。
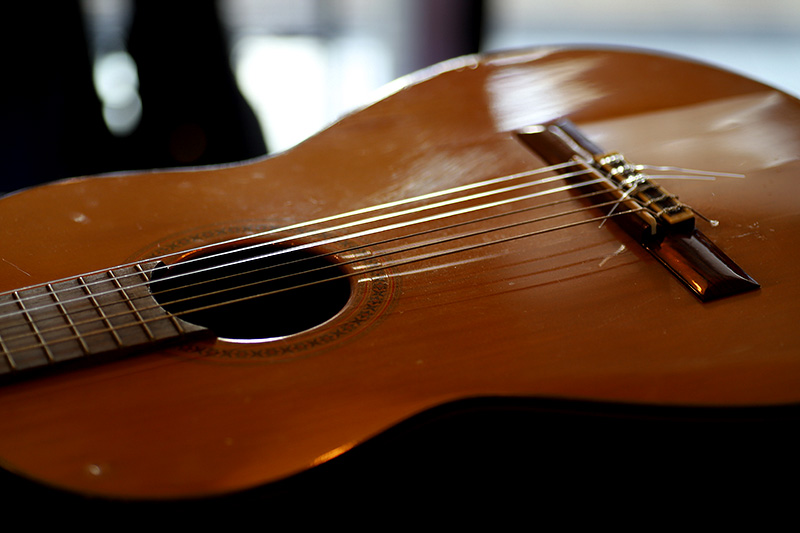
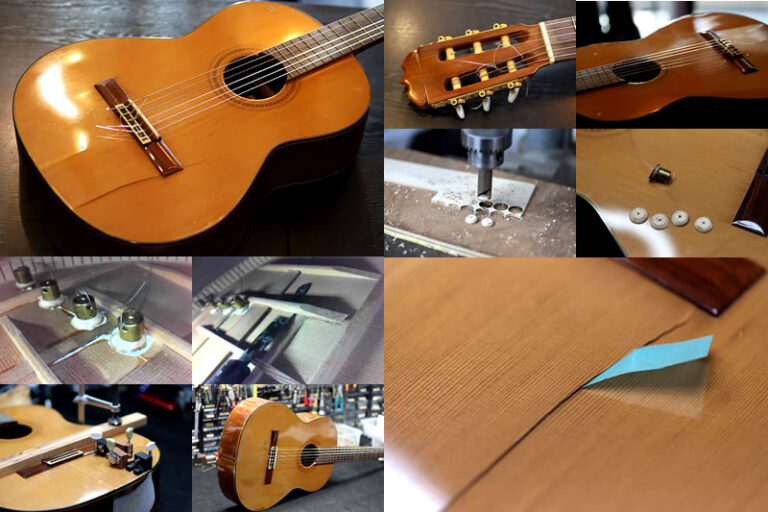
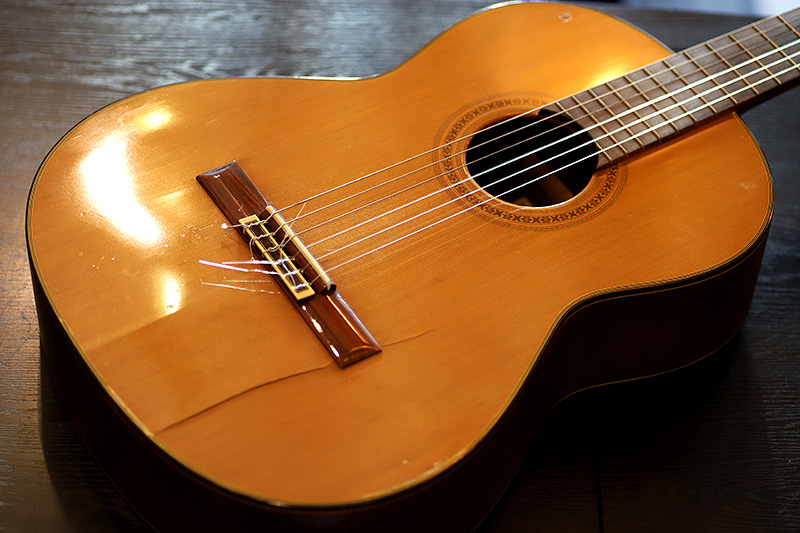
そんなギターを倒して踏んでしまったようです・・・
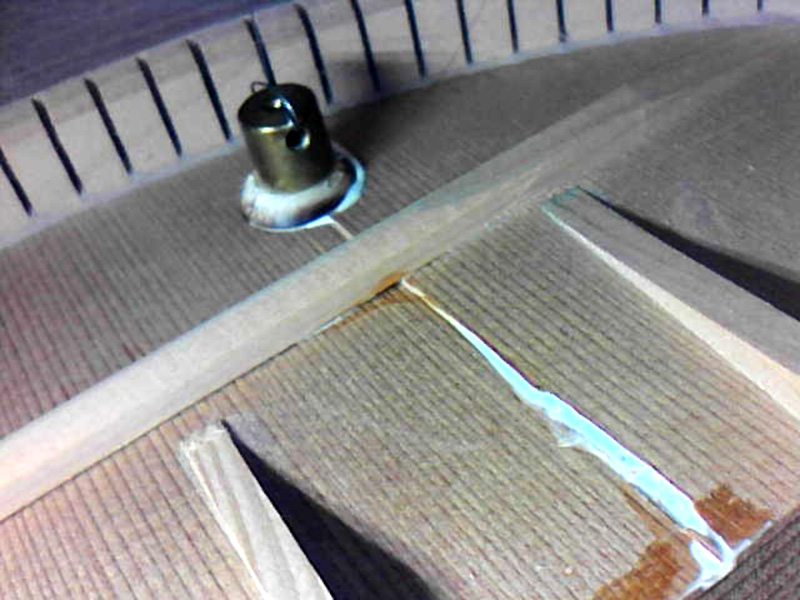
ボディトップ 割れ
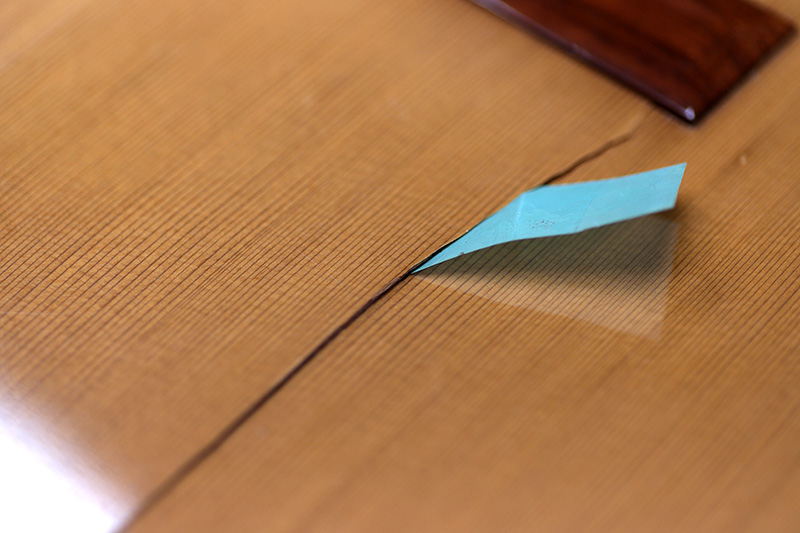
かなりパックリと割れてしまっています。
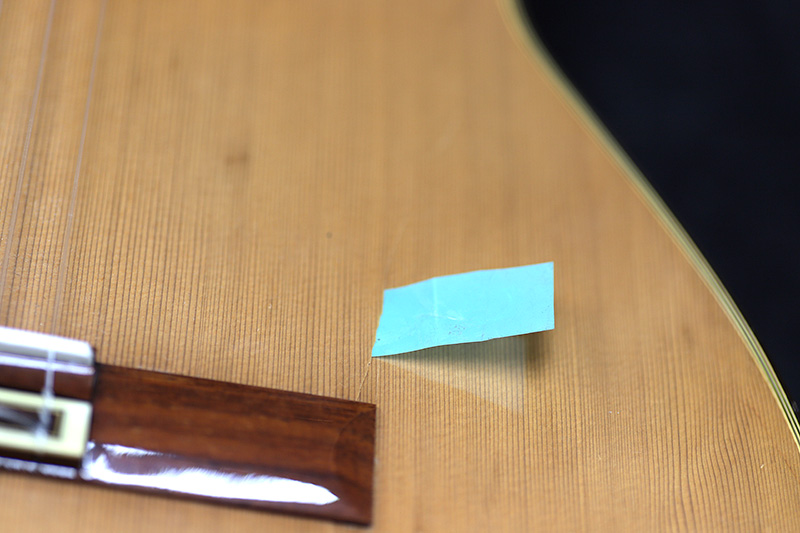
先端はブリッジ上部から下はボディエンドまで。
パッチ材製作
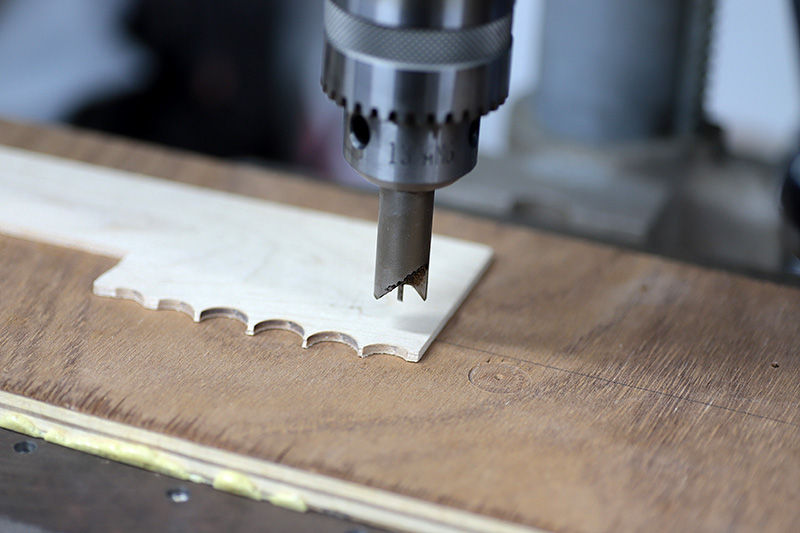
割れ目を内部から木材のパッチを当てて補強・接着します。
その際に使用するのがスプルースで出来たパッチ材。
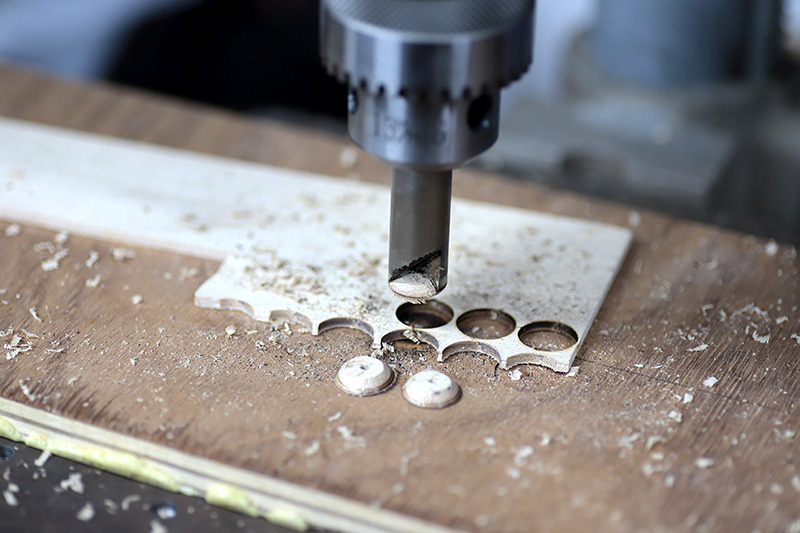
ボール盤で一つずつ作ります。
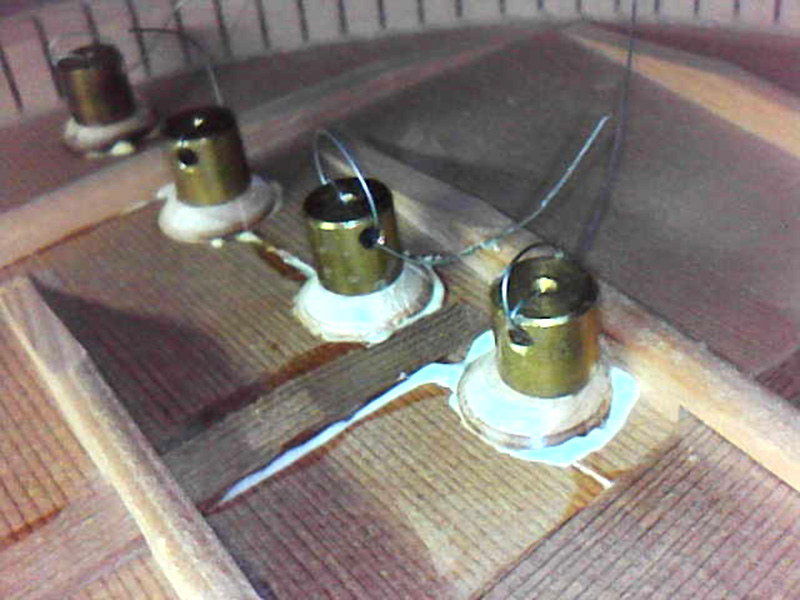
パッチ材接着
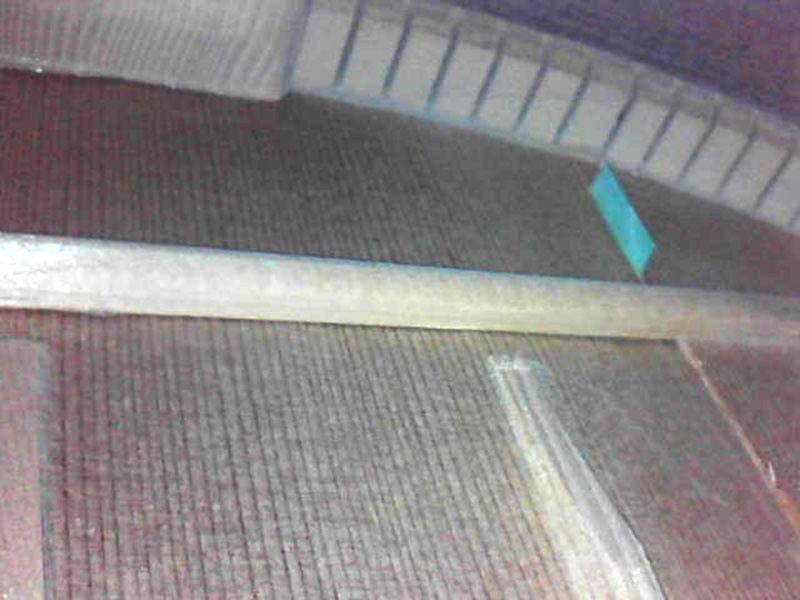
割れた内部はこんな感じ。
パッチを張る位置を確認。
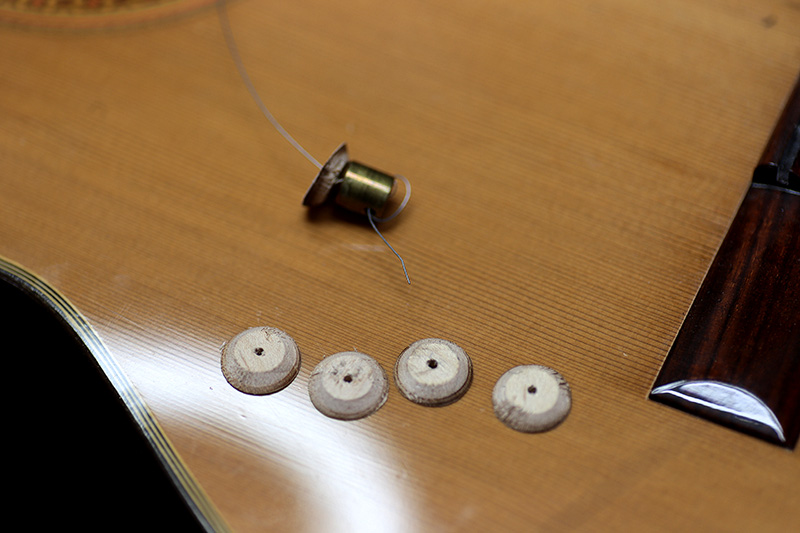
ピアノ線をパッチ材に通して、固定用の分銅を入れて上から引き上げます。
ブレーシングのある位置をマスキングで印して、その間にパッチを張ります。
一番奥は2個張りたかったけど手が届きませんでした。
ブレーシングも一緒に接着。
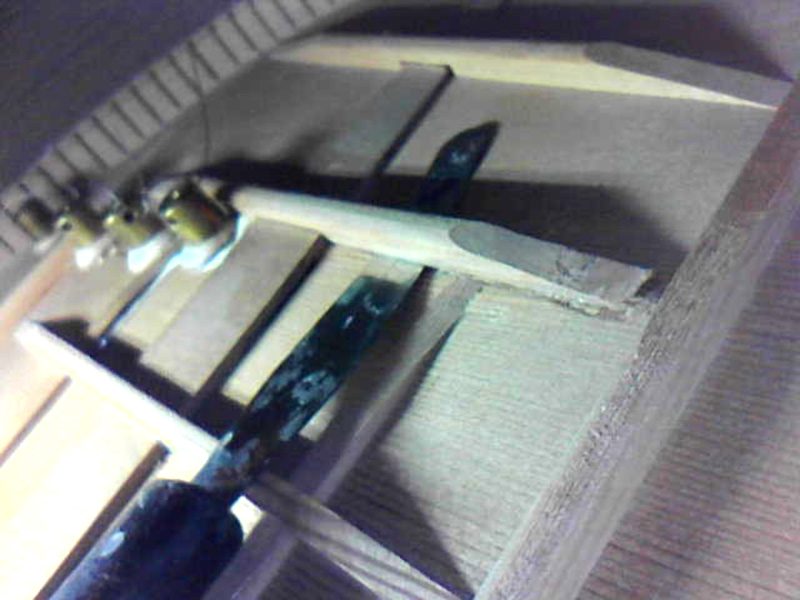
一部のブレーシングはかなり曲がっていてスカスカでした。

こちらのブレーシングは亀裂まで・・・
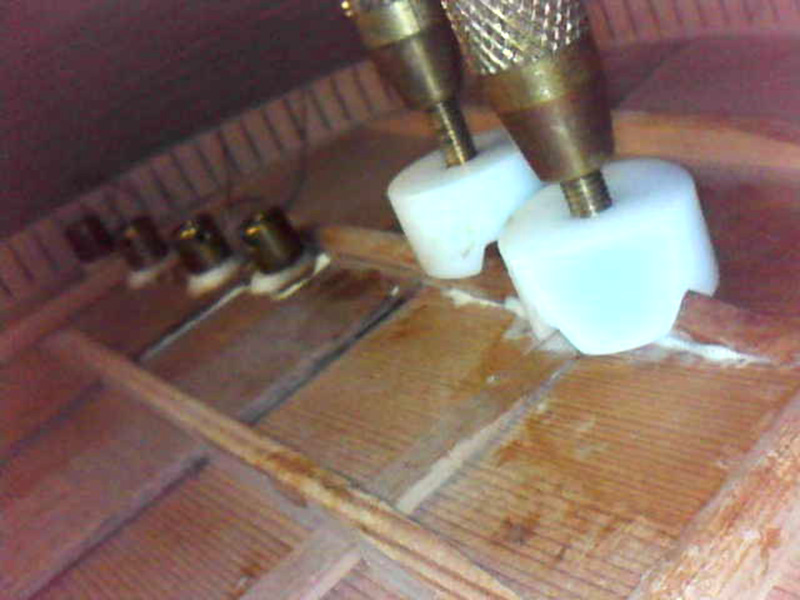
ブレーシングも固定します。
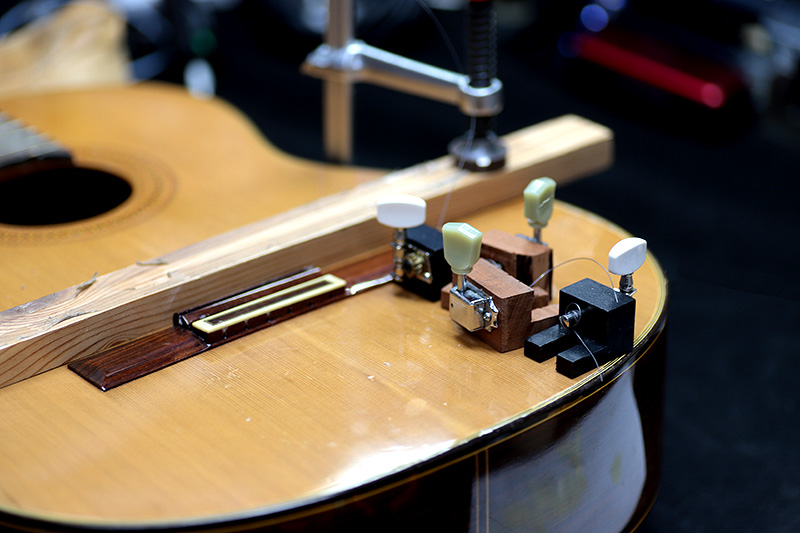
上からクランプしながら、パッチはペグで引き上げます。
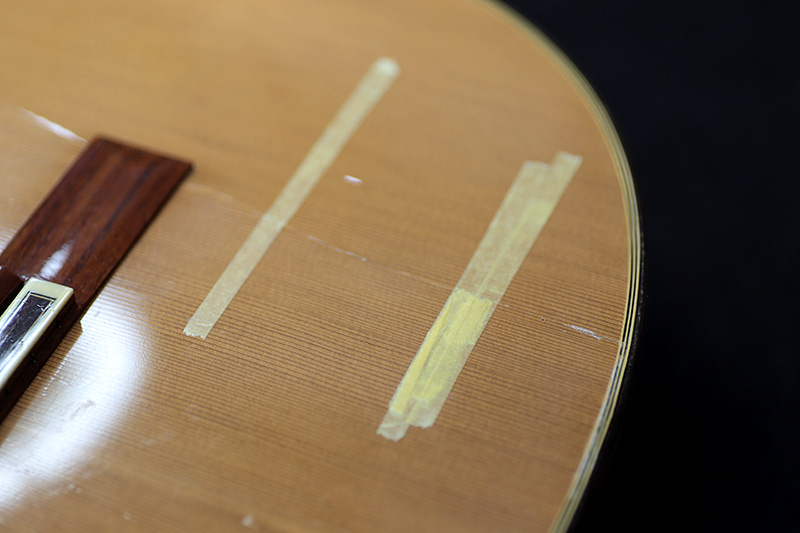
トップ塗装タッチアップ
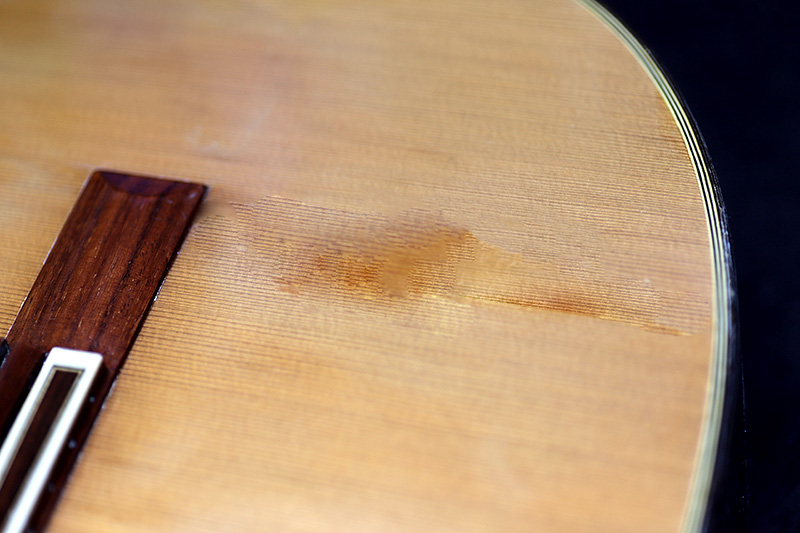
接着後はこんな感じ。
少しずつ着色して段差を見えなくします。
良い感じ。
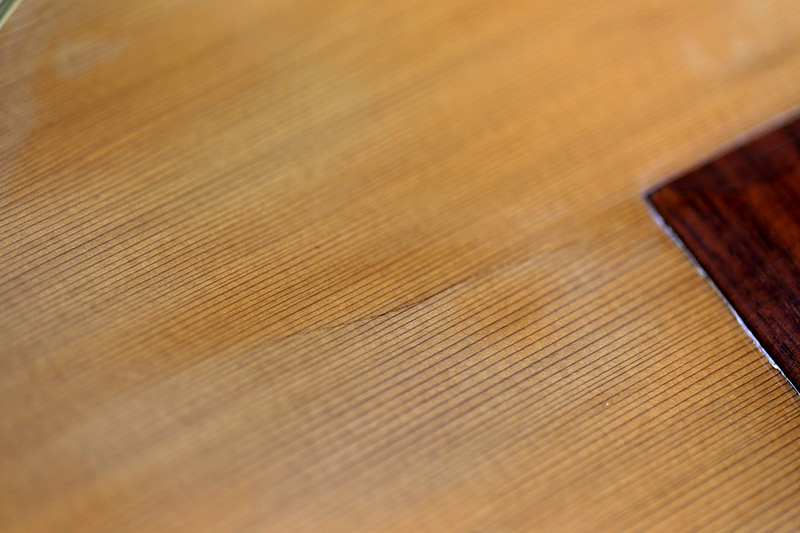
完了
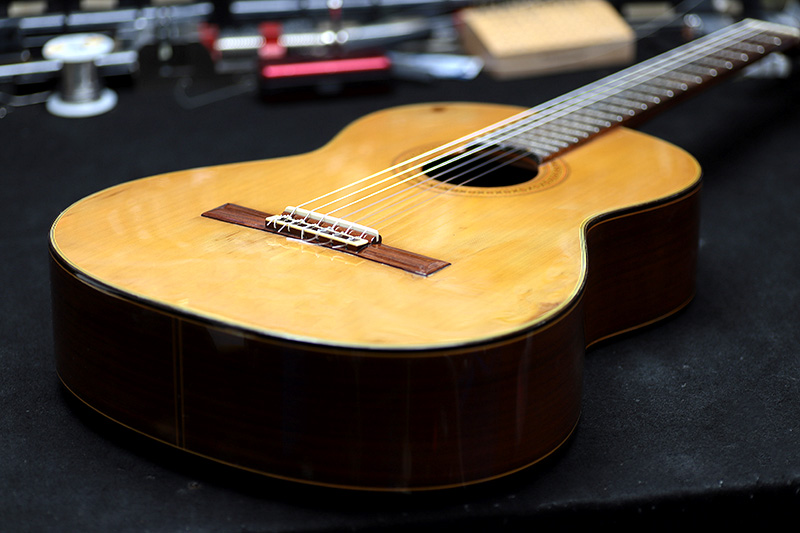
かなり長い事、接着、乾燥、接着、乾燥を繰り返しようやく完了。
かなり目立たなくなりました。
ギター、ベース等の修理は お気軽にご相談下さい。