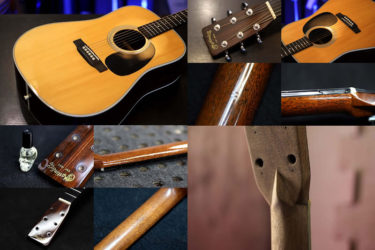
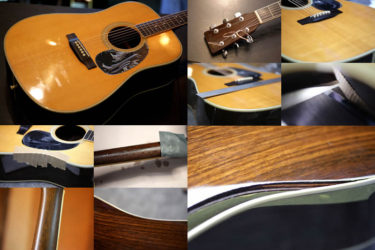
Morris W-100
Repair of the Day

Morris W-100
70年代後期のモデル。
トップはスプルース単板
サイド&バックはハカランダという仕様。
当時でも100,000円の高級モデル。
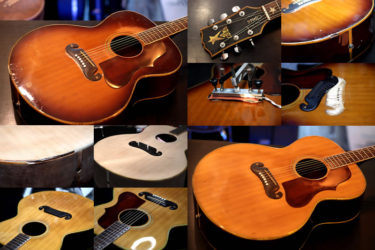
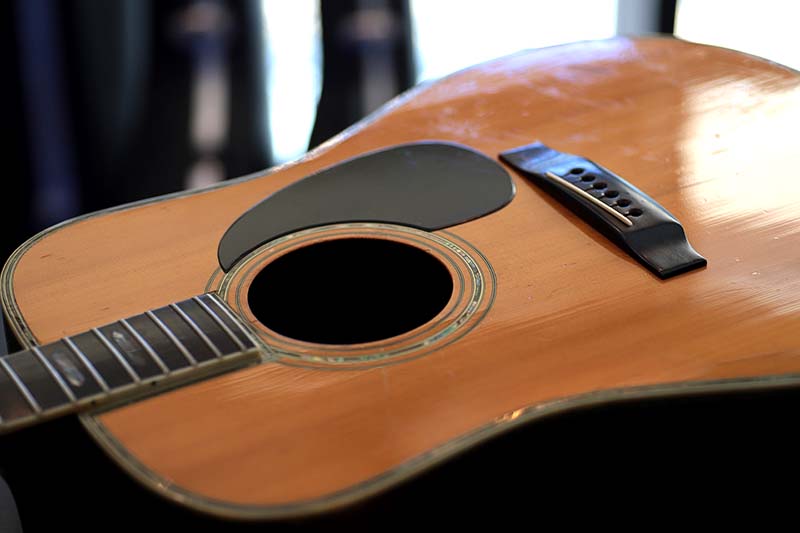
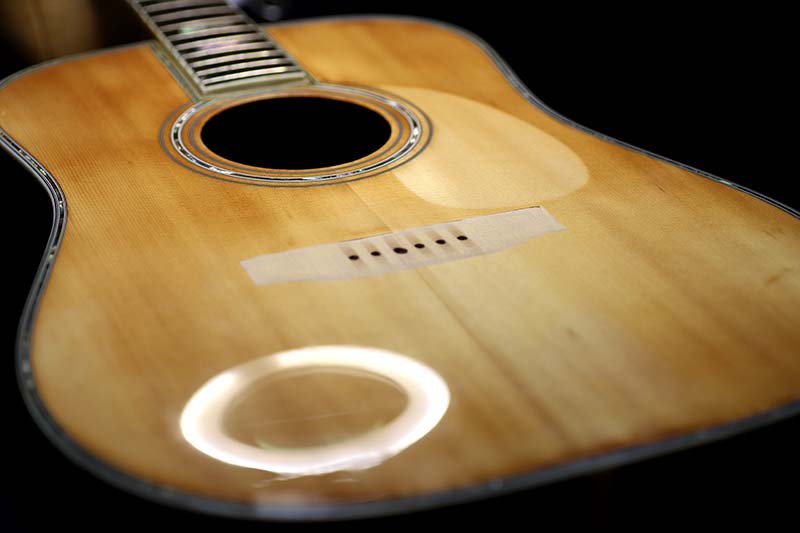
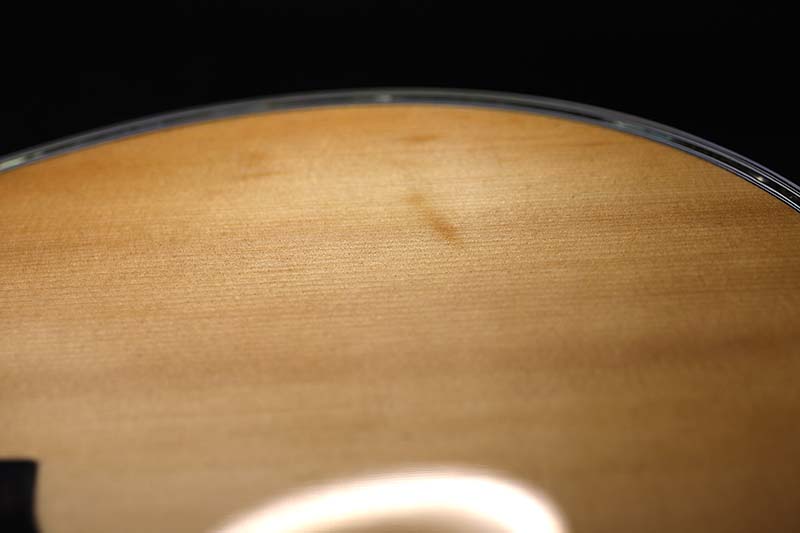
トップ塗装割れ、焦げ跡
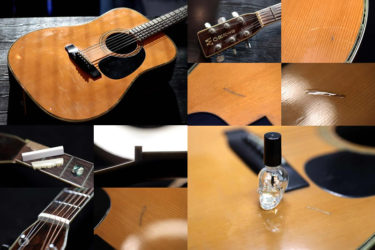
トップ板のセンター部には亀裂が
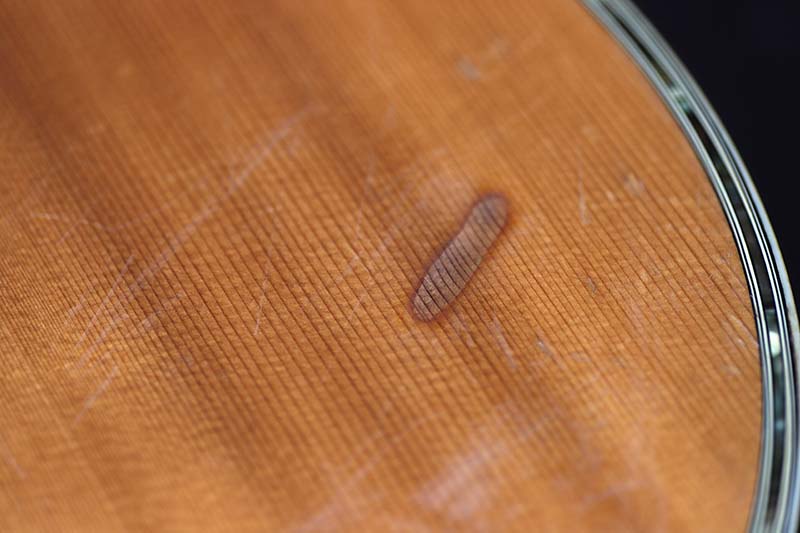
こちらはかなり深い焼け焦げた跡が。
タバコみたいです。
これは全て剥がさないと駄目ですね。
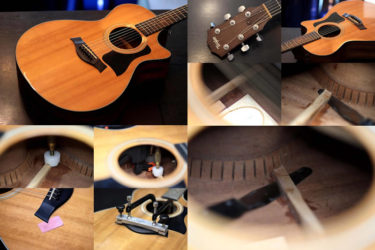
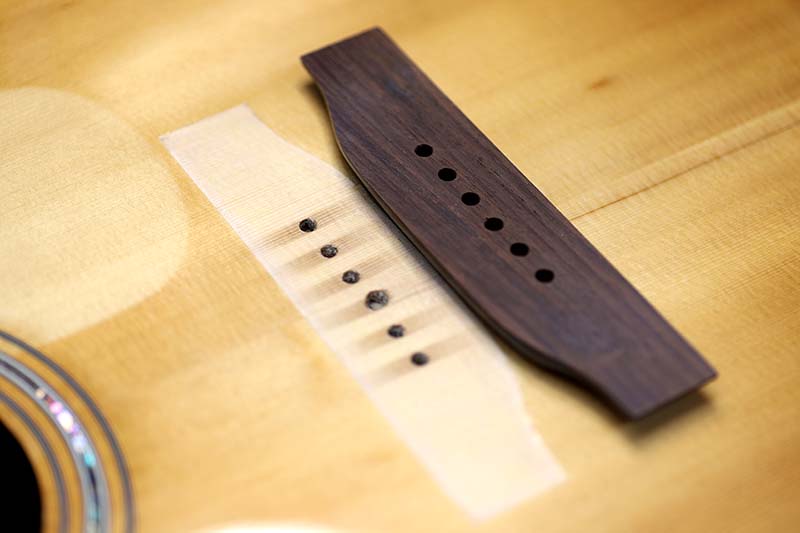
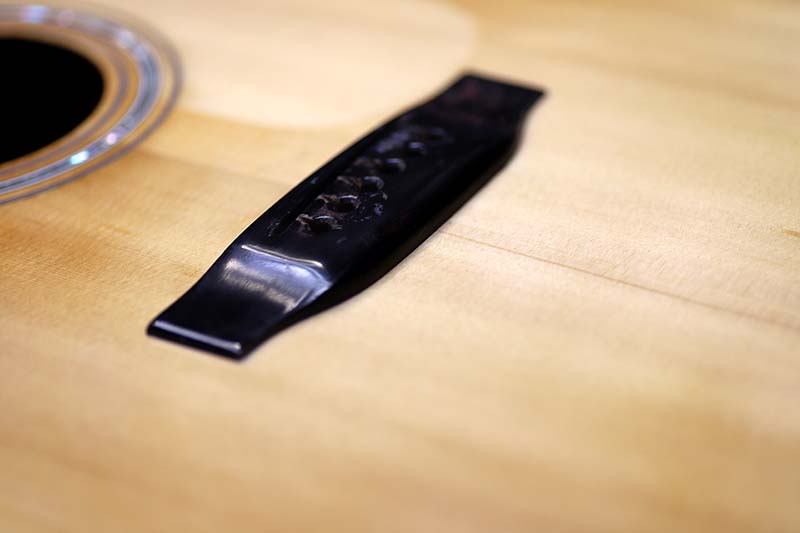
ブリッジ剥がし
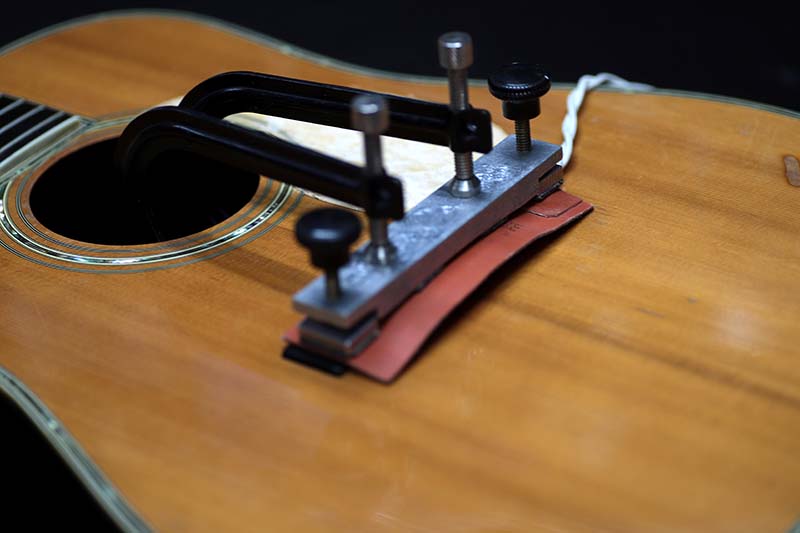
ブリッジに熱を加えて接着剤を溶かし剥がしていきます。
結構楽に剥がせました。
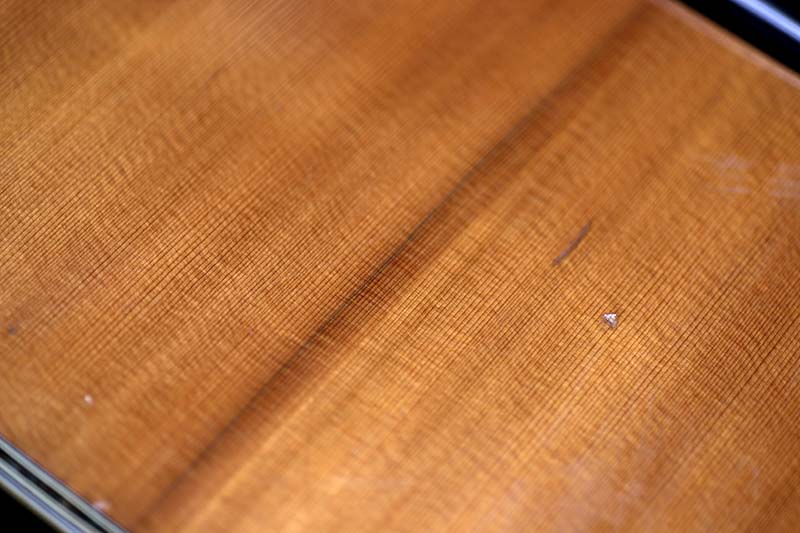
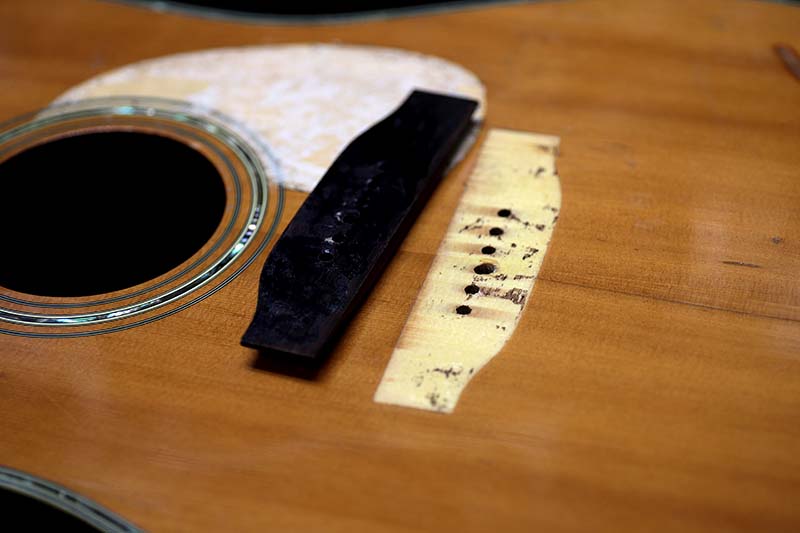
塗装剥がし
トップの塗装を地道に剥がしていきます。
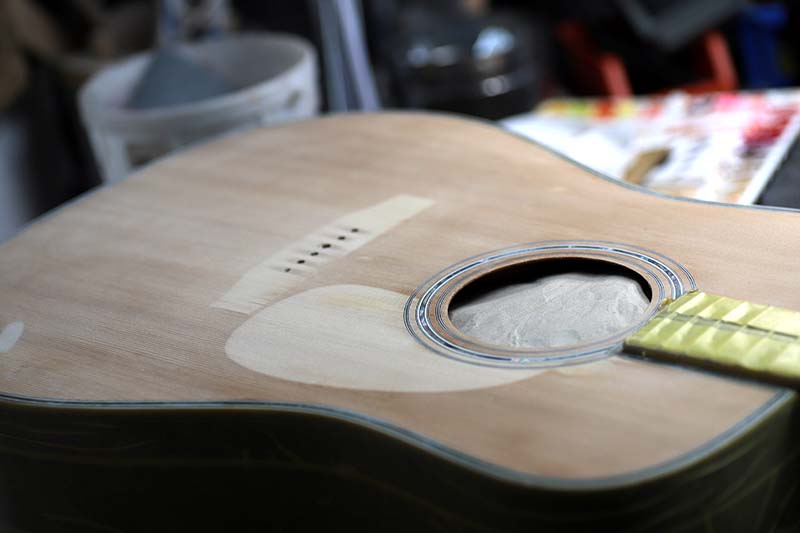
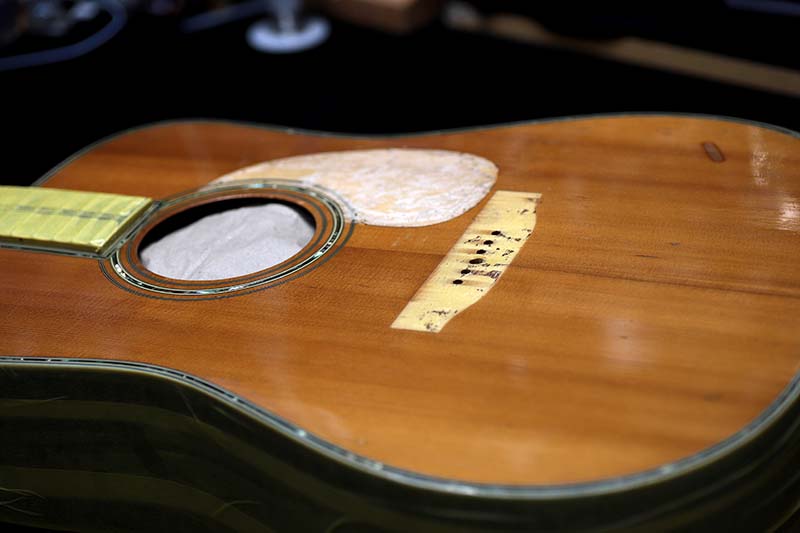
ほとんど塗装面は無くなり木地が出てきたのですが、焼けた跡がかなり奥まで染み込んでます。
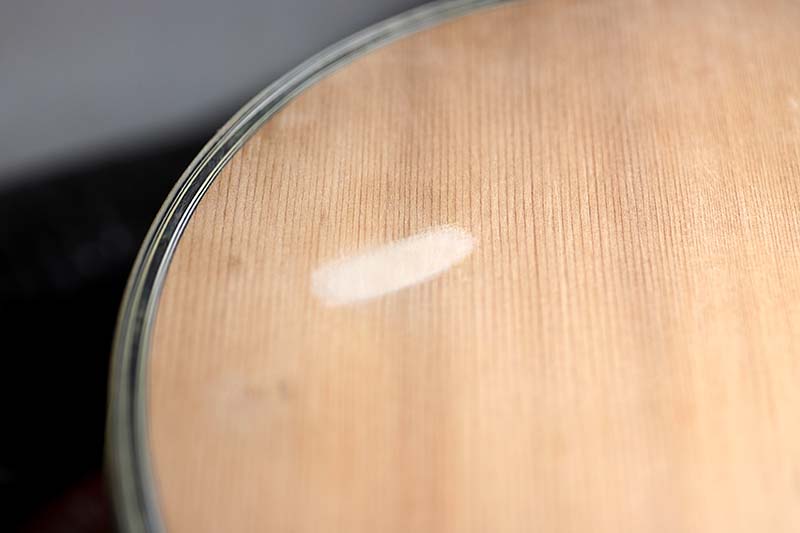
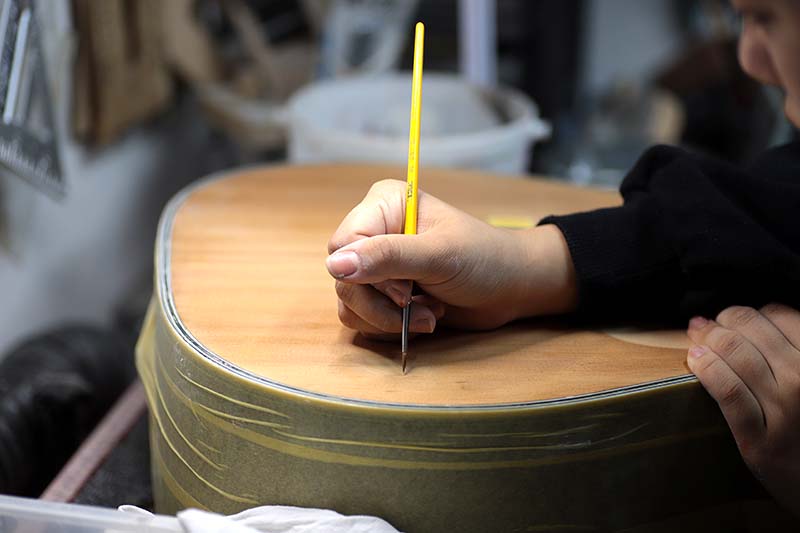
その後スプルースの縦の木目に合わせて筆で書いていきます。
スタッフ さくら🌸が仕上げていきます。

これ以上薄く削るのは危険なので精いっぱいまで追い込みました。
日焼けの跡はあるけどえぐれた部分はほとんどわからなくなりました。
この後ニトロセルロースラッカーでトップを吹きます。
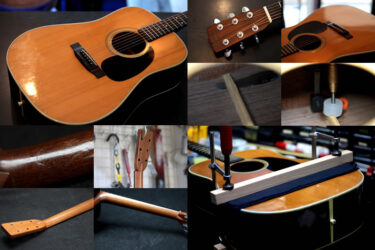
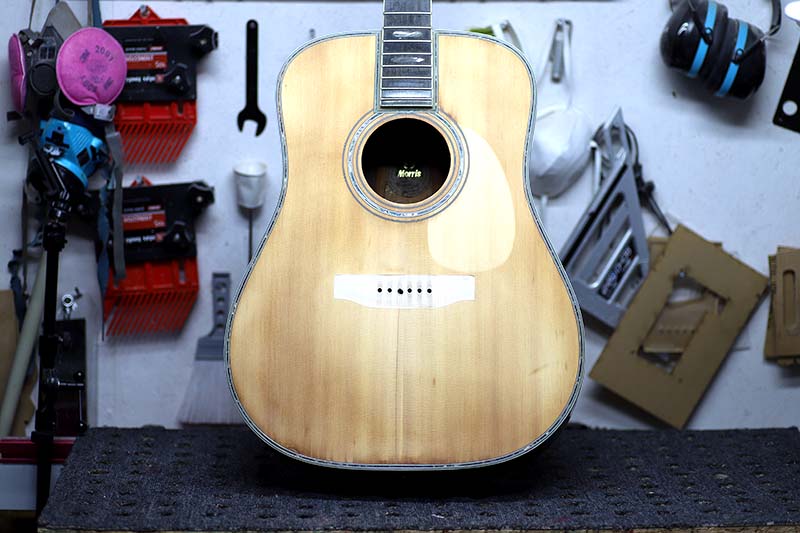
トップ塗装
ウッドシーラー、サンディングシーラー、クリアーを少し厚めに吹いて、グロス仕上げしました。
バフ掛けでピッカピカに。
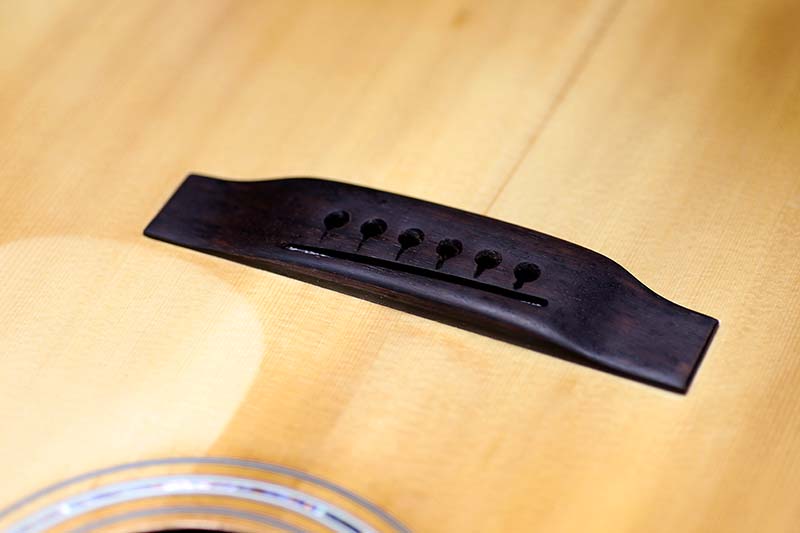
ブリッジも再度接着します。
設置面を綺麗に仕上げて
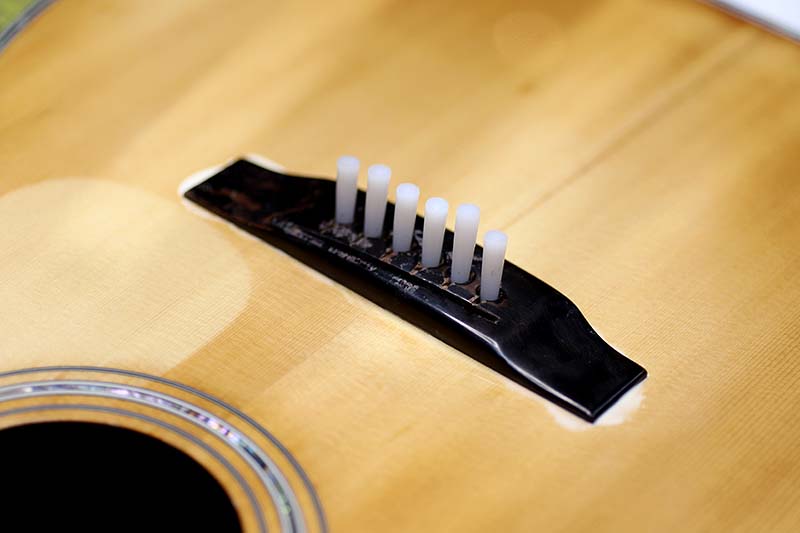
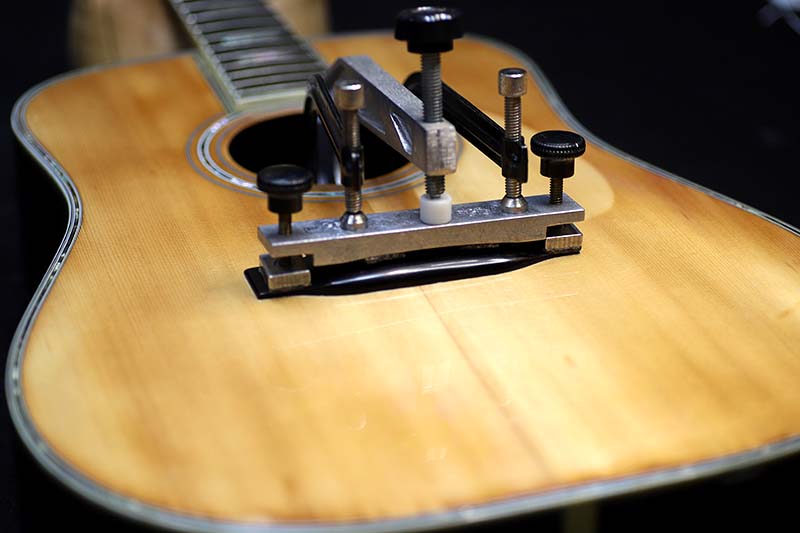
このまま1週間くらい放置。
綺麗に接着出来ました
が、結構傷が目立つので表面を研磨します。
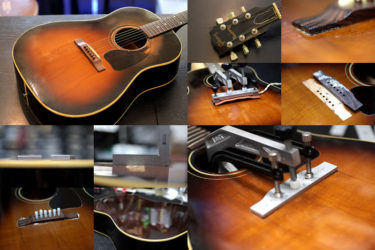
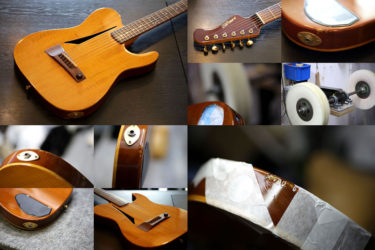
最終調整
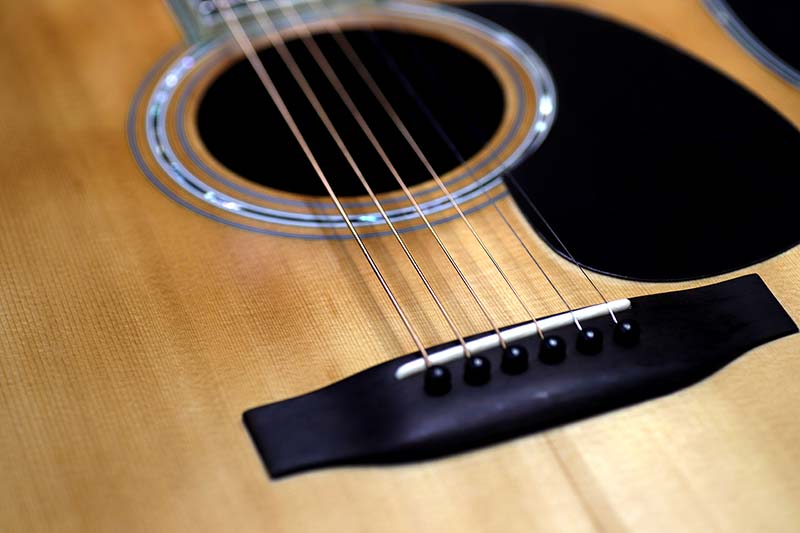
弦を張って全体調整。
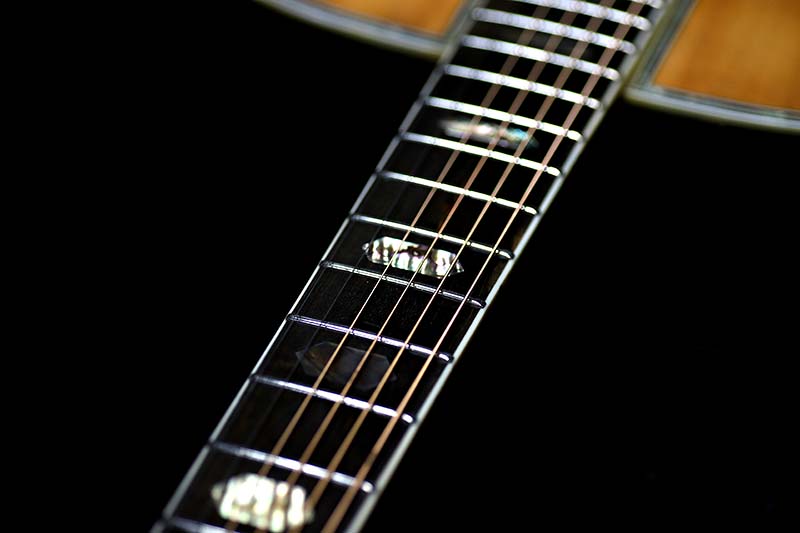
フレットもバフ掛けしてピカピカになりました。

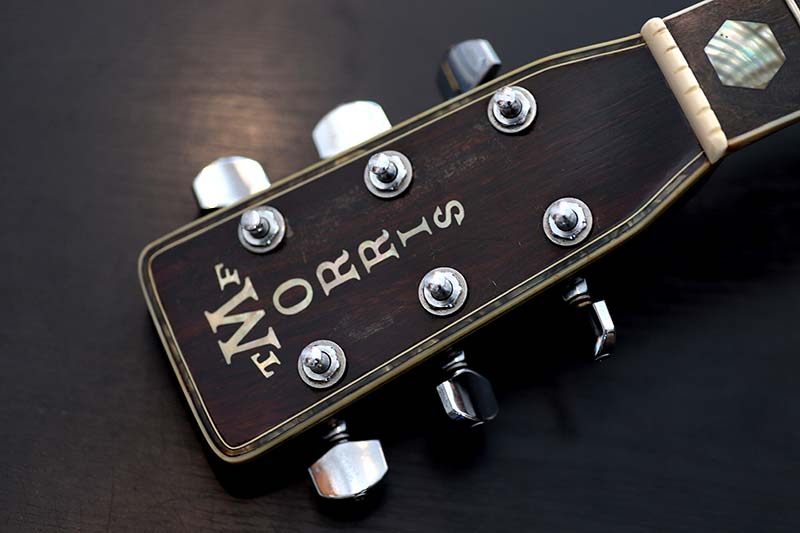
ピックガードも新しく作り直しました。
ギター、等の修理は お気軽にご相談下さい。
お願いいたします。