目次
Martin D41
Repair of the Day

Martin D41 – Brace and Binding repair
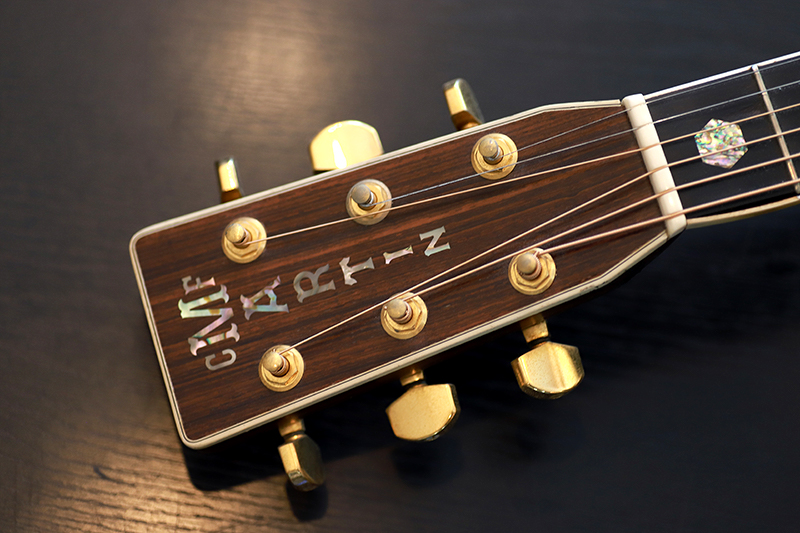
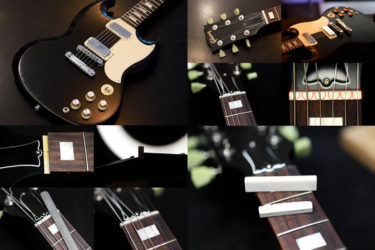
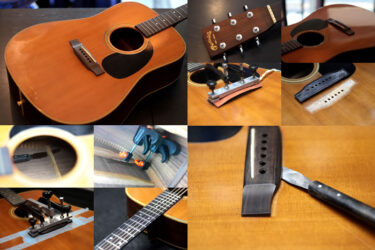
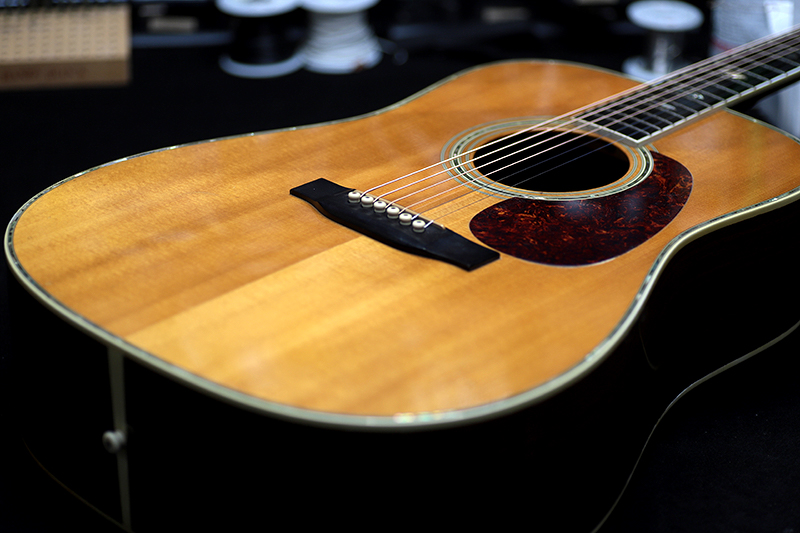
マーティンのD-41。
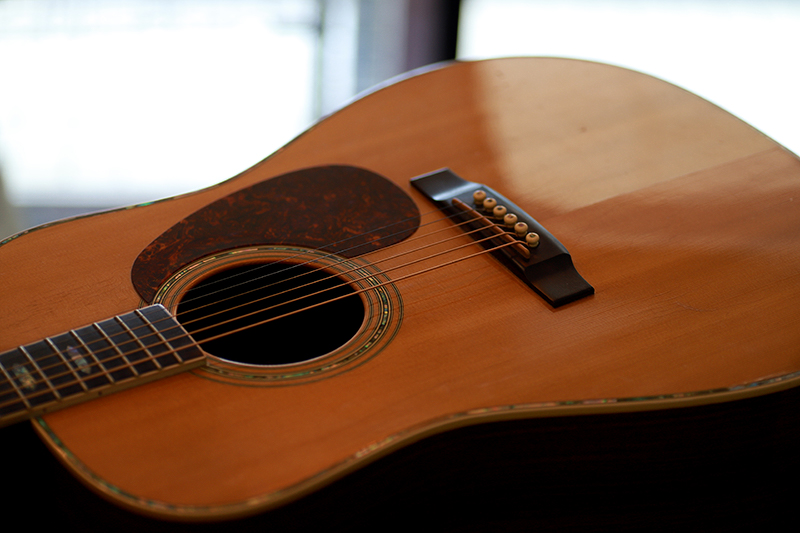
数ある機種の中でも高級モデルのD41。
ロゴもインレイも豪華です。
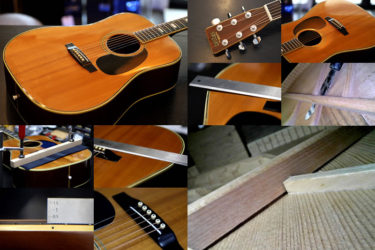
今回はネックのバインディングが剥がれてしまった、と持ち込まれたケース。
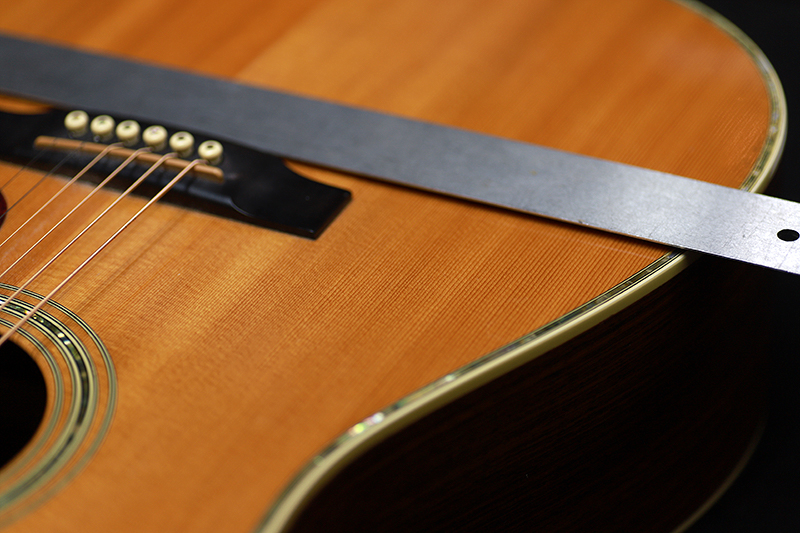
ボディトップもだいぶ膨らんでいます。
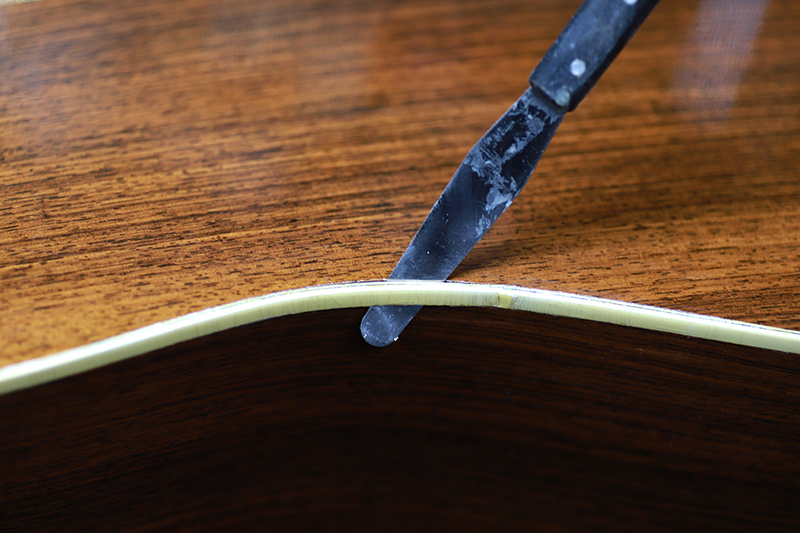
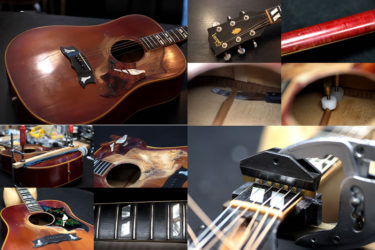
ボディバックのバインディングもよくみるとほぼ剥がれていました。
反対側も。
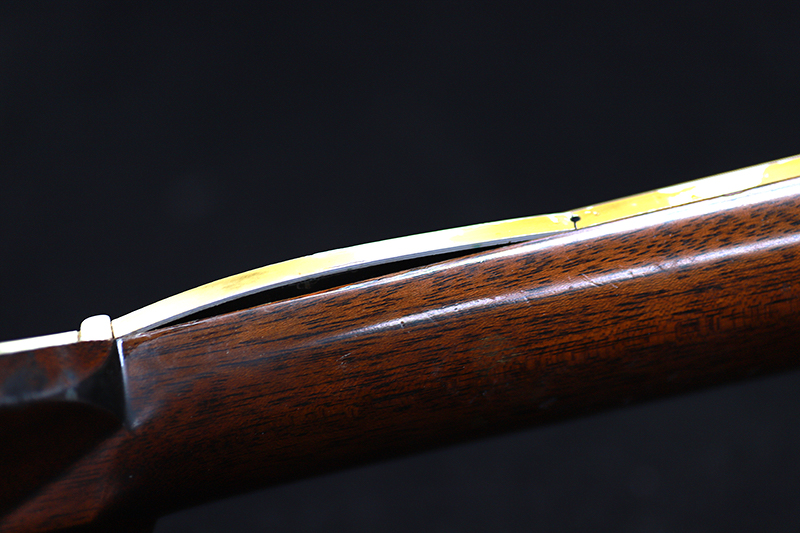
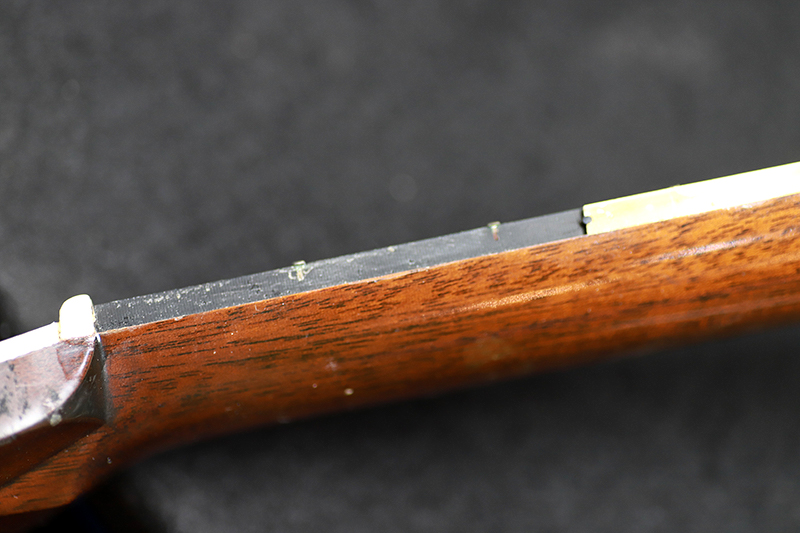
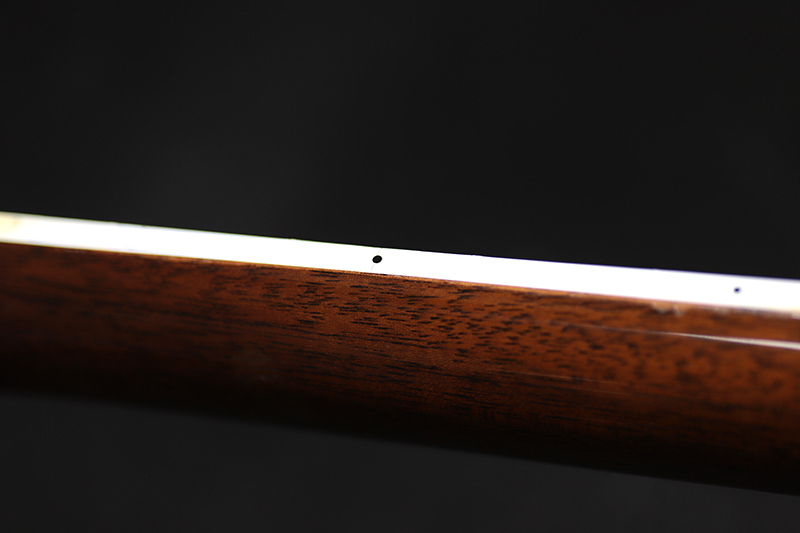
ネックのサイドバインディングは完全に剥がれていました。
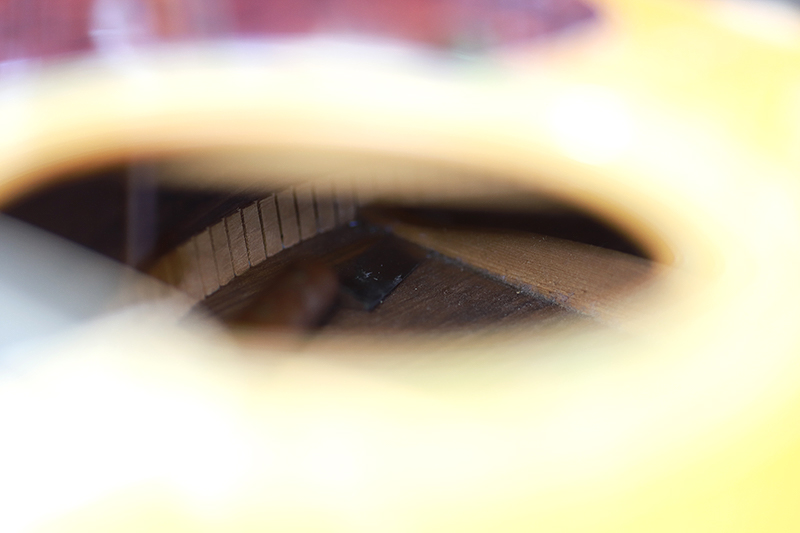
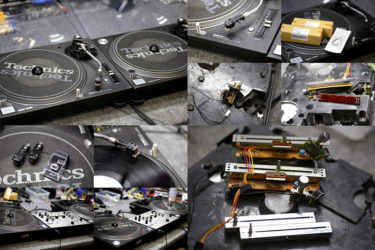
こういうケースはブレーシングが浮いている事が多いです。
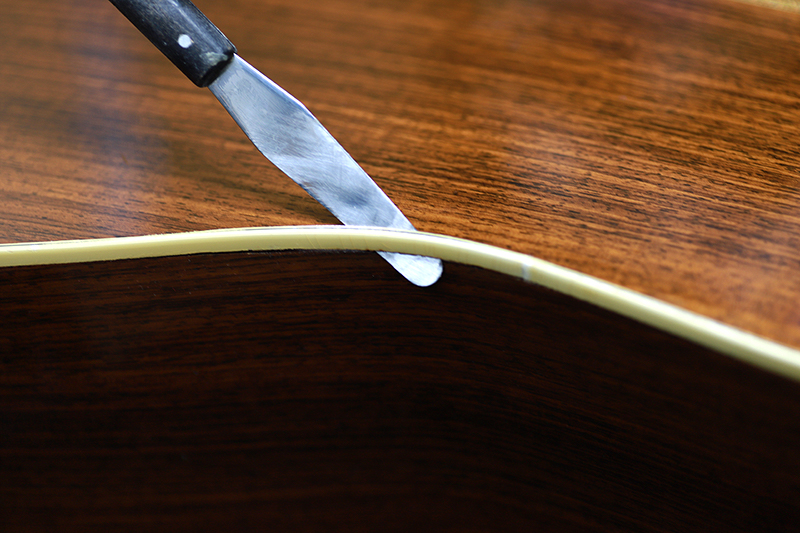
とスクレーパーを入れてみると、片側が全て剥がれていました。

こちらも。
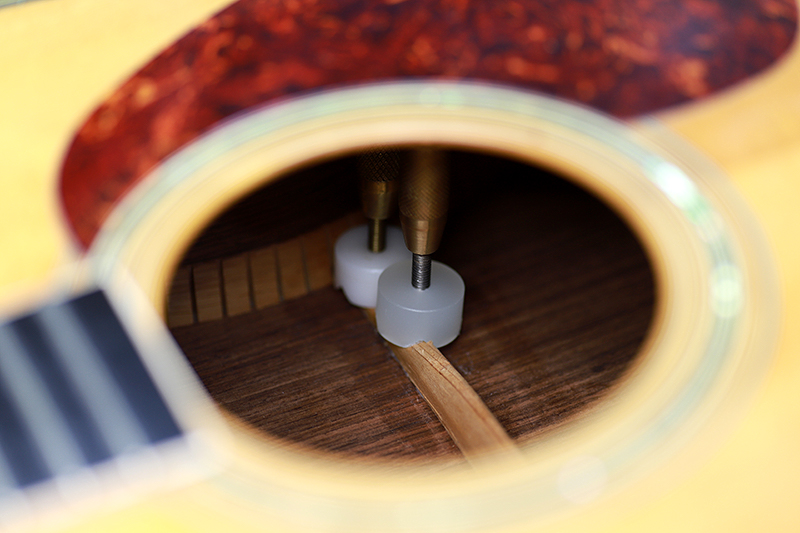
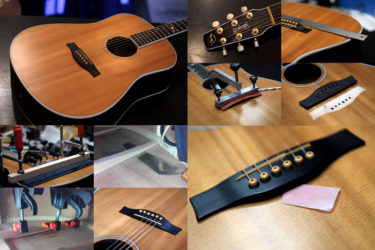
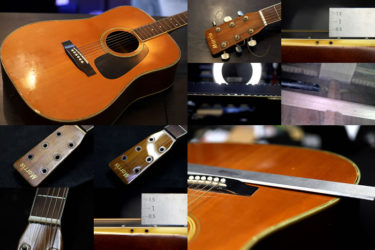
1か所ずつ接着剤で固定していきます。
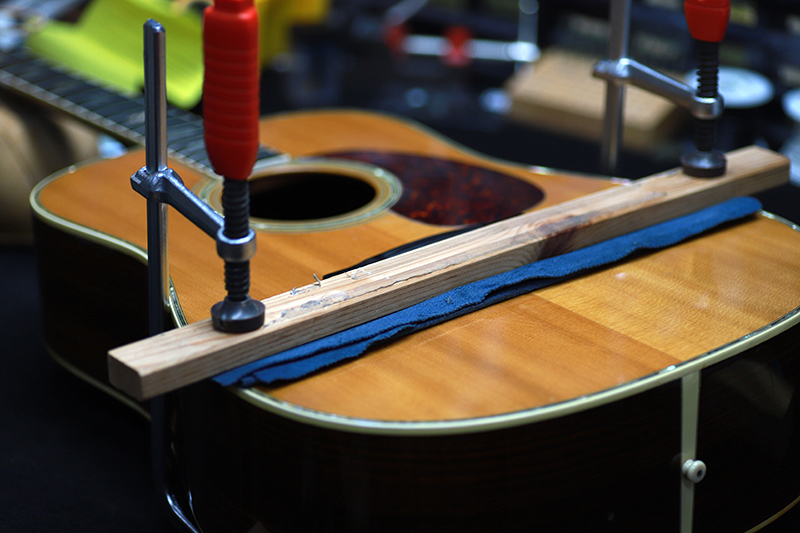
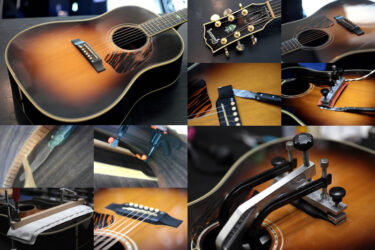
トップの膨らみを抑える為表と裏からクランプ。
内部にスチームを当てて少し湿らせます。
この状態を10日ほど、繰り返します。
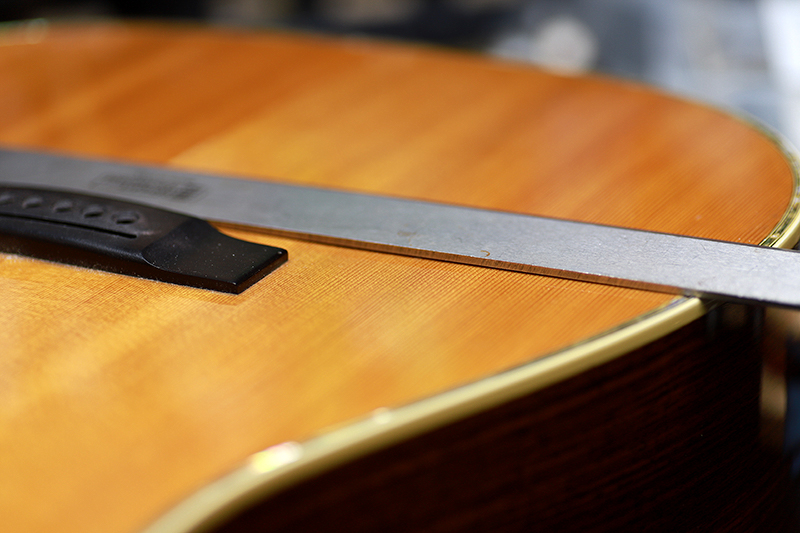
先ほどの隙間と比べて、ここまで戻りました。
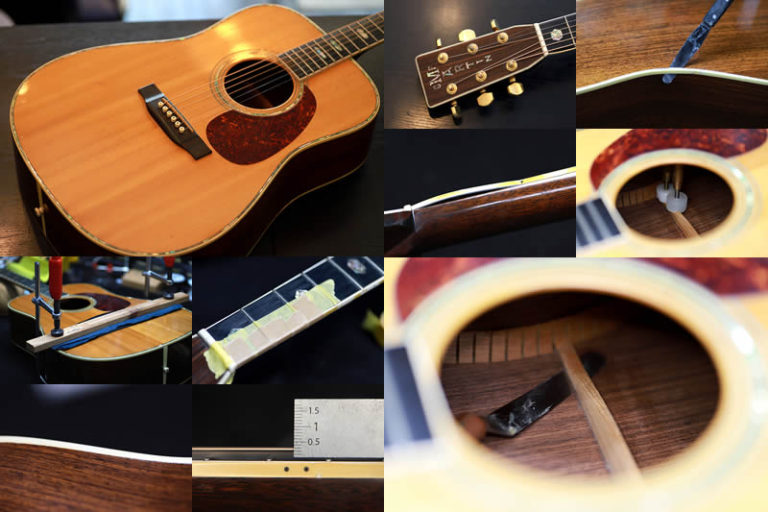
続いてバインディング。
元の接着剤の残りを取り除いて接着します。
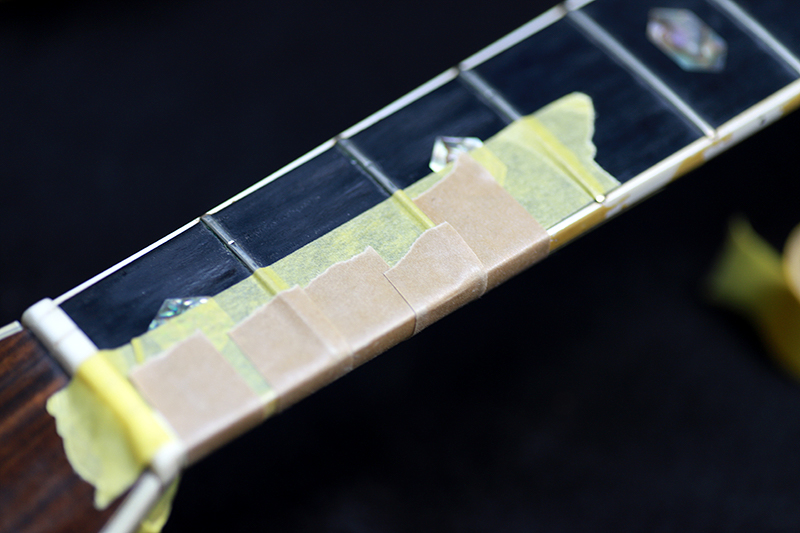
ネック部。
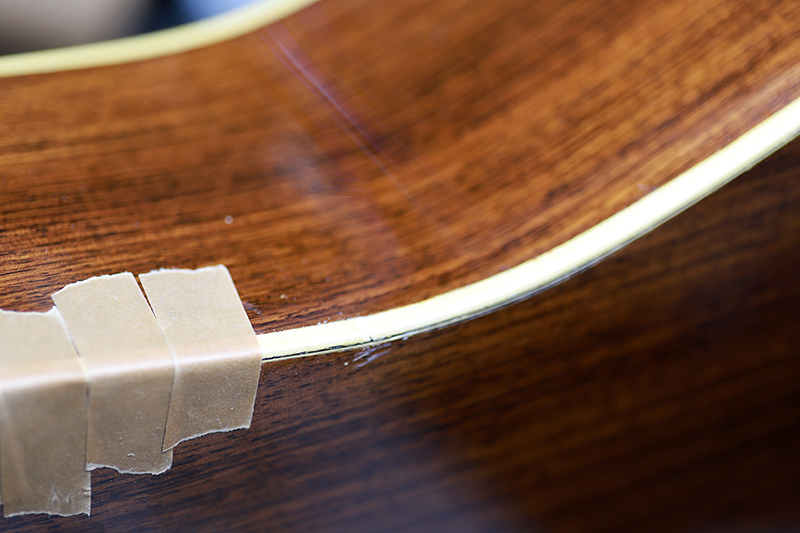
こちらはボディバック。
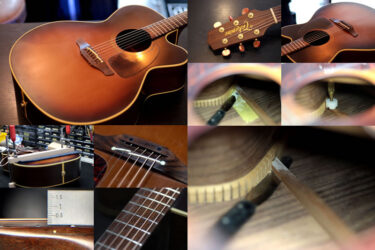
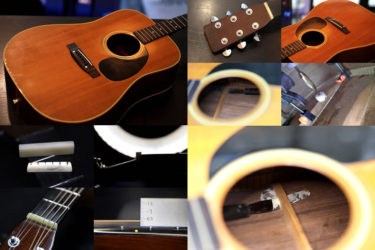
接着が固まったら、研磨、バフ掛け。
隙間無くピカピカです。
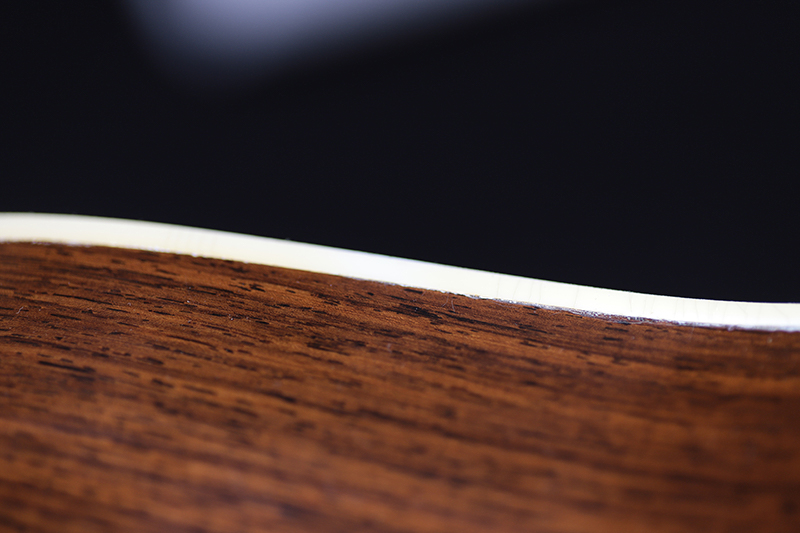
ボディバインディングも綺麗にくっつきました。
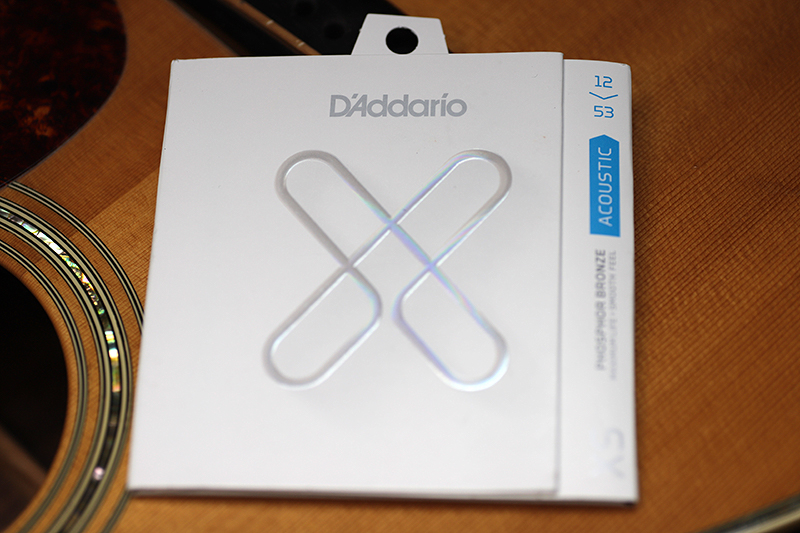
今回はダダリオから発売された XS シリーズ
同じコーティング弦でも、エリクサーとは違う触り心地。
嫌なキラキラ感が無く、長持ち。
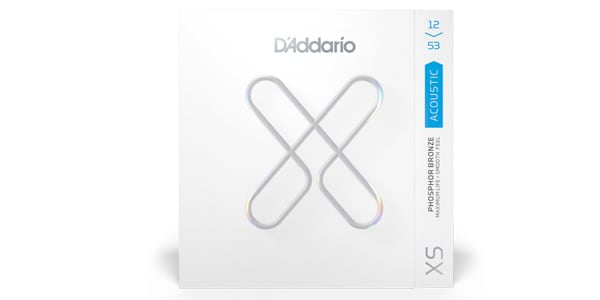
DADDARIO ( ダダリオ ) / XSAPB1253 Light Set
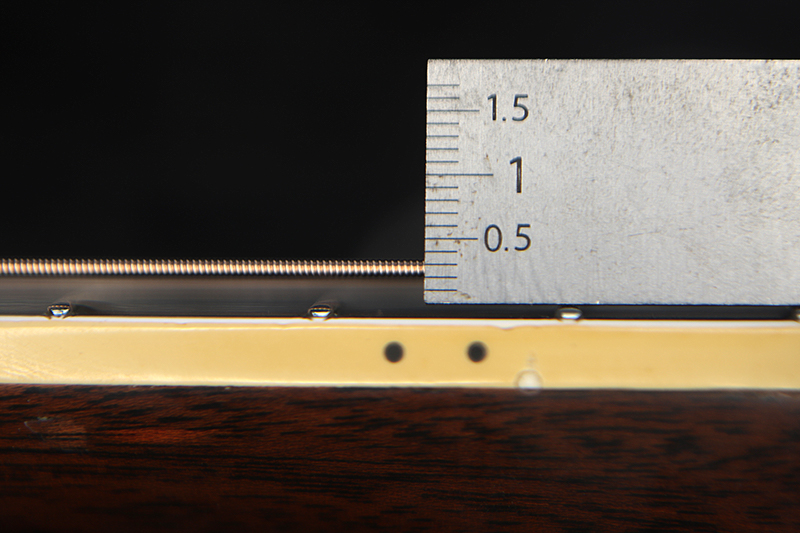
弦高はなんと、2mmまで下がりました。
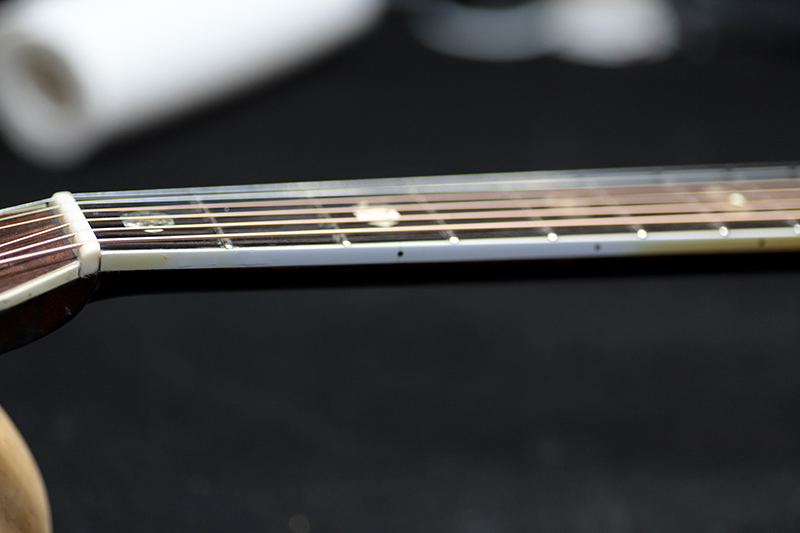
サイドのバインディングは塗装をしなかったので日焼けが剥がれてしまいましたが、隙間無く綺麗にくっついています。
弦高が下がって、とても弾きやすくなりました。
ギター、ベース等の修理は お気軽にご相談下さい。
お願いいたします。

ギター、ベース等の修理は お気軽にご相談下さい。
メールでのお問い合わせ