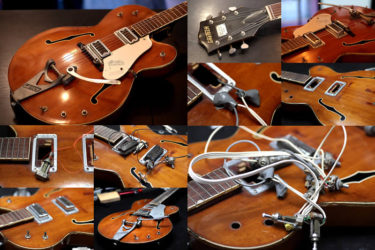
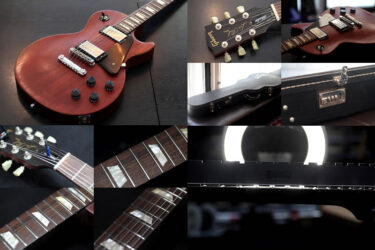
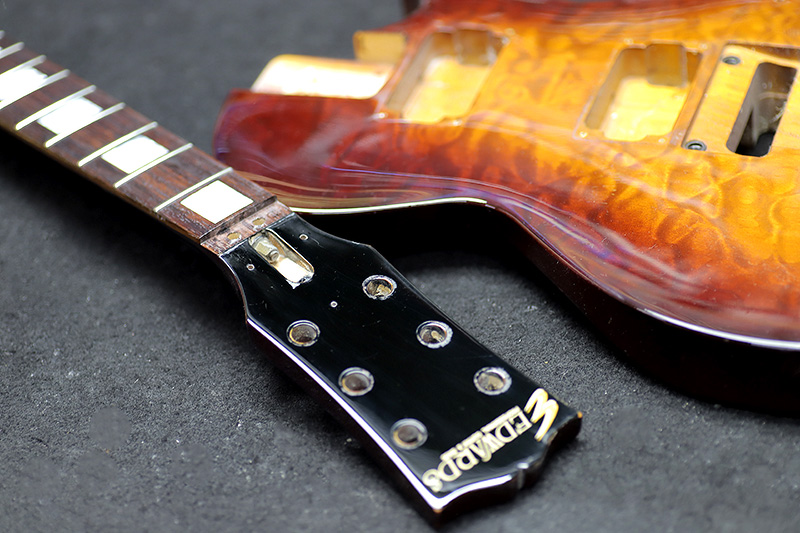
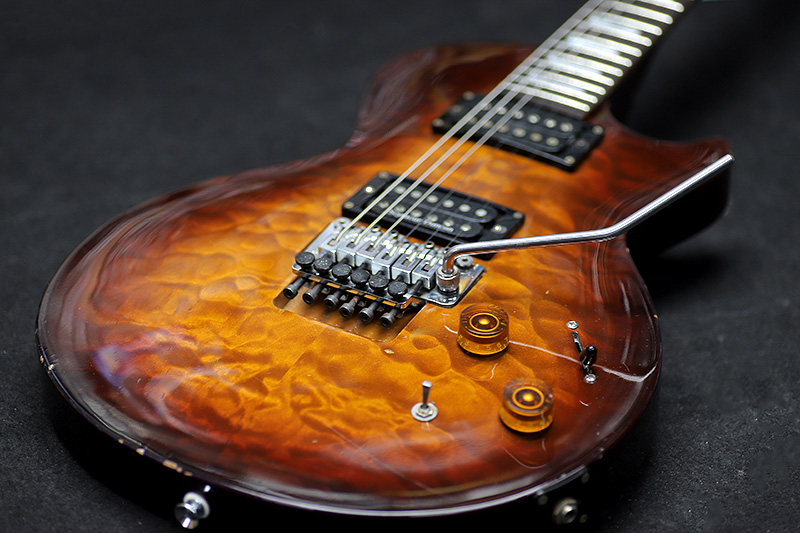
ESP Edwards E-LP
Repair of the Day
Edwardsの LPモデル

90年代に発売されたモデル。
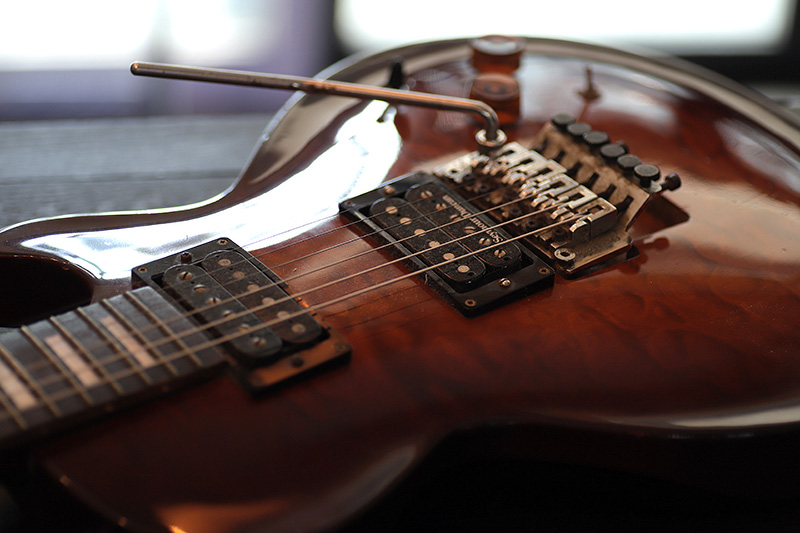
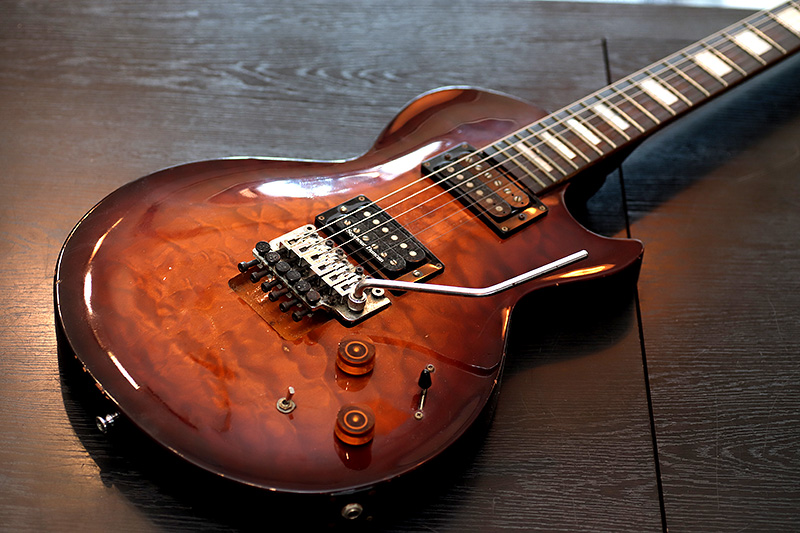
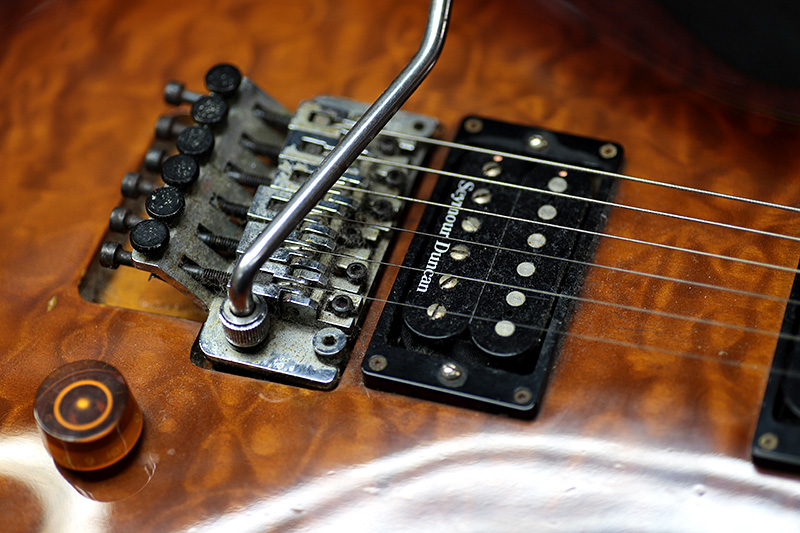
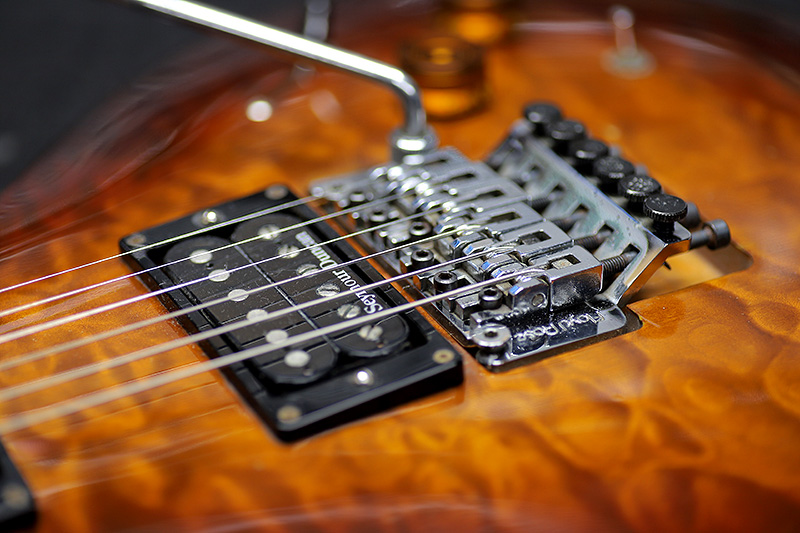
トレモロはドイツ製フロイドローズ
贅沢な仕様ですね。
状態
クリーニングを行いましょう。
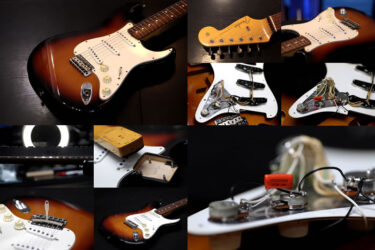
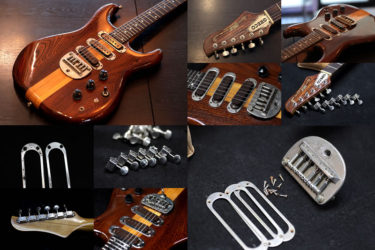
ボディバフ掛け
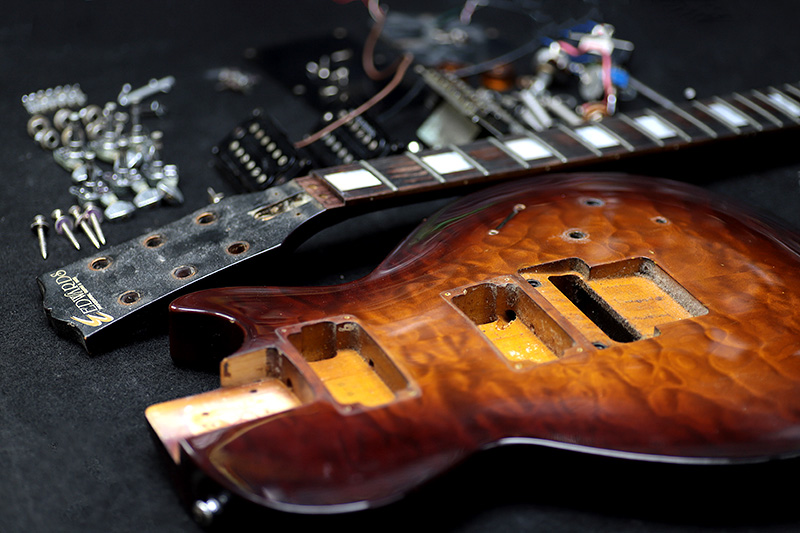
一旦全てのパーツを外してクリーニング&バフ掛けします。
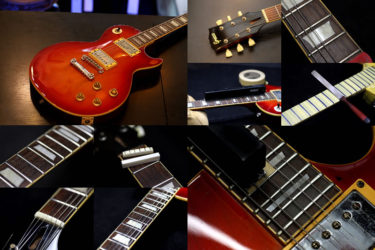
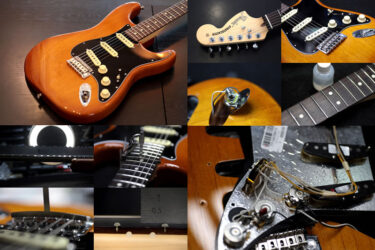
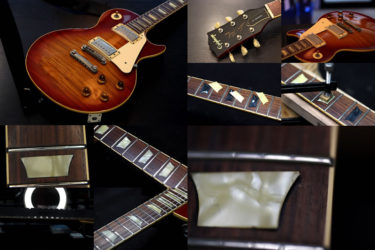
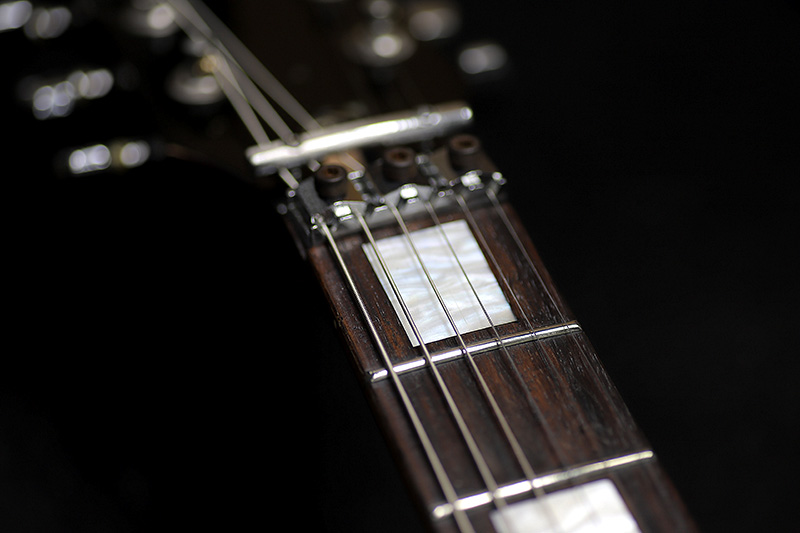
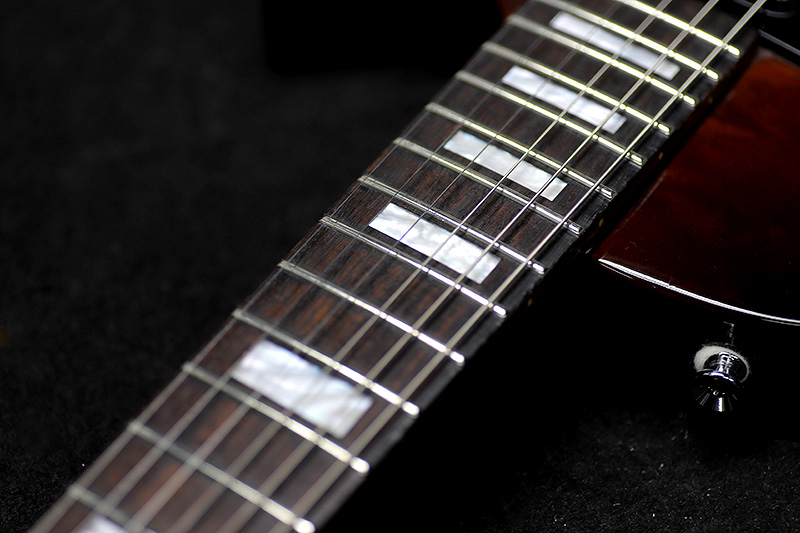
指板は真っ黒になっていました。
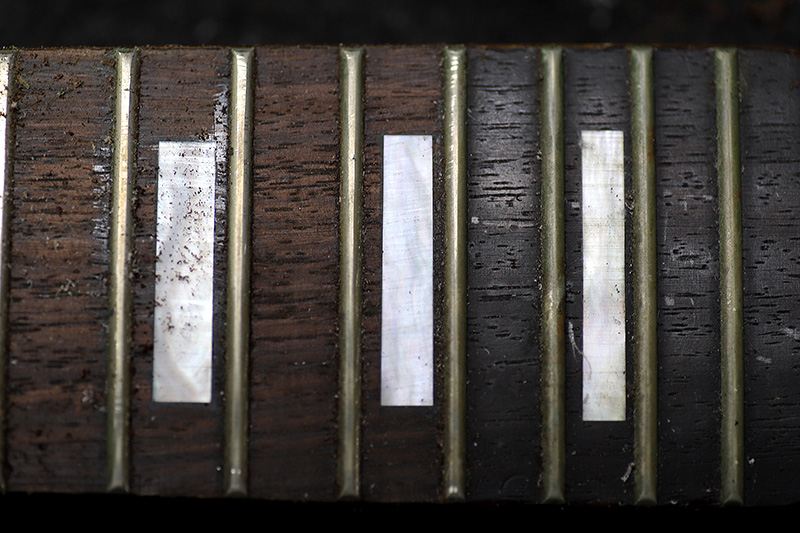
左が研磨途中の指板、右が30年ほど経過した状態。
左が研磨後、右が研磨前
右は錆で青くなっていました。
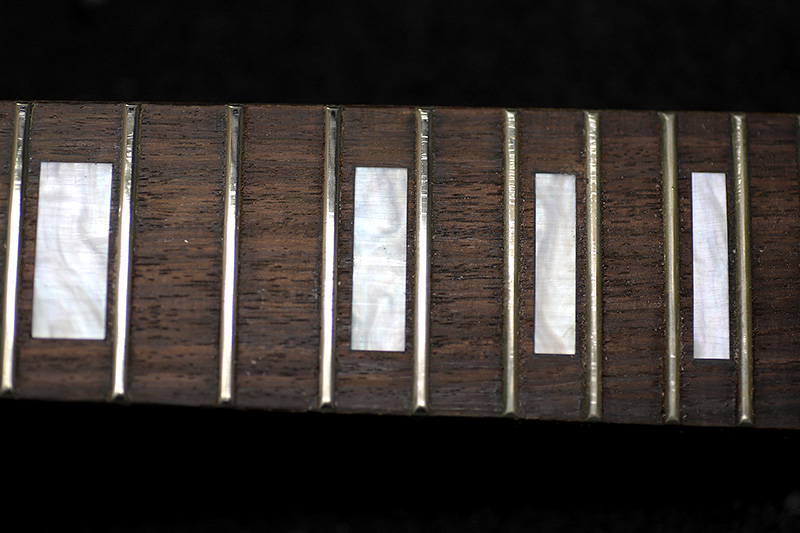
研磨、バフ掛け、コンパウンド処理後の指板
フレットも新品のように光っています。
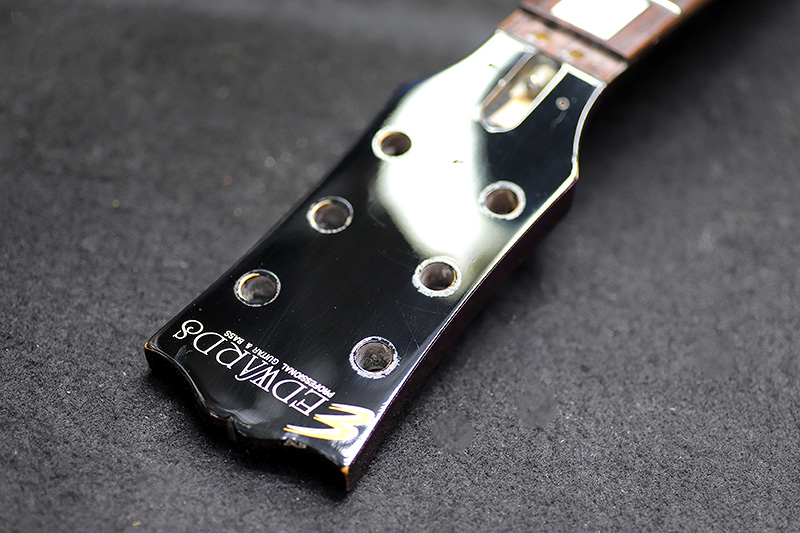
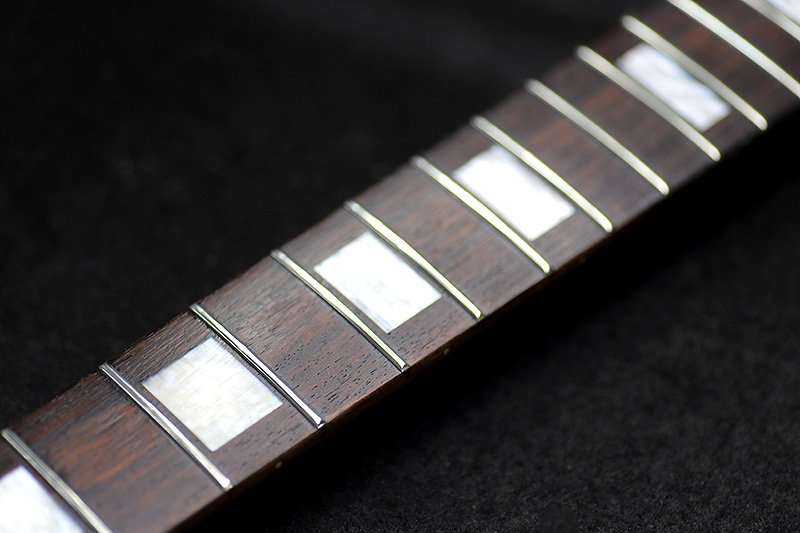
艶が出て鏡面のように光っています。
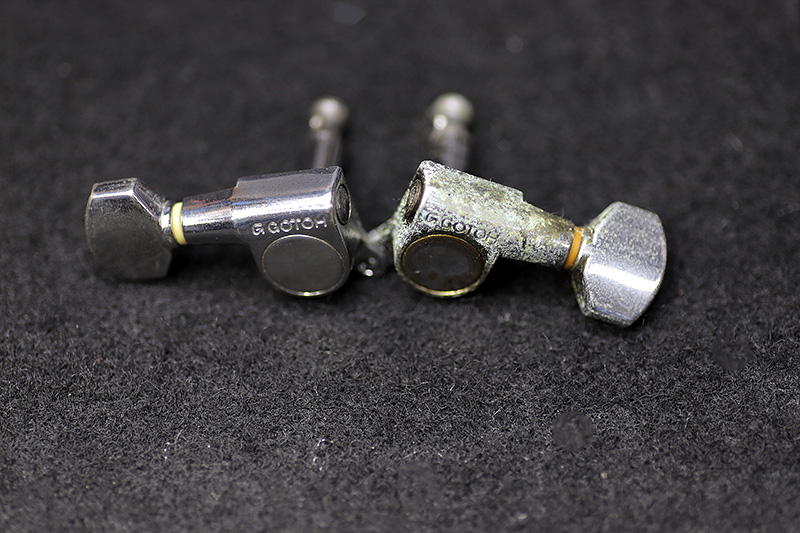
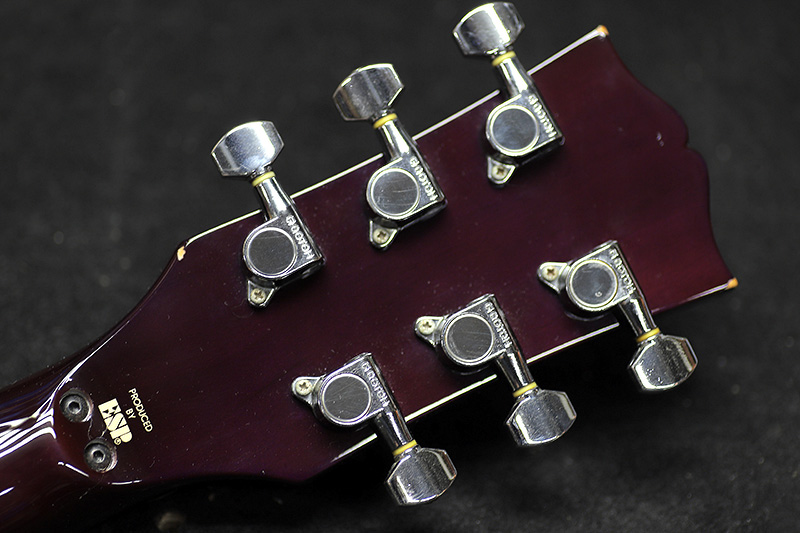
金属パーツ研磨
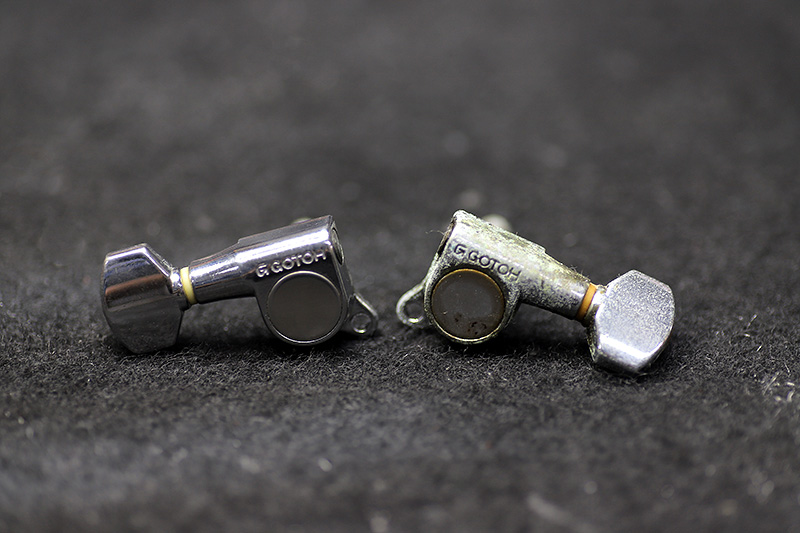
こちらはペグの状態。
右が研磨前、左が研磨後。
ここまで綺麗になります。
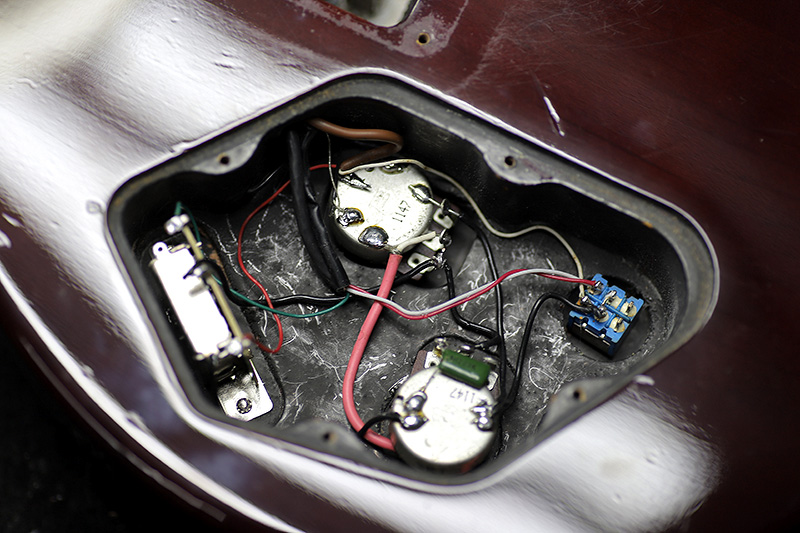
ポット交換
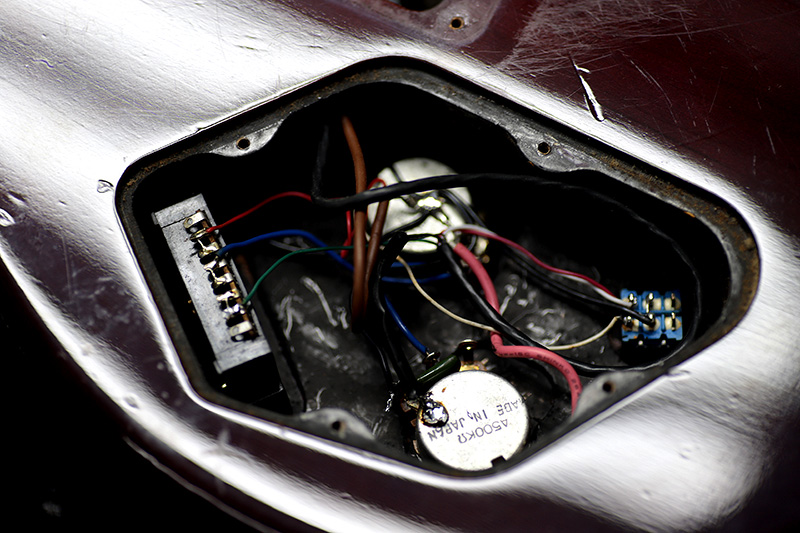
ポットはガリが多く、スイッチもかなりのガリでした。
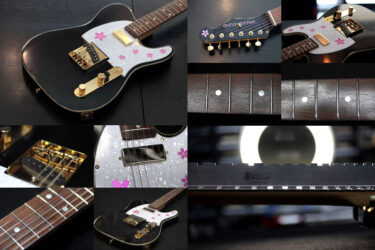
組み込み、セットアップ
弦高も低くセットし、ストレス無く弾けるようになりました。
研磨後はコードもチョーキングもスムーズ。
長い事弾いていなかったギターも、メンテナンスで見違えるほど綺麗に、弾きやすくなります。
どんな状態でも一度お問い合わせください。
ギター、ベース等の修理は お気軽にご相談下さい。
お願いいたします。