Guitar Repair of the Day
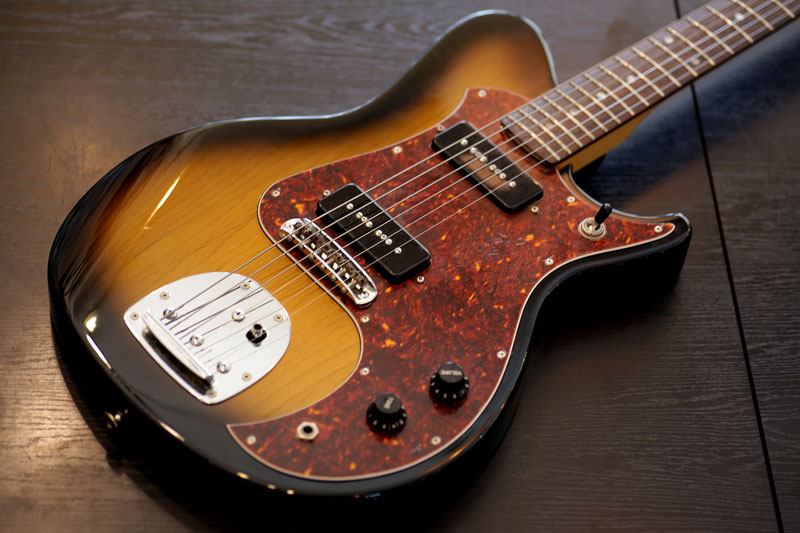
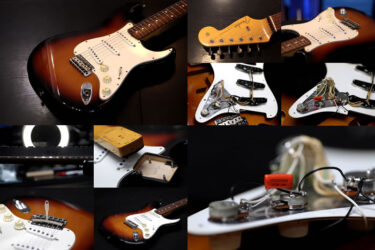
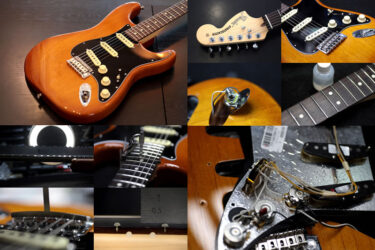
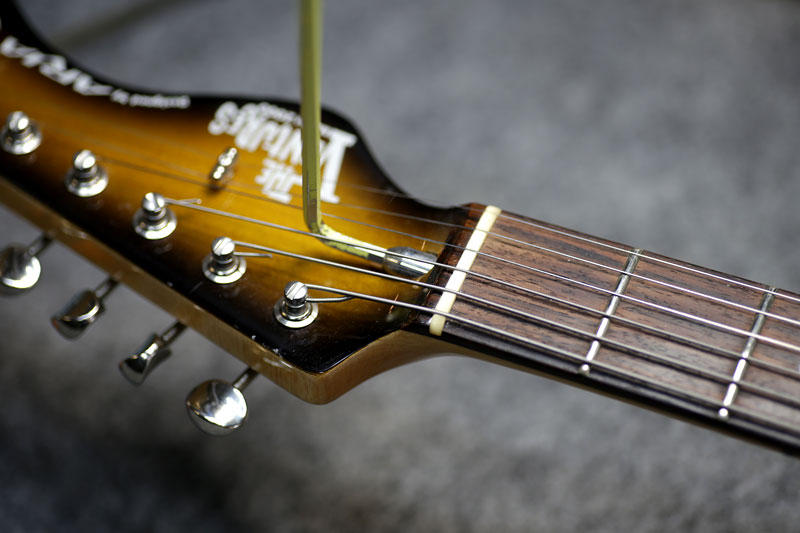
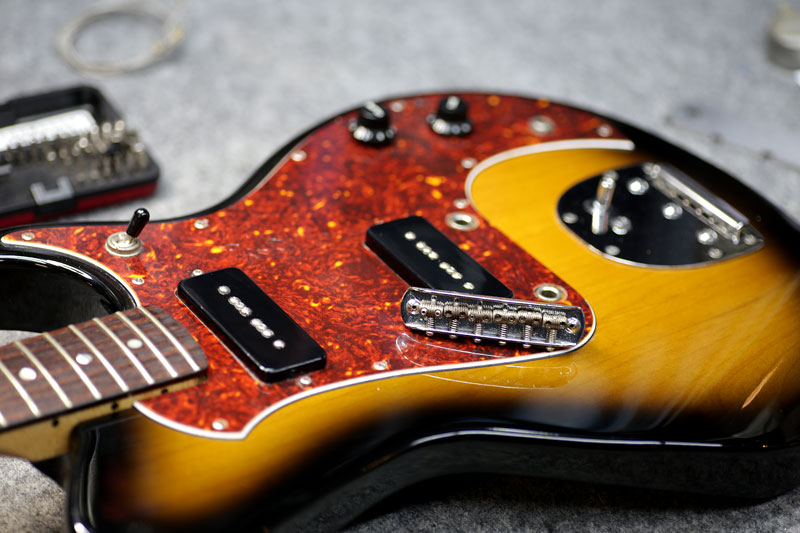
ARIA The Ventures Model 2000 VF-D1
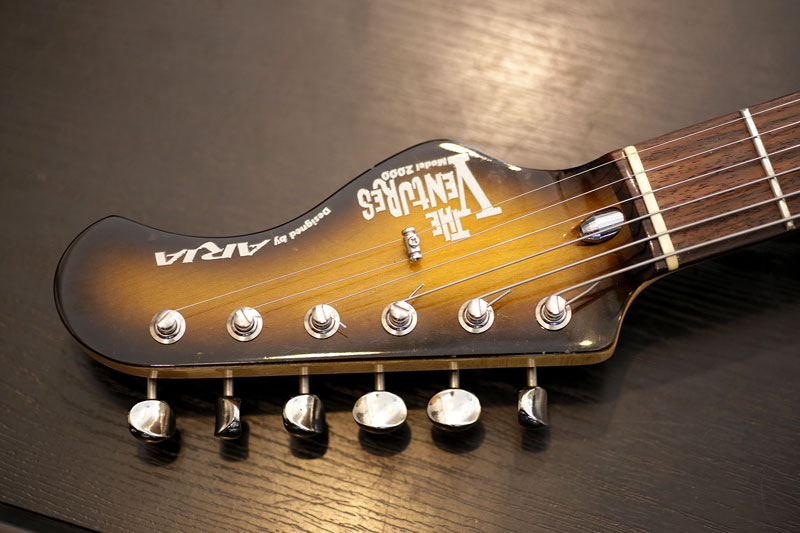
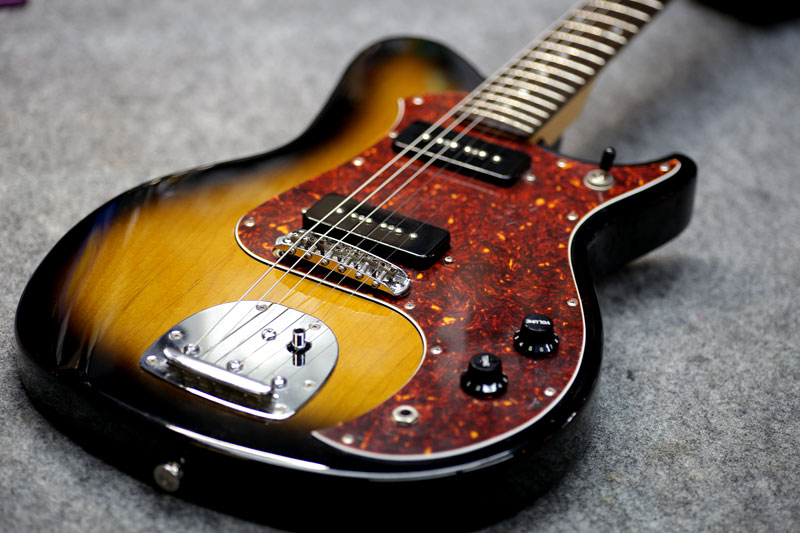
アリアのベンチャーズモデル VF-G1。
暫く使っていなかったので全体調整とブリッジ調整の依頼。
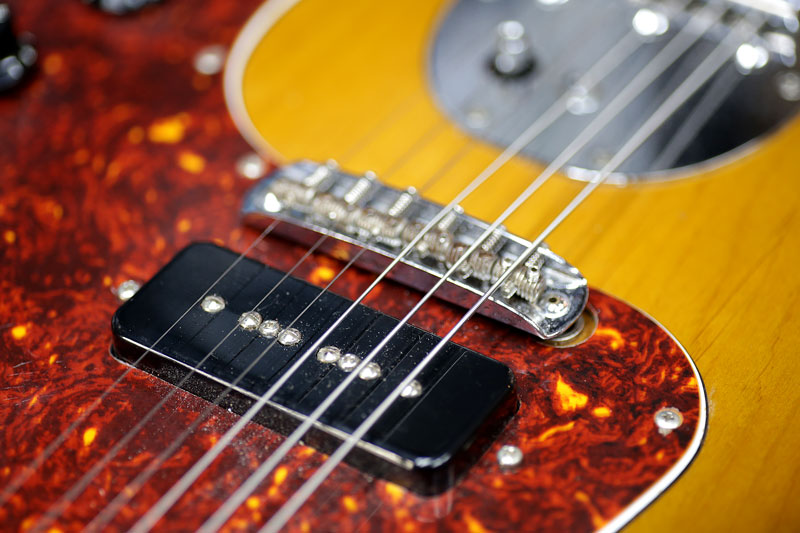
全体的に弦高が高く、弦の駒落ちがあります。
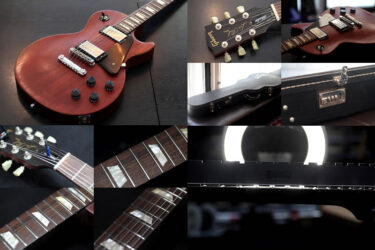
ネック調整
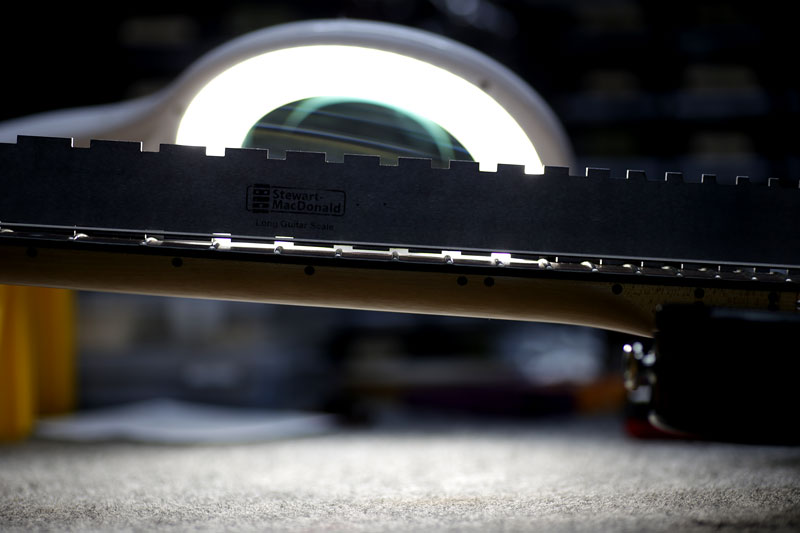
ネックはかなり順反りになっています。
トラスロッドを調整回して調整。
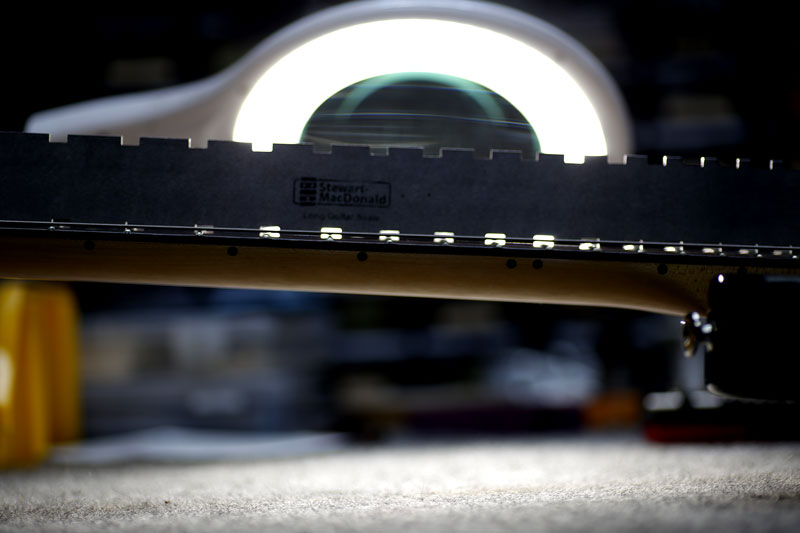
真っすぐになりました。
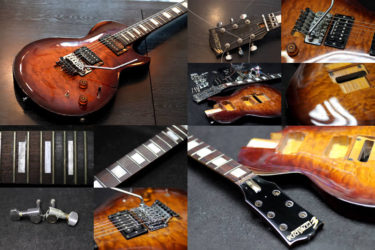
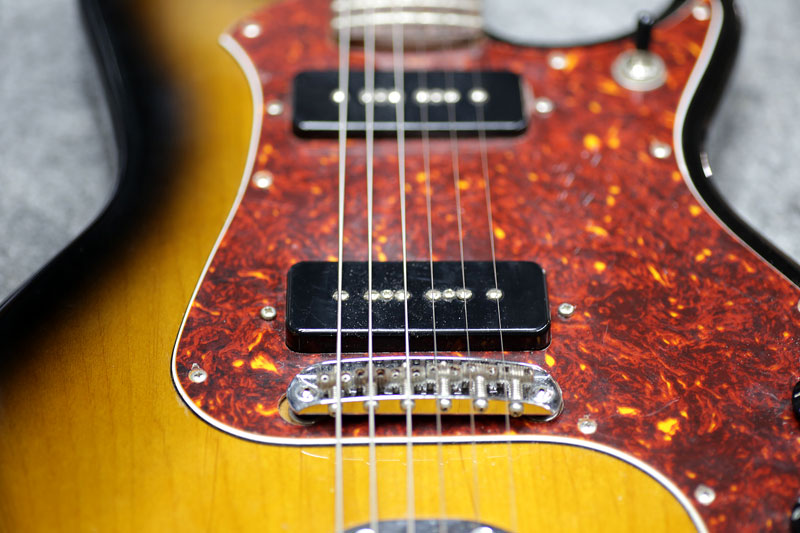
ブリッジ調整
全体調整の基準は常にネックがストレートである事。
その状態でナットの状態を見てブリッジのセッティングを見て微調整します。

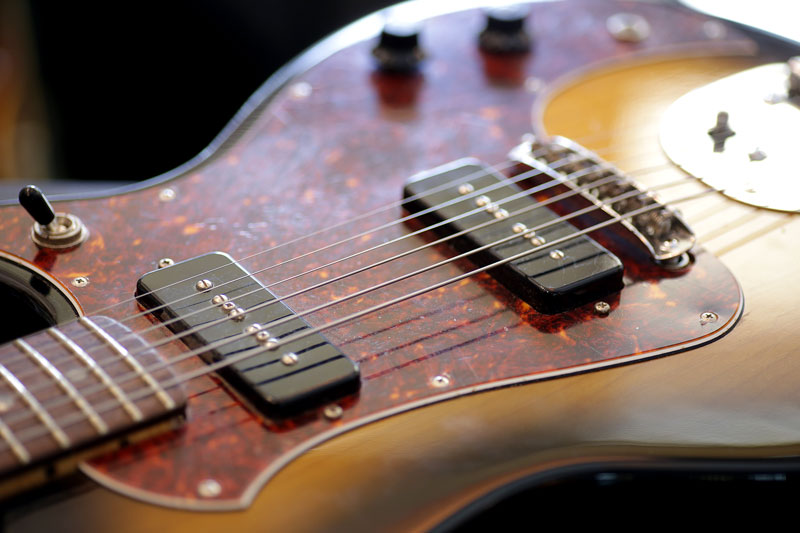
ジャズマスターのブリッジで多いのが、弦落ちやビビり。
これもネックが曲がっているのを気が付かずにブリッジだけを調整しても完全にはセッティングが出ません。
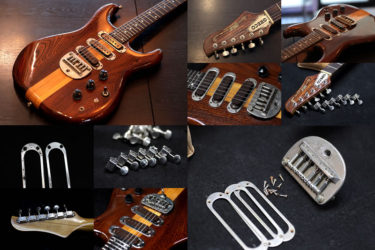
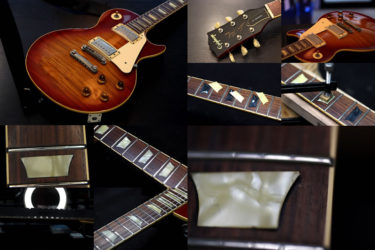
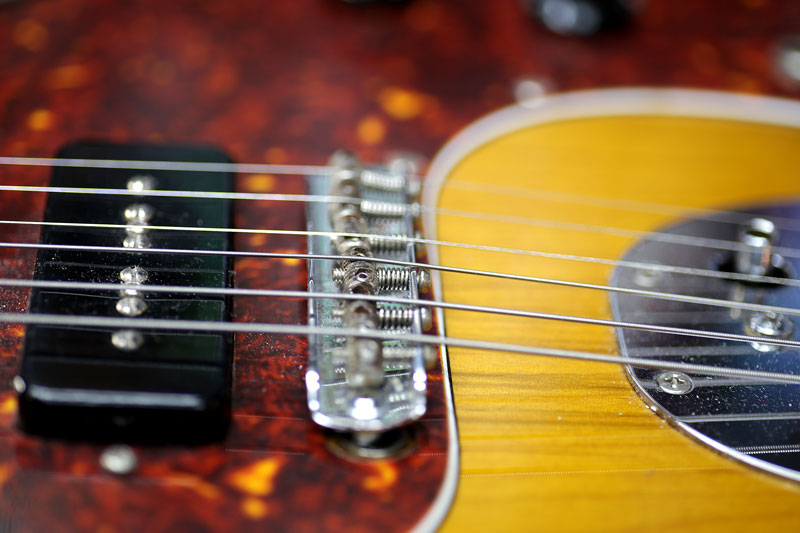
一旦取り外してサドルを細かく掃除、調整。
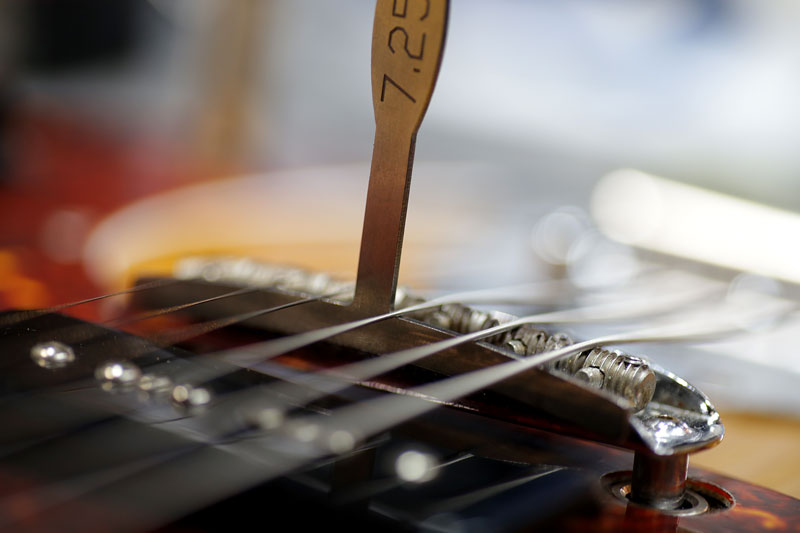
指板のアールに合わせサドルをラウンド状にし、サドルの高さを決め、ブリッジ高さを調整します。
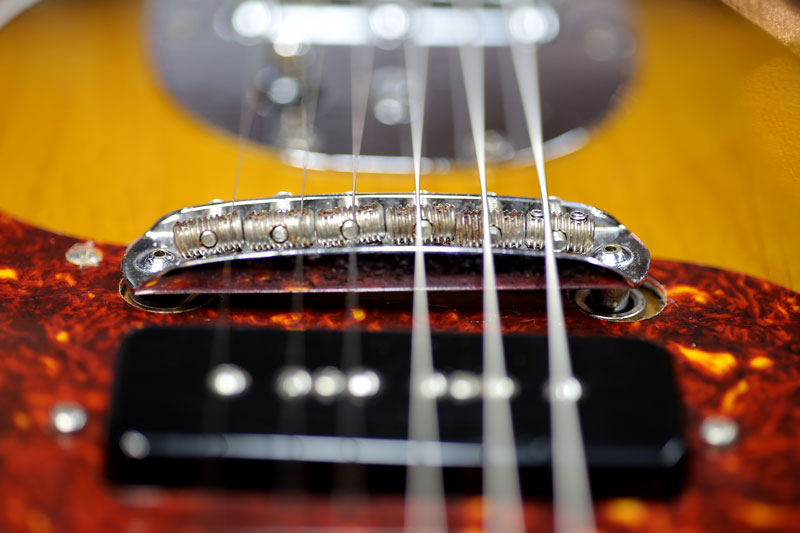
サドルをフラットにすると音詰まりが出たり、3・4弦だけが低くなってしまいます。
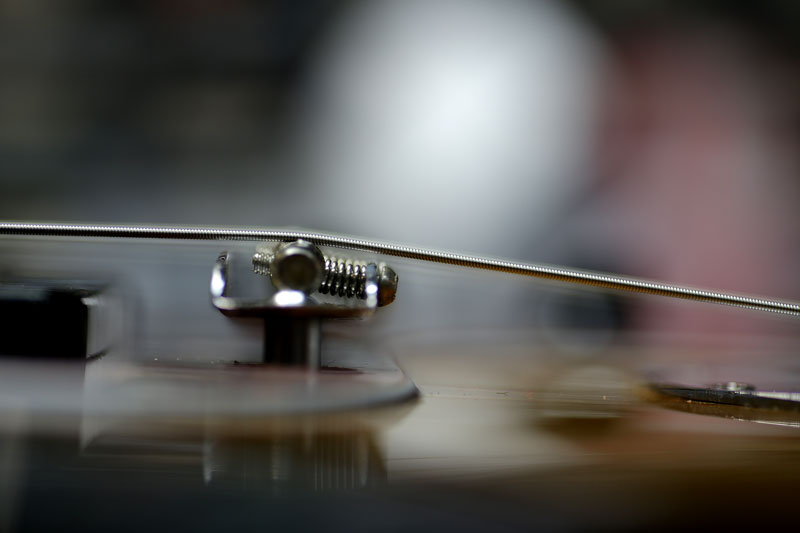
弦もブリッジエンドに当たらずテンションも掛かり、弦落ちは無くなりました。
ポット交換
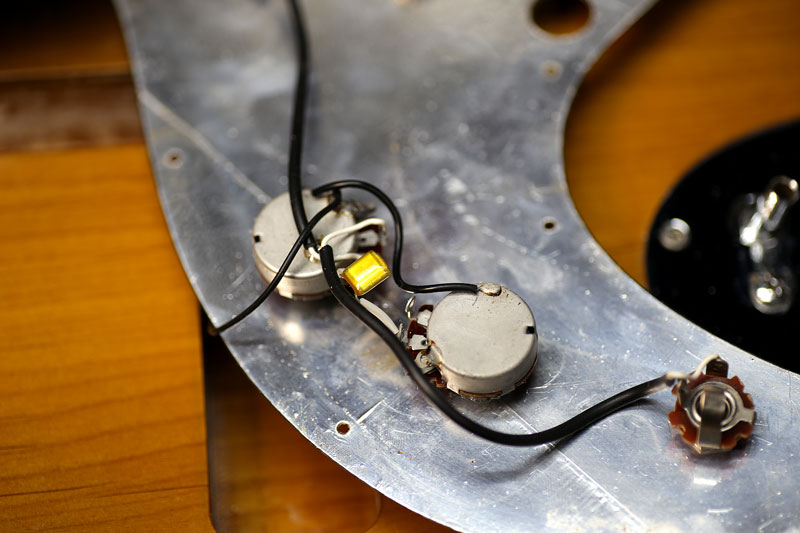
トーンポットの調子が悪いので交換。
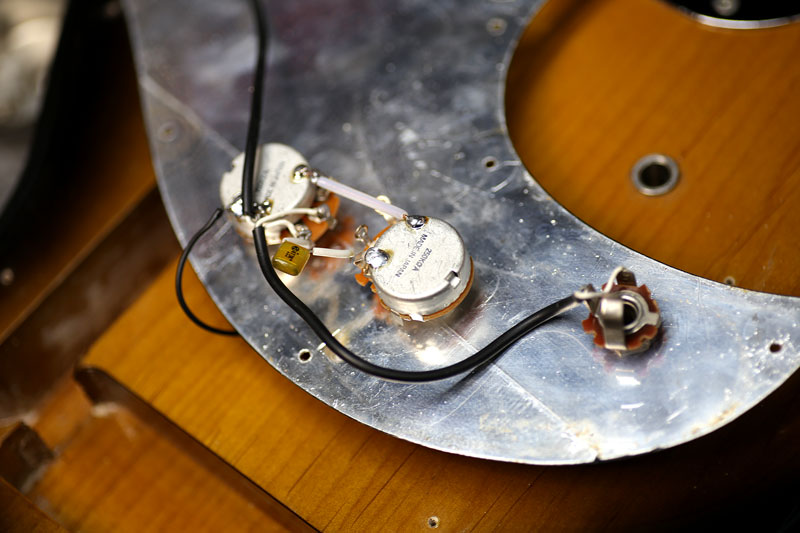
ボリューム、トーン共に交換しました。
弦がよく外れる、ビビりが出る、等の症状は是非ご相談下さい。
ギター、等の修理は お気軽にご相談下さい。
お願いいたします。