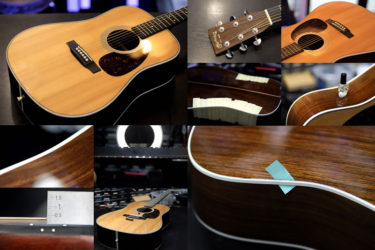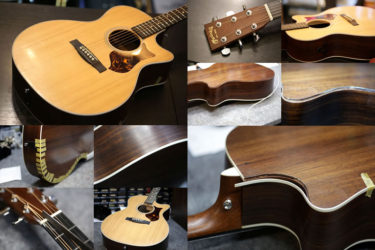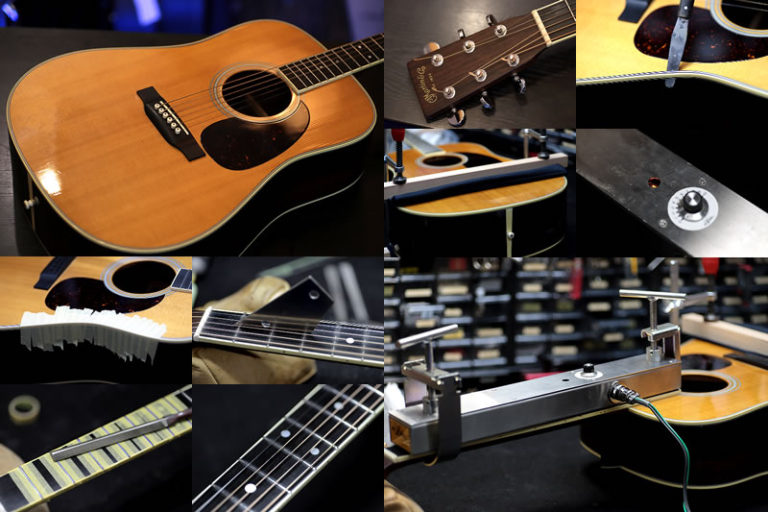
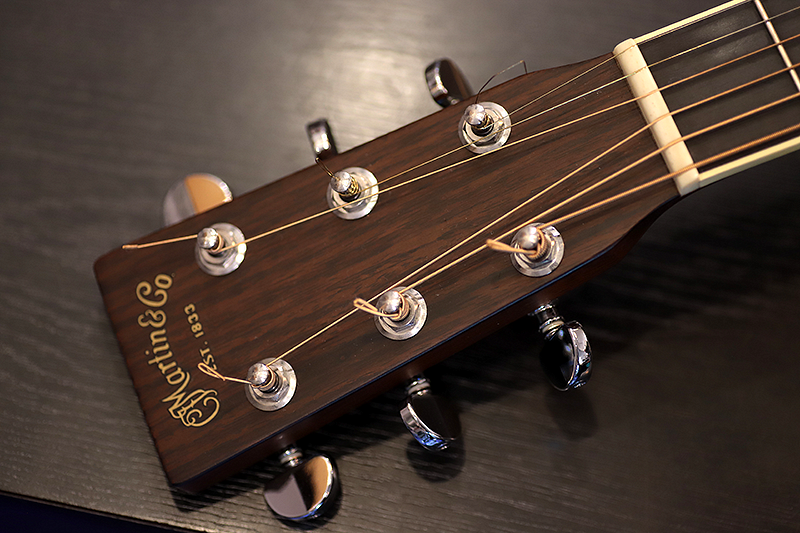
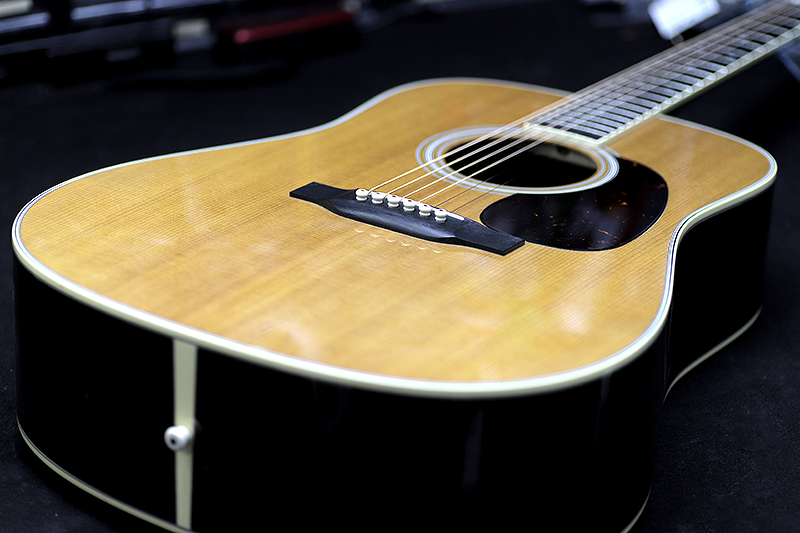
Martin D-35
Repair of the Day
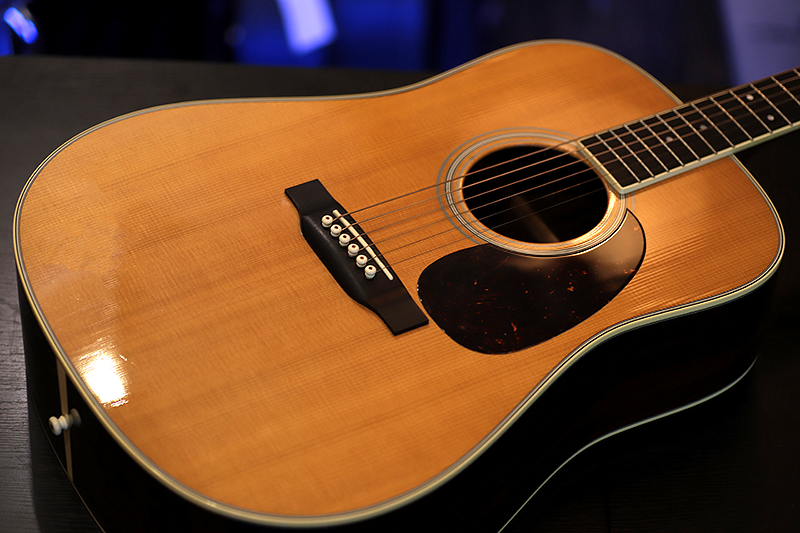
Martin D-35
古いモデルでは無く、数年前に購入されたそうです。

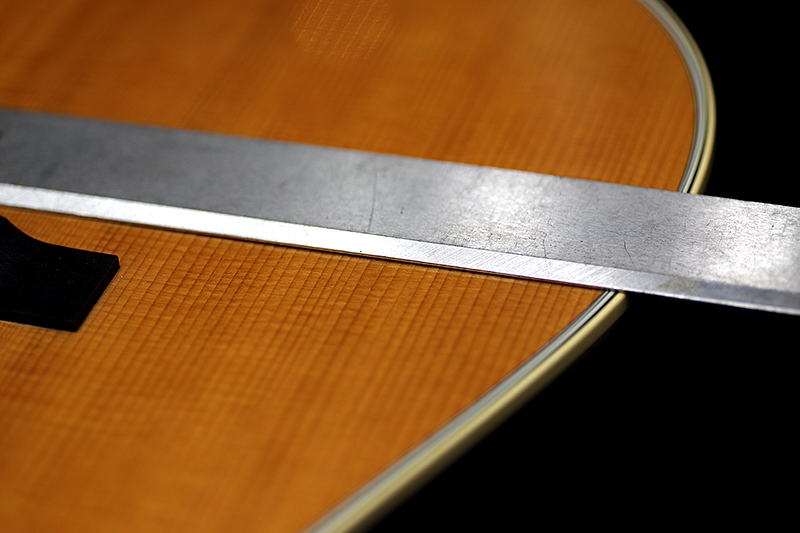
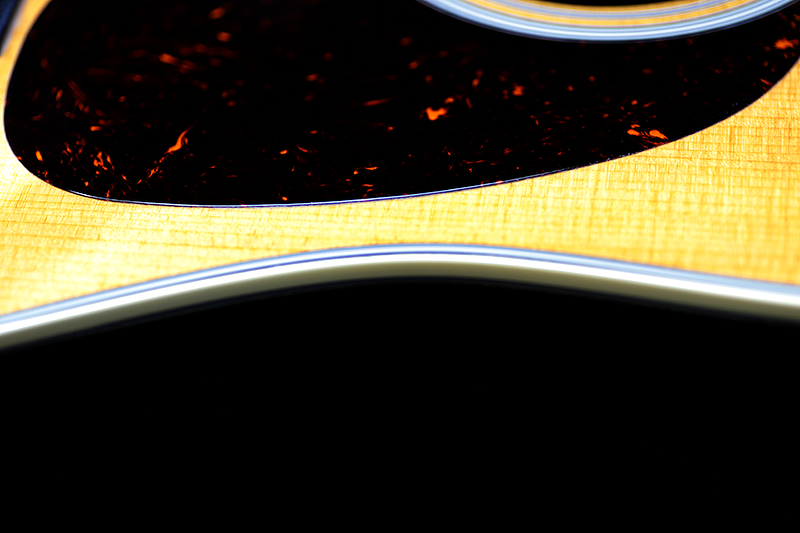
バインディング状態
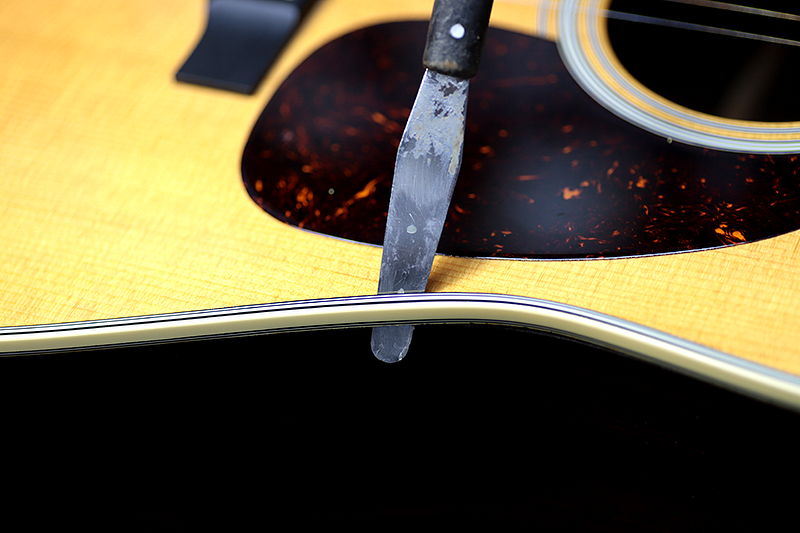
今回はバインディングが剥がれてしまった、との事で持ち込まれました。
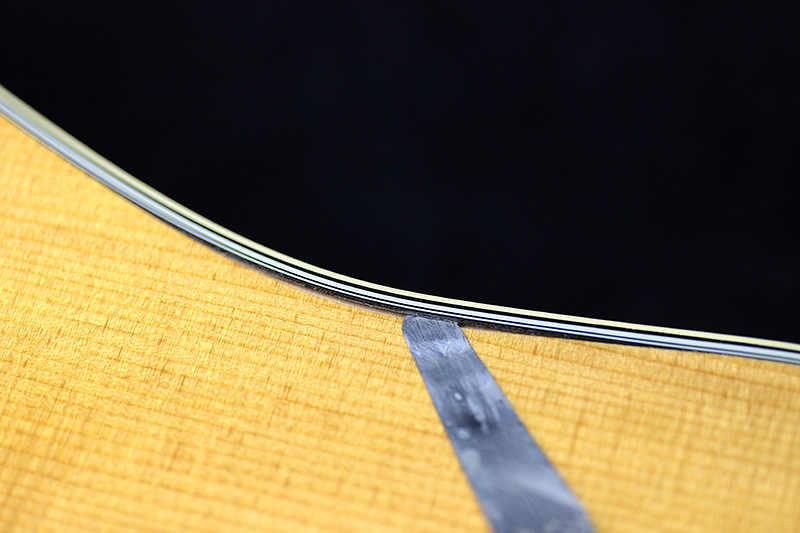
両側共に完全に剥がれています。
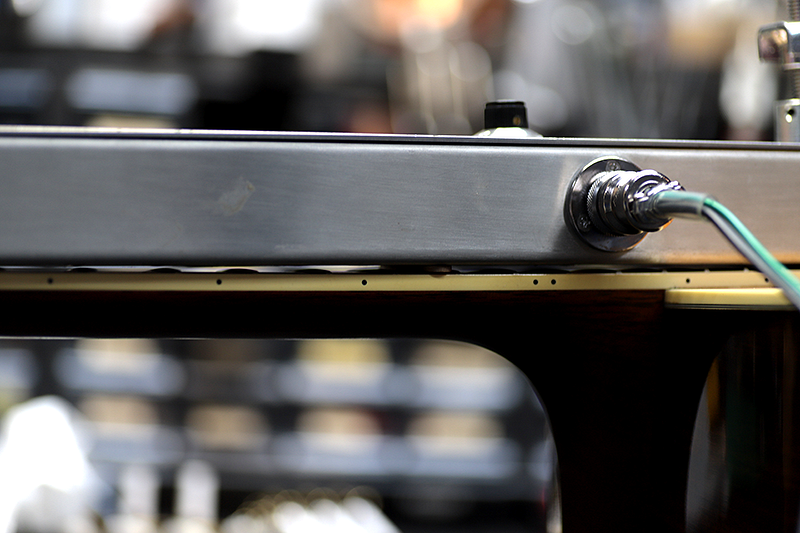
ボディクランプ
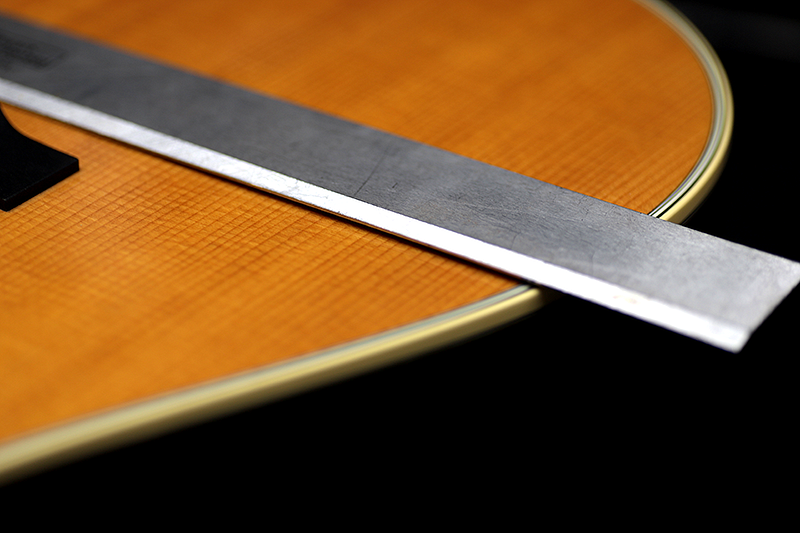
ボディも少し変形していますね。
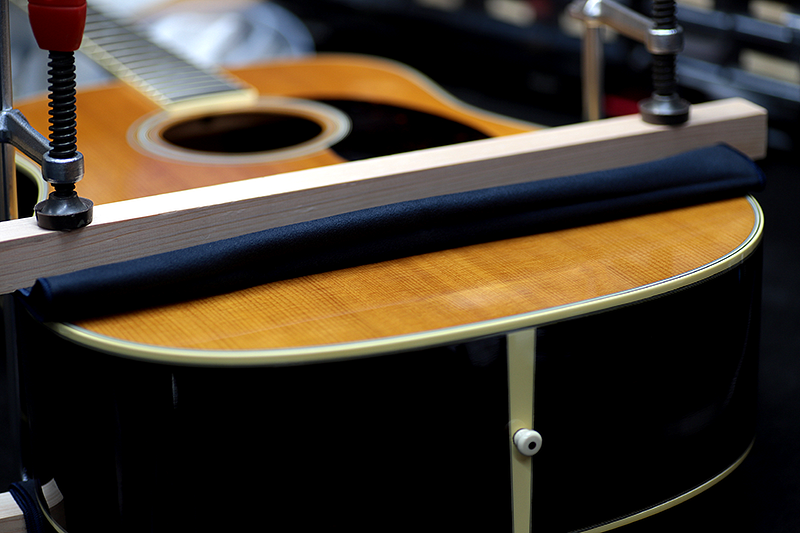
一旦ボディをクランプして歪みの状態を見てみます。
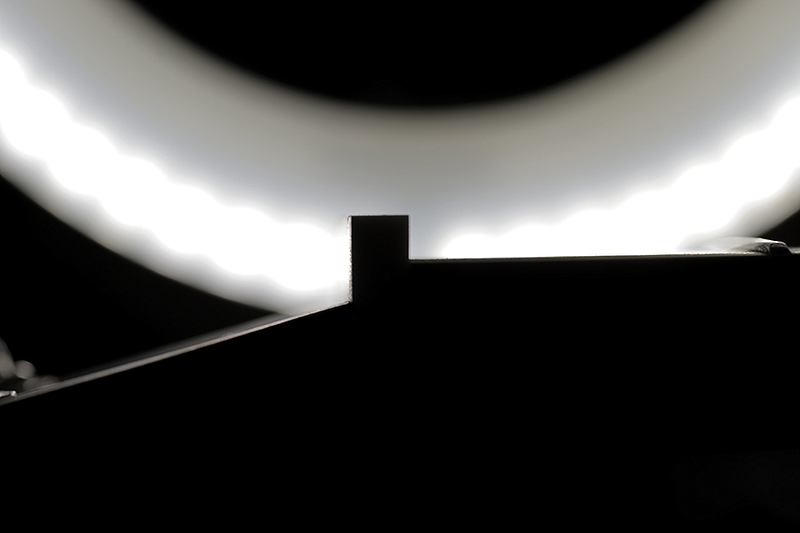
ネック ヒーター
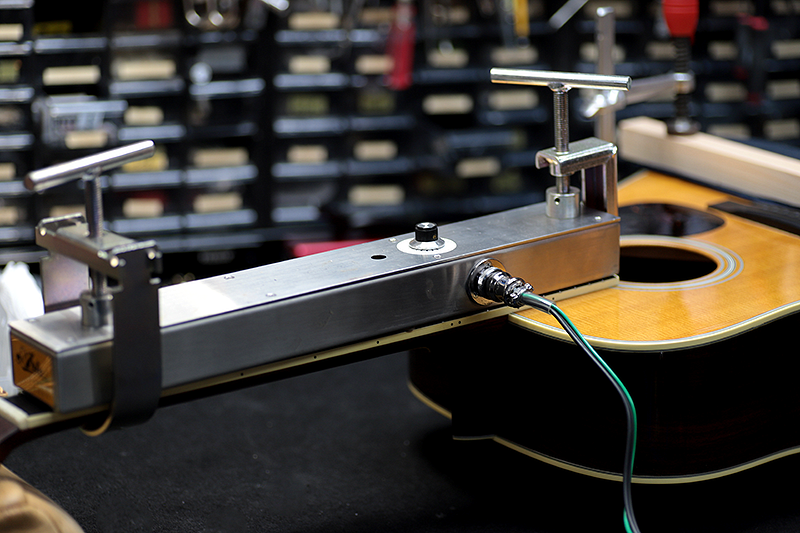
少し波打ったような逆反り状態。
ネックアイロンを使用して歪みを取ります。
12フレット以降の歪みが大きいです。
今回は熱を加え数時間、クランプしたまま冷まして1日固定。これを3セットしました。
バインディング接着
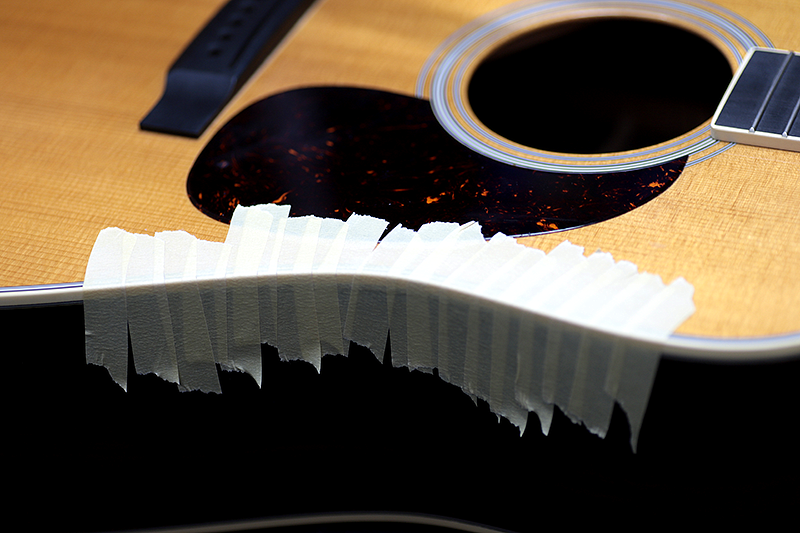
接着剤を塗ってテープで固定します。
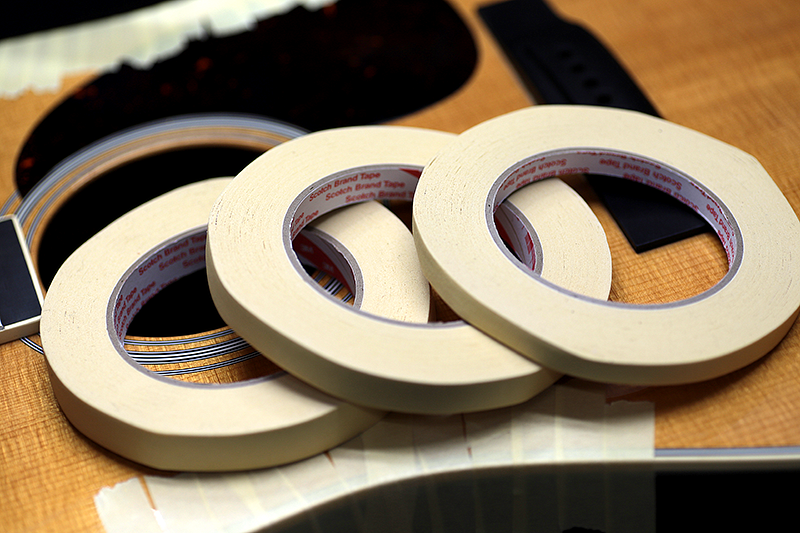
粘着力が強いが跡も残らず使いやすいです。
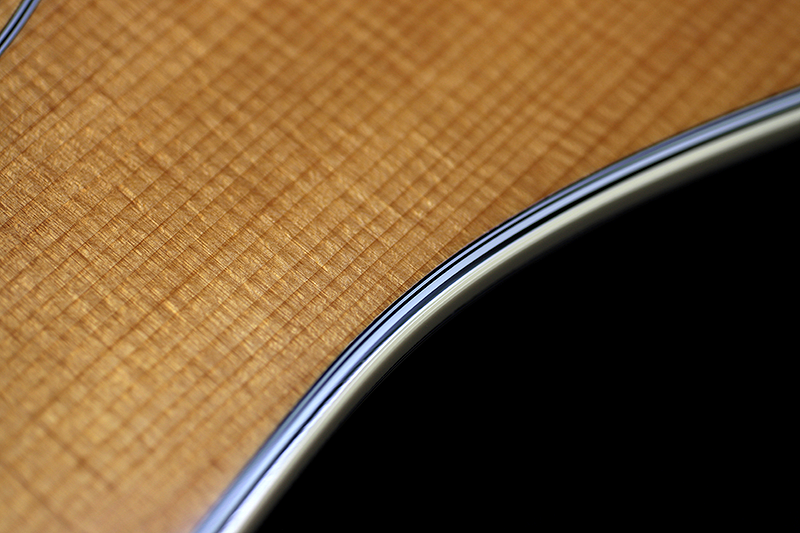
段差も無く綺麗に仕上がりました。
フレット研磨
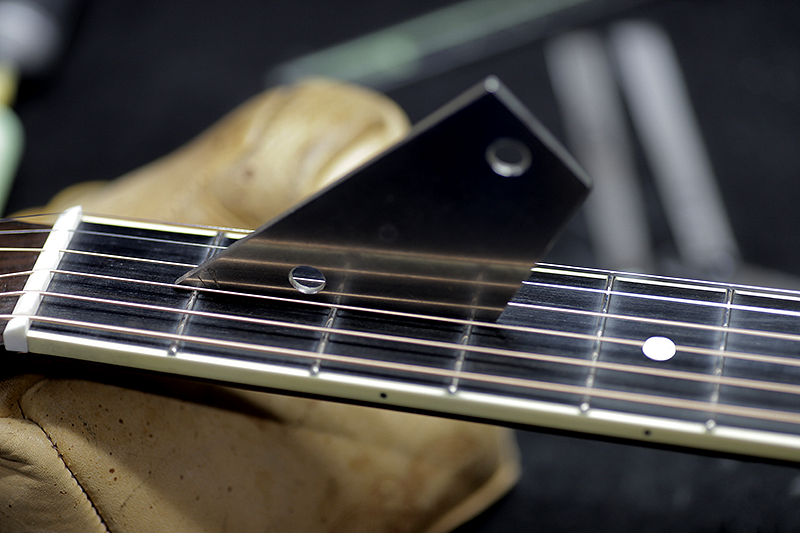
軽くフレットすり合わせをして対応。

逆反りの左半分。部分的にすり合わせ。
4フレットまでがガタガタでした。
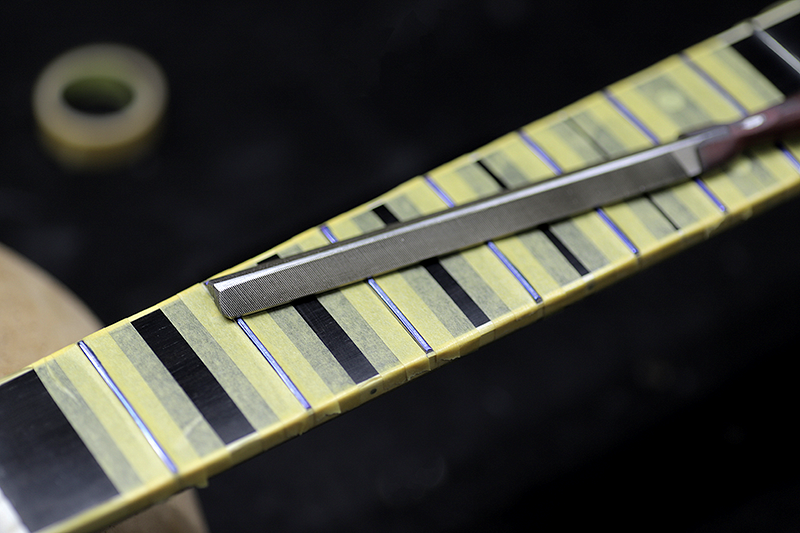
ナット交換
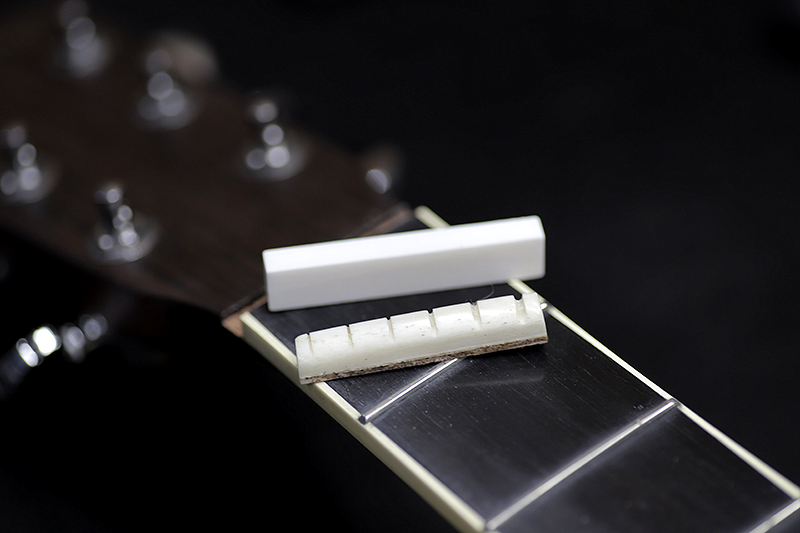
ナットも1、2弦のビビりがあったので交換しました。
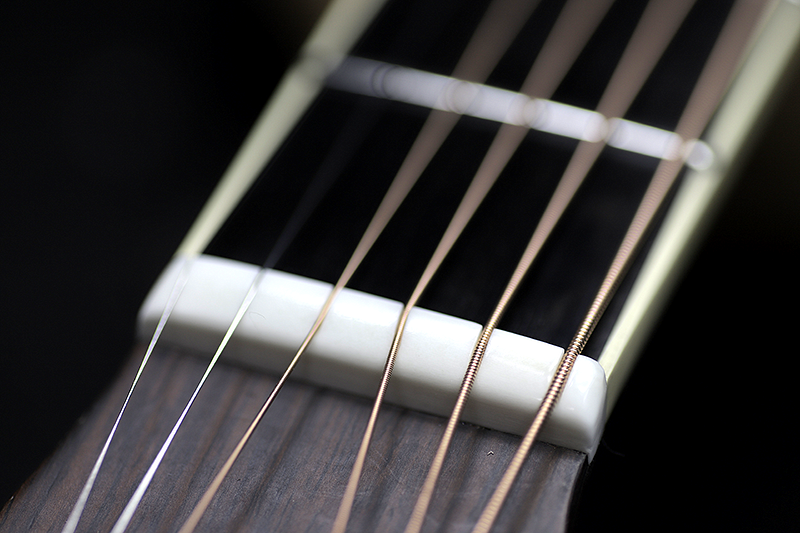
弦を張って溝を掘って完了。
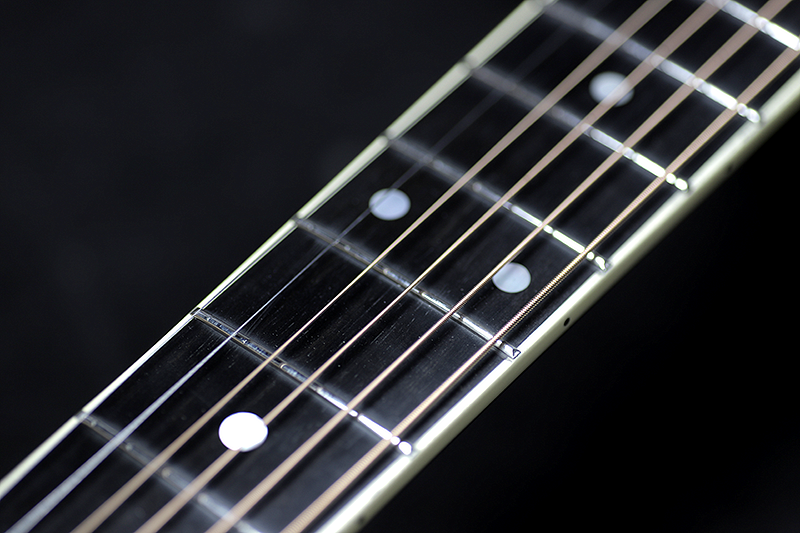
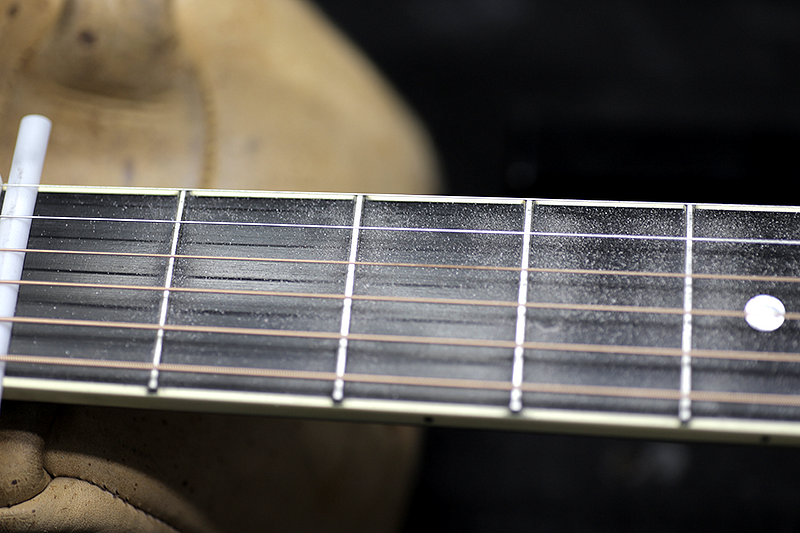
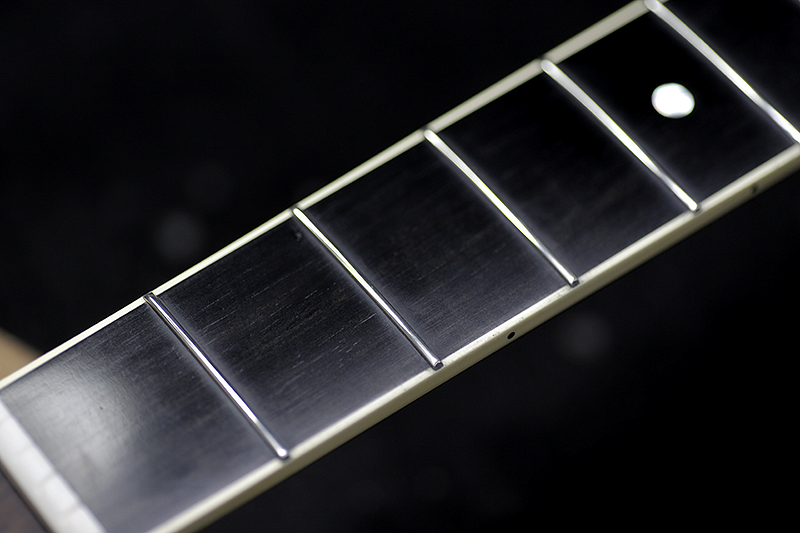
フレットもバフ掛けしてピカピカです。
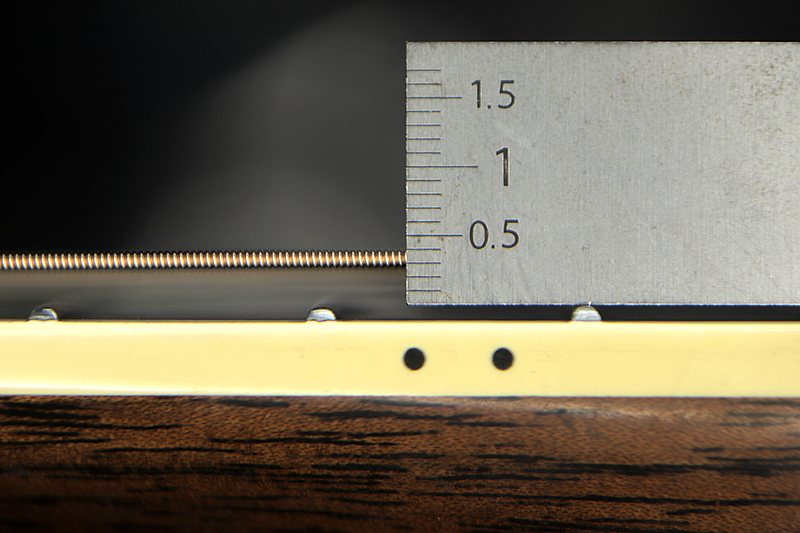
受付時に、弦高は2.5mmの要望でしたが、2.8mm位で完了。
指板がストレートになったので全然違和感無くフィンガリング可能です。
ネックがストレートで、ナット、サドルの高さバランスが整っていると、弦振動も大きくなり鳴りだします。
ギター、ベース等の修理は お気軽にご相談下さい。
お願いいたします。