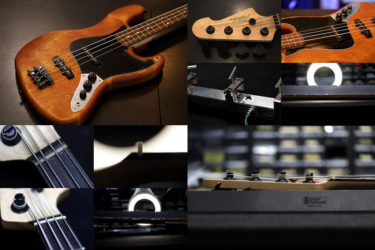
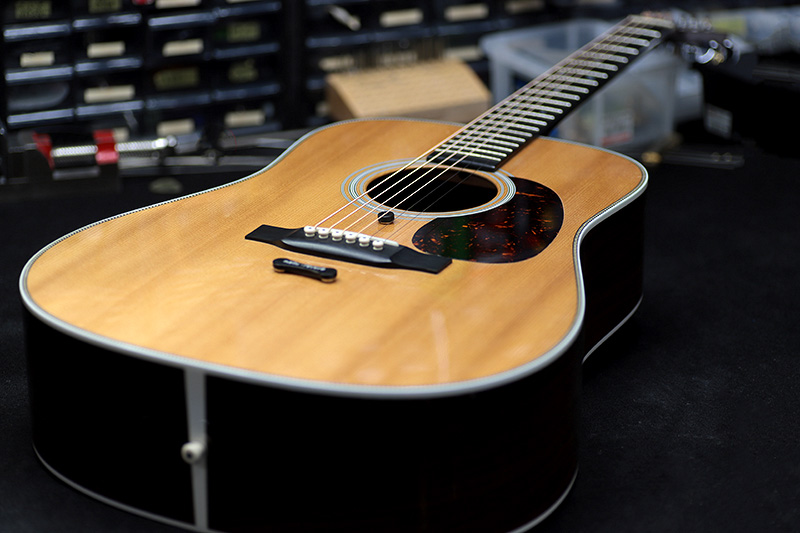
Martin HD-28
Repair of the Day

Martin HD-28

ヘッドの形状は変わらないのですが
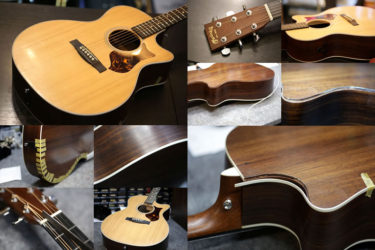
バインディング
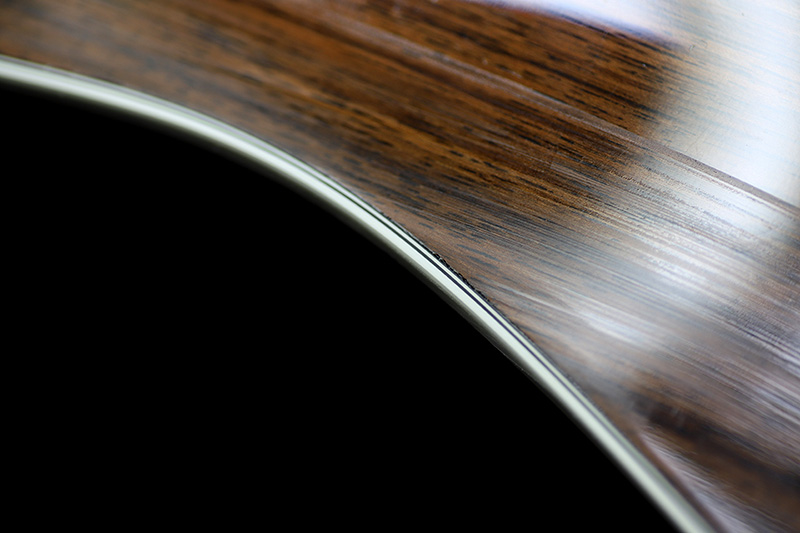
HD-28のバインディングはヘリンボーンタイプ。
これゆっくり曲げて取り付けないと、直ぐ割れるんです。
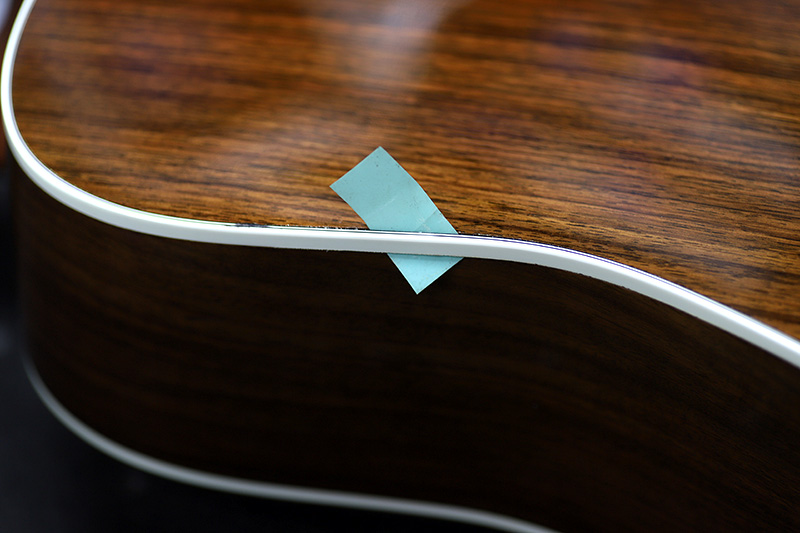
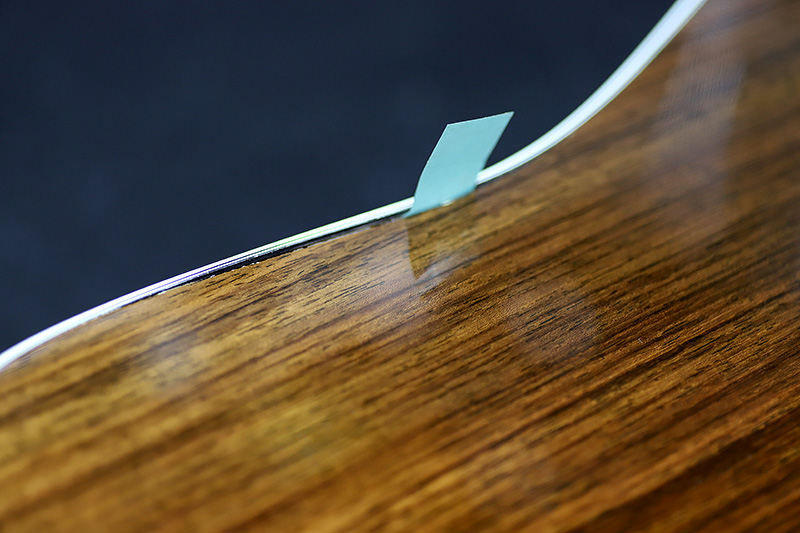
両サイド共に完全に剥がれてしまっています。
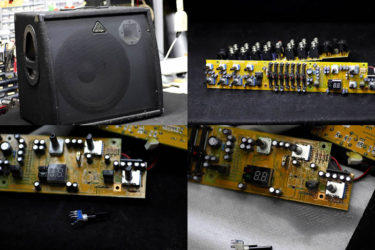
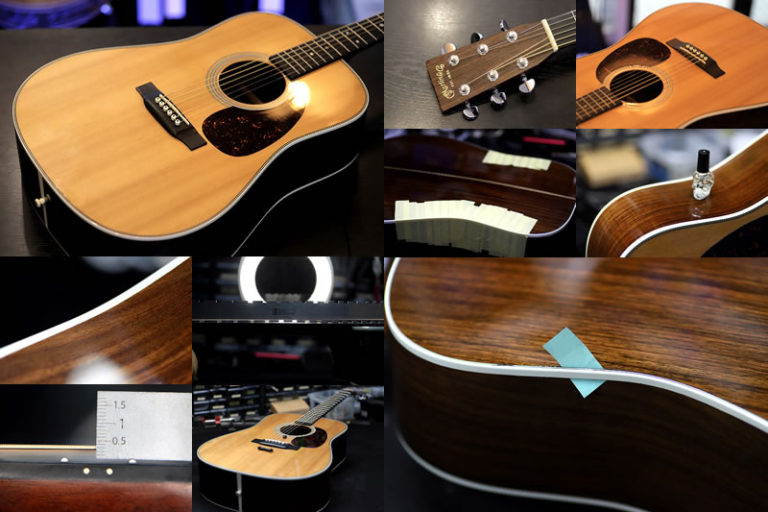
バインディング接着
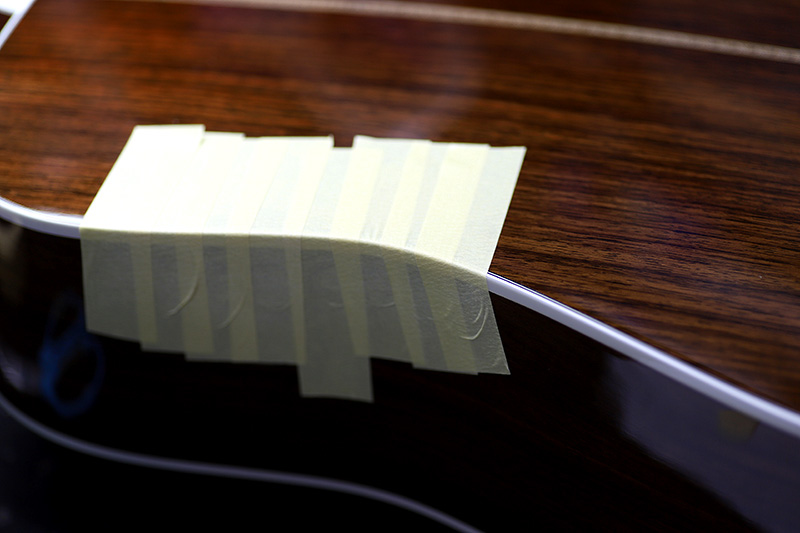
いつもの3Mのテープで接着。
これが強力なのに剥がれ跡がつかない優秀なテープ。
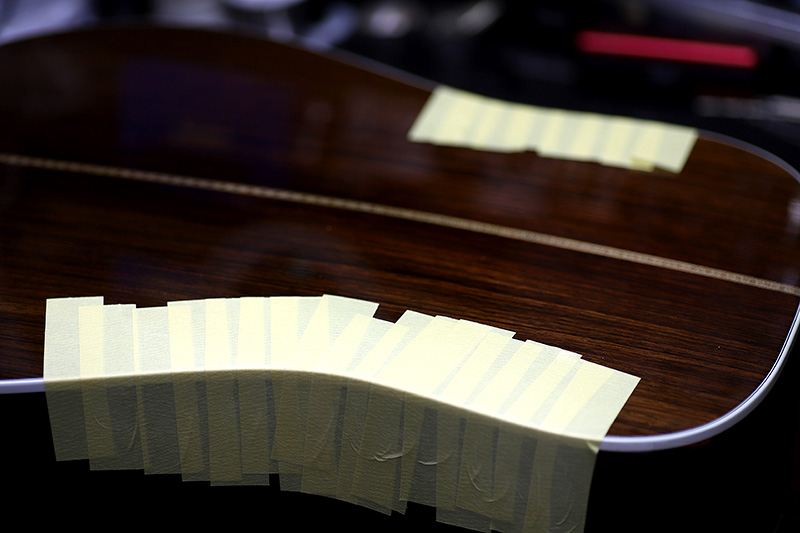
こっちサイドはかなり広範囲。
このまま10日ほど固着させます。
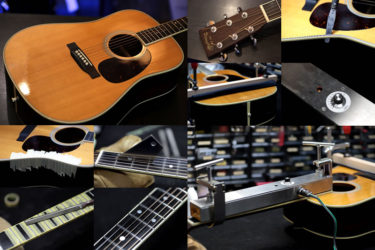
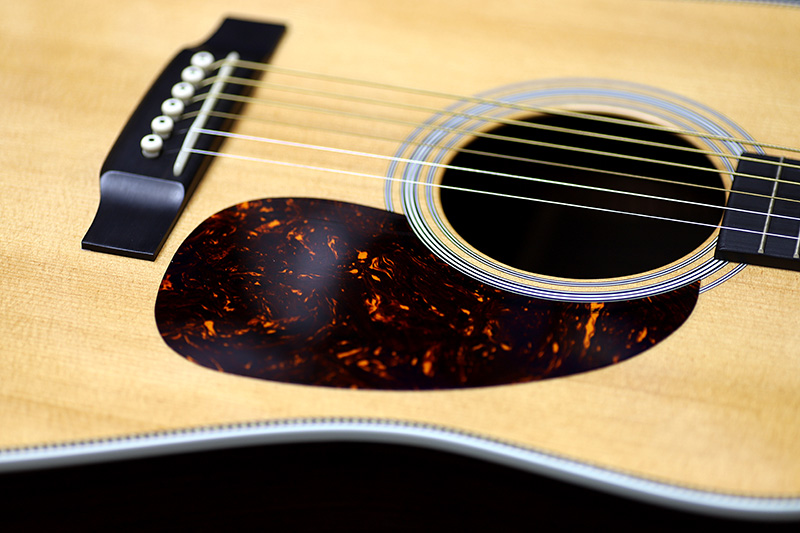
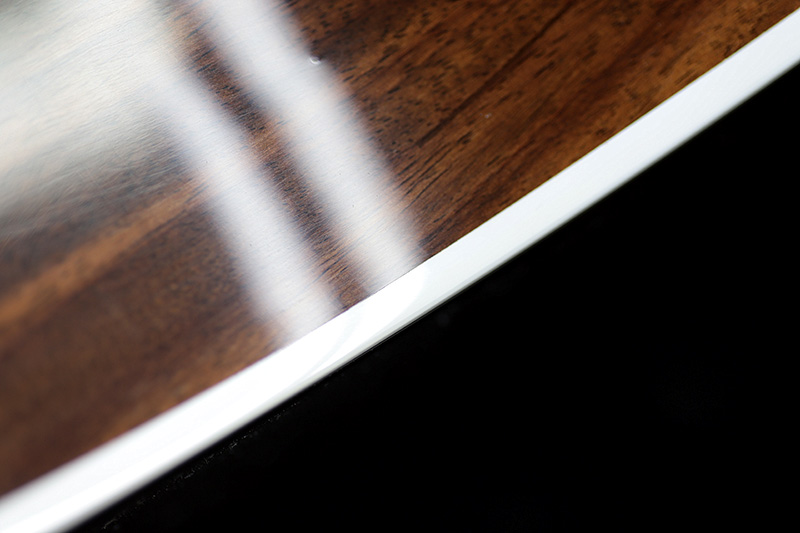
バインディング接着跡 塗装
張りなおす際に接着剤の跡を取り除いたり綺麗に面を出してから接着しても、ところどころ隙間や穴が出来ます。
元々接着後に塗装されていた場所なので、もう一度ラッカークリアで穴を埋めます。
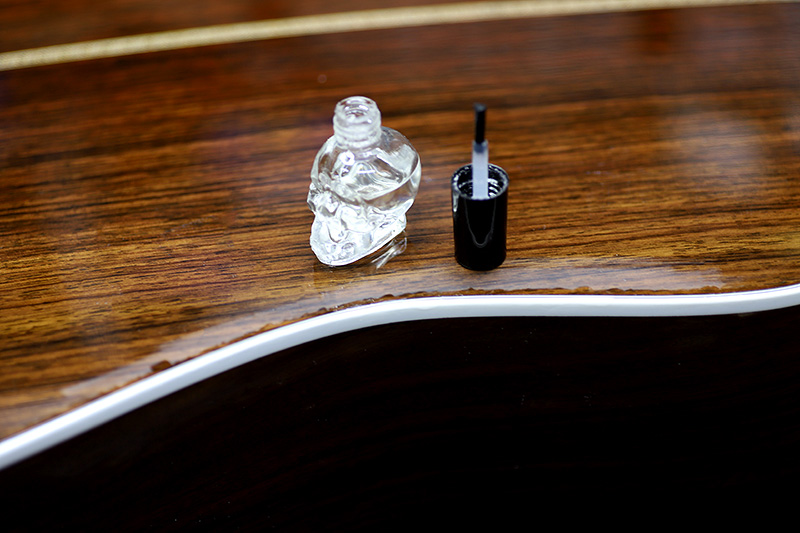
いつものタッチアップ用ニトロセルロースラッカー。
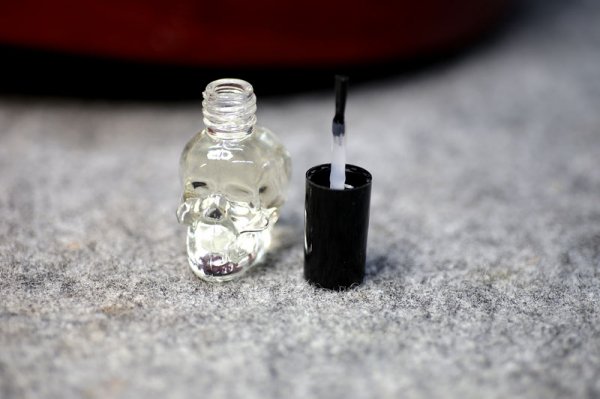
ニトロセルロースラッカー タッチアップ用 小分け 塗料
こちら から購入頂けます。
薄く塗っては1時間位乾燥、塗っては乾燥を繰り返し何工程も。
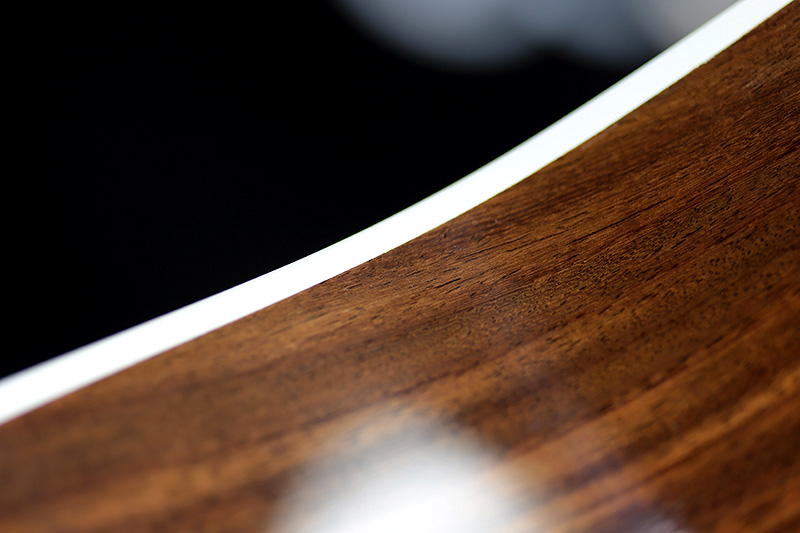
乾燥 研磨 バフ掛け
塗装が乾燥後ヤスリ掛けをし、水研ぎ、バフ掛けでピカピカに
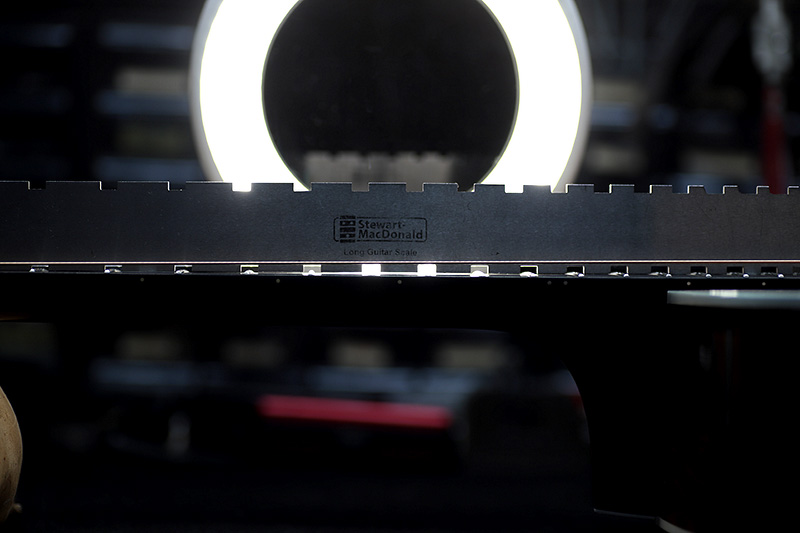
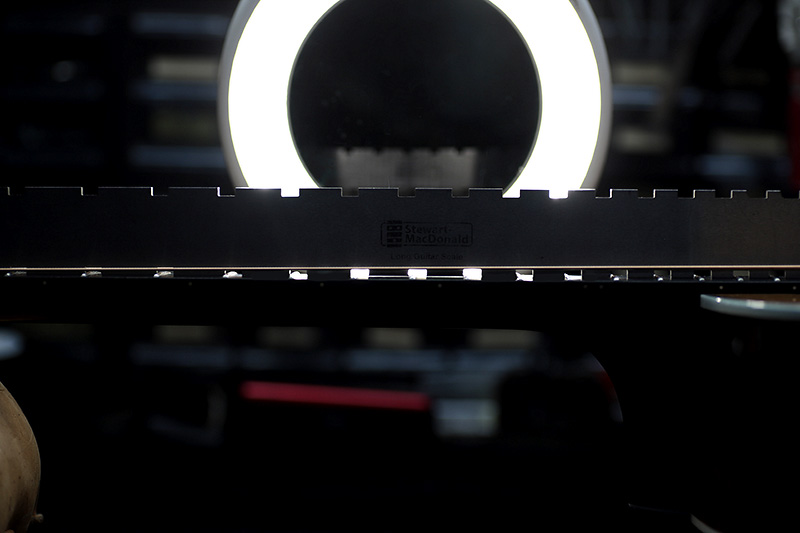
ボディ歪み
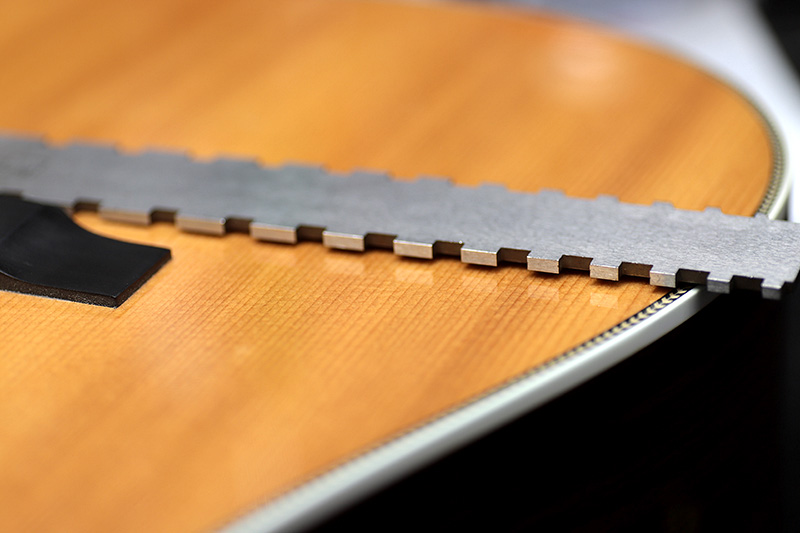
ブレーシングの浮きはなかったけど、ボディトップはこれだけ歪んでいました。
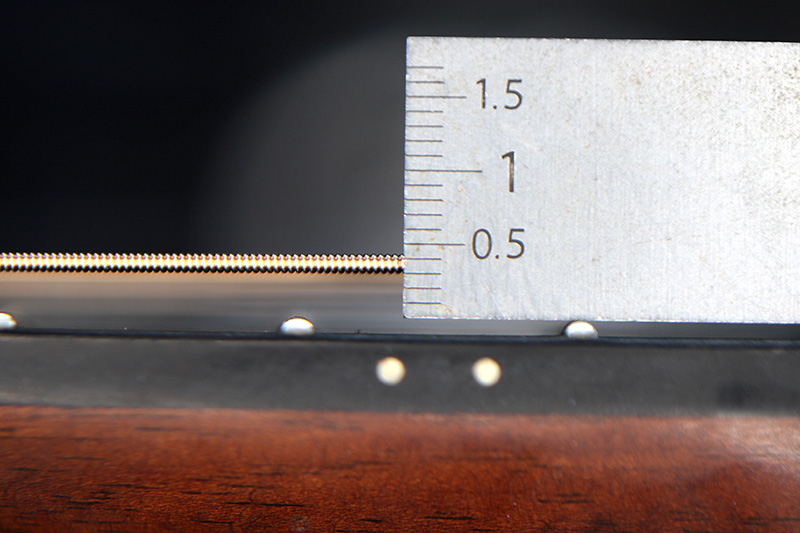
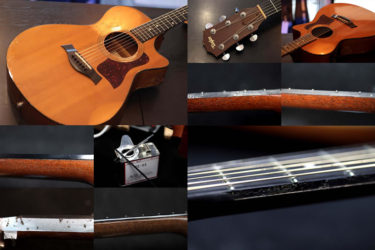
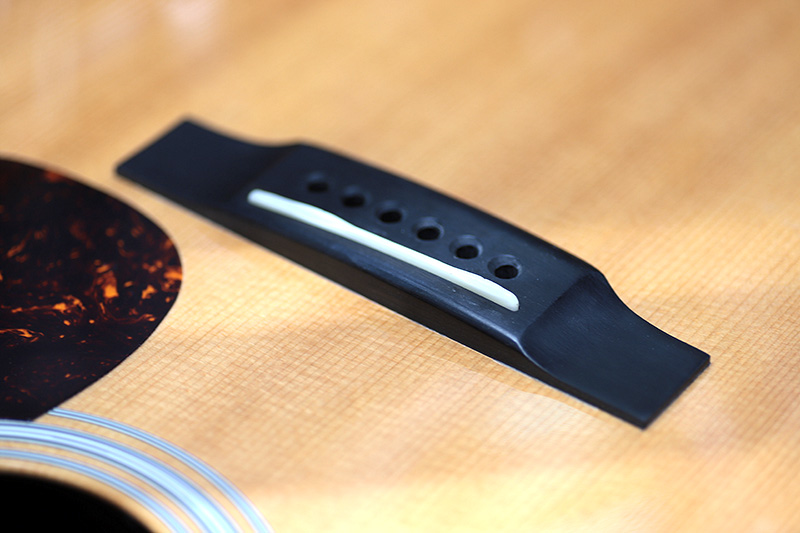
ネック 弦高調整
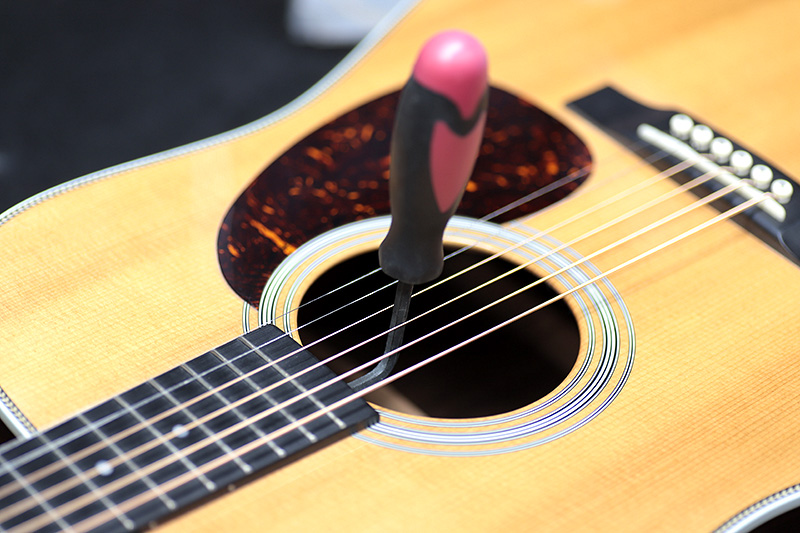
トラスロッドを調整し反りを直します。
これでもまだ少し弦高は高いです。
サドル研磨
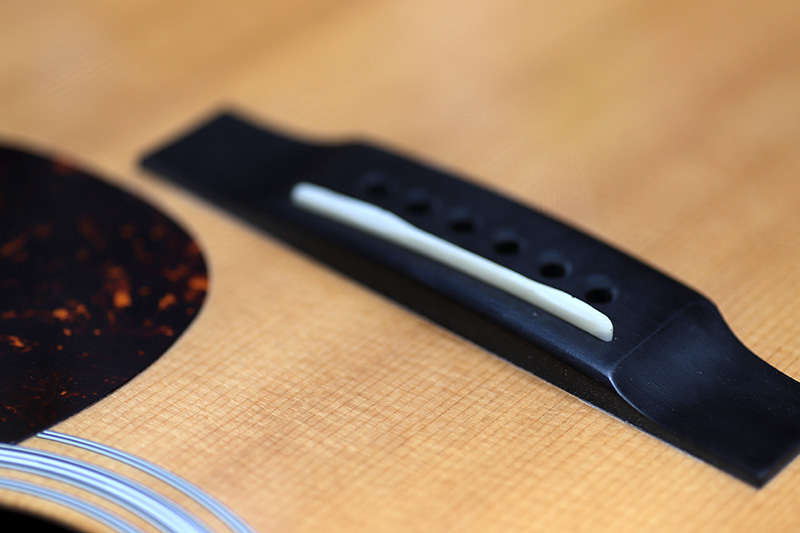
まっすぐ平に削れます。
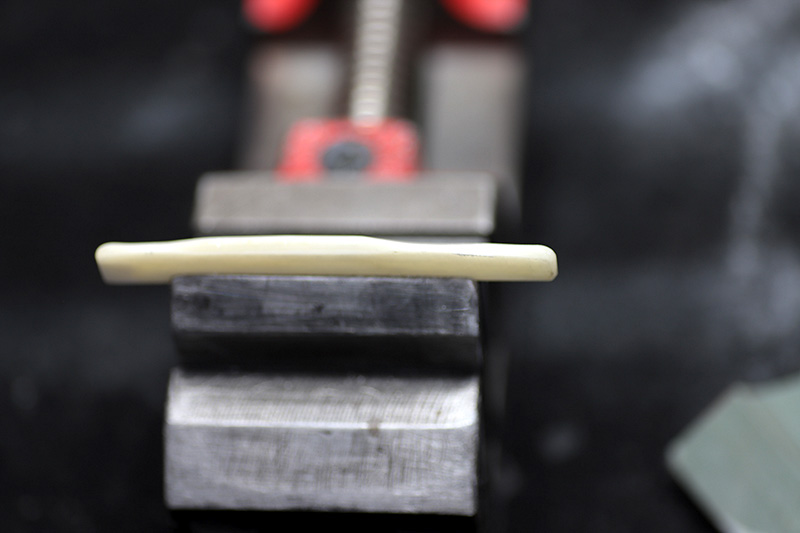
オクターブが合うように少し修正。
4、5、6弦側が少し下がりました。
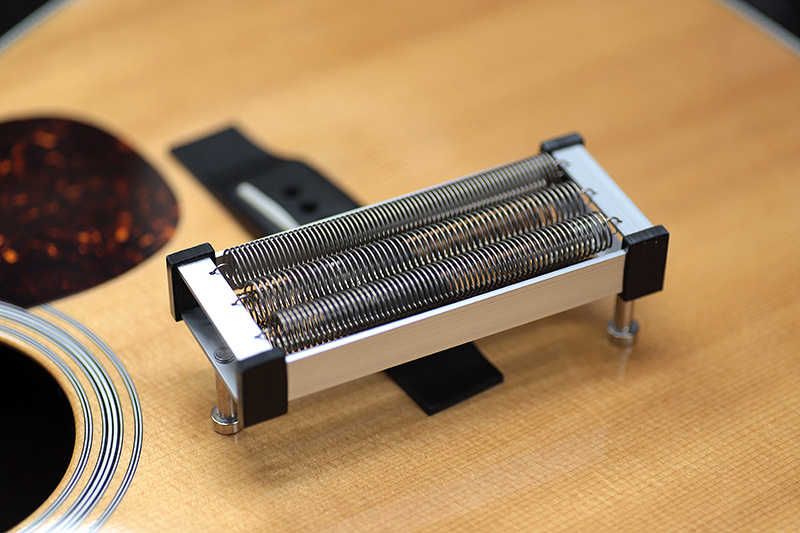
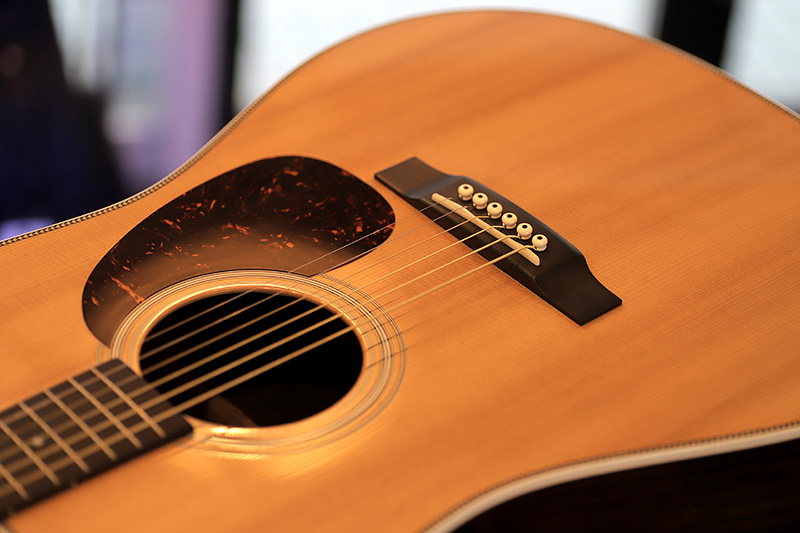
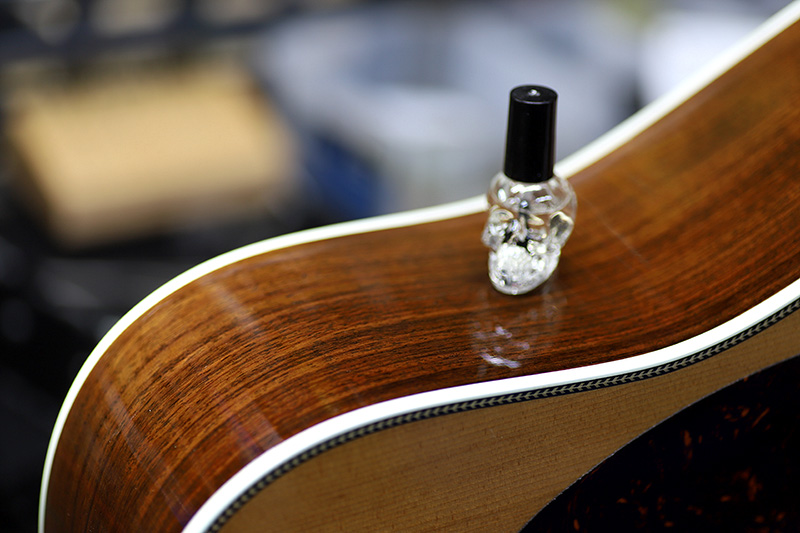
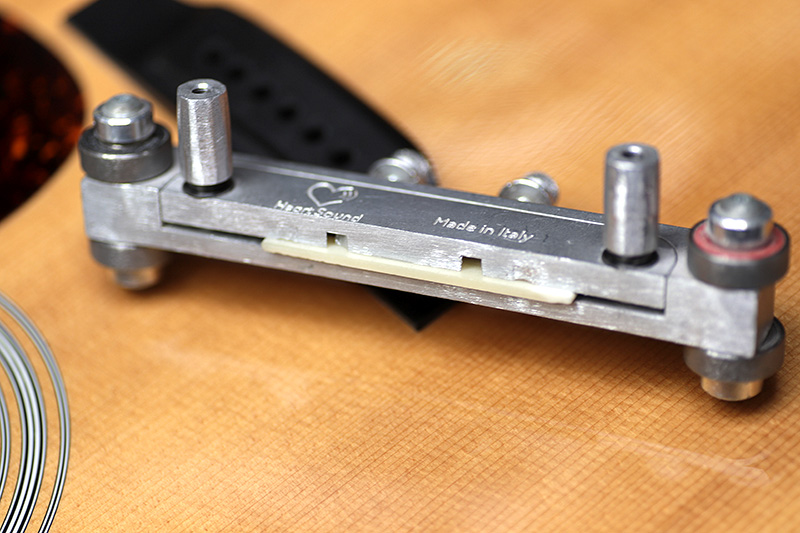
これは ナチュリバーブ natu-reverb と呼ばれるスプリングでボディ内に固定可能。
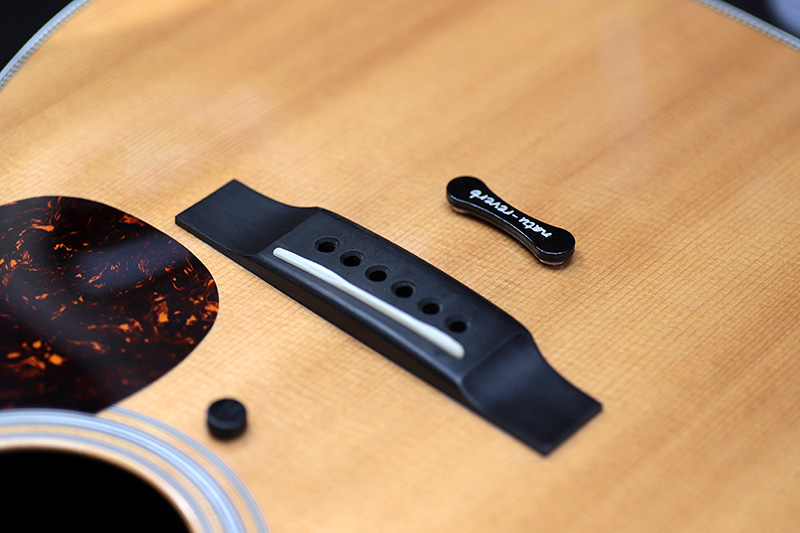
マグネットはかなり強力なので落ちる事はなさそうです。
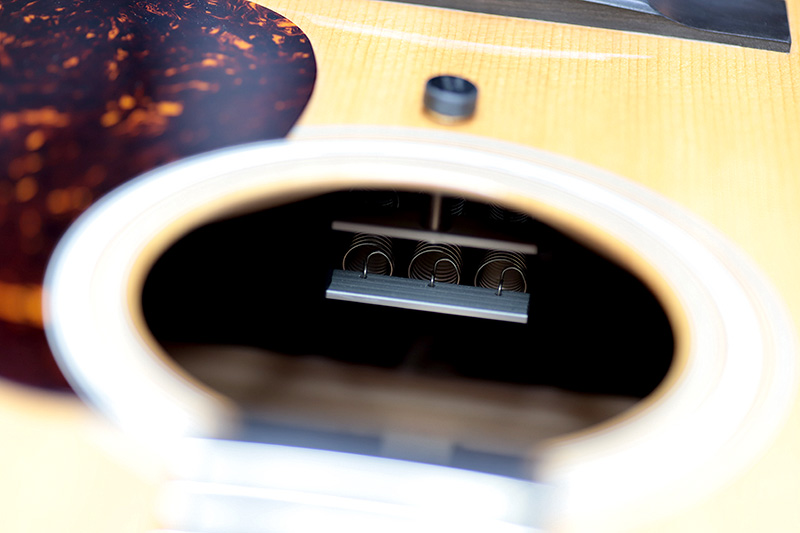
ボディトップの振動を拾ってスプリング音が共鳴。
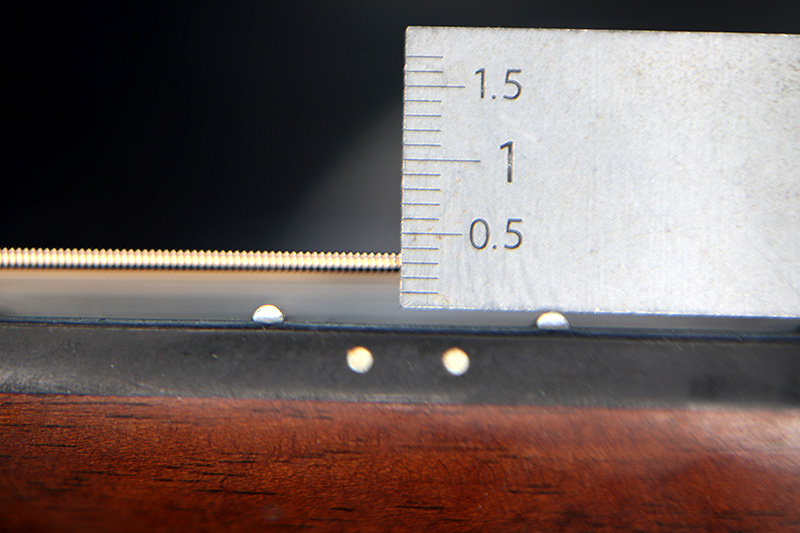
2.3mm~2.4mm位でした。
アンプに繋がなくとも心地よい残響音でした。
ギター、ベース等の修理は お気軽にご相談下さい。
お願いいたします。