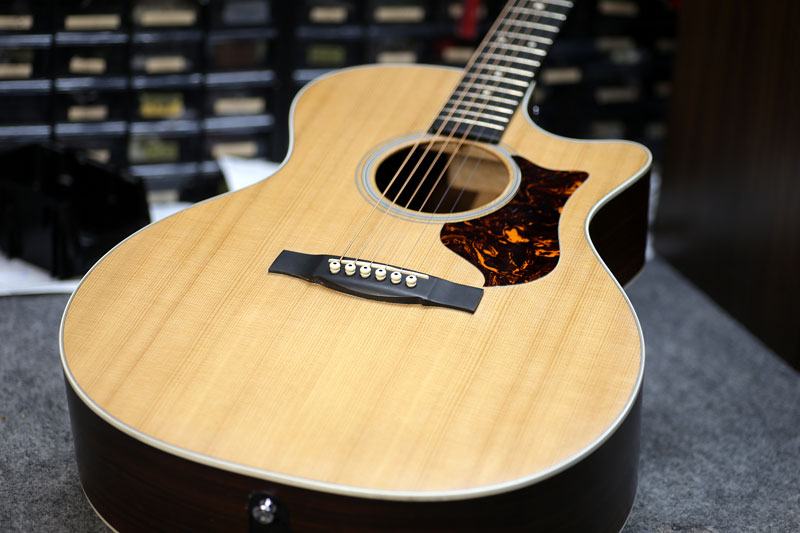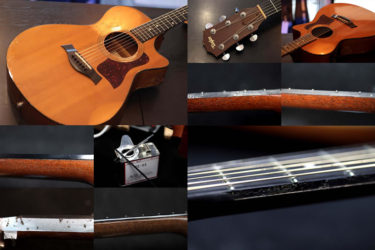
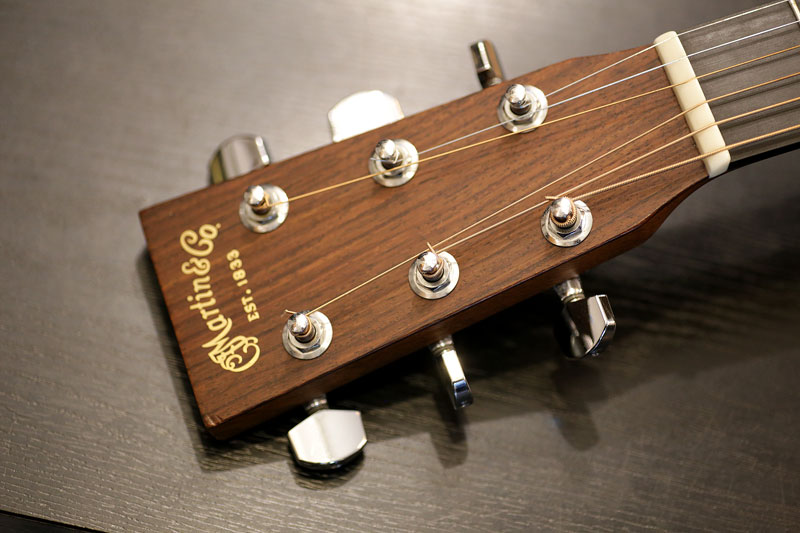
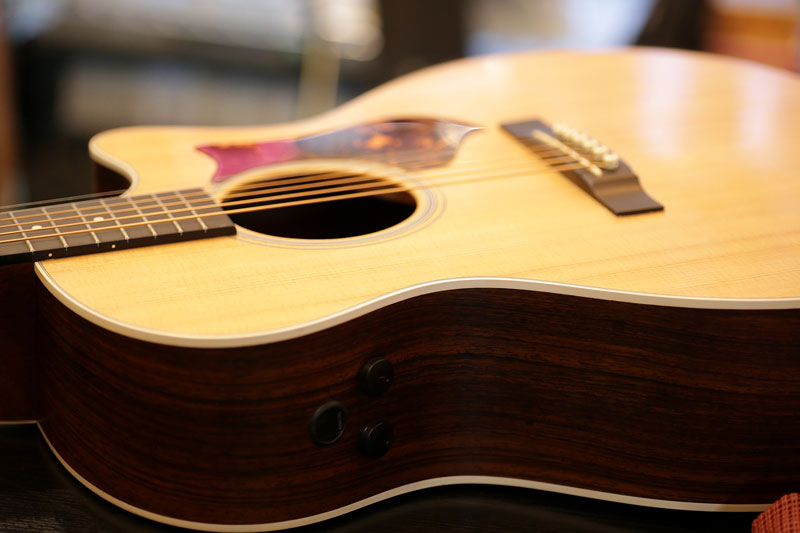
Martin GPCPA4
Repair of the Day
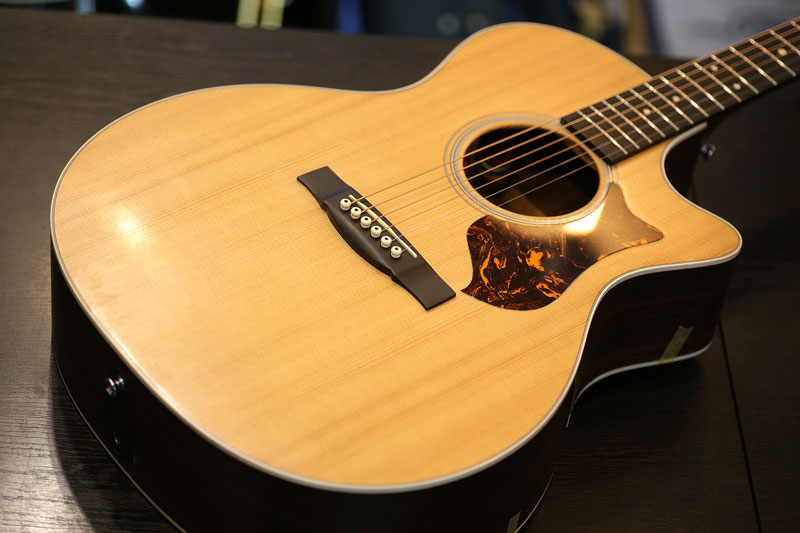
Martin GPCPA4
マーティンのカッタウェイボディのエレアコ。
ヘッドは見慣れた形状なのですが
材質が大きく変わったモデルです。
トップ材: シトカスブルース
サイド&バック: サペリ
ネック: ハードウッド
指板: ブラックリッチ
という材を使用している新しいモデル。
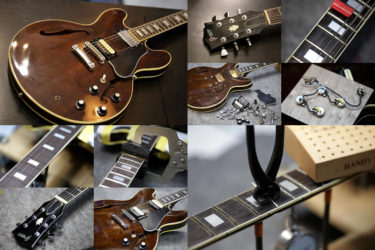
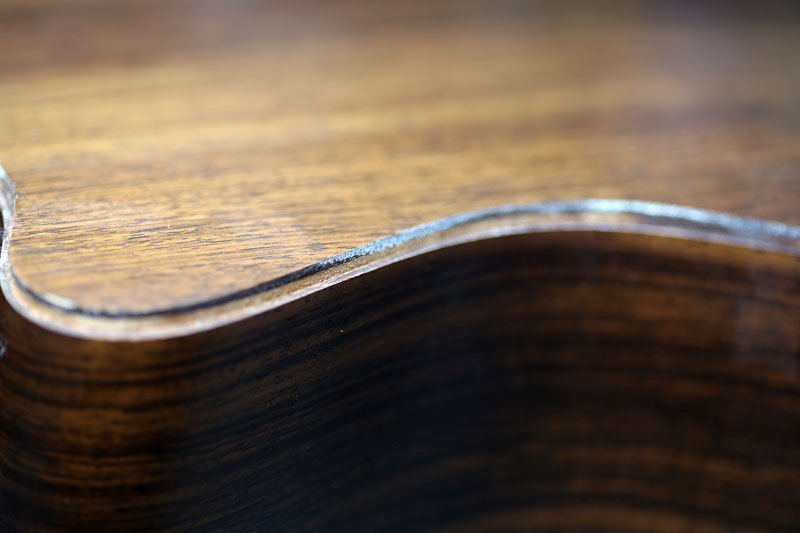
バインディング剝がれ
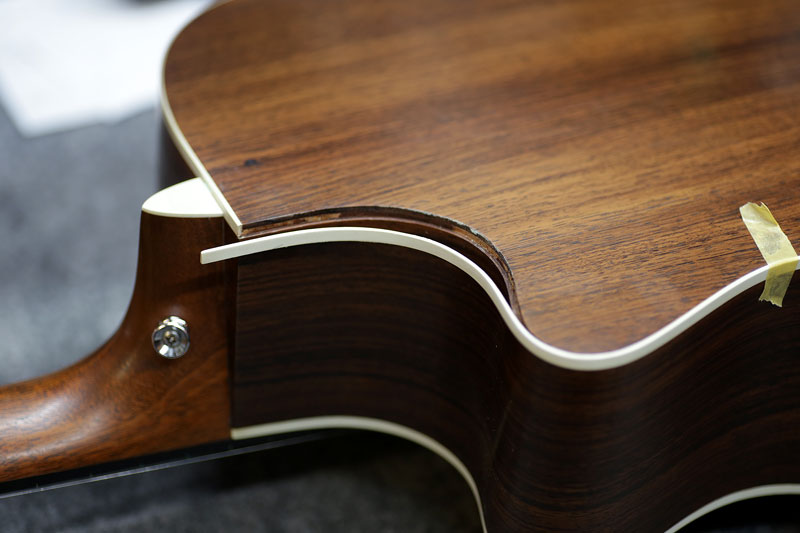
今回はバインディングが剥がれてしまったケースです…
カッタウェイ部分だけかと思ったら、ほとんど剥がれてしまいました。
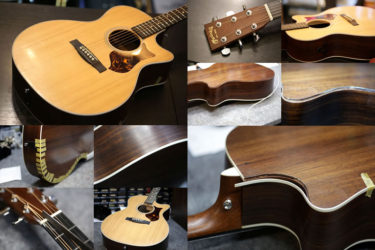
一旦全て剥がし、木部をクリーニング。
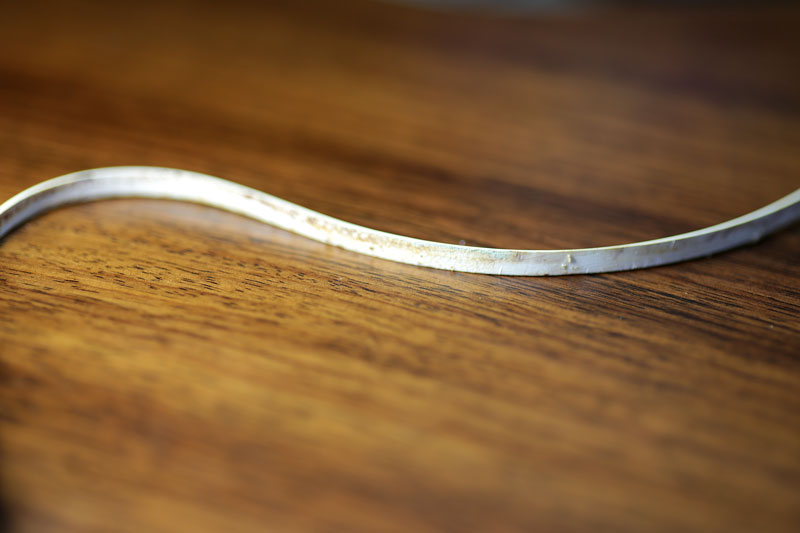
バインディング側についた接着剤も落とします。
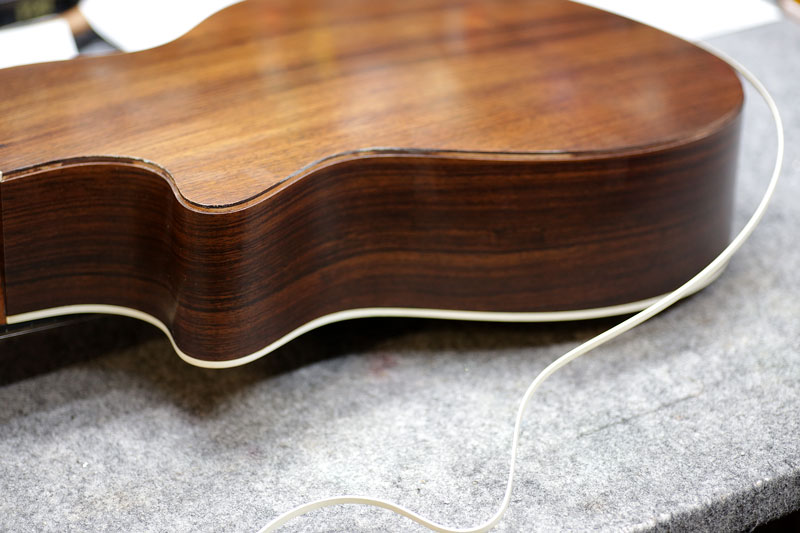
ネックエンドから張っていきます。
接着剤を付けて固定しながら
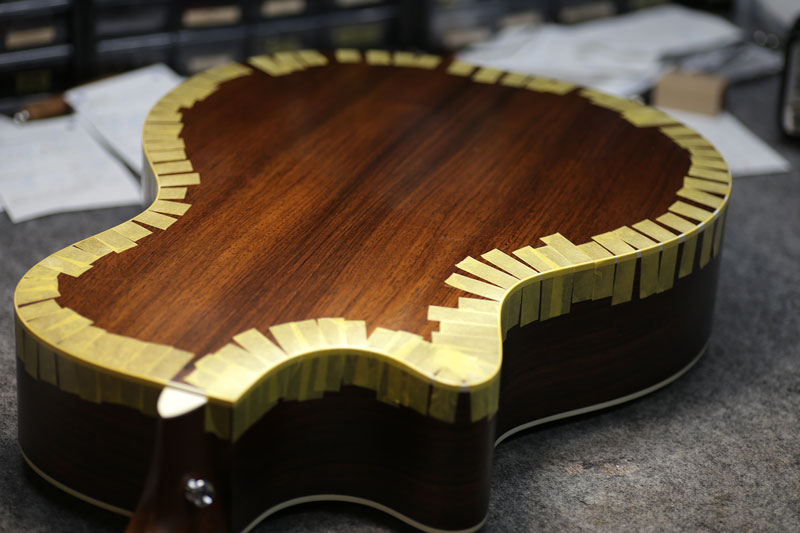
1周全て巻き終わりました。
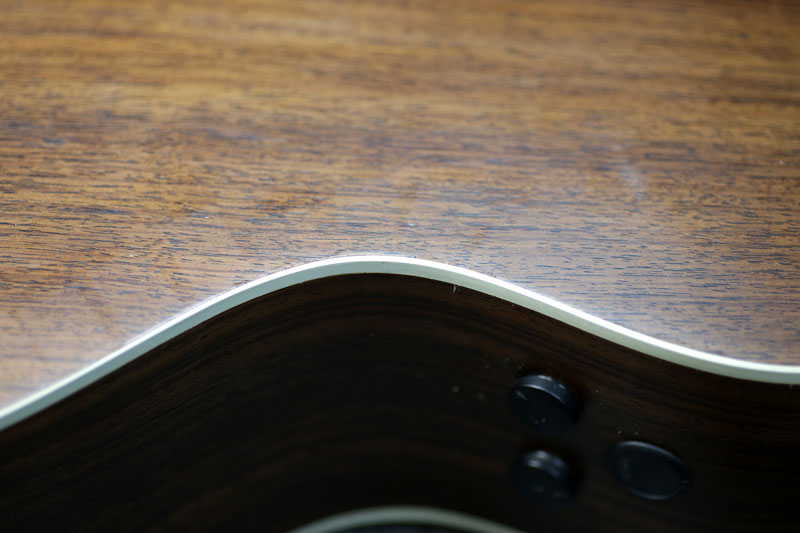
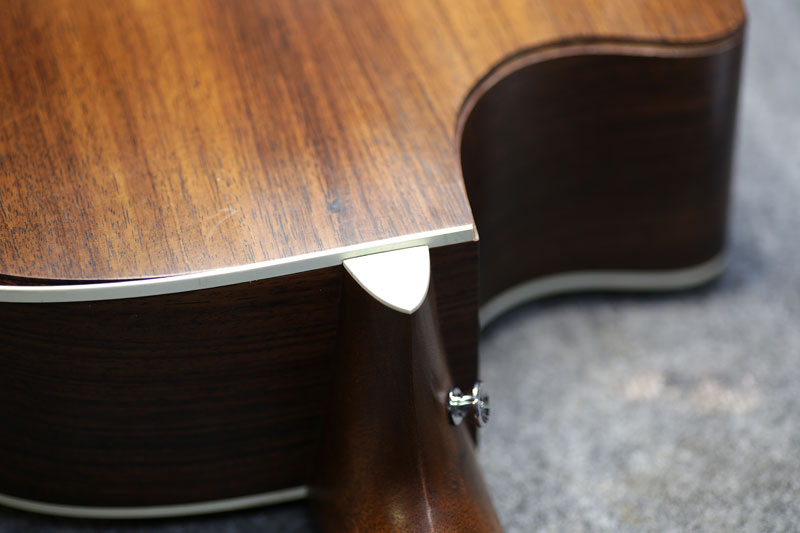
接着後は、はみ出した接着剤や段差があります。
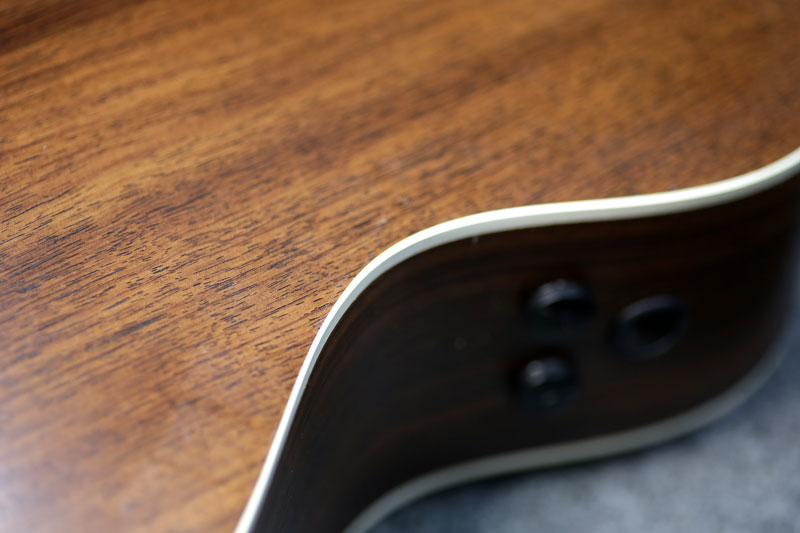
丁寧に全体をクリーニングしていきます。
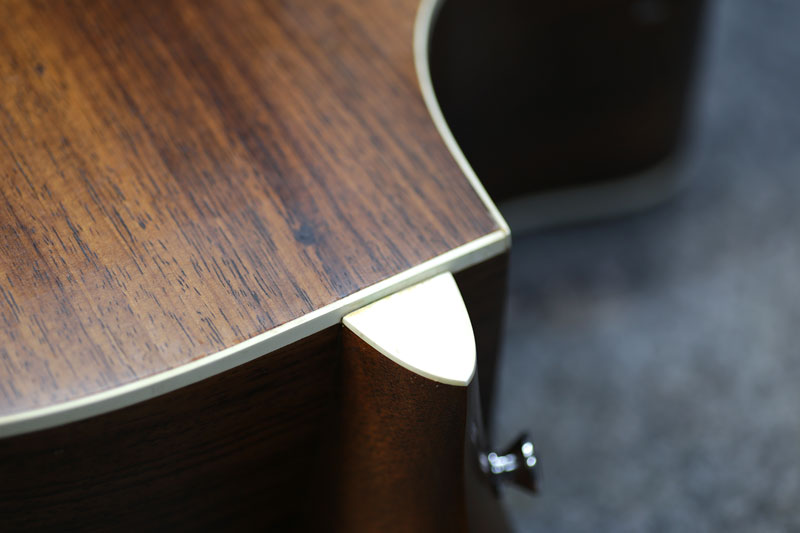
結合部もしっかりついています。
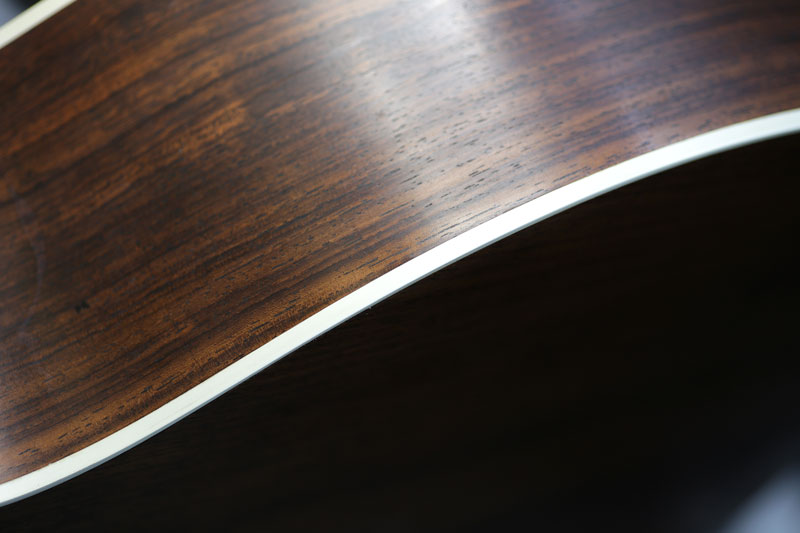
余り艶を出さない程度に、手バフにて仕上げます。
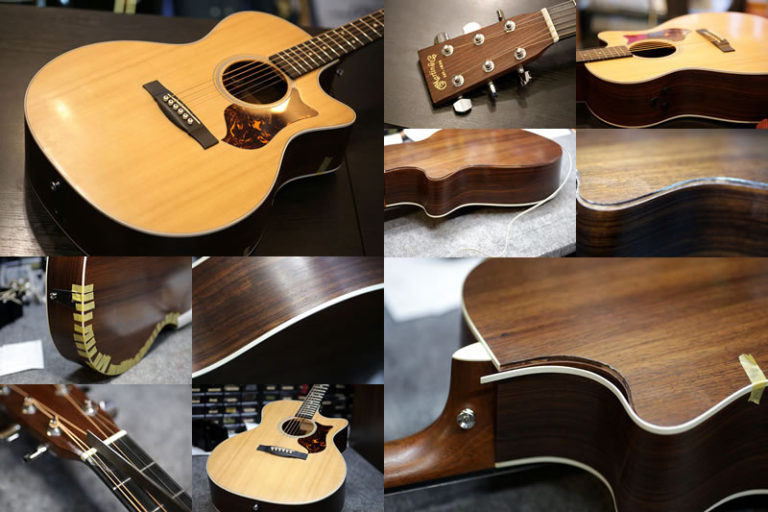
ナット溝調整
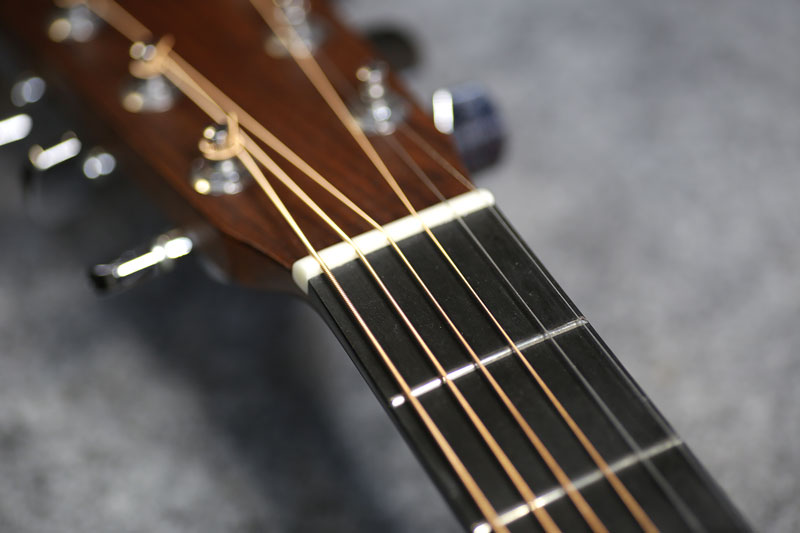
続いてナット。
少し弦高が高いとの事で溝を削ります。
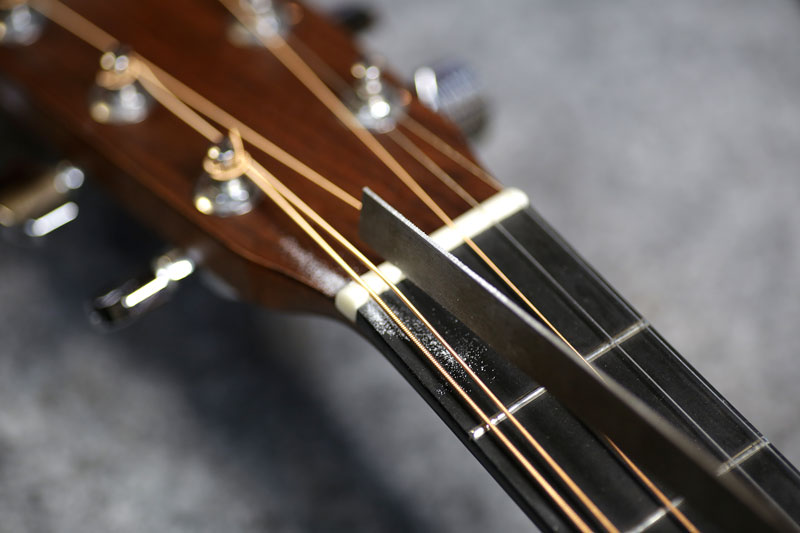
専用のファイルで何度か削りながら適正な高さに揃えます。
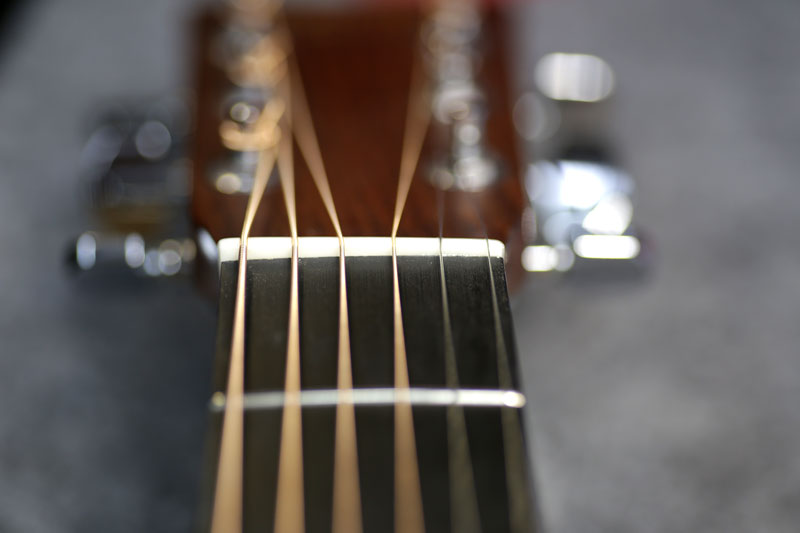
丁度良い高さになりました。