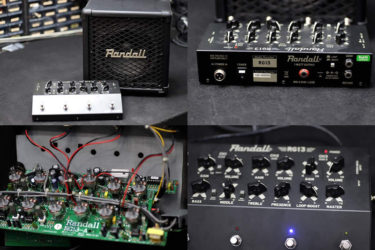
Taylor 312ce
Repair of the Day
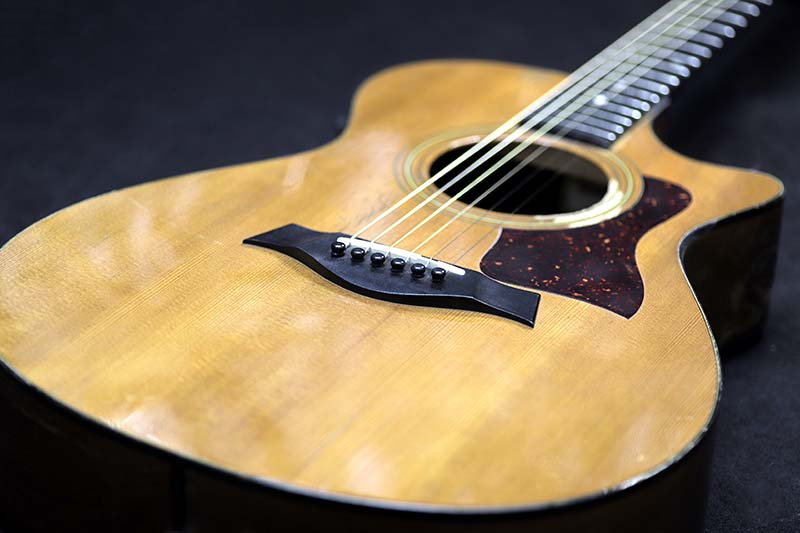
Taylor 312ce
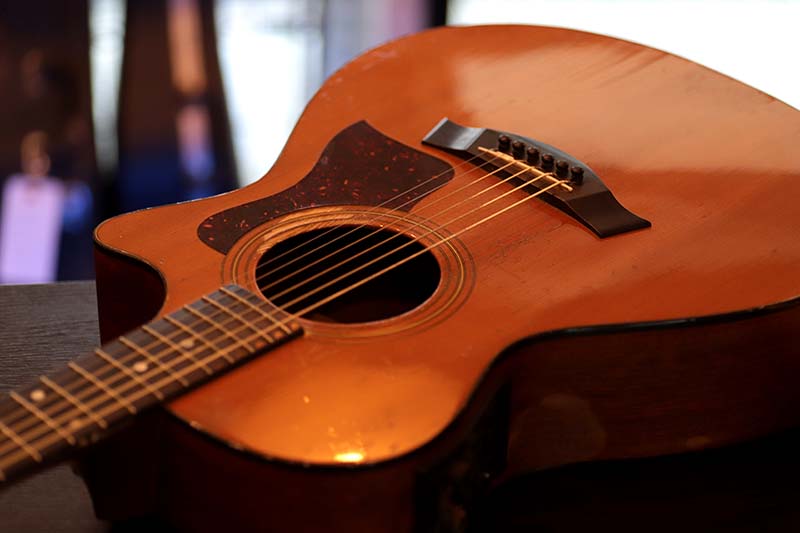
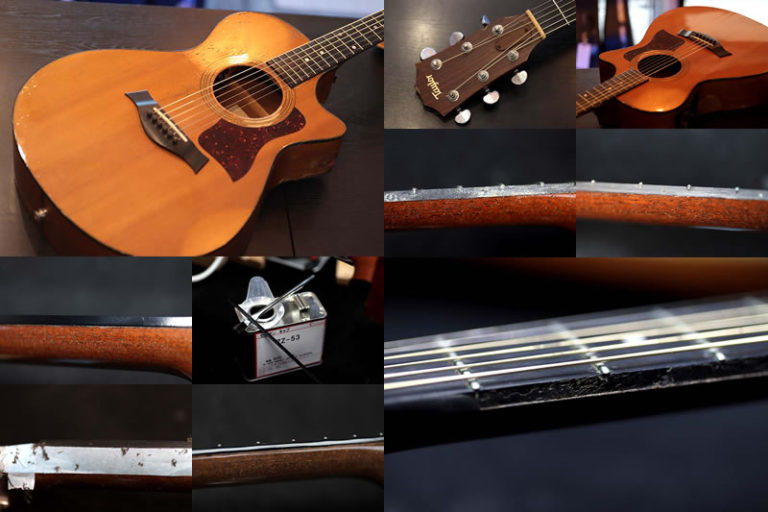
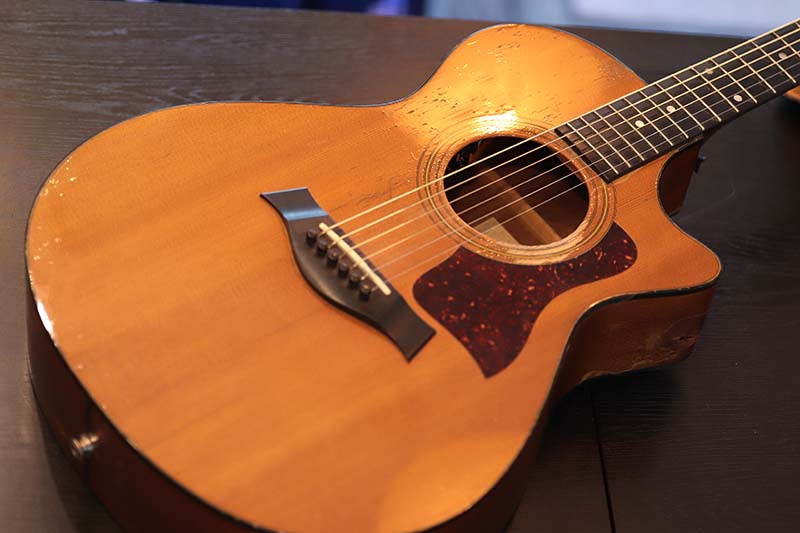
お世辞にも良い状態とは言えず、むしろボロボロの外装。
ただし鳴りは恐ろしくバランスが良く、音量もデカかったです。
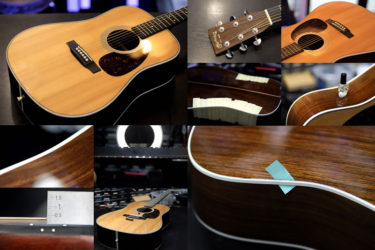
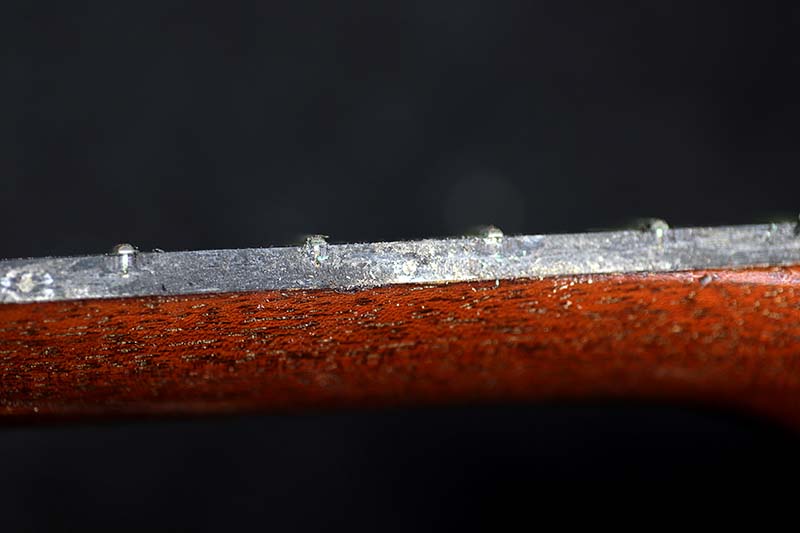
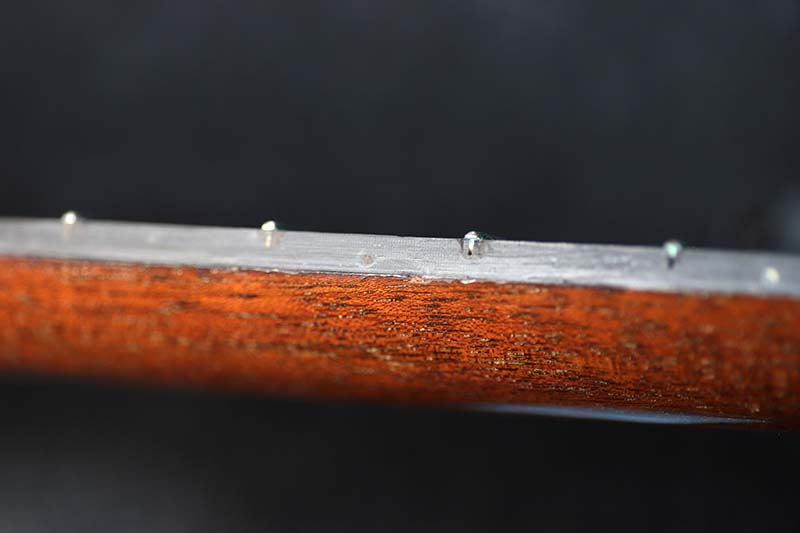
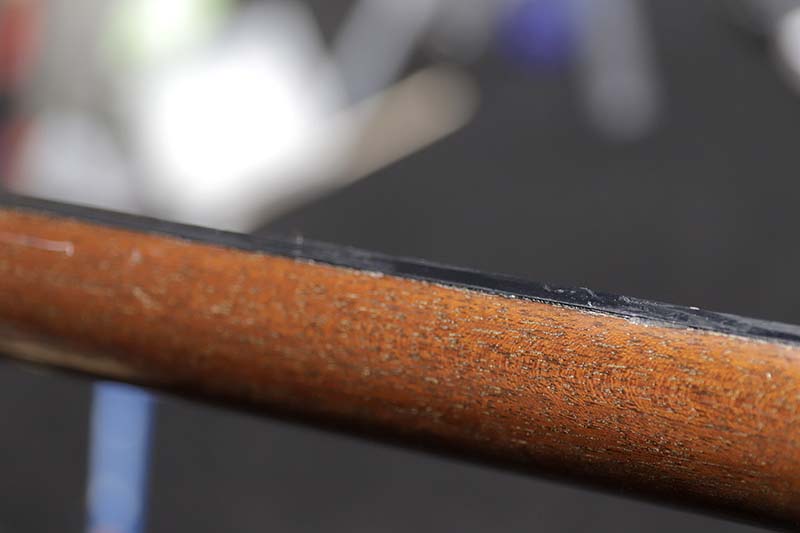
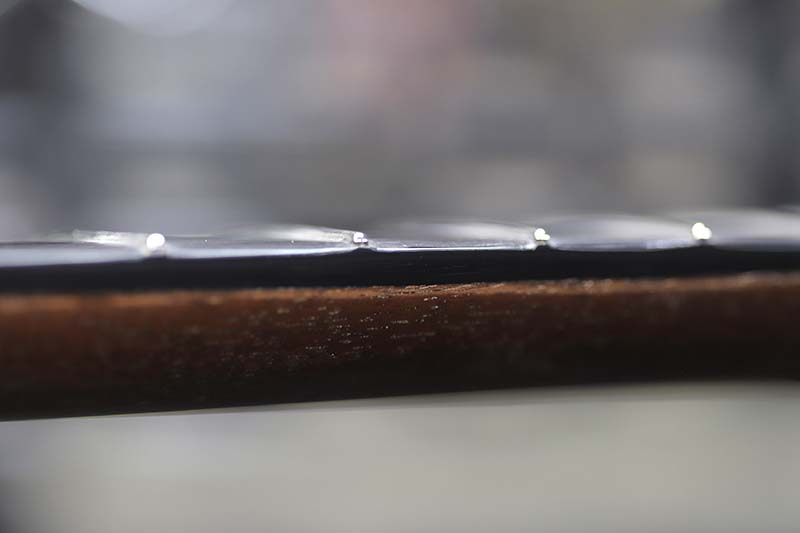
バインディング剥がれ
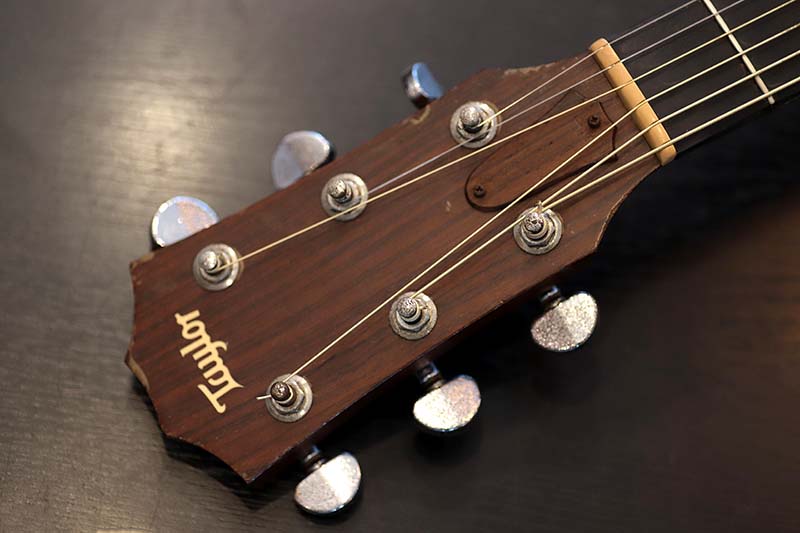
ネックのバインディングがゴムのように柔らかくなっており、ボロボロと剥がれていきます。
両サイド共に、ほとんど残っていませんでした。
これでは手が当たって痛いですよね。
交換すればいいのですが、問題はフレットを抜かずに交換するということ・・・
結構難題。
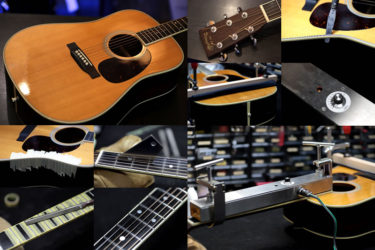
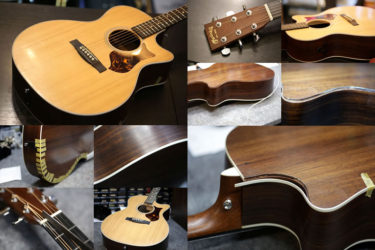
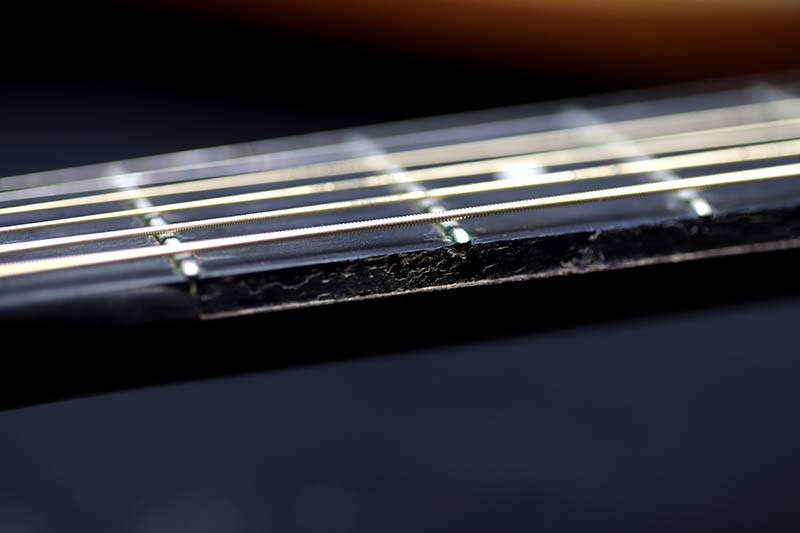
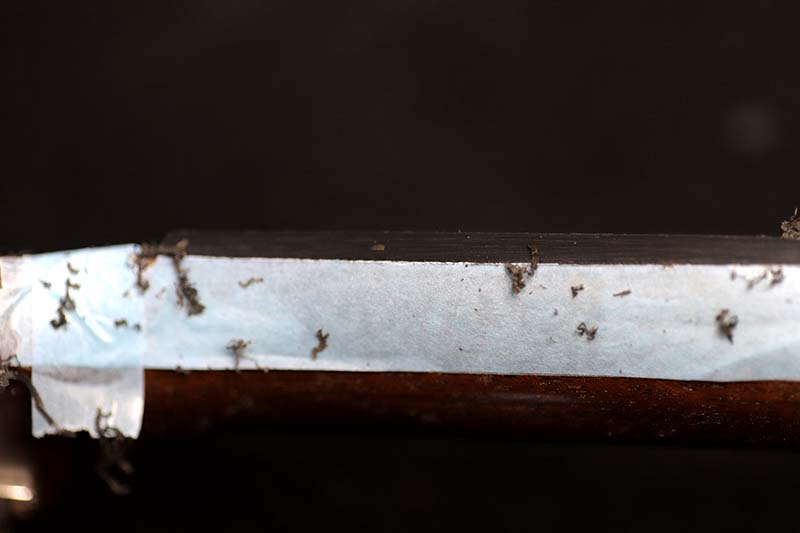
バインディング修正
かなり接着材が残っていますね。
チゼルとヤスリで綺麗にしていきます。
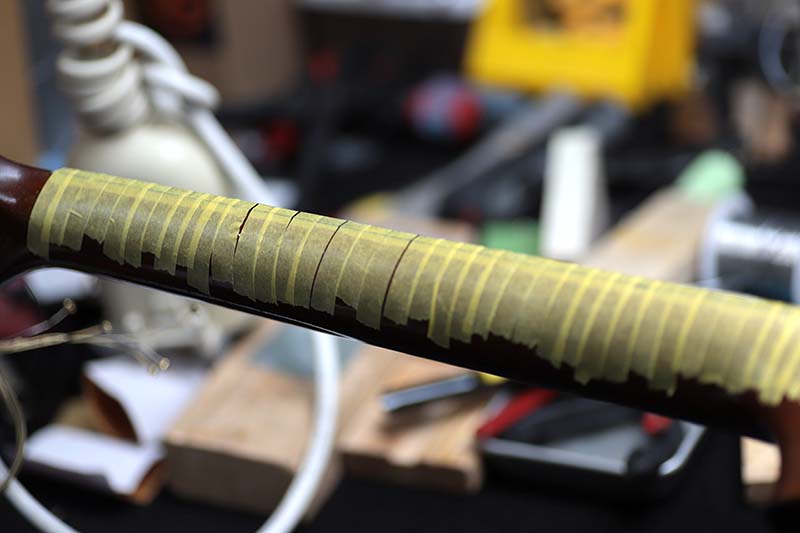
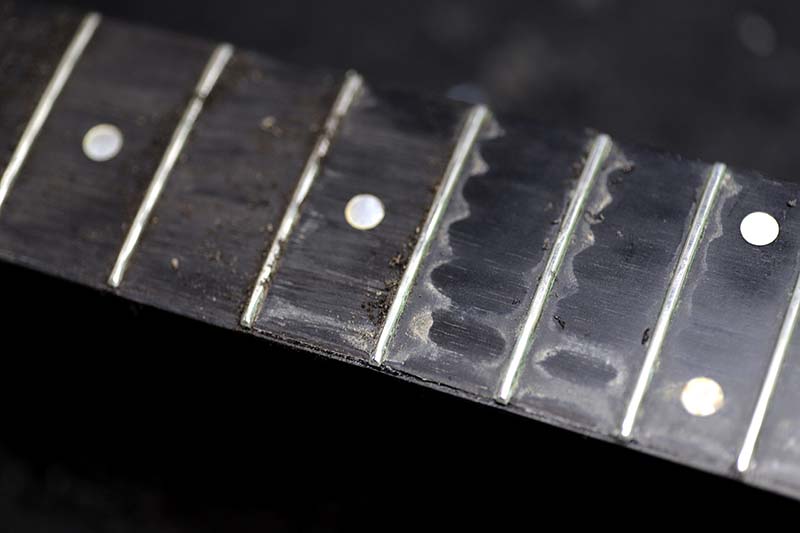
バインディング接着
フレットがバインディングの上に乗っかっているので、その高さに合わせてバインディングを削ってから接着しないと・・・
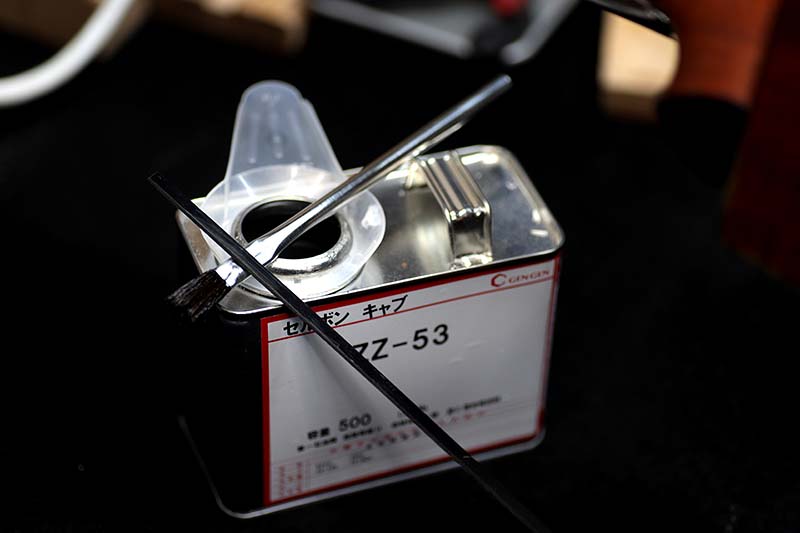
結構速乾性なので急いでセッティング。
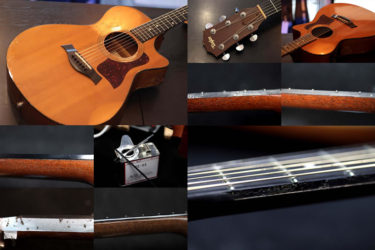
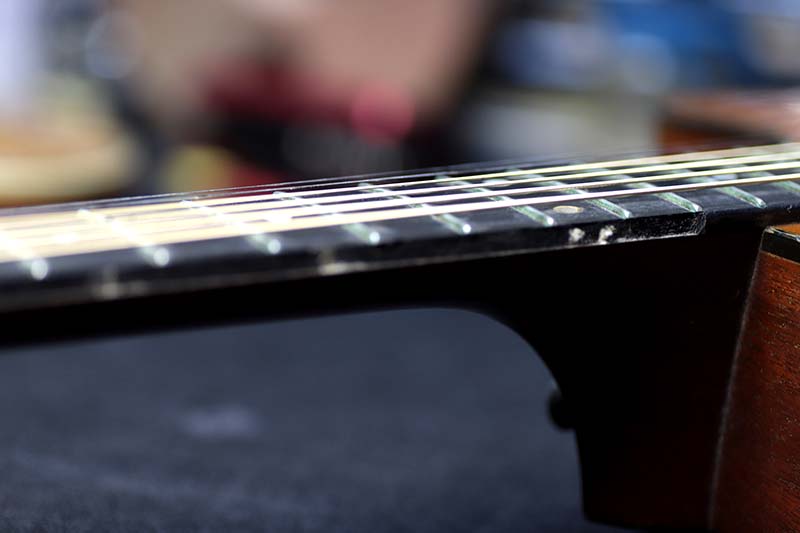
バインディング修正
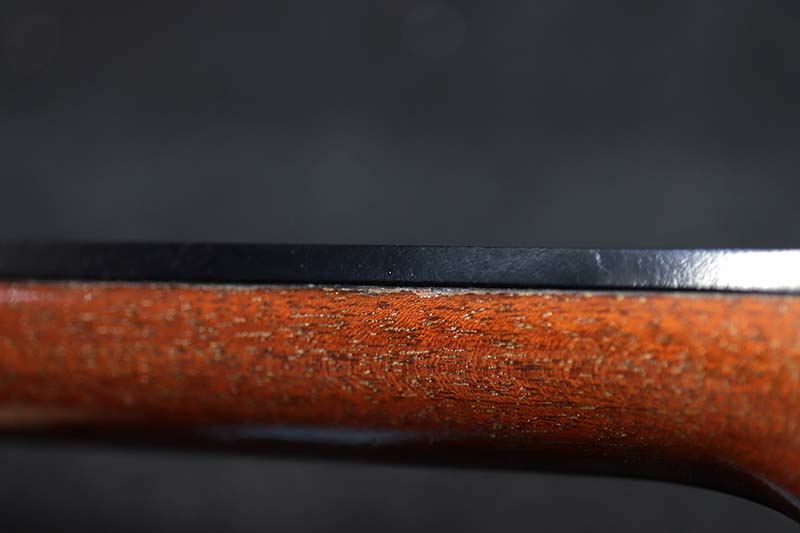
バフ掛け、調整
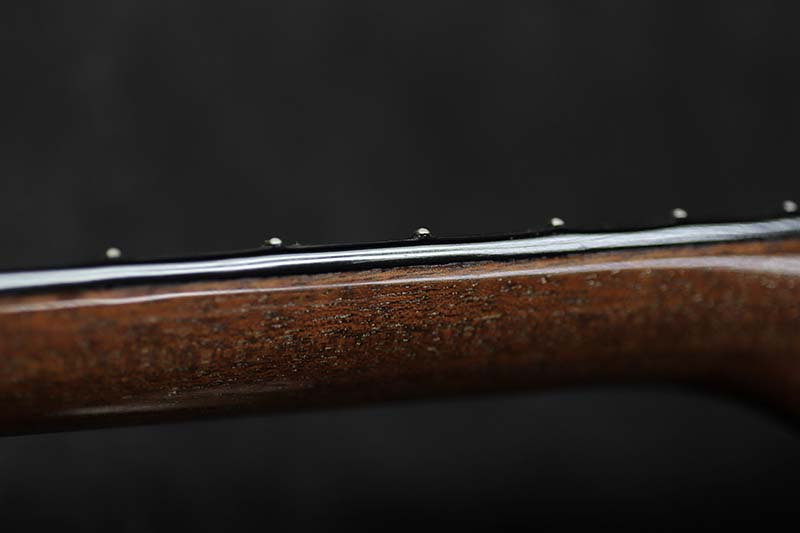
隙間は全く無くなり、エッジも長年弾いた感じにする為、角を丸めてあります。
これで引っかかる事もありませんね。
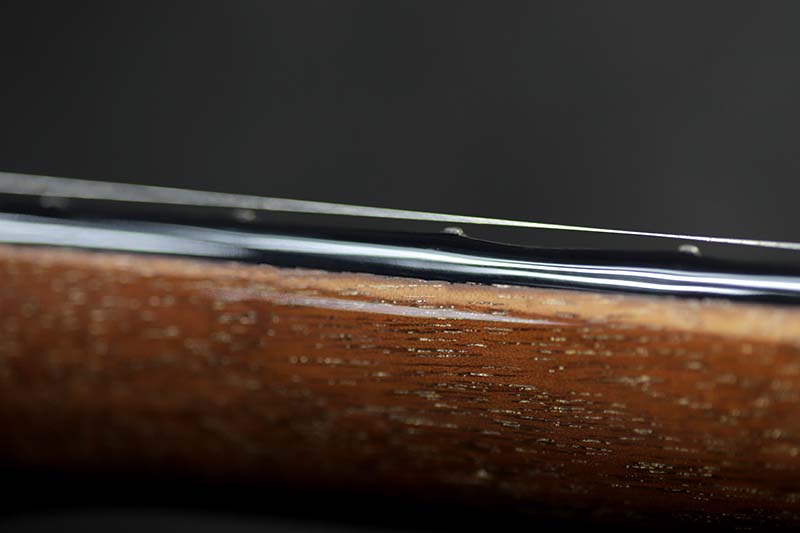
元のネック部の高さと合わせたので、少し色が合わなかったですが、クリアを盛って境界線は綺麗に仕上がっています。
かなり特殊なバインディング修正ですが、うまくいきました。
ギター、ベース等の修理は お気軽にご相談下さい。
お願いいたします。