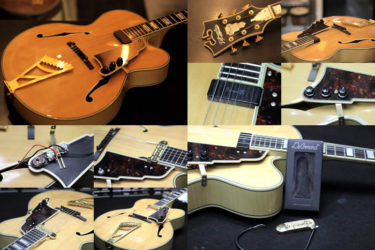
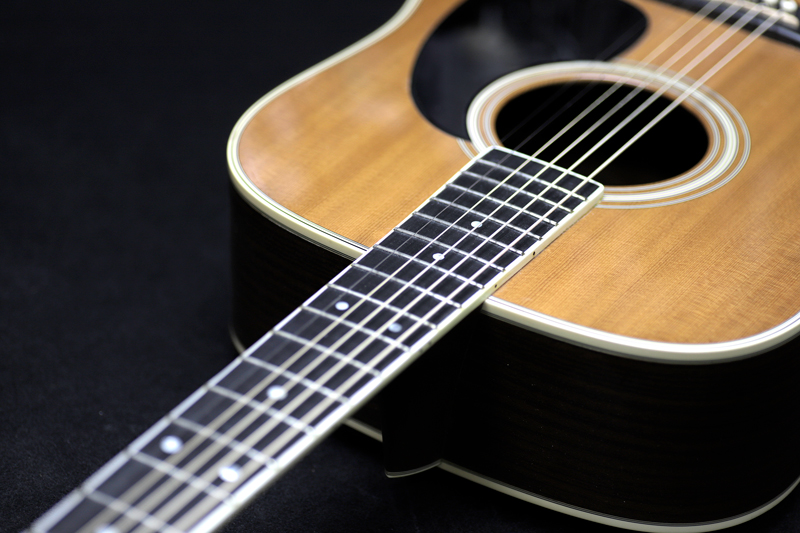
Martin D-35
Repair of the Day
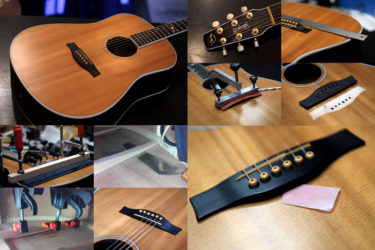
Martin D-35 – Loose Bracing
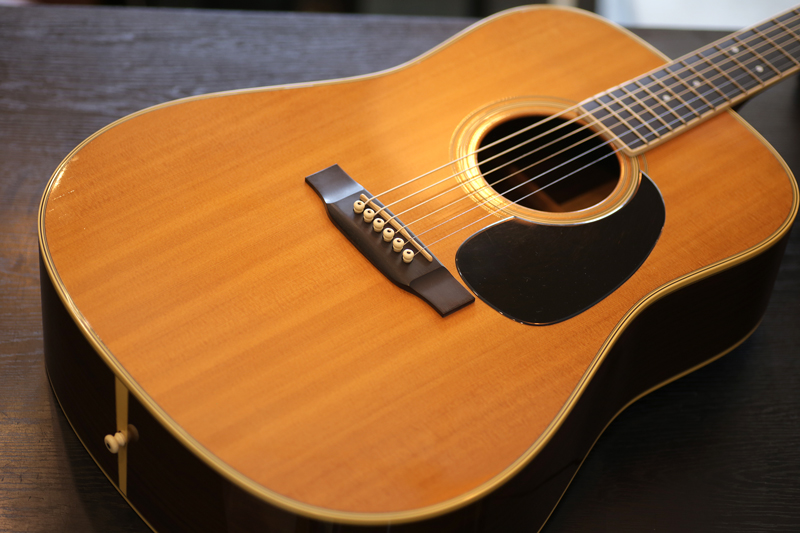
マーティンのD-35。

ラベルから見るにそんなに古いモデルでは無いようですが、
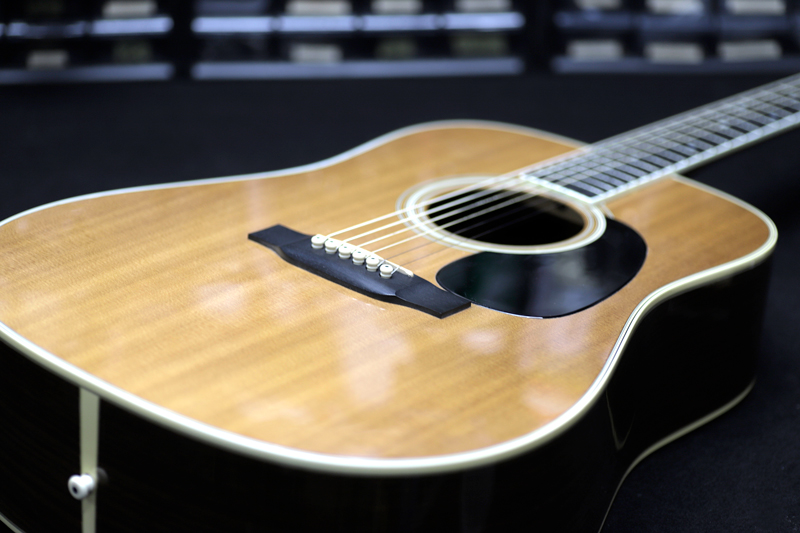
状態
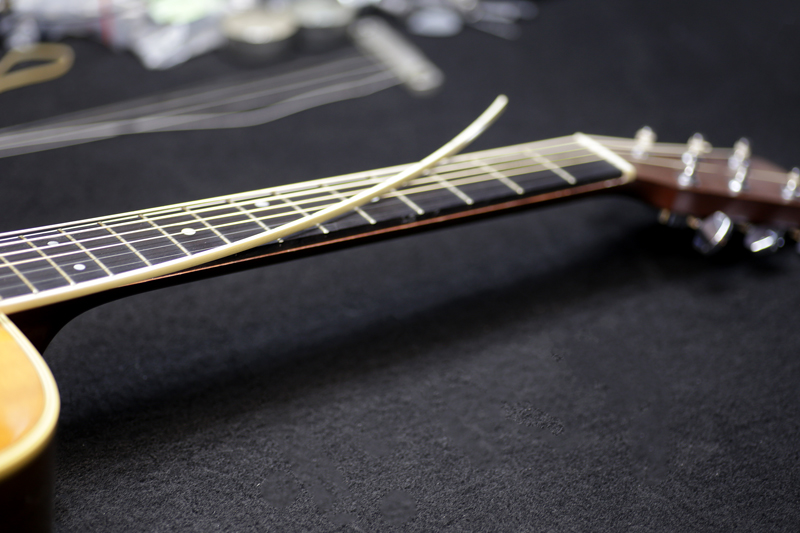
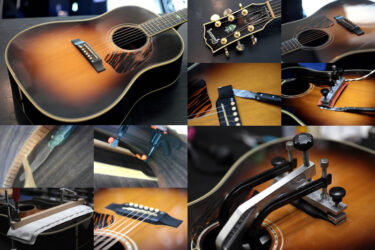
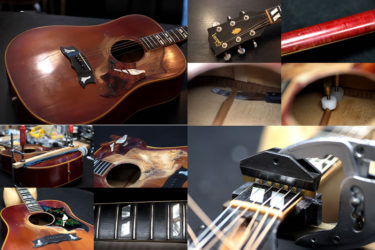
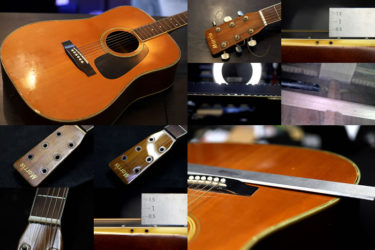
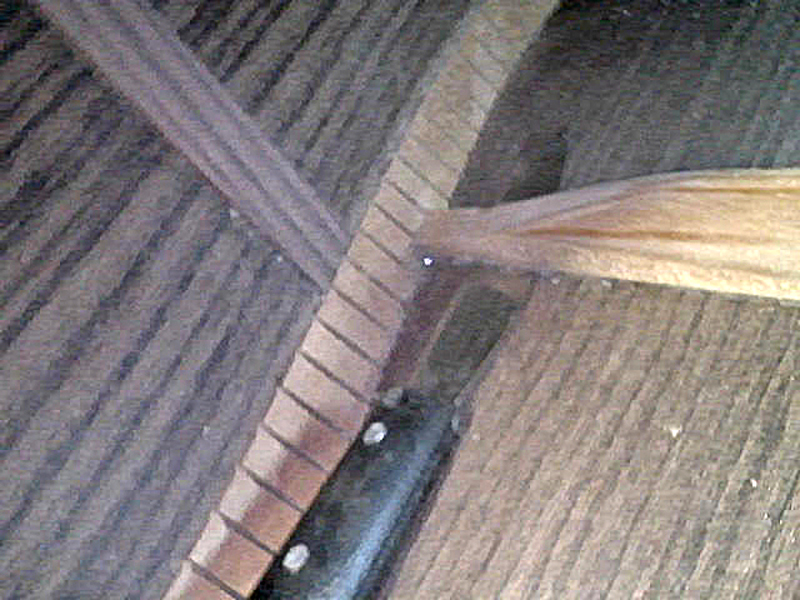
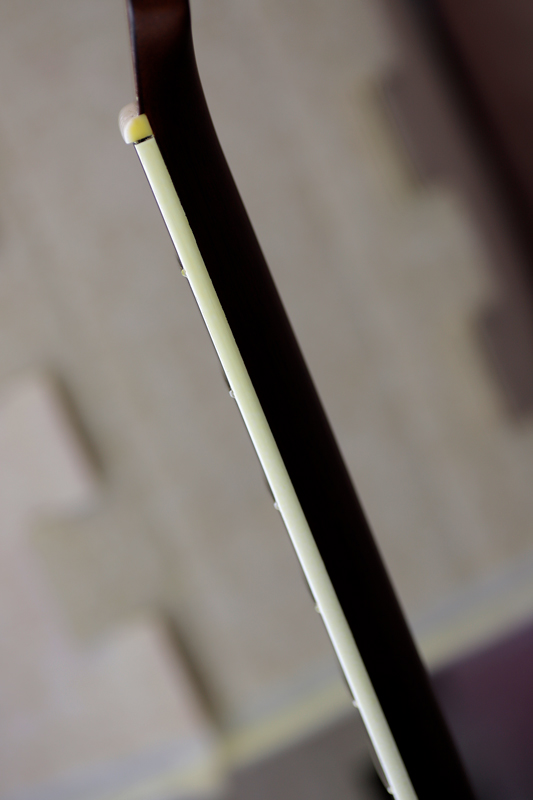
ネックのバインディングがほぼ剥がれてしまったという依頼。
歪みによって接着の剥がれが起きている時は、必ず他にも歪みの箇所があります。
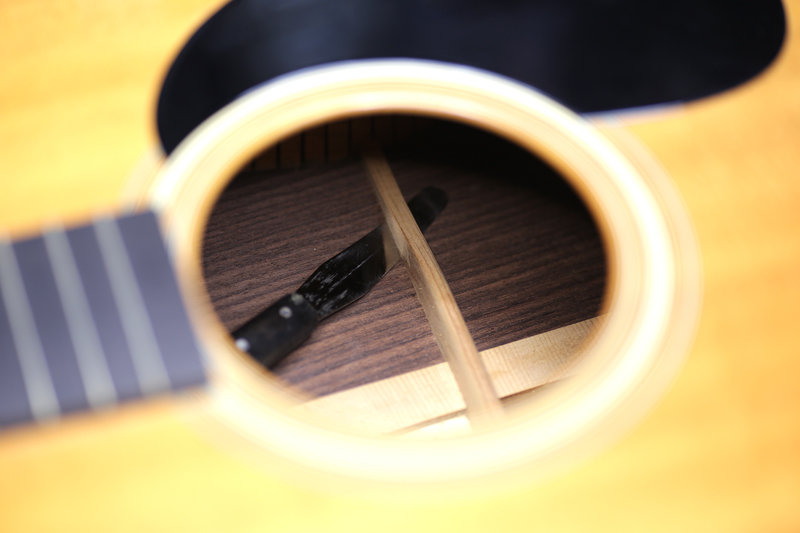
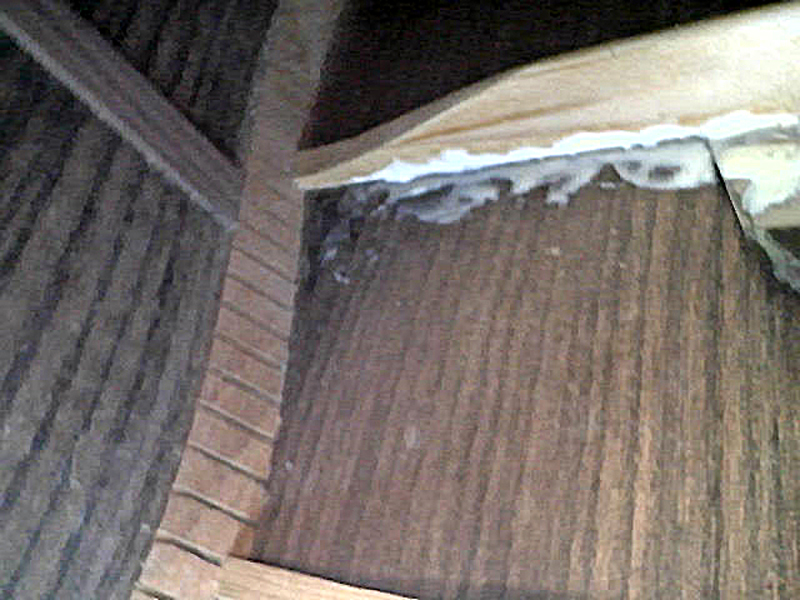
内部のブレーシングをチェックしてみると、隙間がありました。
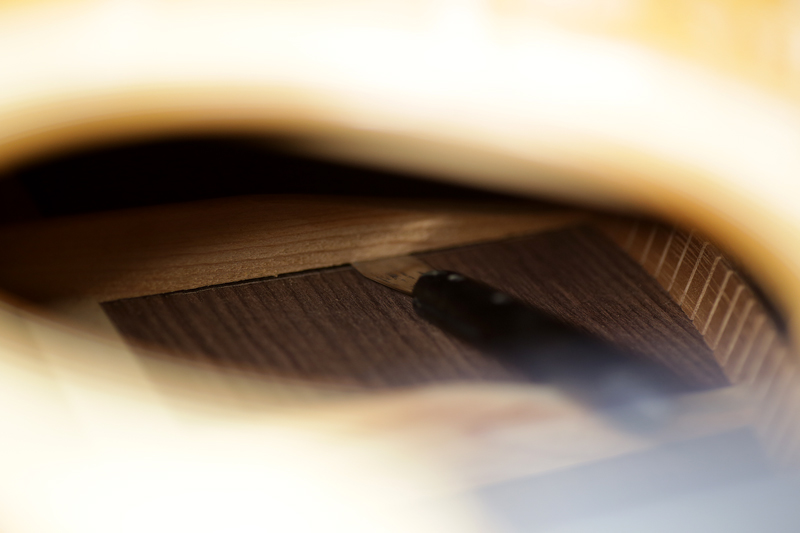
こちらは完全に剥がれて浮いていますね。
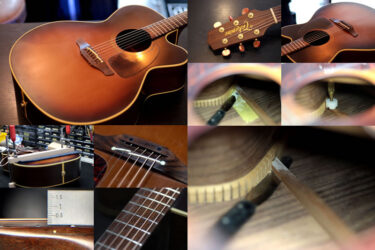
ブレーシング修正
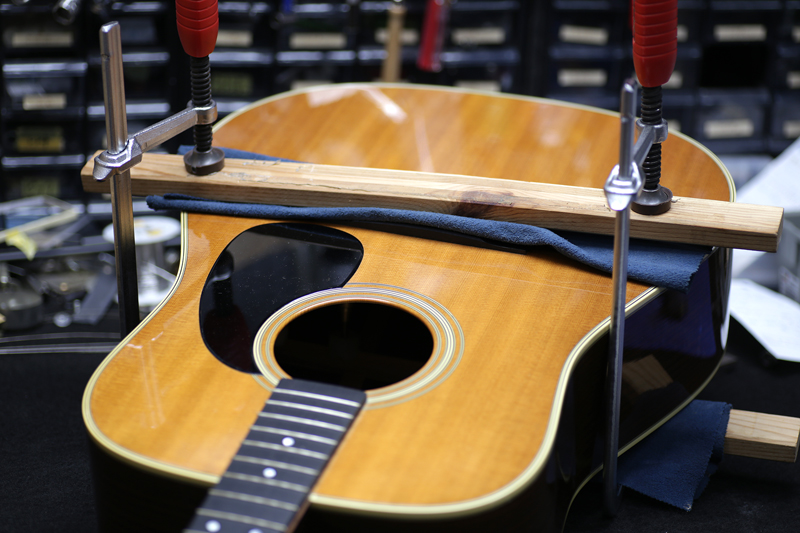
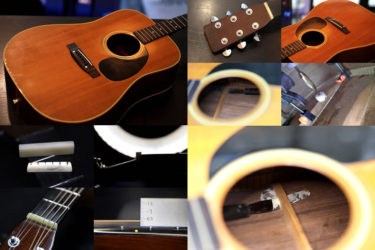
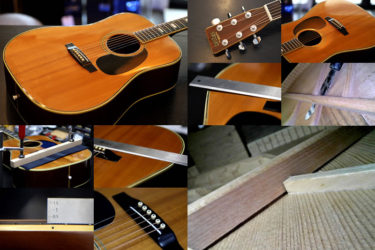
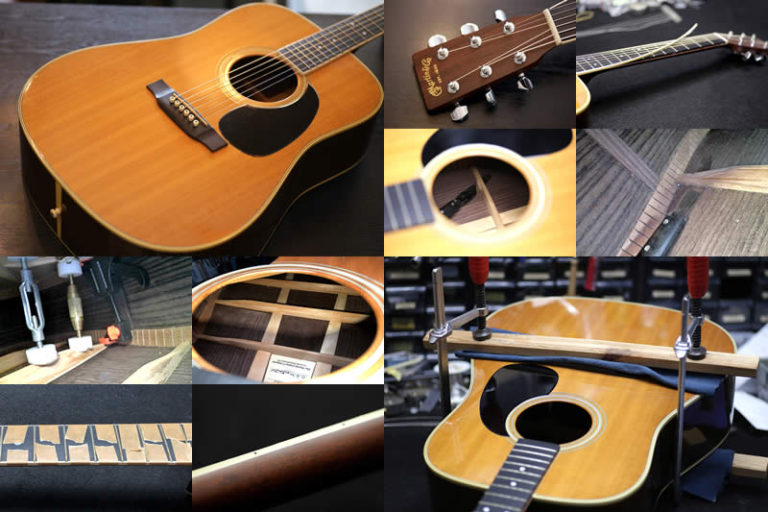
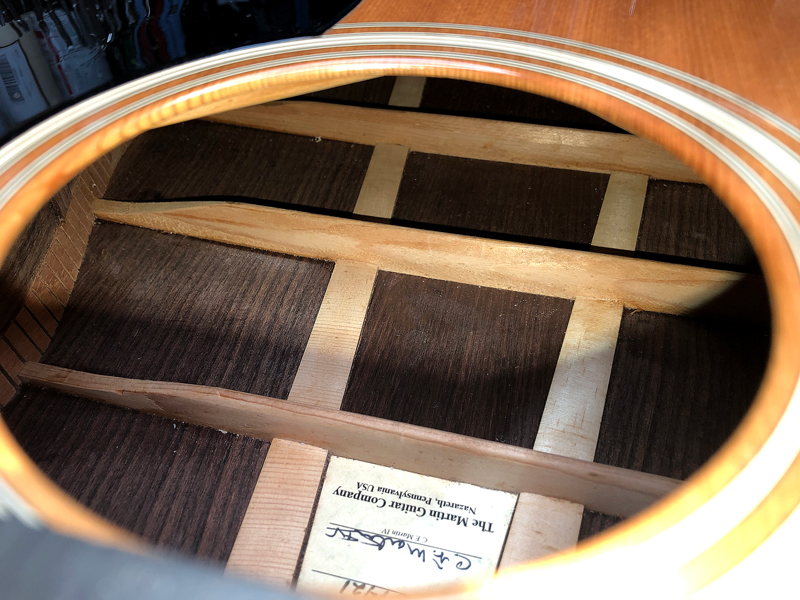
トップ、ボトムをクランプしながら、剥がれた箇所を接着していきます。
全ての剥がれの箇所を確認して
接着剤を刷り込んでいきます。

一か所ずつ内部からもクランプして

浮いたブレーシングを完全に接着させます。
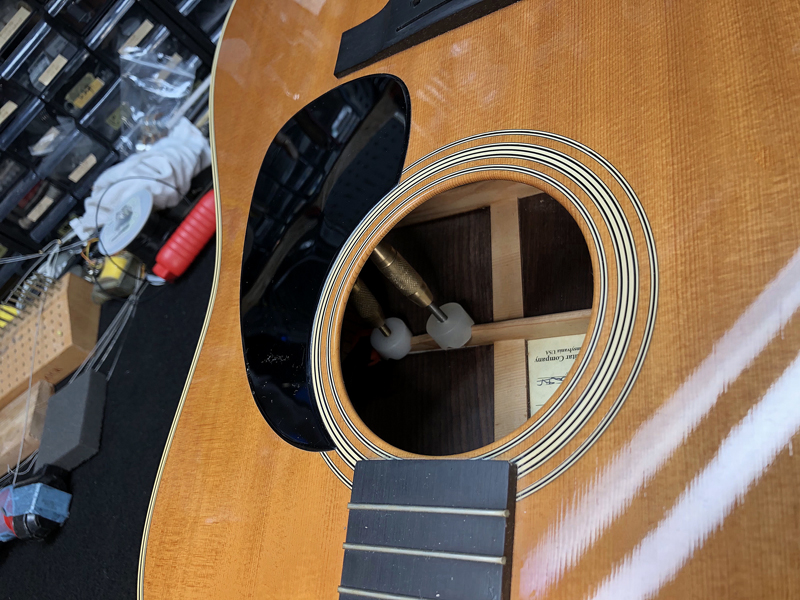
通常はフルサイズの一眼レフで撮影しているのですが、ボディ内部の撮影はファイバースコープで。
但し、今回は途中一眼が故障したのでiPhoneも使用。
何だか画角が慣れません。
全ての箇所をぴったり接着完了。
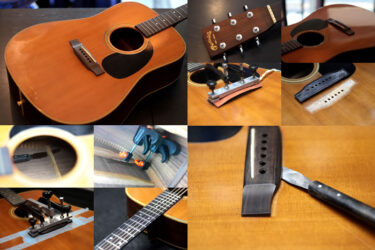
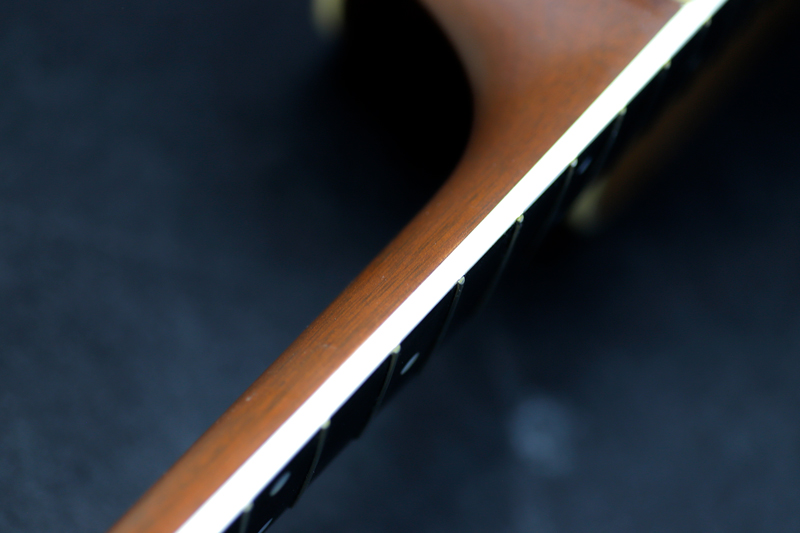
ネックバインディング接着
続いて剥がれたネックバインディングを接着していきます。
少し縮みもおきていて伸ばしながら固着。
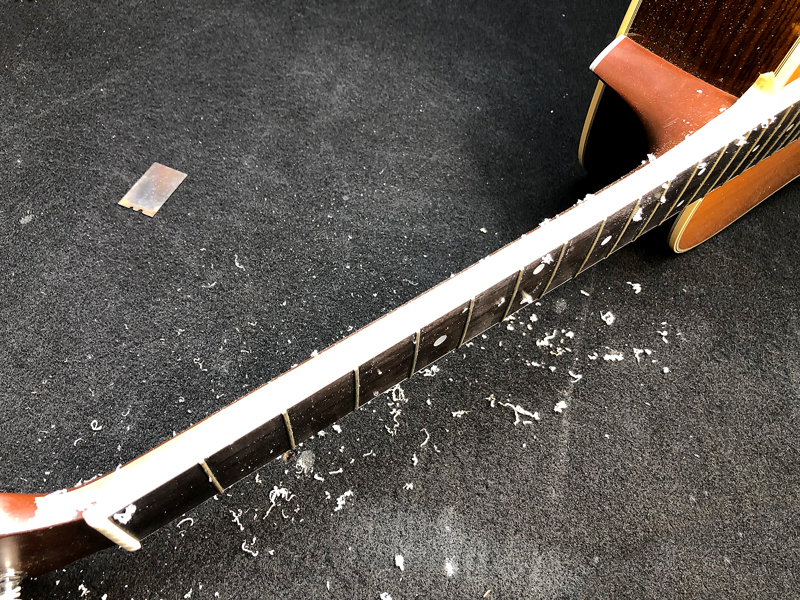
接着後段差を無くすためカミソリで均します。
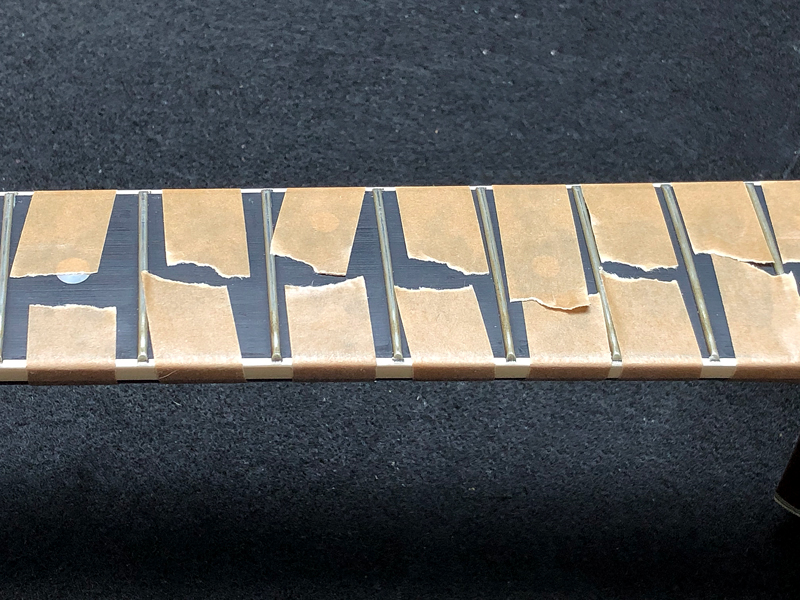
塗装
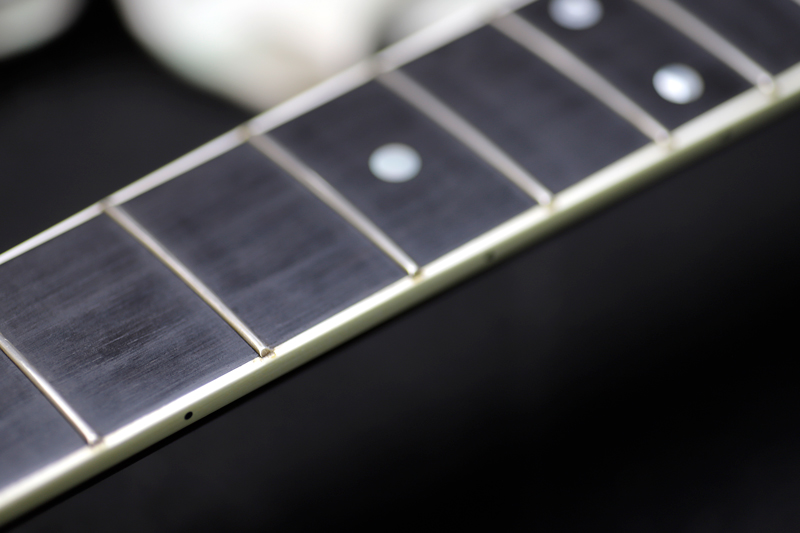
ネックとバインディングの境の接着も剥がれたので、艶消しにて再塗装。
バインディングを削って真っ白になってしまったので、他の日焼け箇所と合わせる為エアブラシで着色。
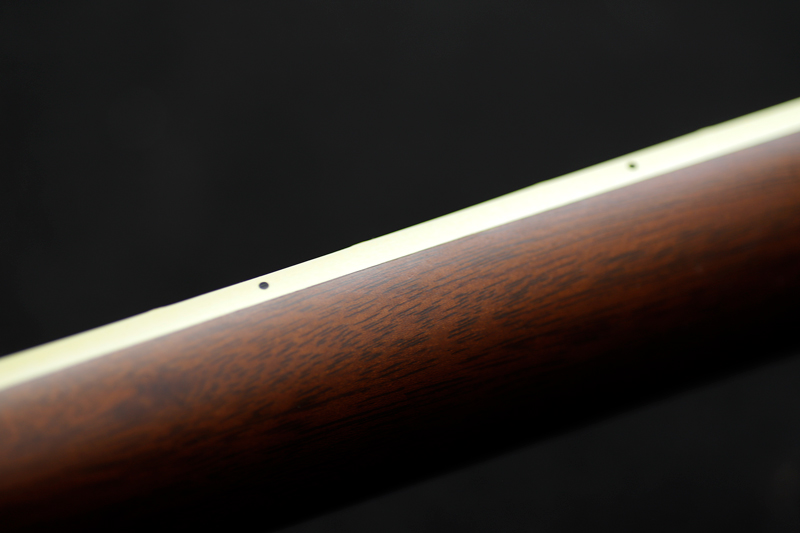
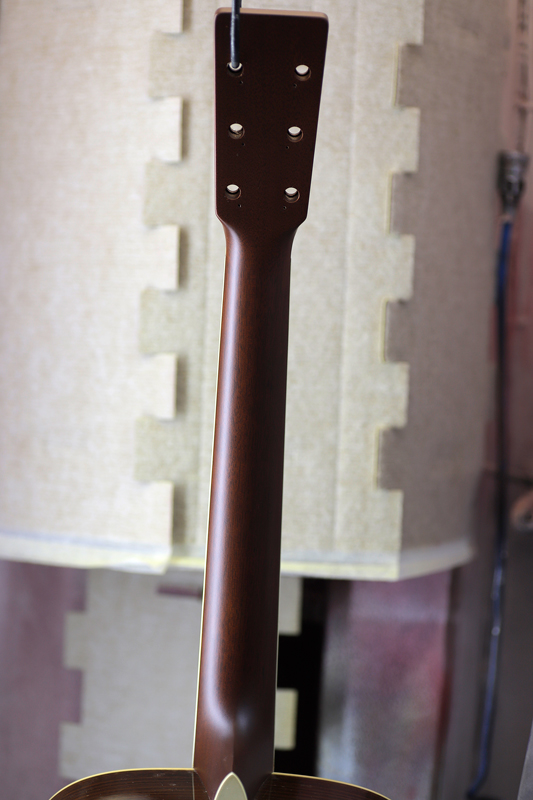
段差、隙間なく接着出来ました。
エッジ部分も綺麗に修正。
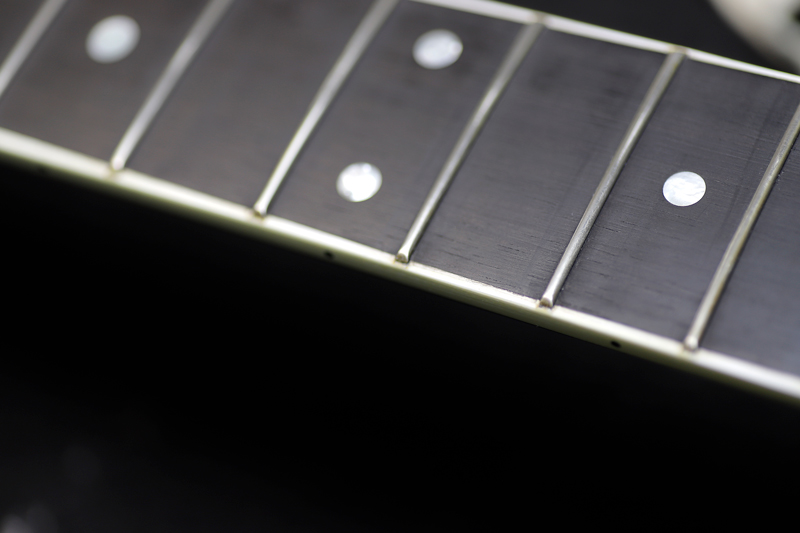
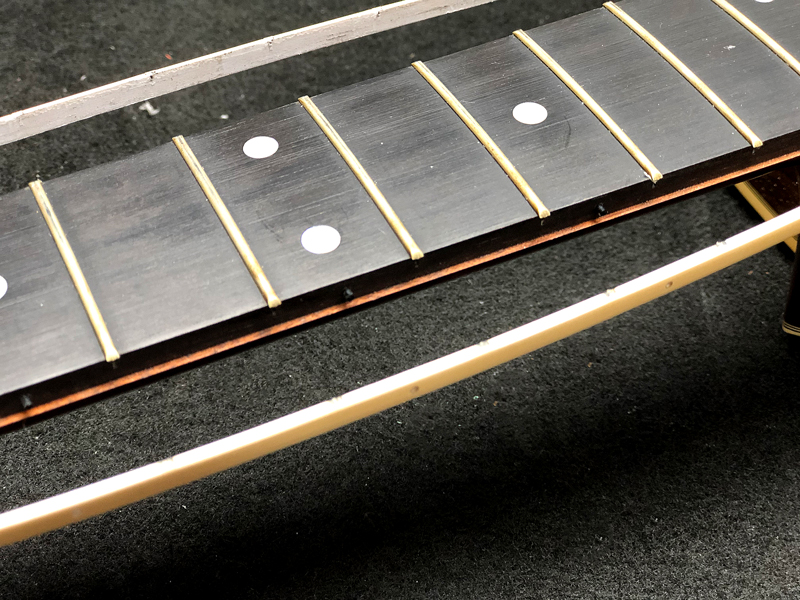
指板も磨きました。
ネックのバインディングやボディのバインディングが剥がれた場合は、ボディ内部やネックに歪みがある事が多いです。
そのまま放っておくと、内部のブレーシングが全て剥がれる事も。
バインディングが剥がれた場合はお早めに弦を外し、テンションを緩め、修理に出して下さい。
ギター、ベース等の修理は お気軽にご相談下さい。
お願いいたします。