Guitar Repair of the Day

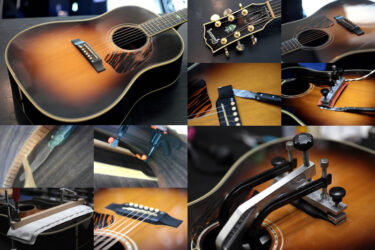
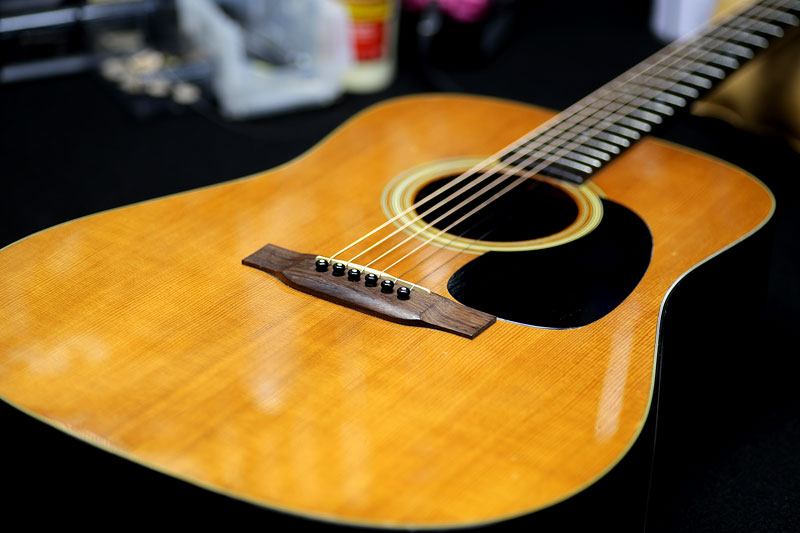
Martin D-18
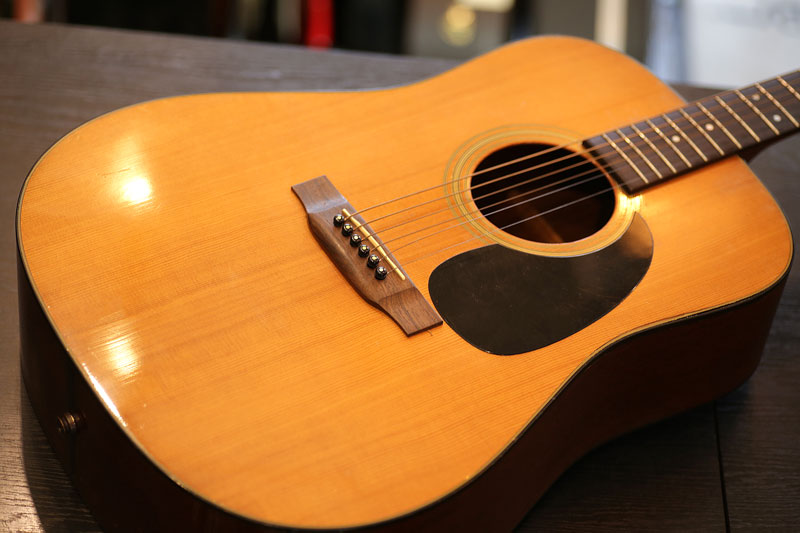
マーチンのD-18。
ローズウッドのラインナップの多い典型的なマーティンとは一味違うマホガニーサウンド。
ザクザクと切れ味の良いサウンドでした。
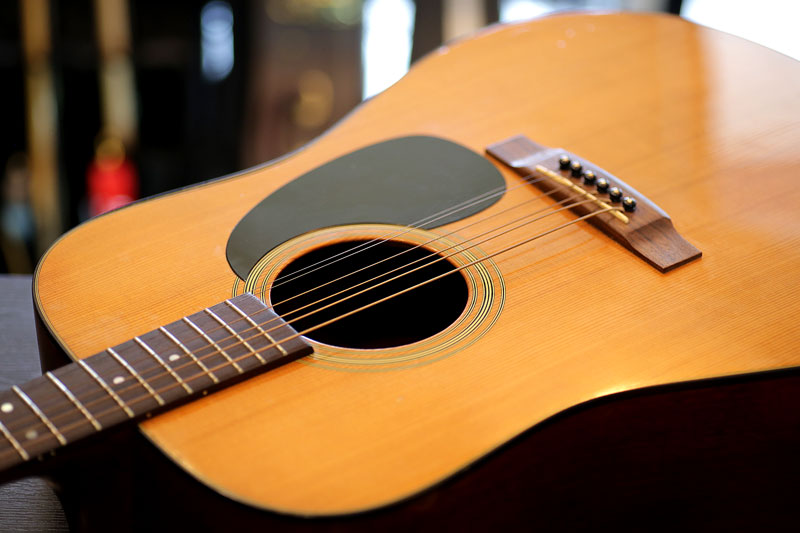
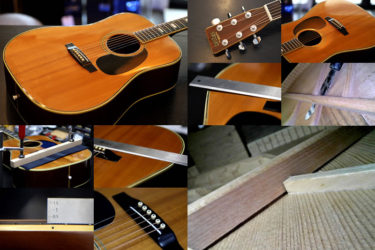
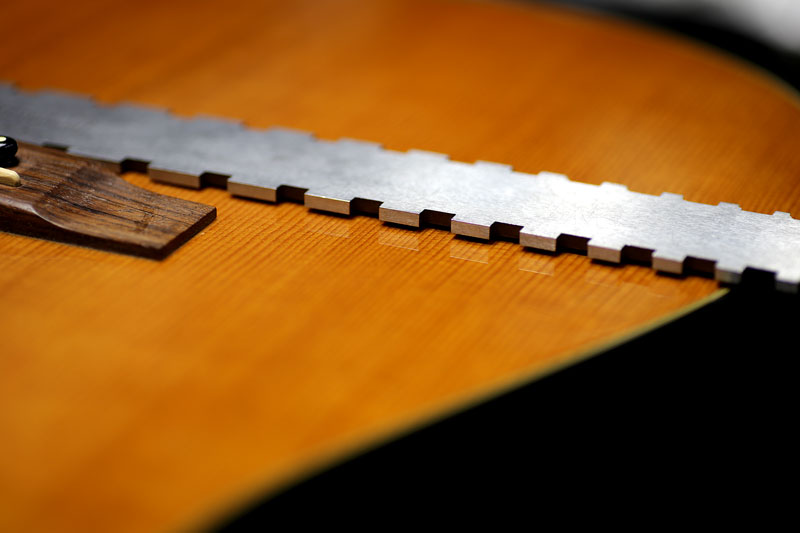
但し現状は、バインディングが剝がれてしまったので見てほしいとの依頼。
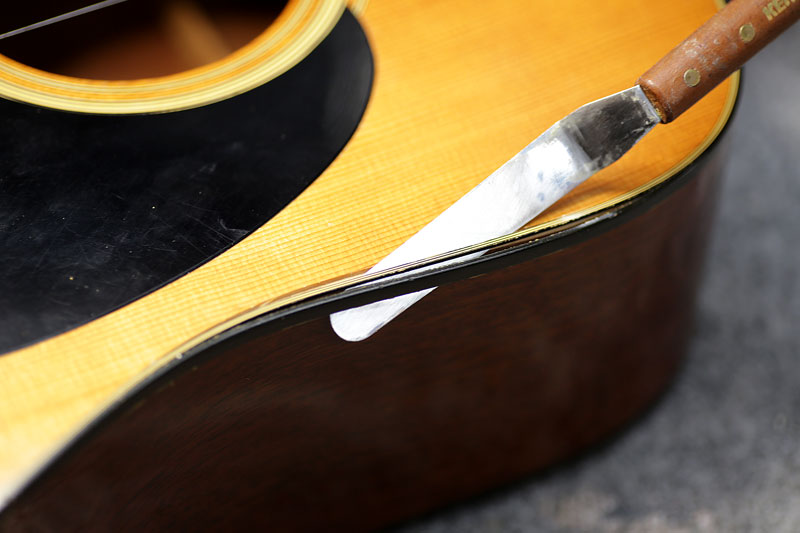
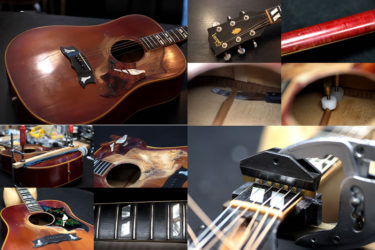
見事に剥がれてしまっています。
バインディングが剥がれる時は大抵原因があります。
経年によりバインディングが収縮して歪んでくるケースと、ボディが歪んで剥がれるケース。
裏板と見てみると、左側と右側と膨らみに差があります。
指でタッピングしてみると、接着のくっついていない音がします。
ブレーシングが浮いていますね。
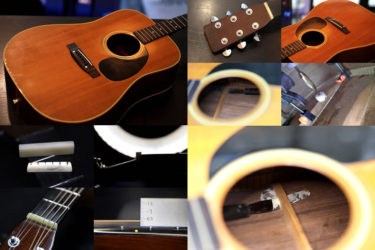
ブレーシングの間に接着剤を付け、クランプしていきます。
漏れ出た接着剤をふき取って、しばらく固着。
別の個所も同じようにクランプ。
このまま乾燥するまで暫く置いておきます。

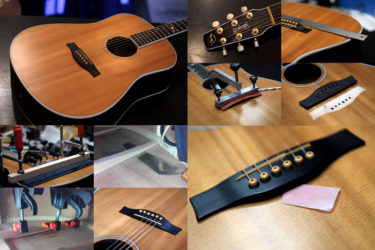
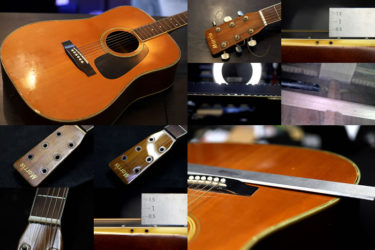
乾燥が終わりブレーシングがしっかりくっついたのでバインディングの修理を始めます。
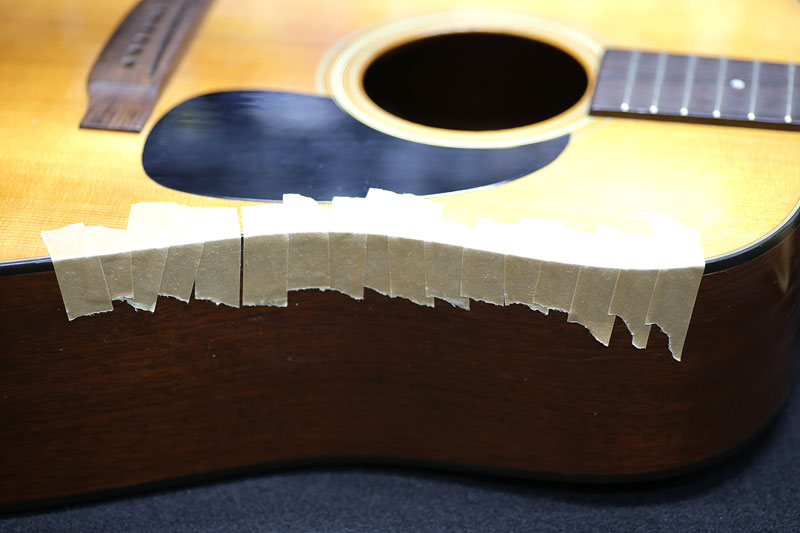
接着剤を付けてしっかりとテーピング。
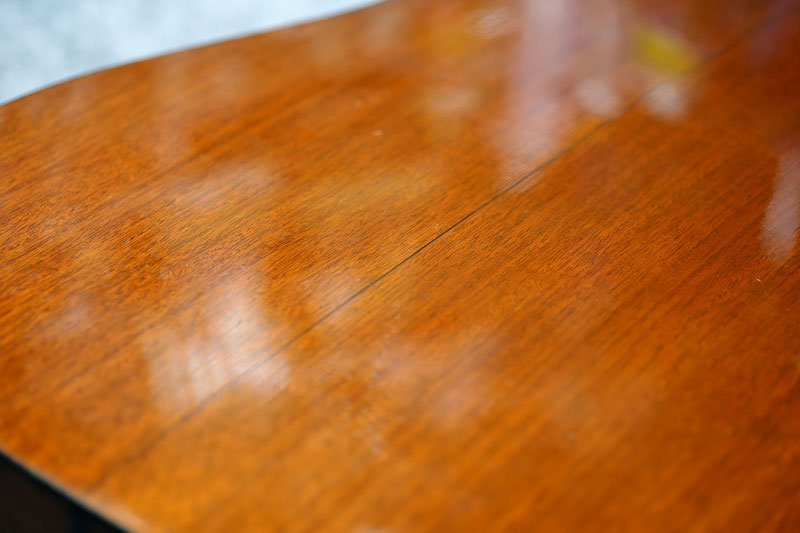
綺麗にくっつきました

と言いたいのですが、剥がれた際に塗装も一緒に欠けているのでデコボコしています。
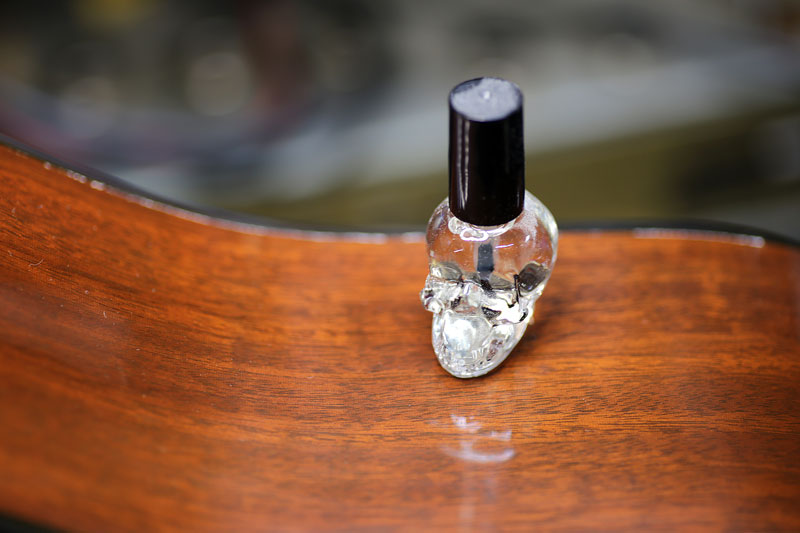
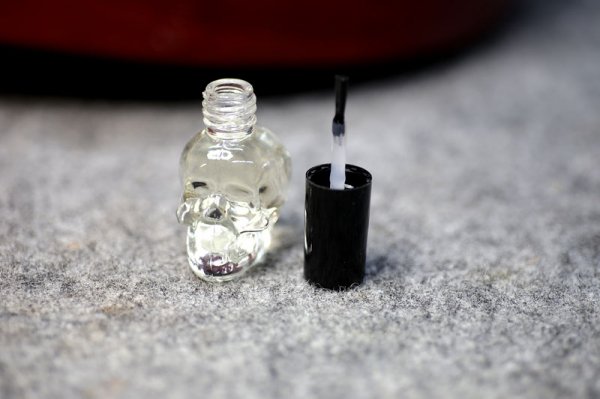
こちらのドクロの瓶は、ラッカーをシンナーで薄めて溶いたもの。
塗装のひび割れ、欠け、修復、タッチアップなどに便利です。
こちらの塗料は こちら から購入可能です。
バインディングの段差のある部分に少しづつ塗っていきます。
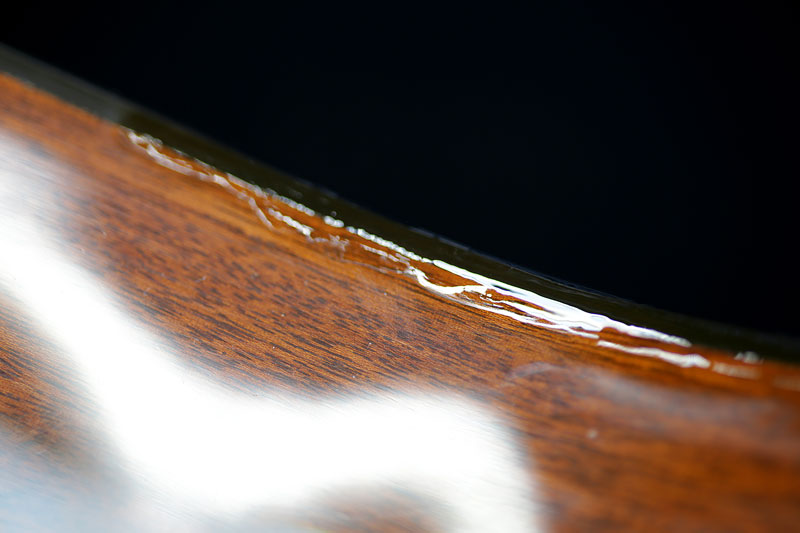
TOP側も何回かに分けて隙間に塗ります。
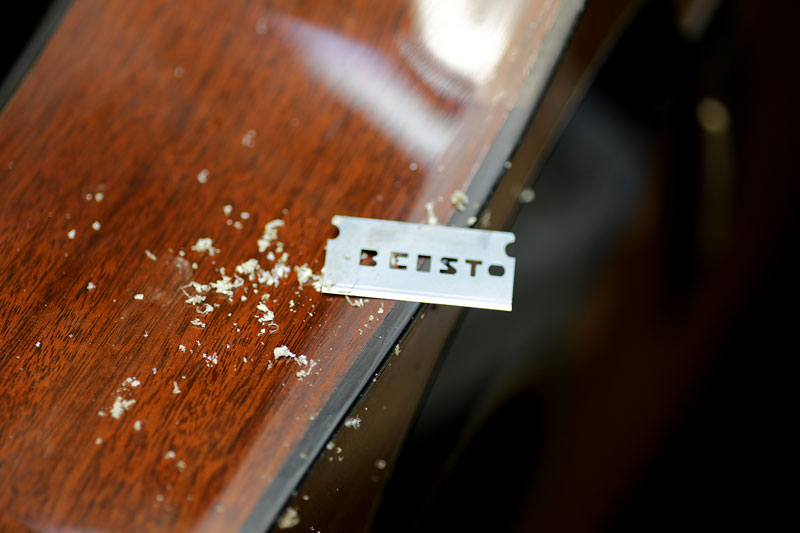
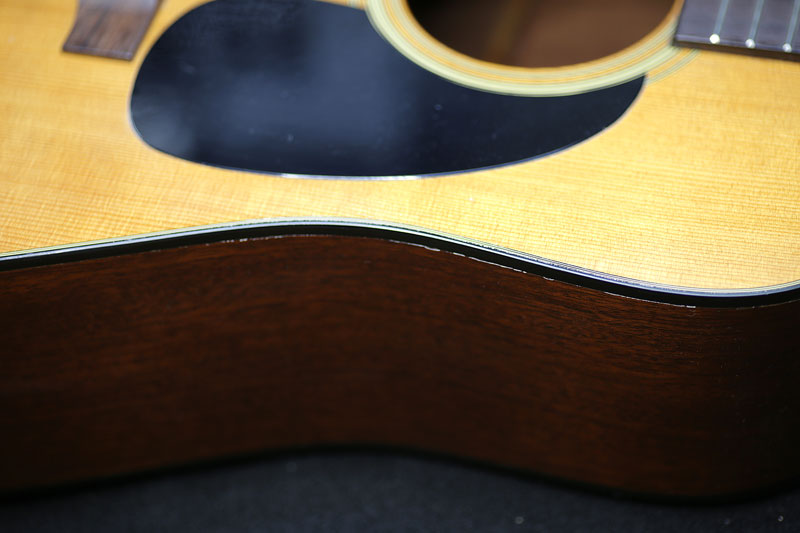
乾燥が終わった後、カミソリでデコボコを補正。
その後水研ぎ研磨、バフ掛け。
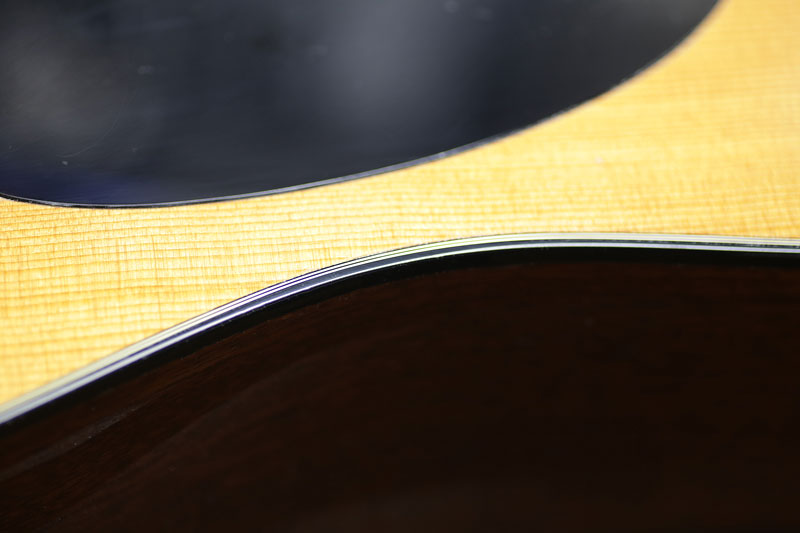
段差無く綺麗に仕上がりました。
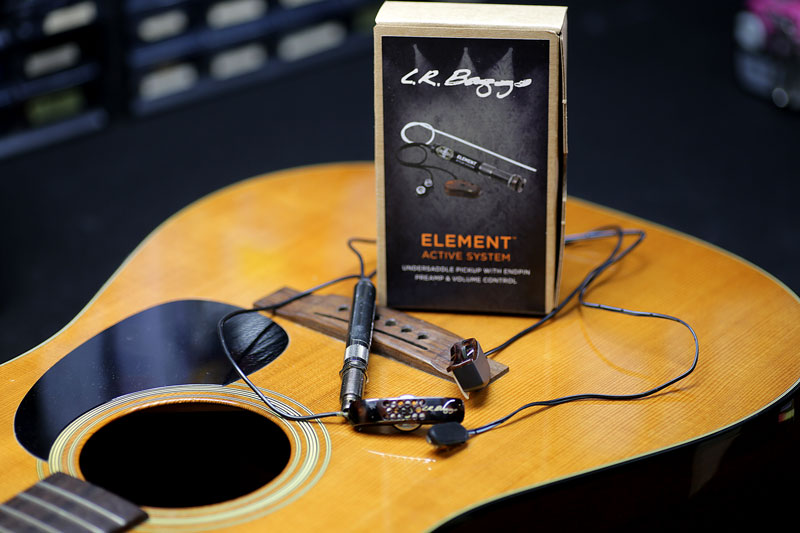
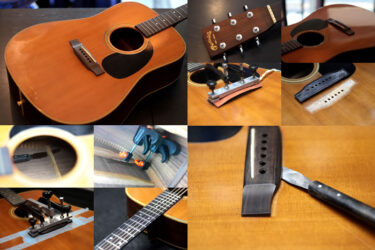
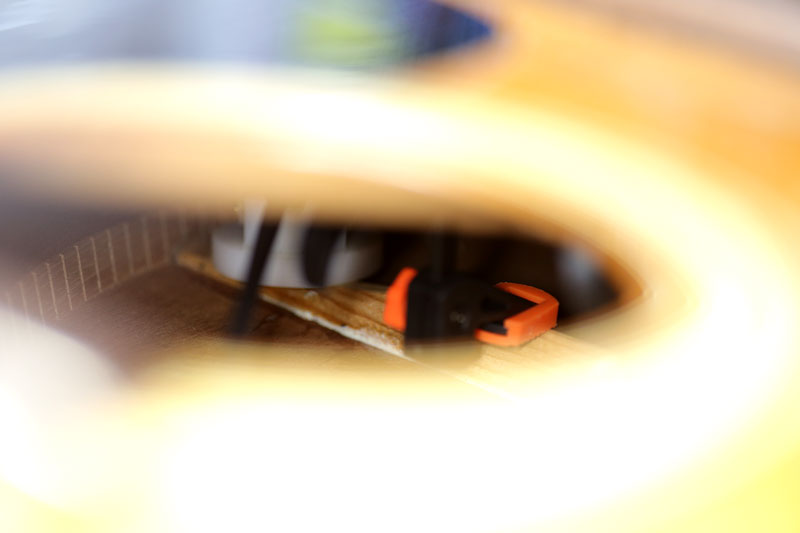
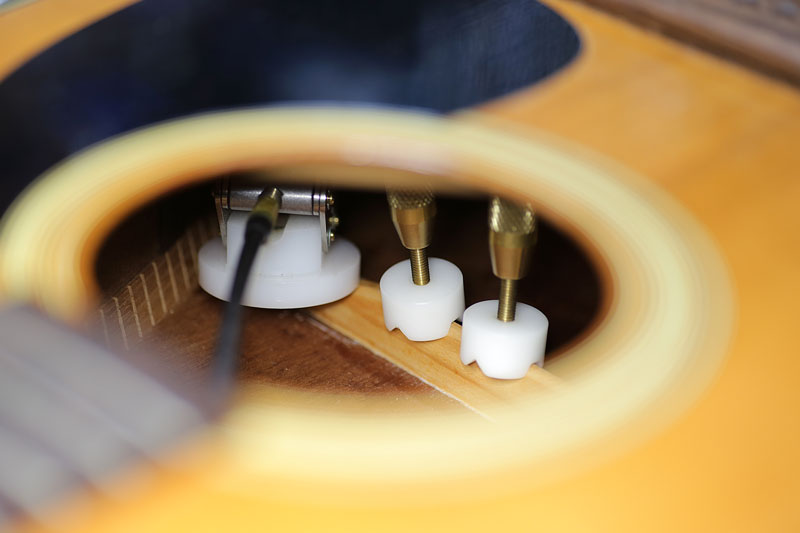
同時にピックアップも交換希望。
今までL.R.BaggsのLyricが搭載されていたのですが、あまり好みではないようでピエゾへ変更希望。
同じL.R.BaggsのELEMENTにしました。
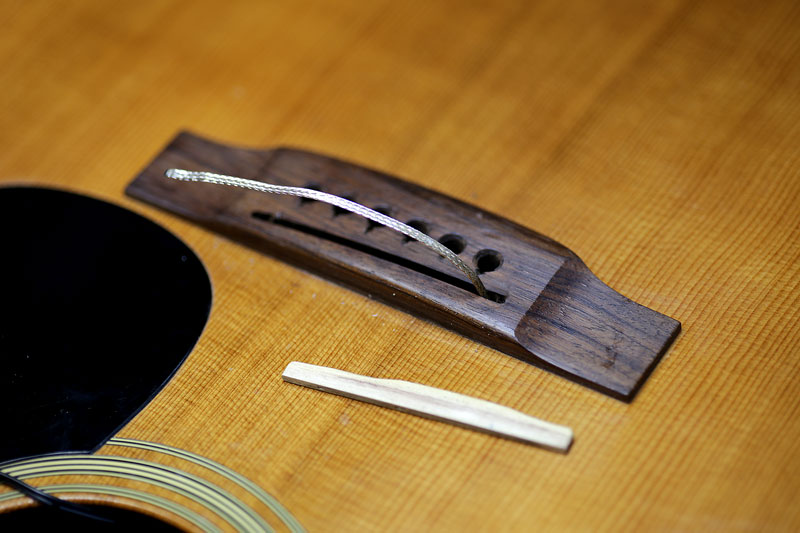
ブリッジに穴あけ加工をしてピエゾ素子を通します。
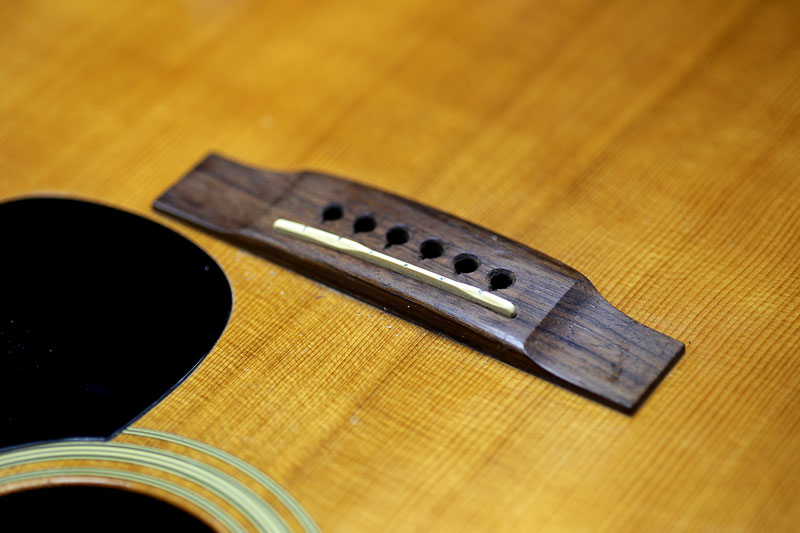
サドルも若干高さを修正。
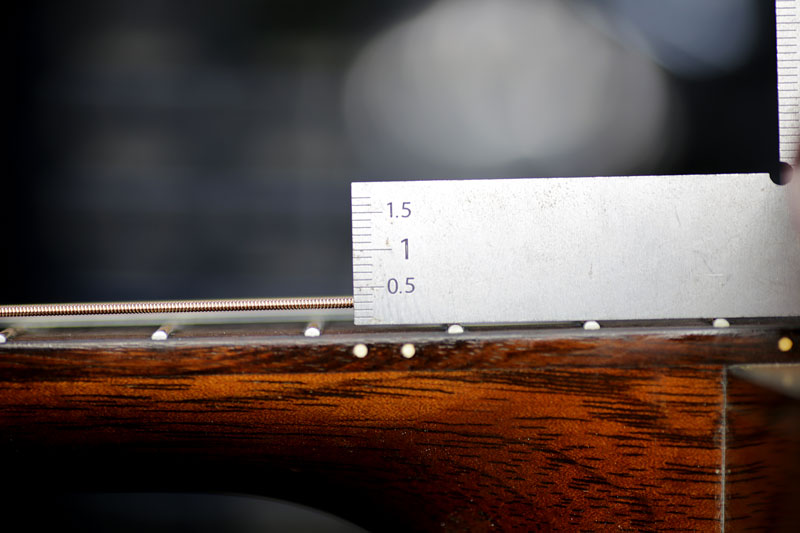
弦高は12フレット近辺で、約2.3mm。
持って来られた時に比べ、トップの膨らみも大分治まりました。
ブレーシングの修正前と後では低音の出方が全く違います。
裏板がボワンボワンしている、低音が出ない、異音がする、などの場合、バインディングが浮いたり剥がれている事があります。
ブレーシング修正、メンテナンス、修理、メンテナンス、調整、等はご相談下さい。
ベース、等の修理は お気軽にご相談下さい。
お願いいたします。