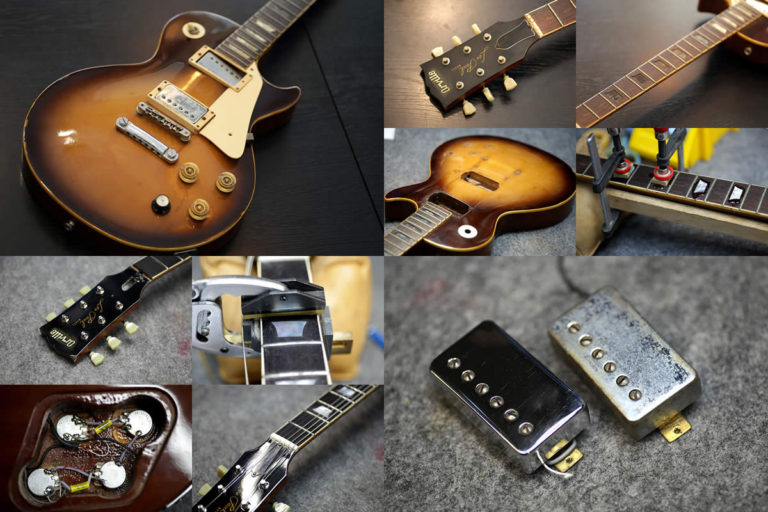
Guitar Repair of the Day
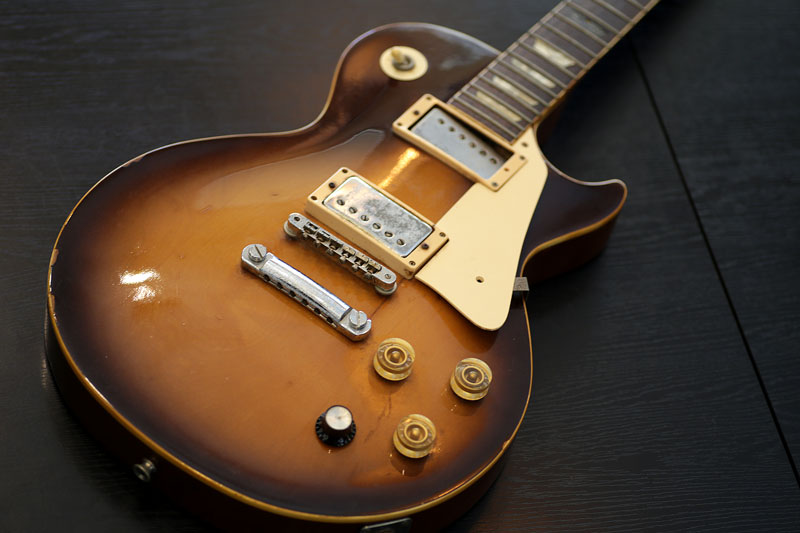
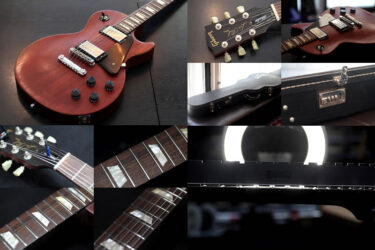
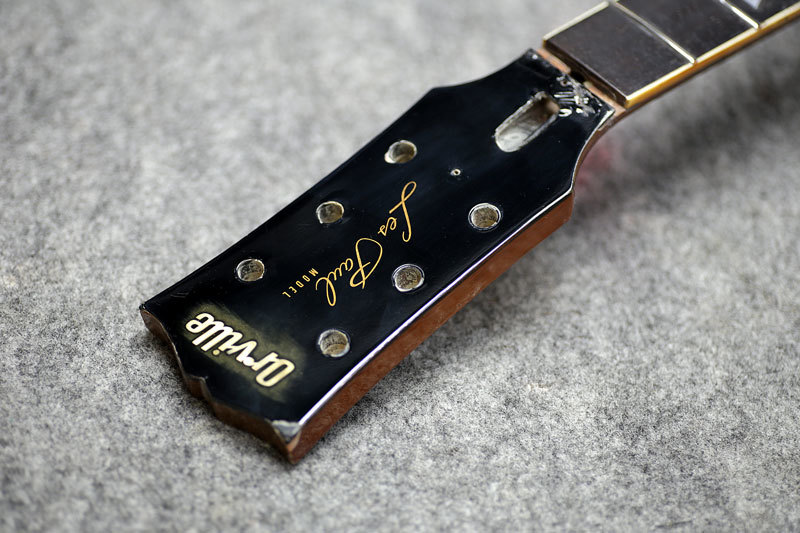
Orvill Les Paul Model
オービルレスポールモデル。
91年製寺田楽器製作のタイプです。
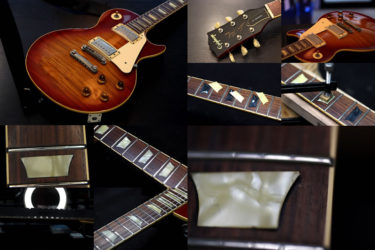
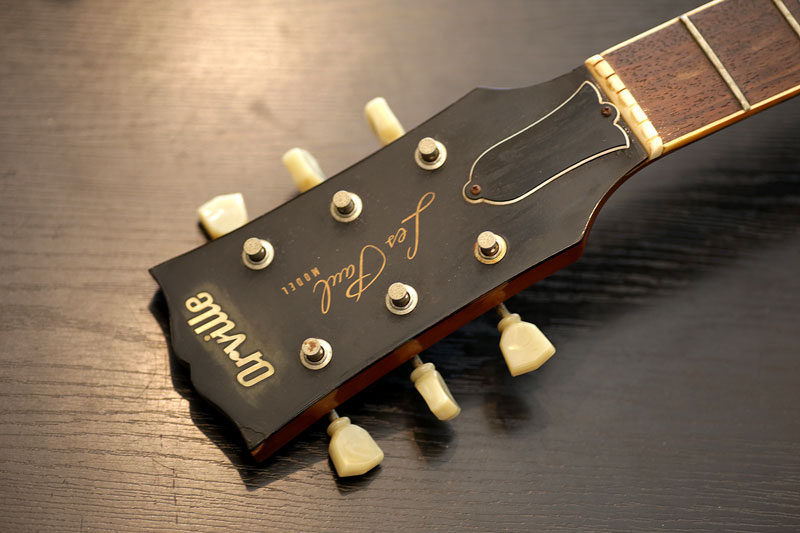
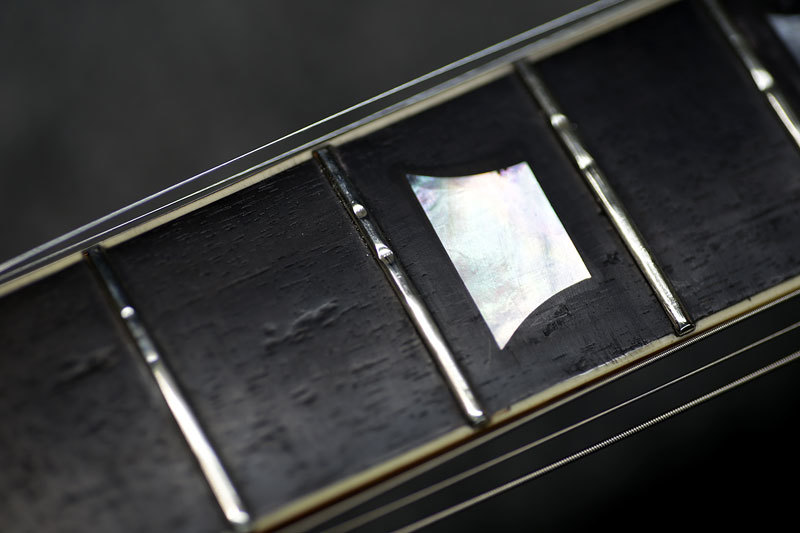
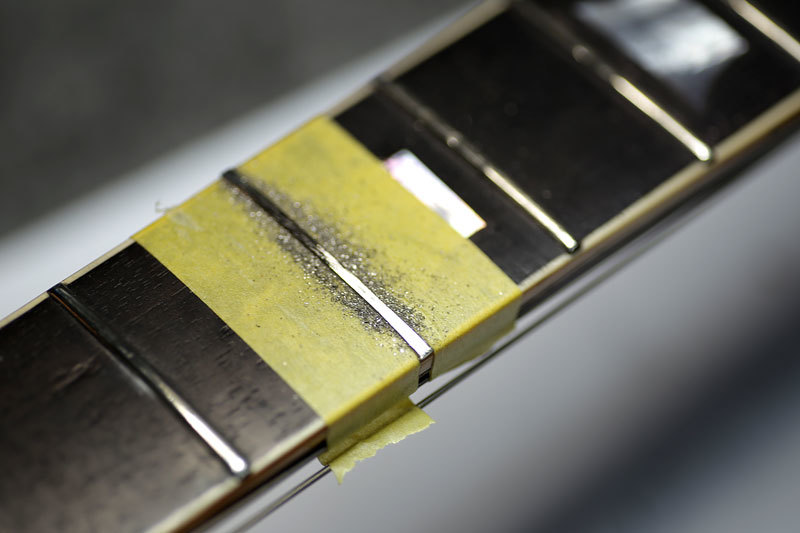
インレイ接着
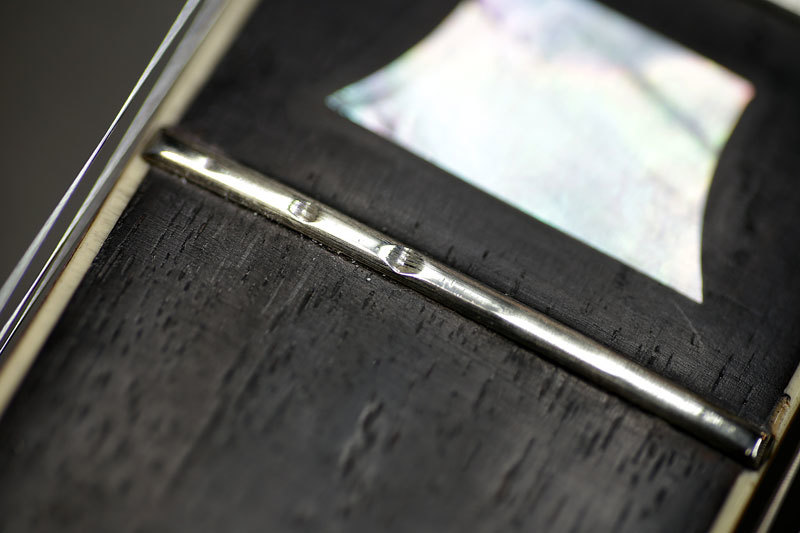
オービルbyGIBSONに多いインレイの剥がれ。
経年で取れる事もあるのですが、GIBSONよりも剥がれで持ち込まれる事がおおいように思います。
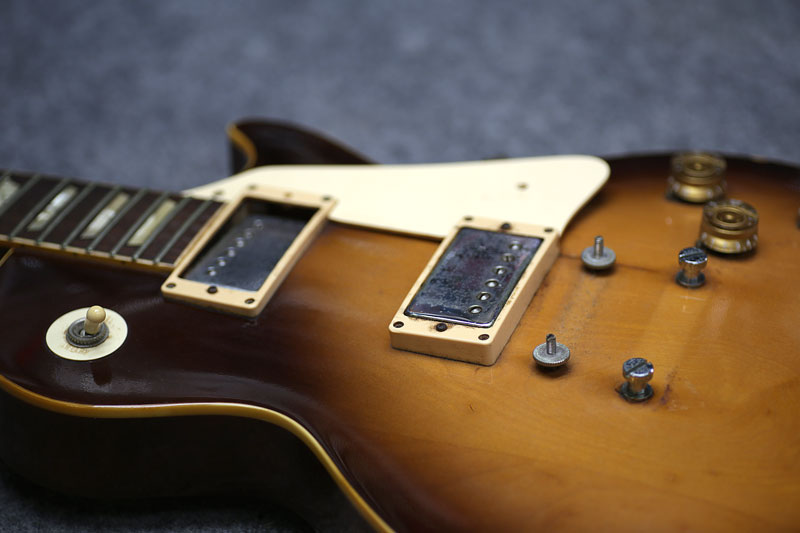
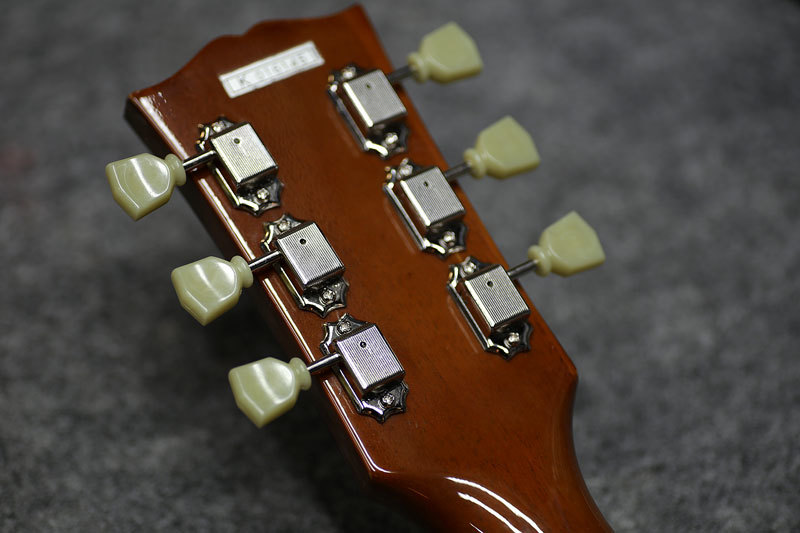
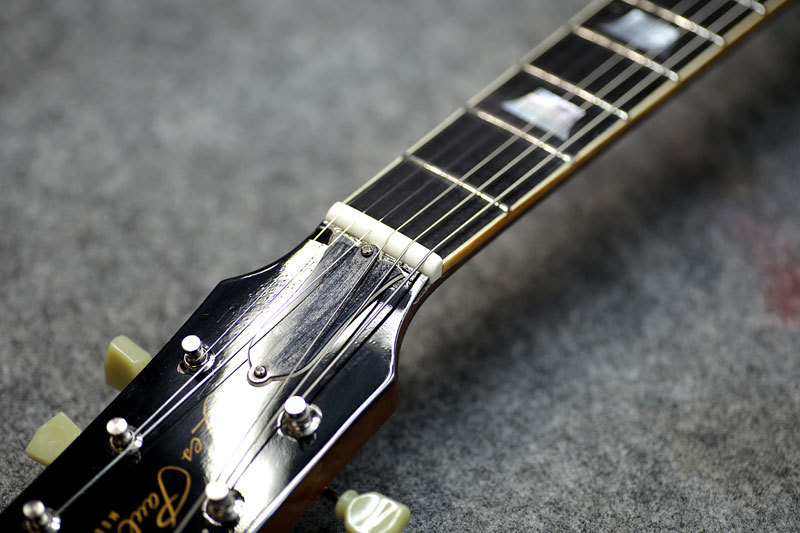
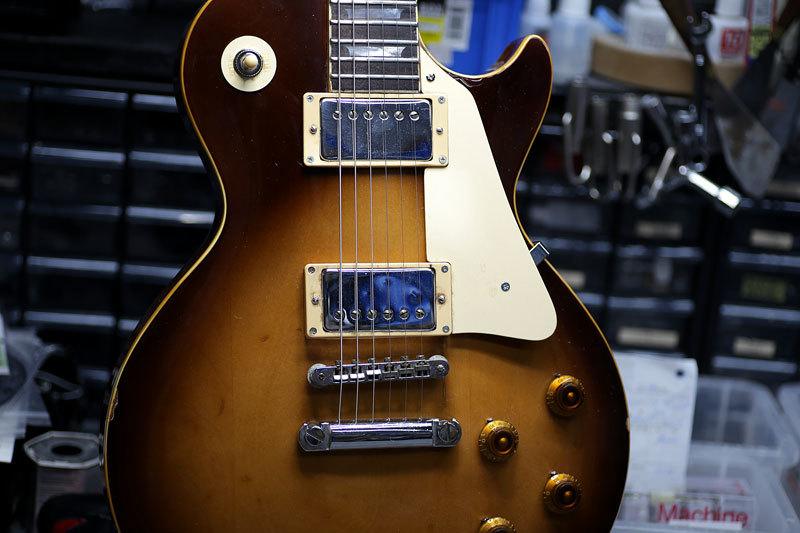
暫く使っていなかったようで、パーツもかなり錆びています。
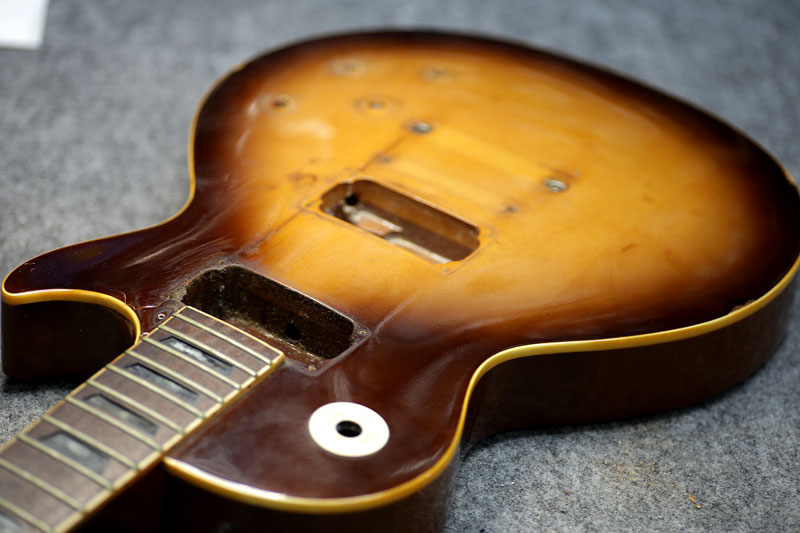
パーツばらし、インレイ接着
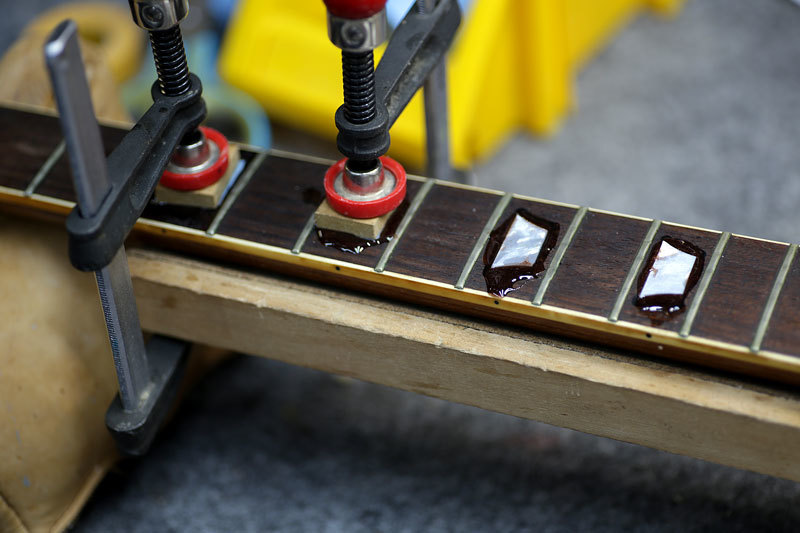
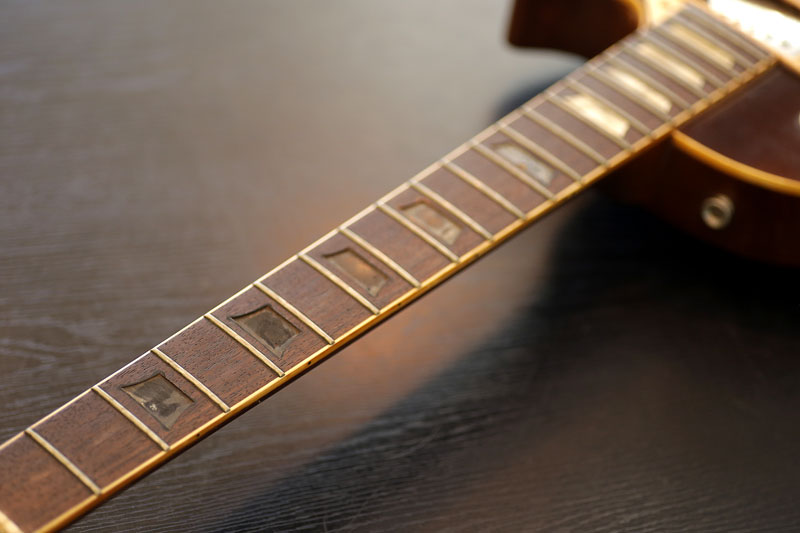
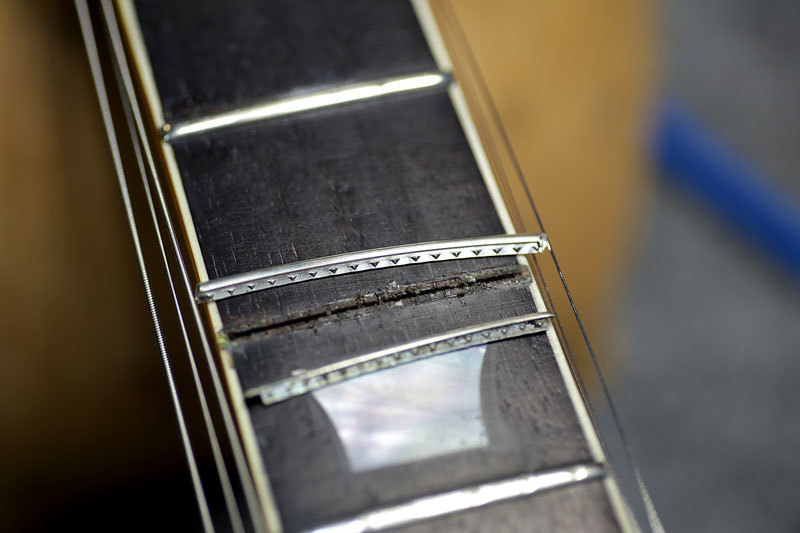
剥がれたインレイ部にエポキシを流しクランプします。
剥がれていないインレイも剥がして、全て接着し直しました。
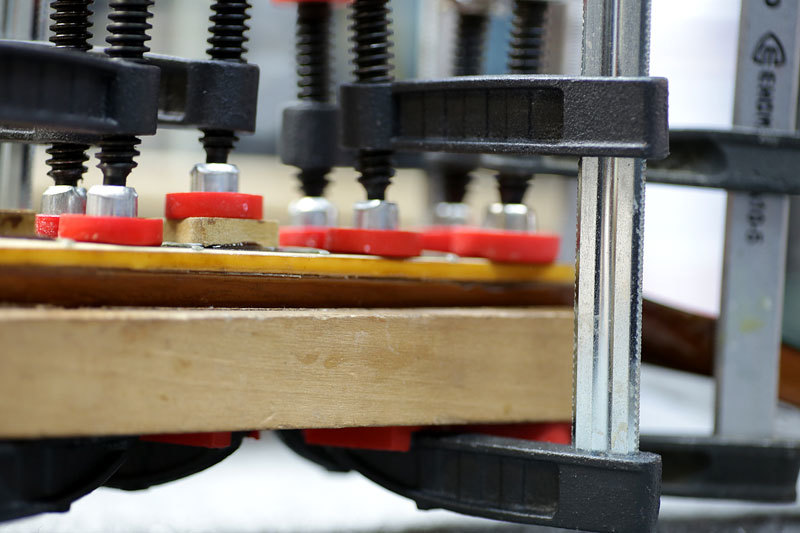

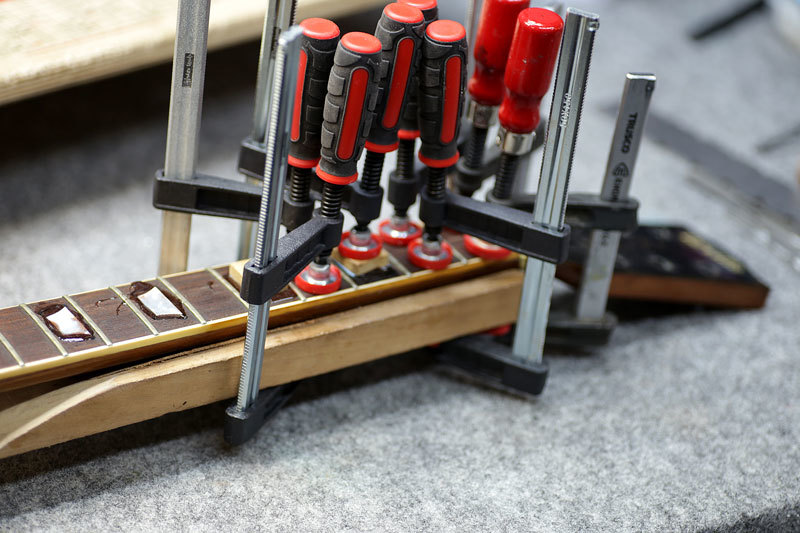
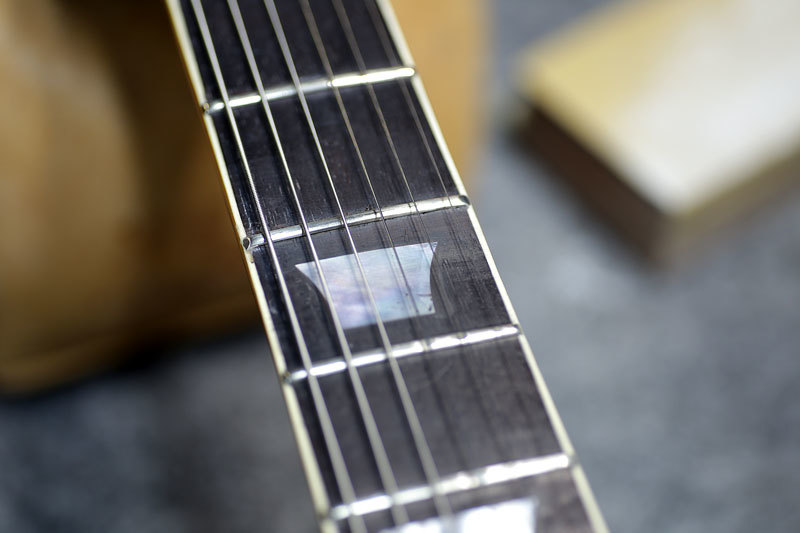
接着が固着後、表面を研磨し段差を無くします。
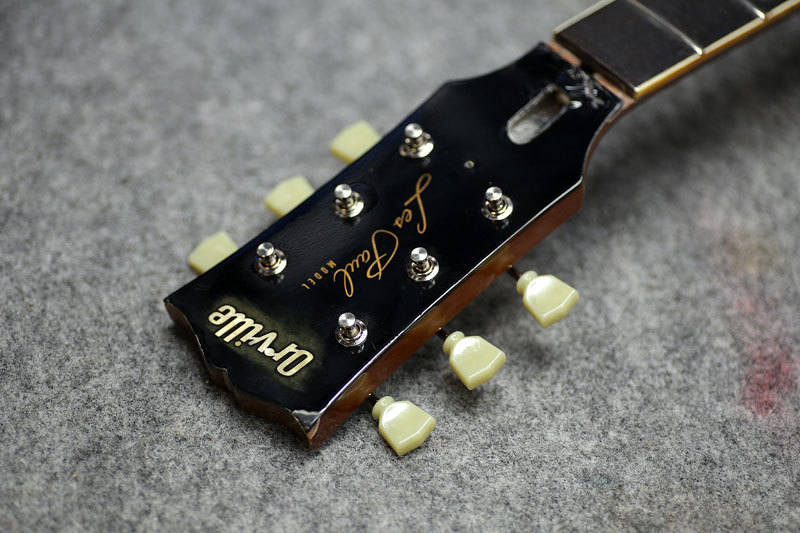
ヘッド、ボディ全て研磨しバフ掛け。
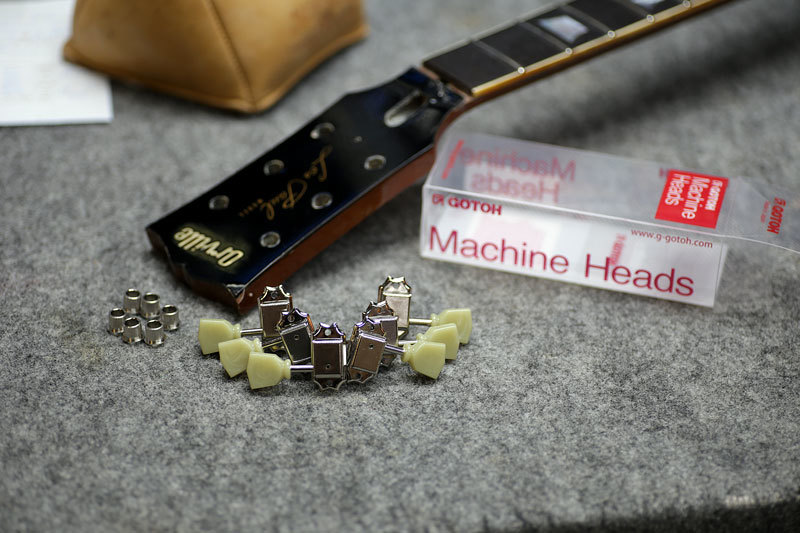
ペグは新品へ交換しました。
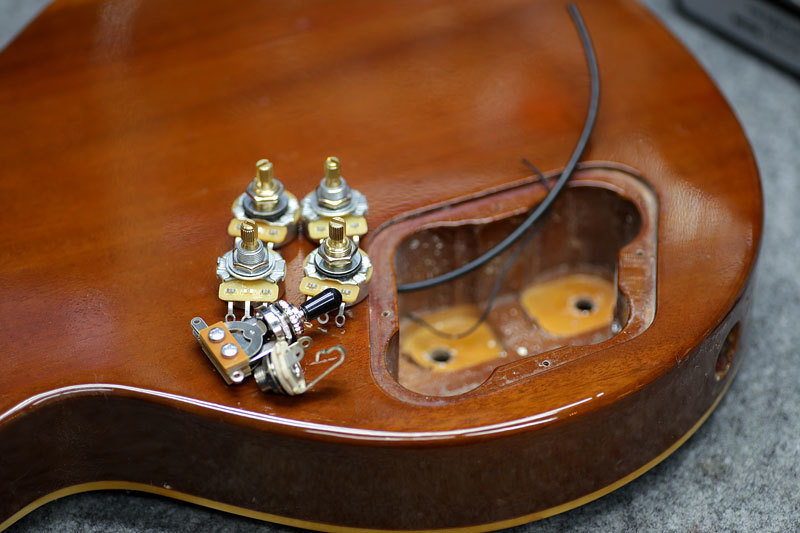
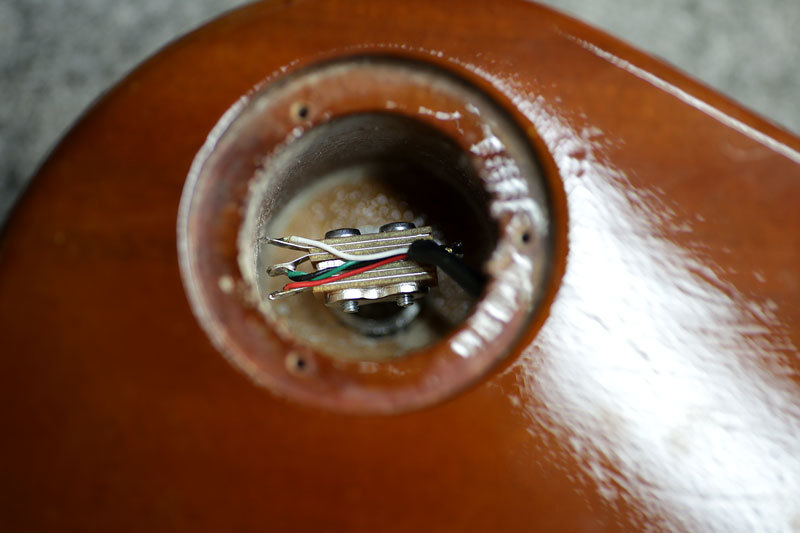
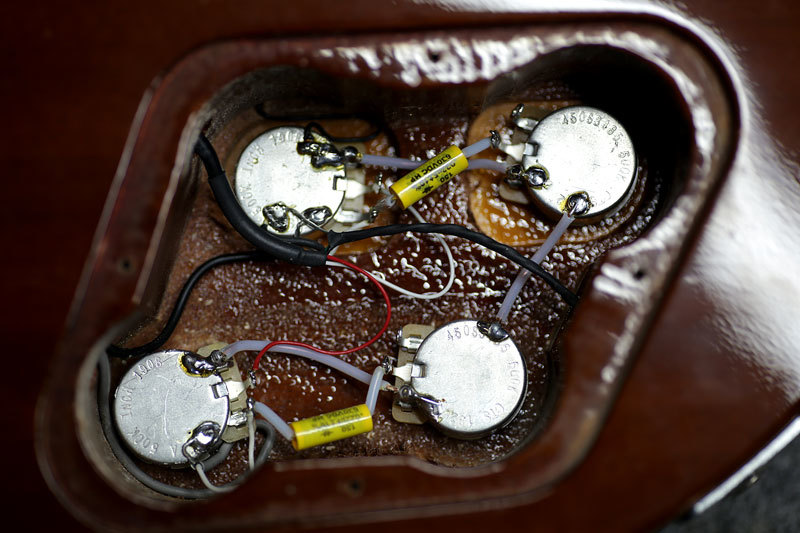
ポットスイッチも全て交換。
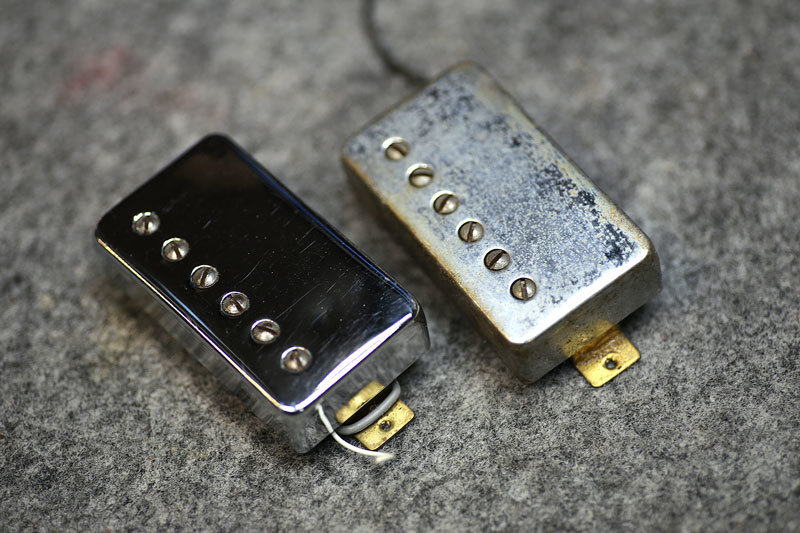
ピックアップはカバーのみ新品へ交換。
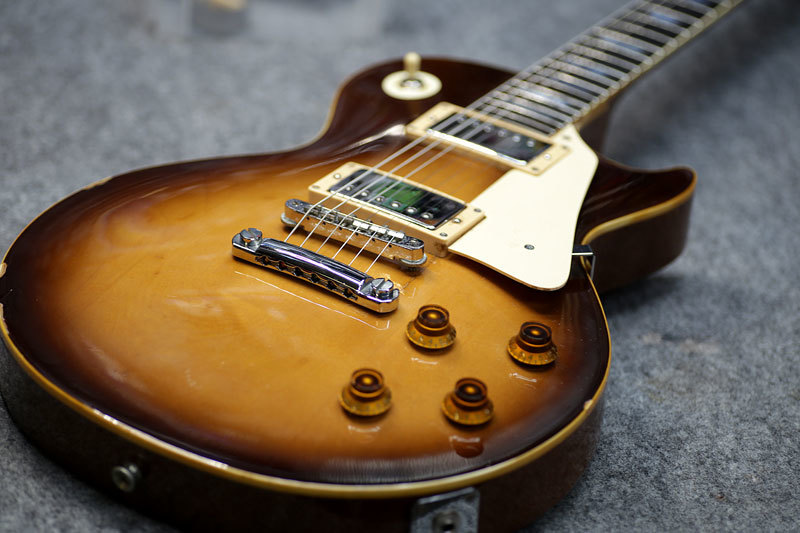
ナット交換
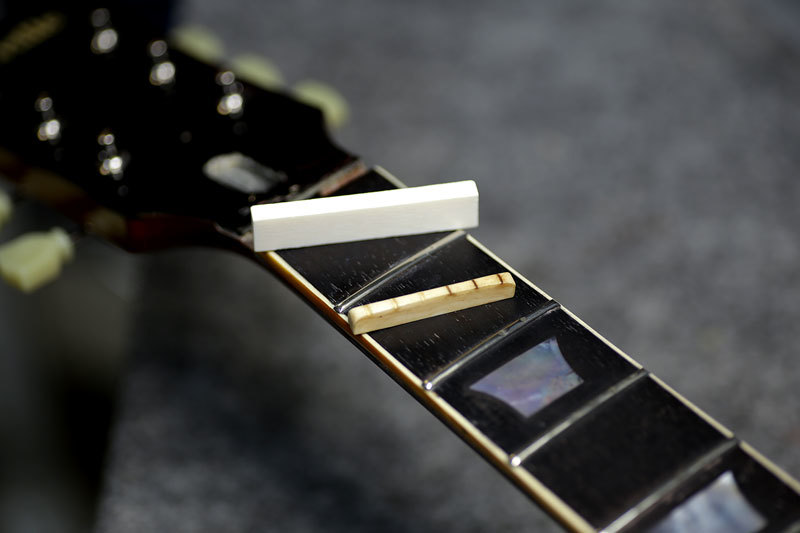
ナットは牛骨製に交換します。
スロットに合わせて削り出します。
隙間無くぴったり納まるように何度も調整。
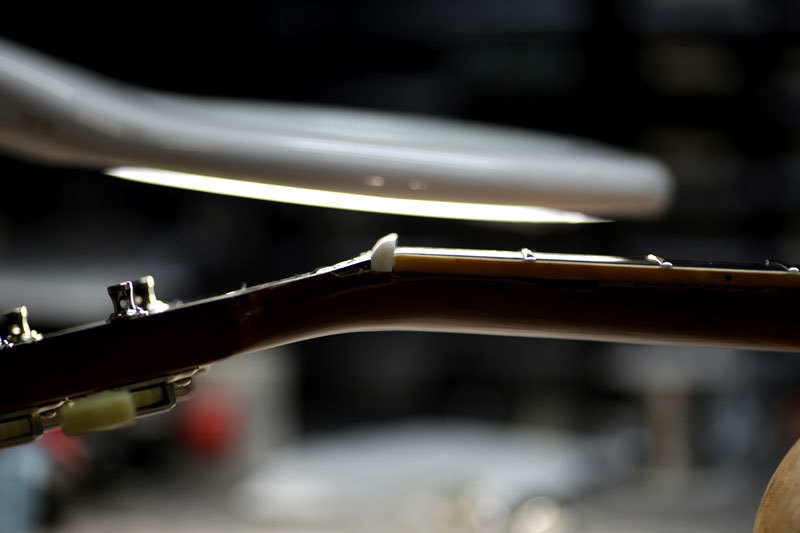
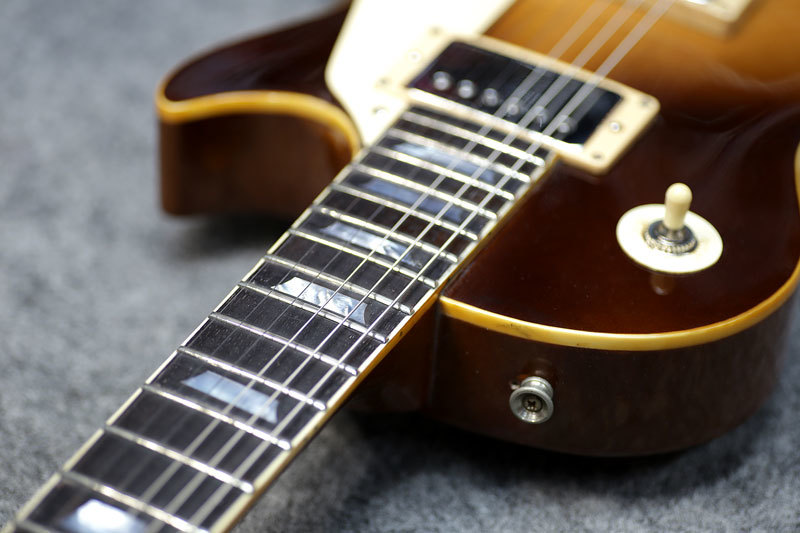
フレットの一部はかなりダメージがあります。
ほとんど指板と高さが同じレベルなので打痕のあるフレットは交換。
部分的に新品へ交換する事も可能です。
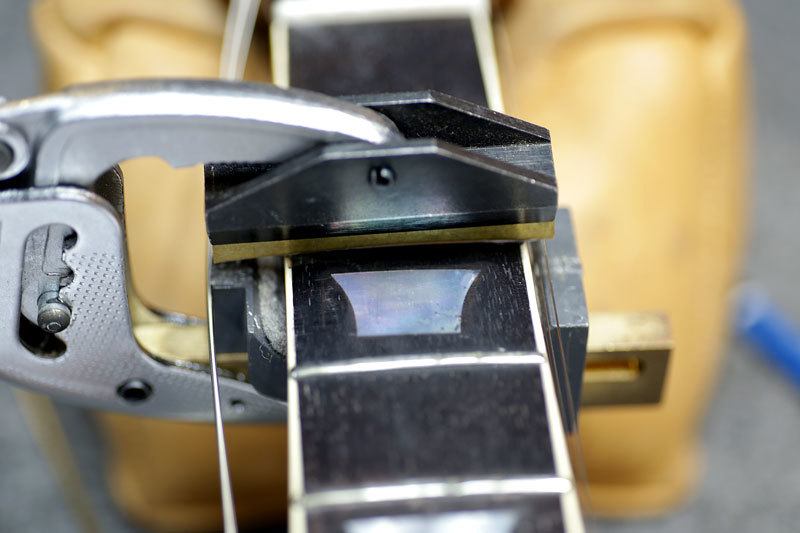
専用のプレスで挟み込んで固着させます。
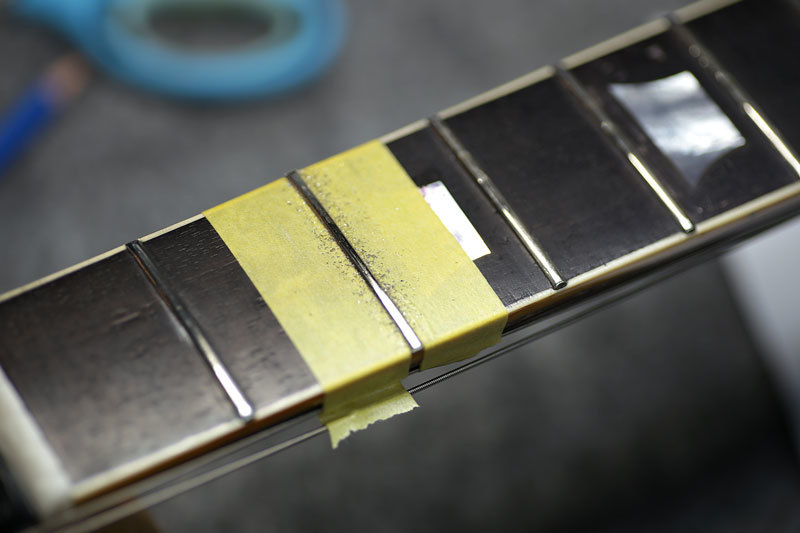
一部分だけ交換して高さを合わせるのはかなりイタチごっこ。
結局隣と合わず、ズルズルと他のフレットを研磨する事になる事もしばしば。
他のフレットも低いので、これだけ削りました。

でも、指板と同じ高さになるほどの打痕がなくなったので、ストレス無く弾けます。
他のフレットも研磨してバフ掛け。
ナットも仕上げて弦を張って調整。
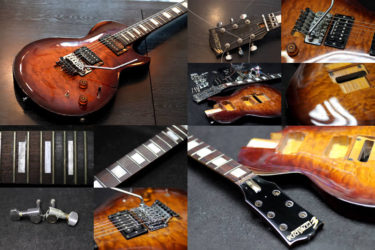
数十年ぶりにパーツを交換して心機一転。
この年代のオービルは個数も少ないので丁寧にレストアして、この先も大事に弾いていってもいいと思います。
ギター、等の修理は お気軽にご相談下さい。
お願いいたします。