Guitar Repair of the Day
GIBSON ES-335TD
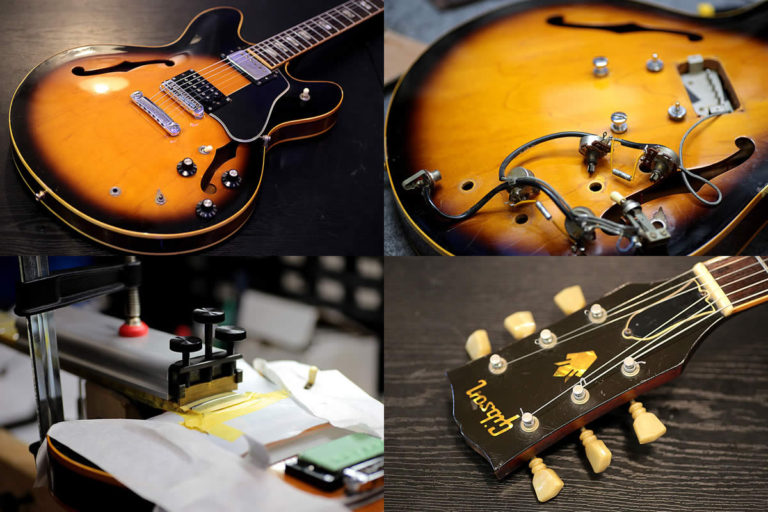
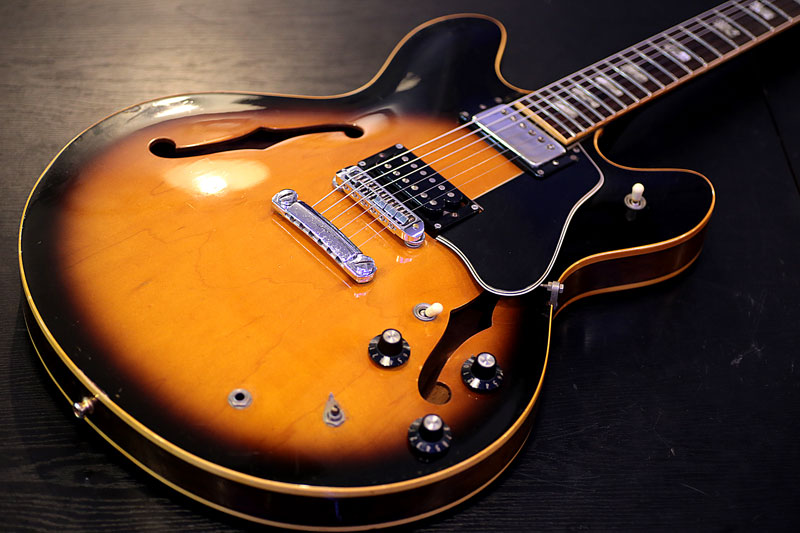
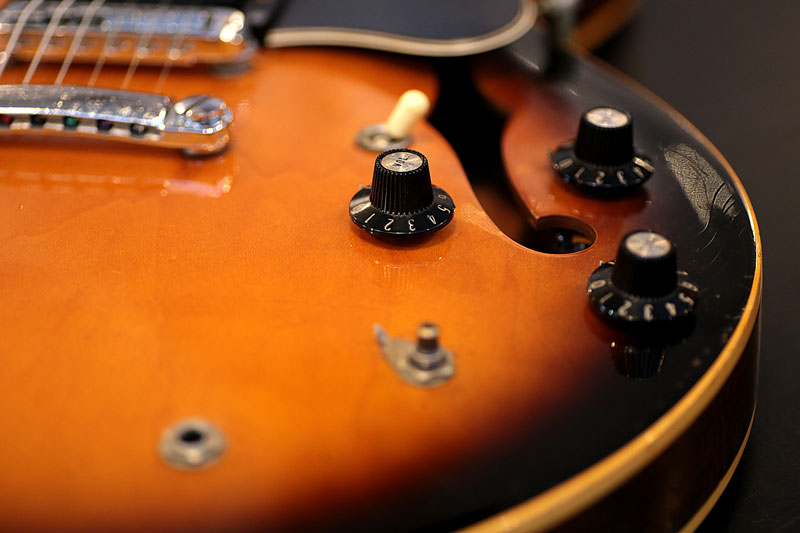
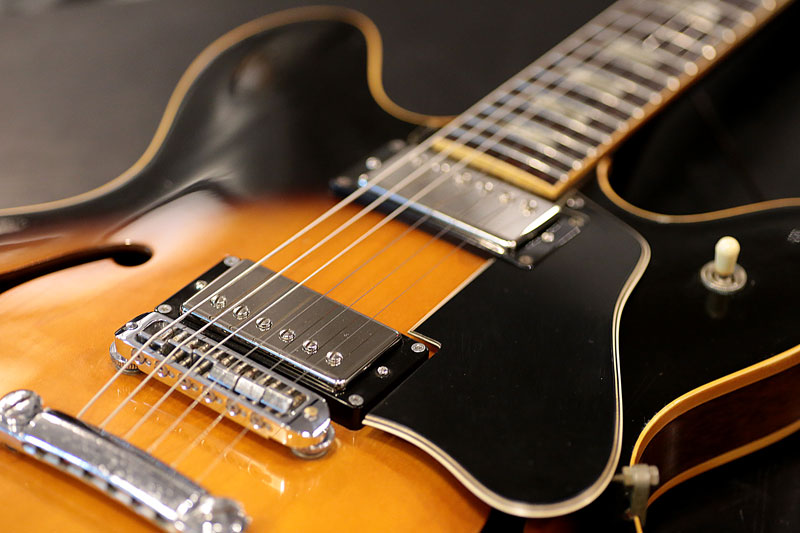
70年代後期の335。
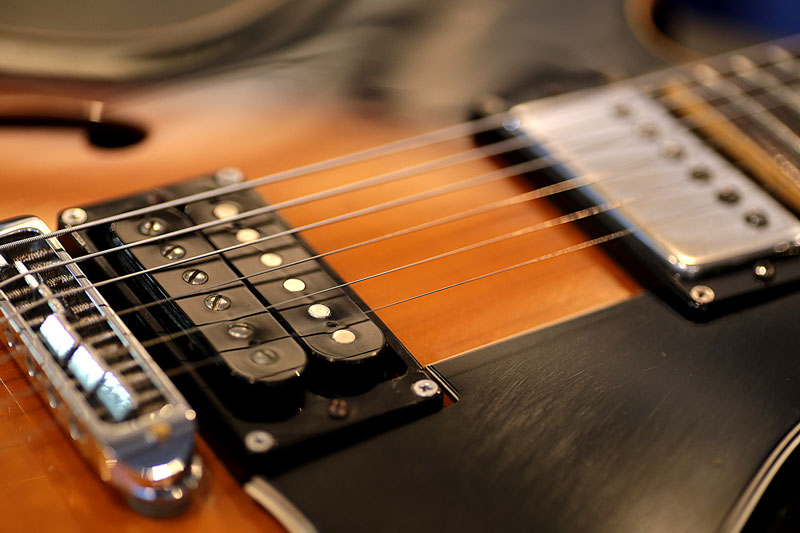
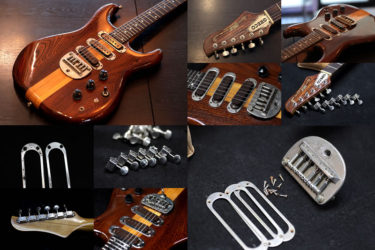
ピックアップ交換
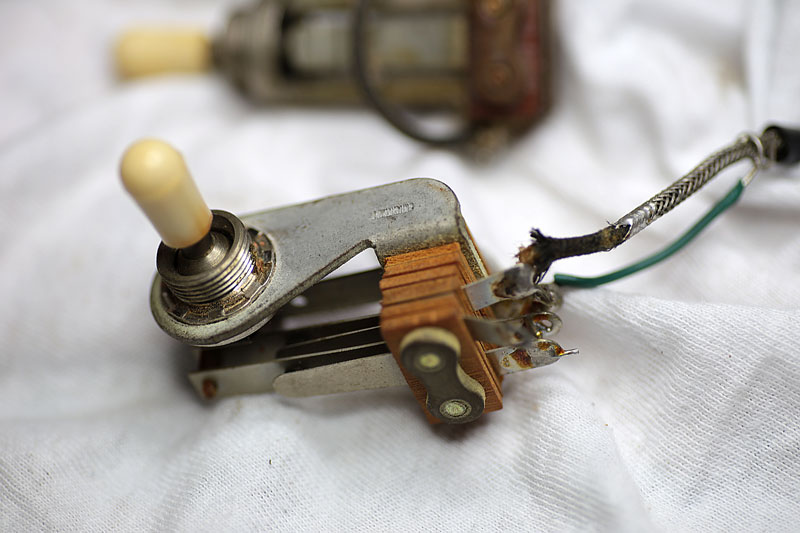
ピックアップの切り替えトグルスイッチが2か所あります。
一つは通常の切り替え、もう一つはタップスイッチ。
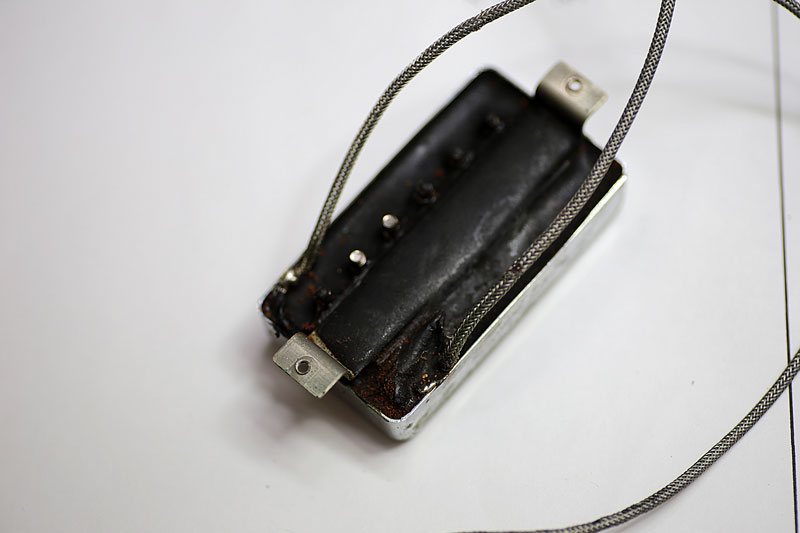
純正のピックアップを見てみると、中で2芯+2芯に繋がれ2本になって出ています。
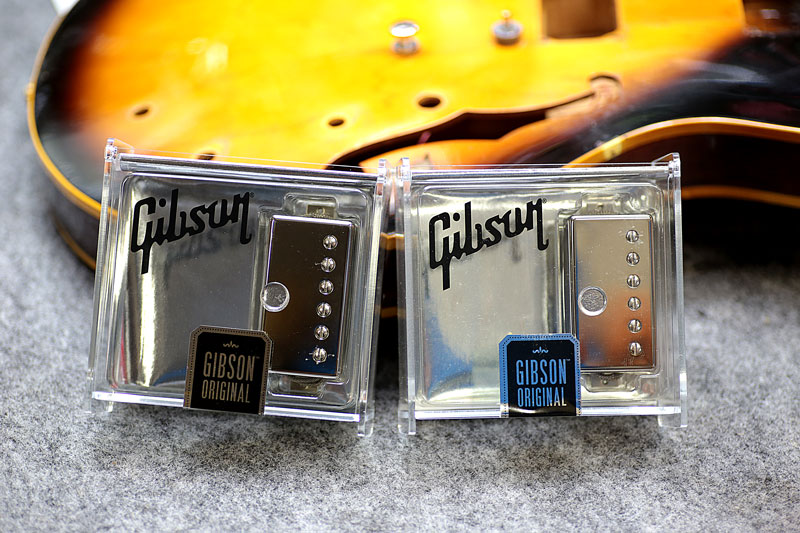
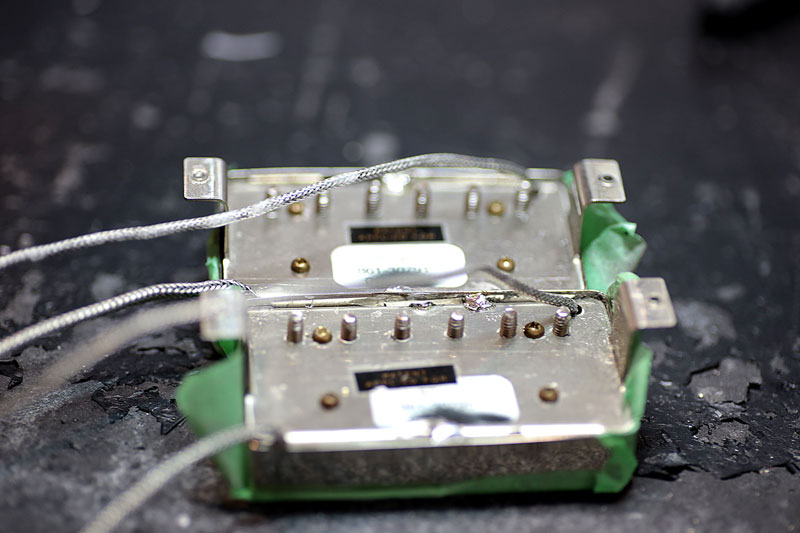
今回交換予定のピックアップはギブソン製の57CLASSIC。
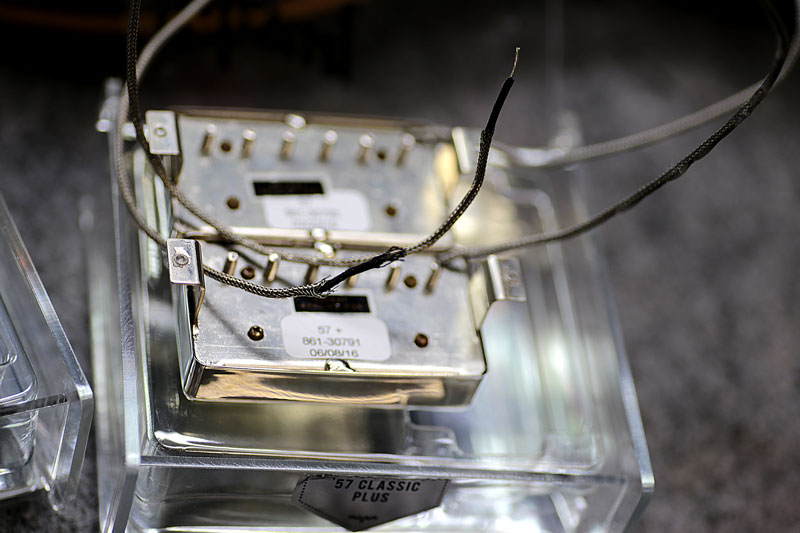
ワイヤーは、1本(2芯)です。
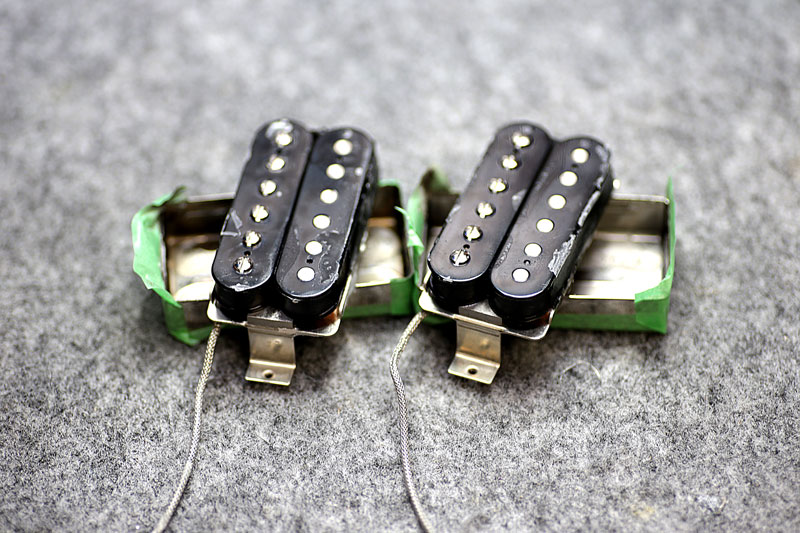
タップ配線を追加する為、カバーを開けます。

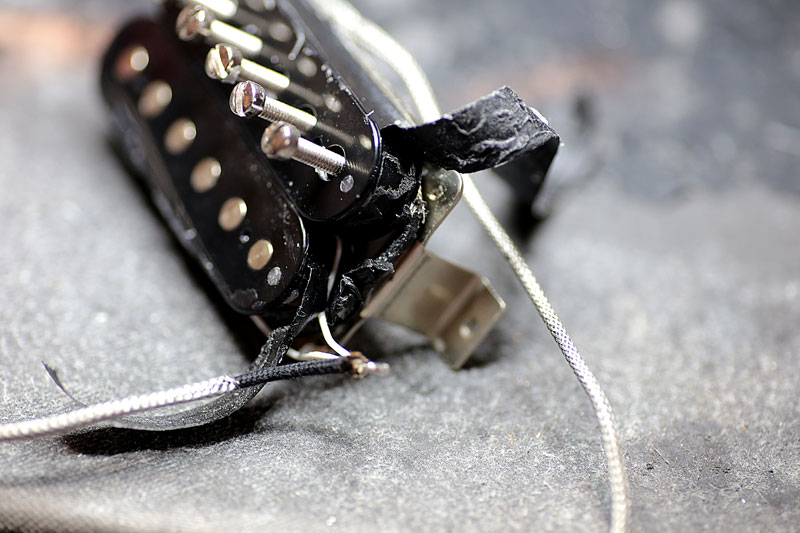
中身を分解しオリジナルのように2本にしてコイルタップしました。
4芯のワイヤーを使わず、あえて当時のオリジナルピックアップと同じ2本仕様に。
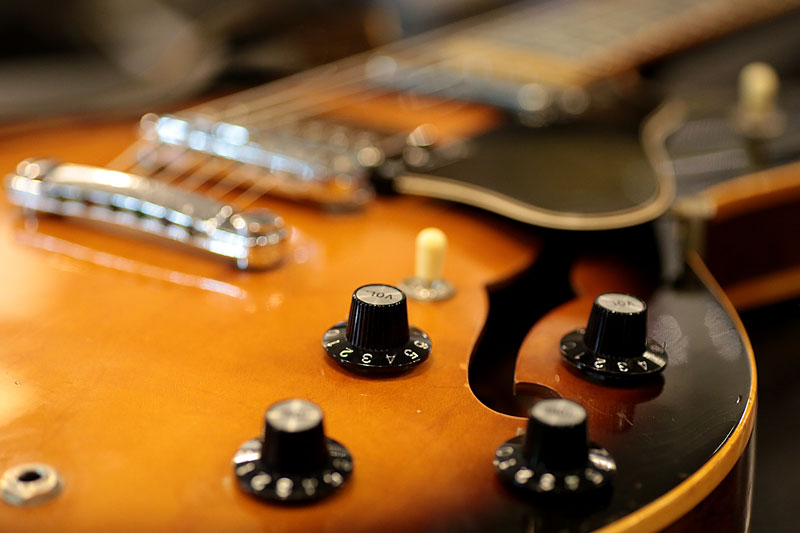
ポット交換
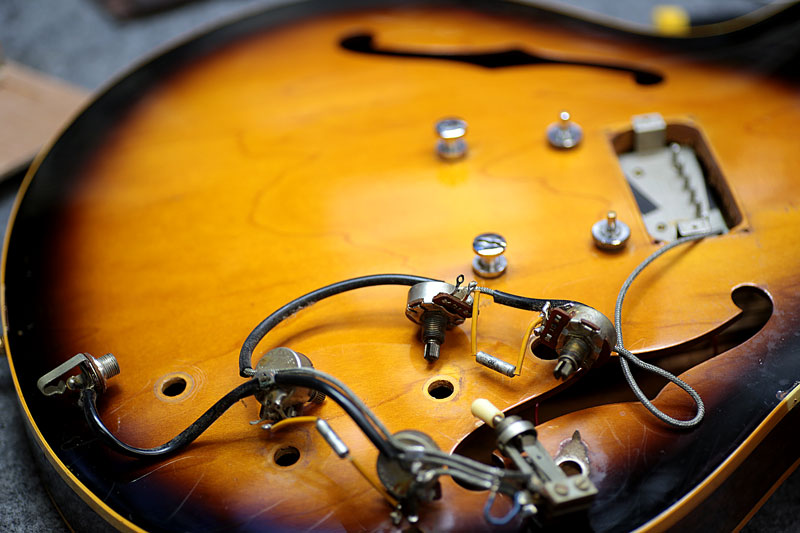
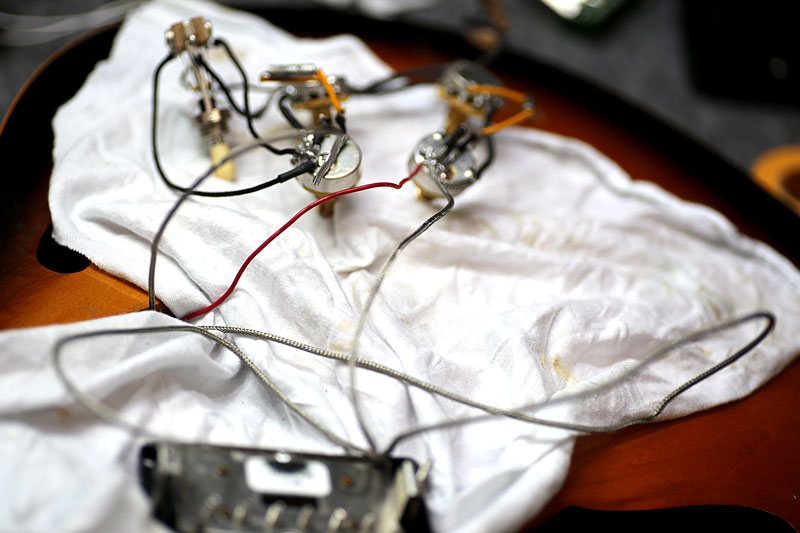
コントロール類も全て交換。
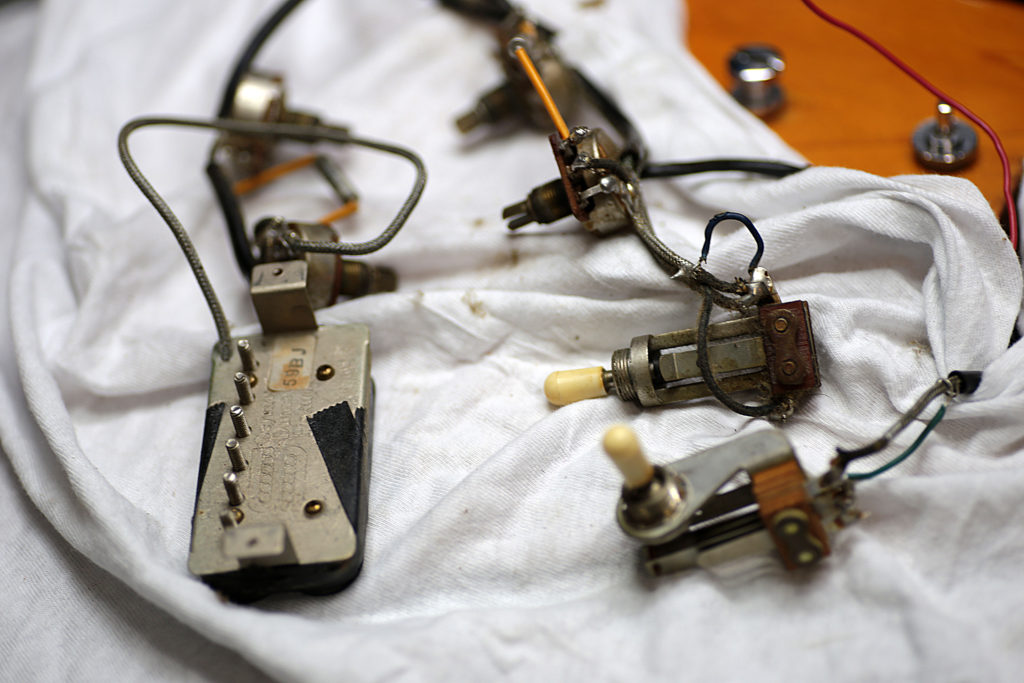
セミアコのポット交換は少しコツがいります。
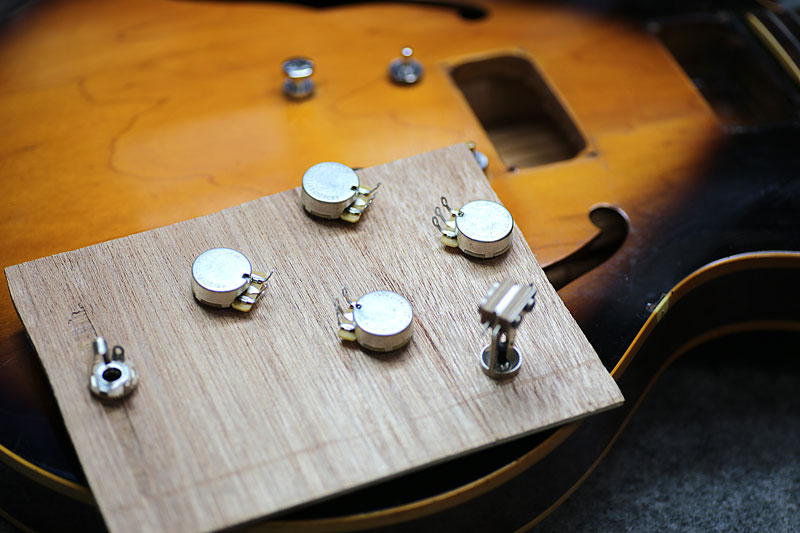
こんな感じで穴位置と同じテンプレートを作り、事前に配線してしまいます。
というか、先に配線しないと入らないですね^^
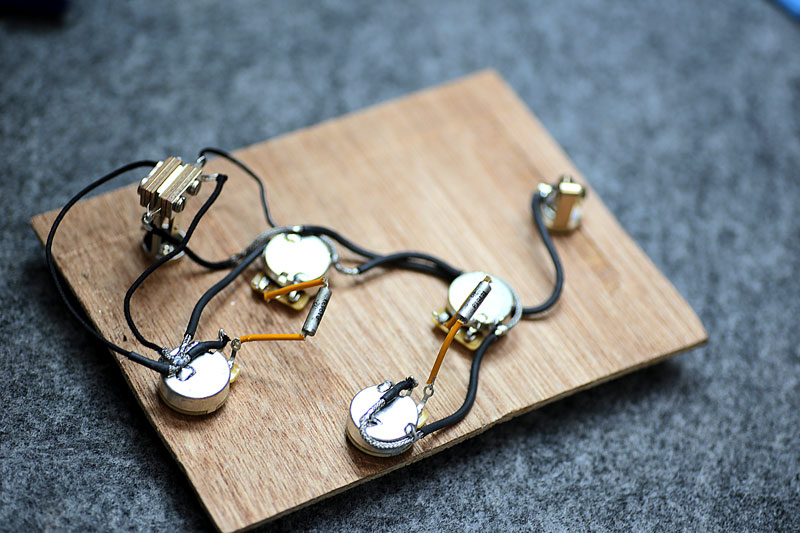
冶具ボードに乗せてワイヤリング。
コンデンサーは当時の物をそのまま移植。
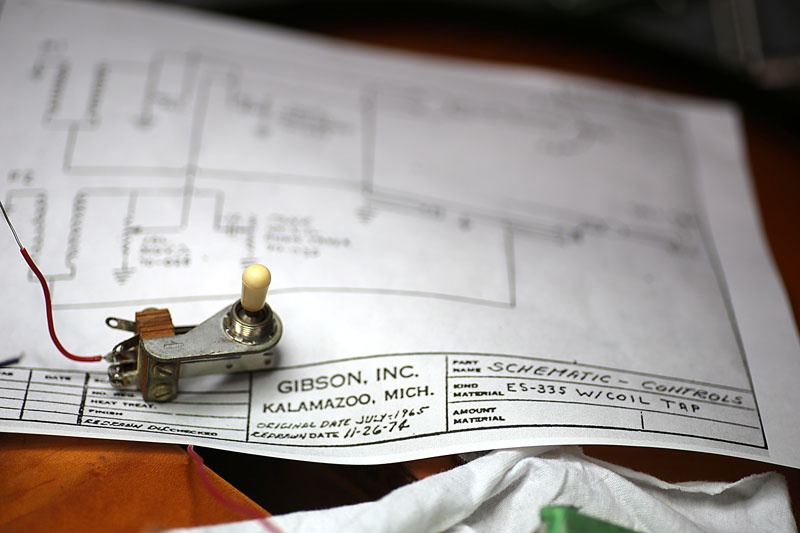
スイッチも当時の配線図の通りにワイヤリング。
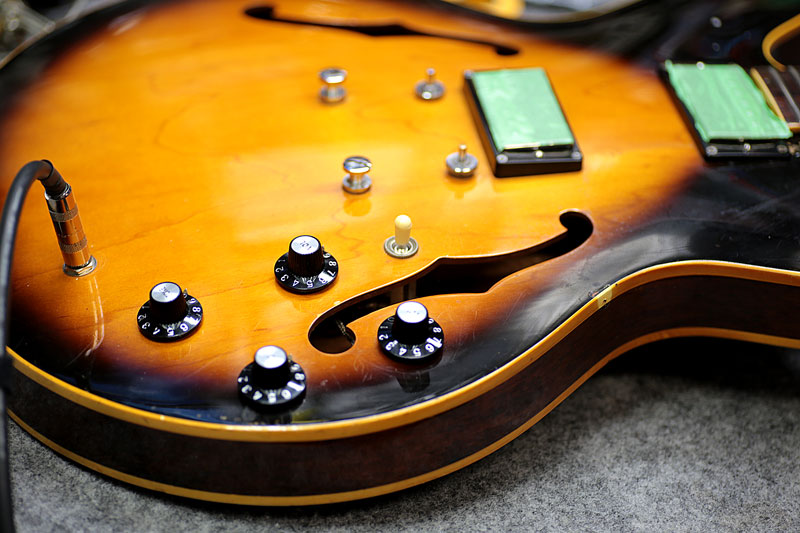
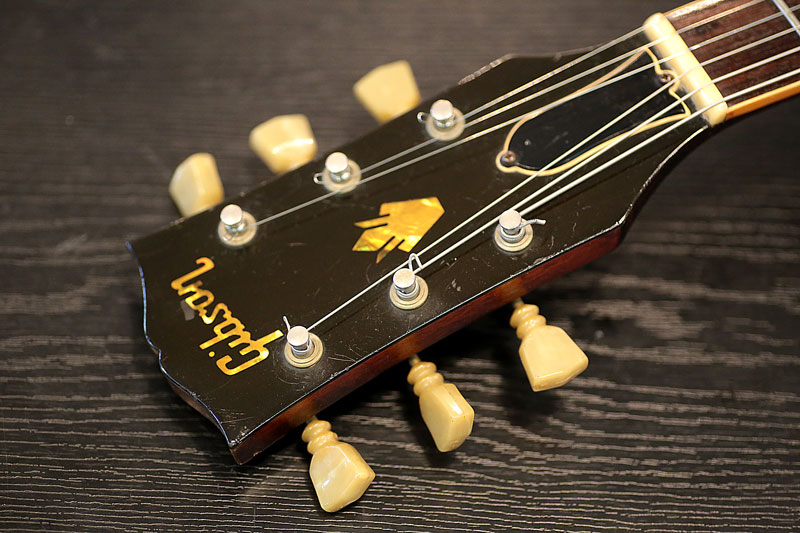
ペグ交換
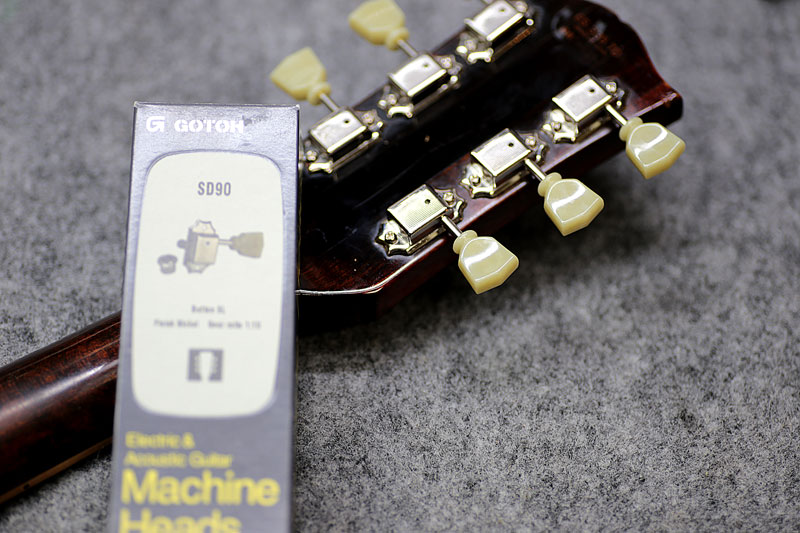
チューニングの精度もあまり良くなかったので、ペグも交換。
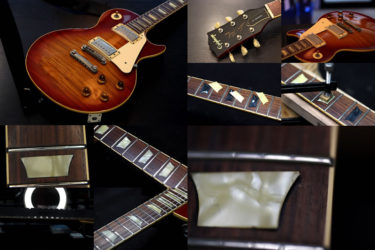
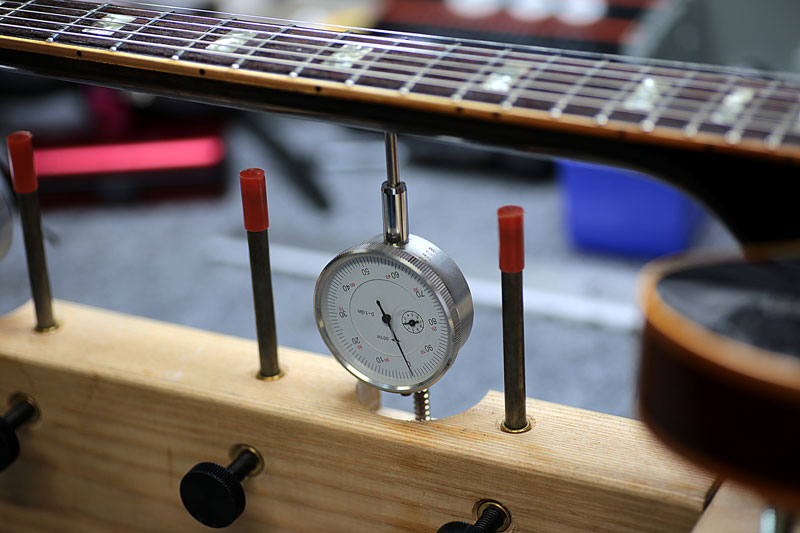
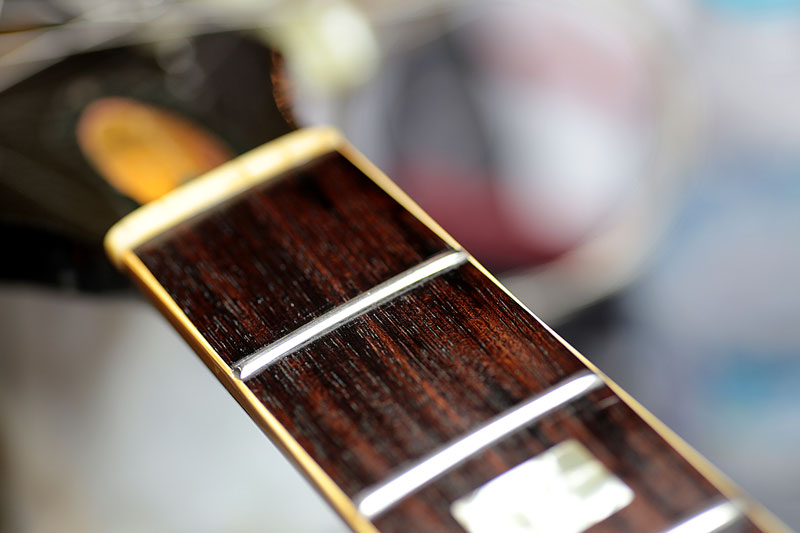
フレット擦り合わせ
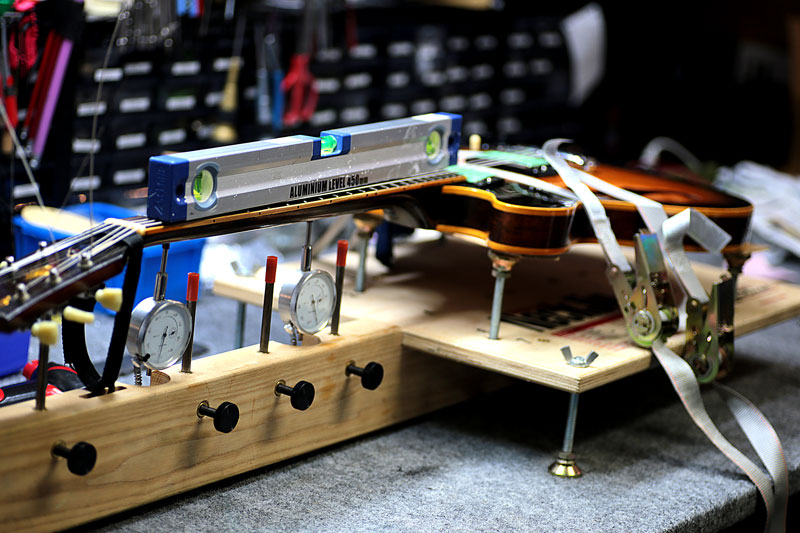
がたつきのあったフレットは、ネックジグにて研磨、調整。
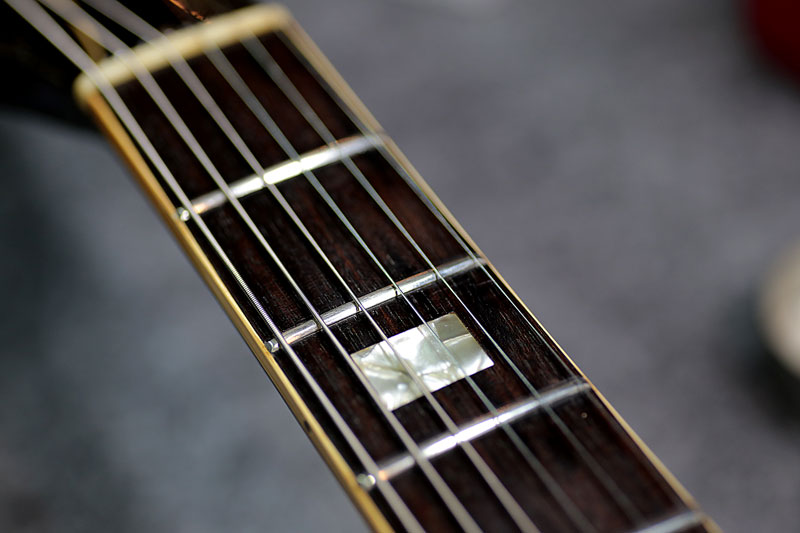
弦を張って、トラスロッドを調整し指板のストレートを確認、チューニング。
その間おおまかに、がたつきのあるフレットをチェック。
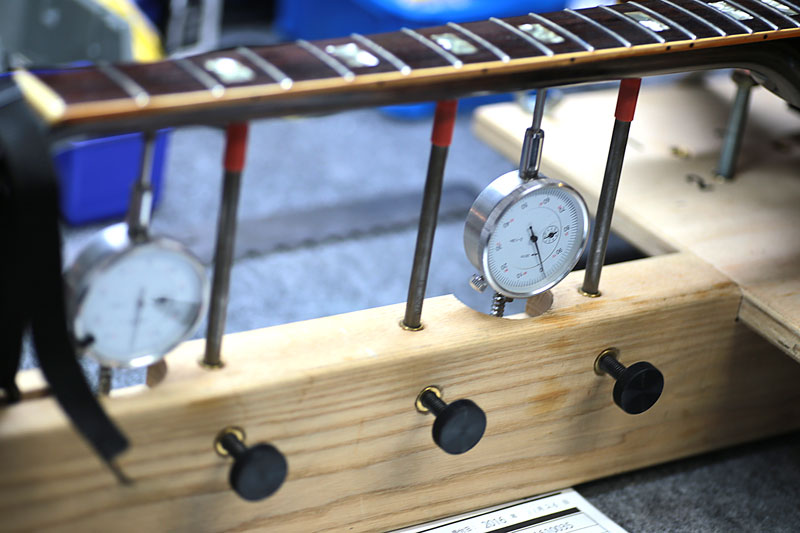
通常弾いて問題の無いセッティングにしてからゲージメモリを “0” に合わせ弦を外します。
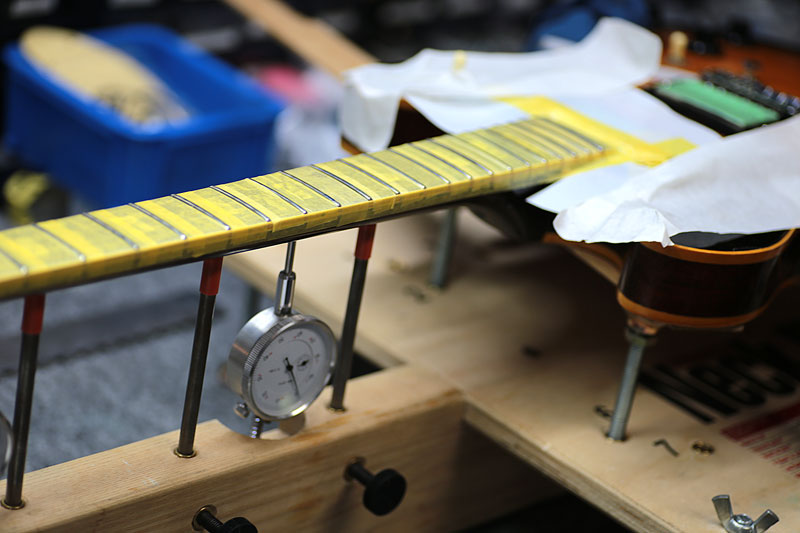
フレット、ボディなどを養生し、研磨を始めます。
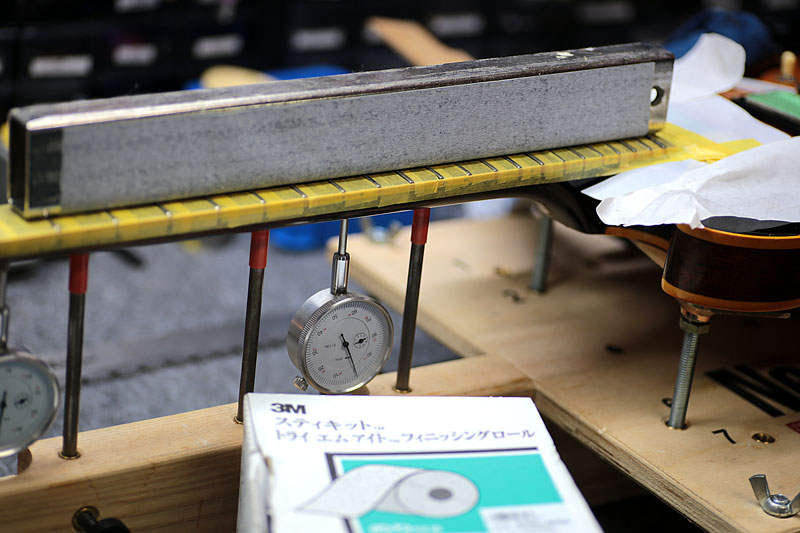
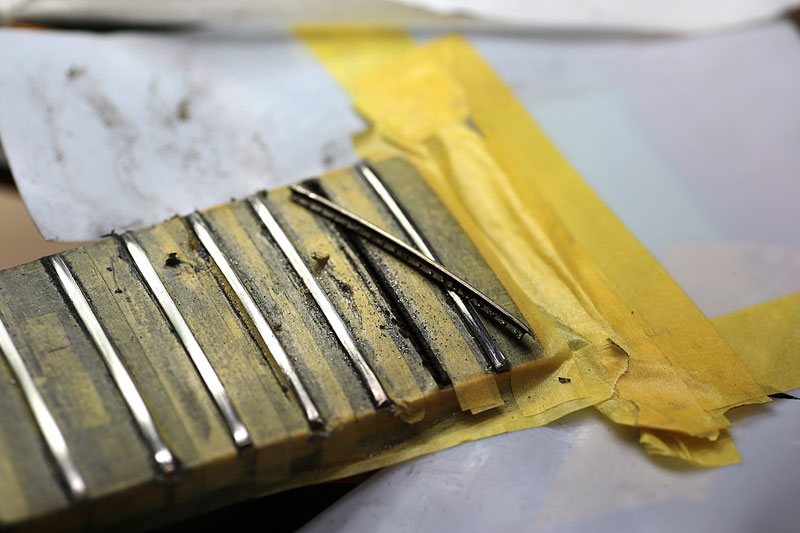
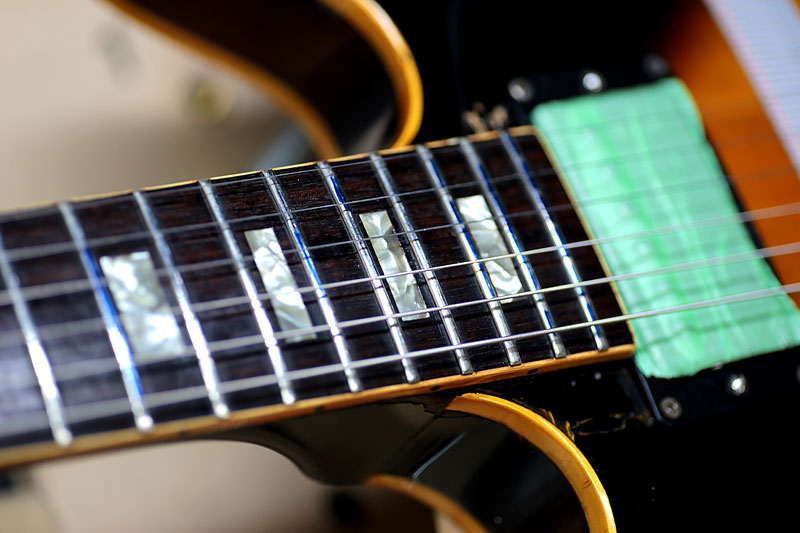
ハイフレット近辺のフレット溝が、かなり腐食しており、足も食い込んでおらずグラグラ。

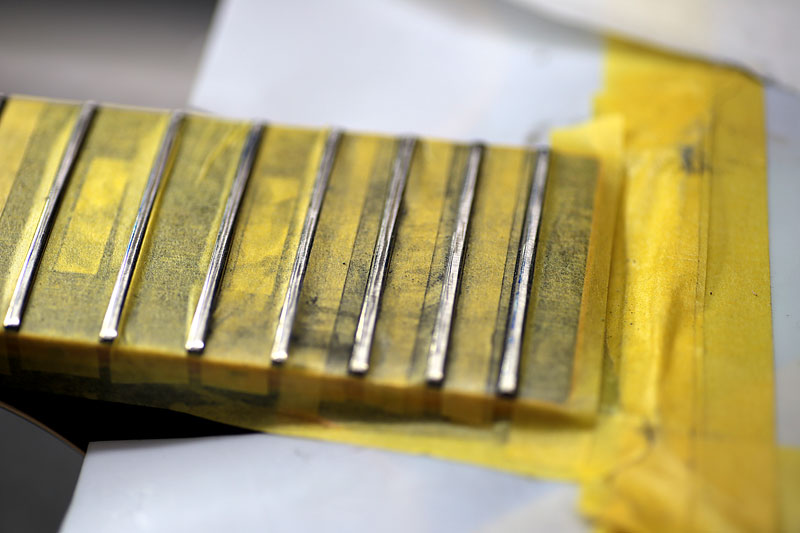
溝を埋めてから切り出し、新しいフレットを打ち直しました。
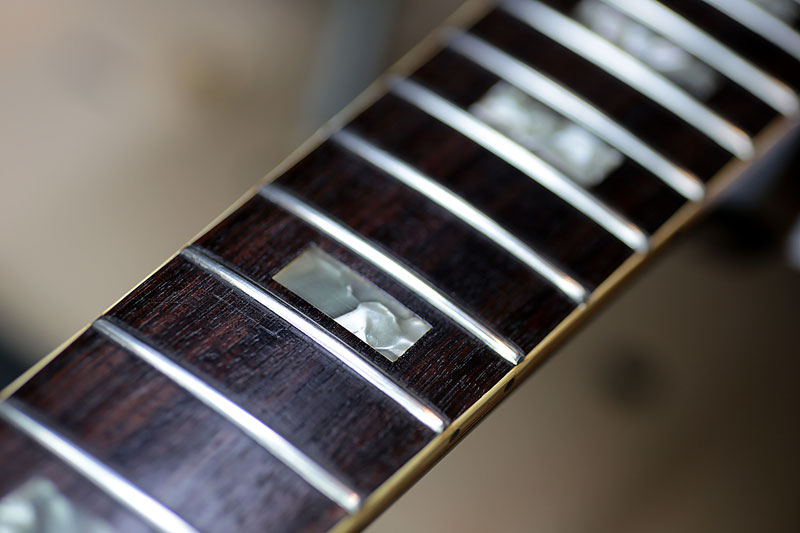
ハイフレットのローズ指板がかなりダメージがありフレットを打ちこんでも安定しなかったり、弦を張ってからの微妙な捻じれに合わせ、何度か研磨を繰り返しながら完了。

古いギターでここまで手の込んだリペアになると、完了までにとても時間が掛かってしまいますが、その分まだまだ現役でいけそうなバランスの良い335でした。
ギター、等の修理は お気軽にご相談下さい。
お願いいたします。