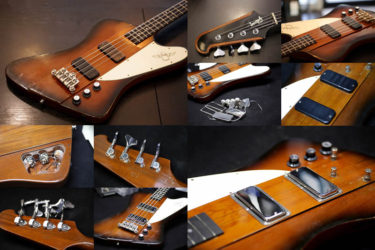
Fender Japan Telecaster
Repair of the Day
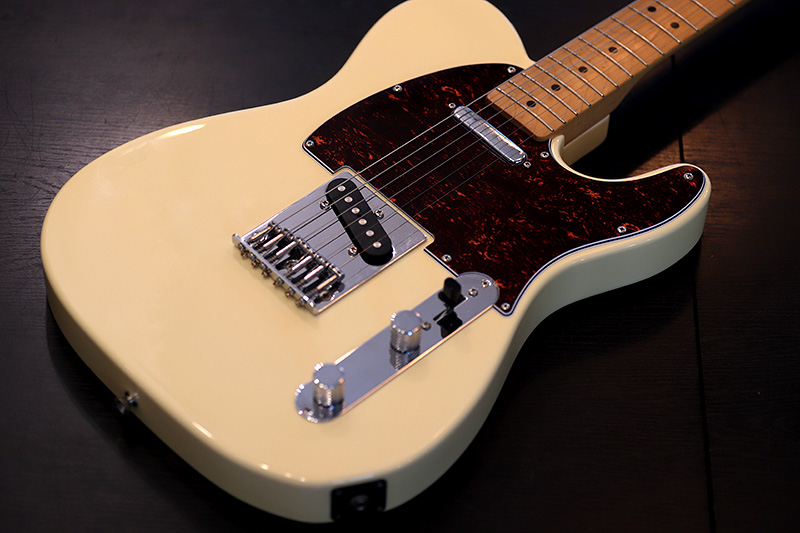
フェンダー ジャパン テレキャスター
スタンダードなテレキャスターのサウンド
フェンダーの純正のネックピックアップ。
現代のバンドサウンドに混ざると少し物足りない事も。
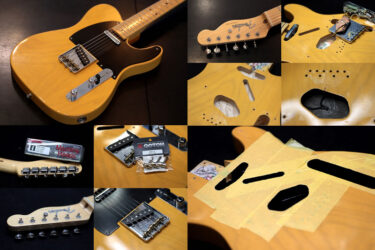
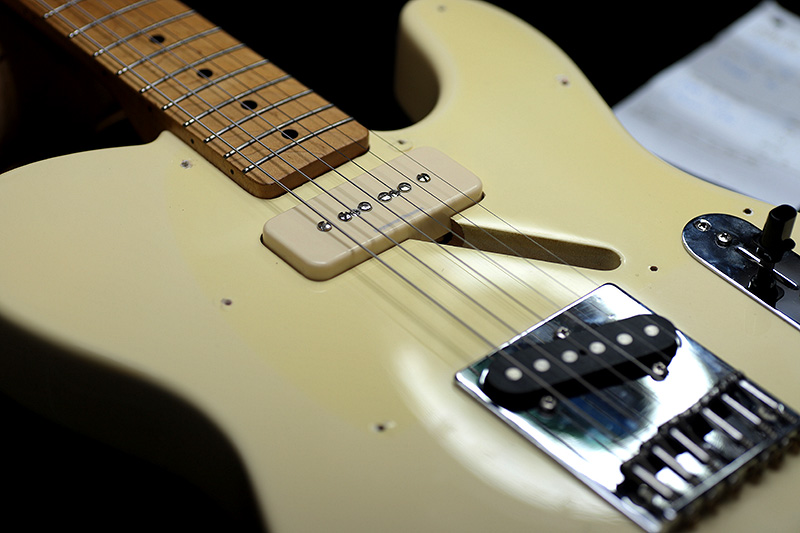
ネックピックアップ 変更
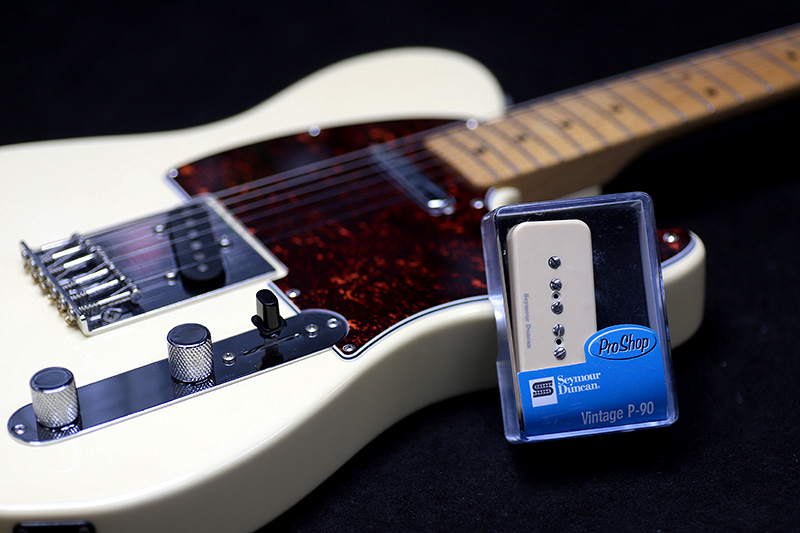
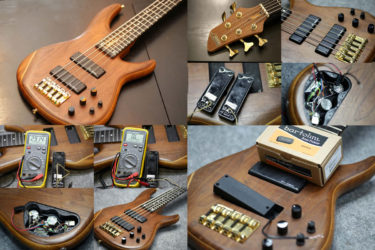
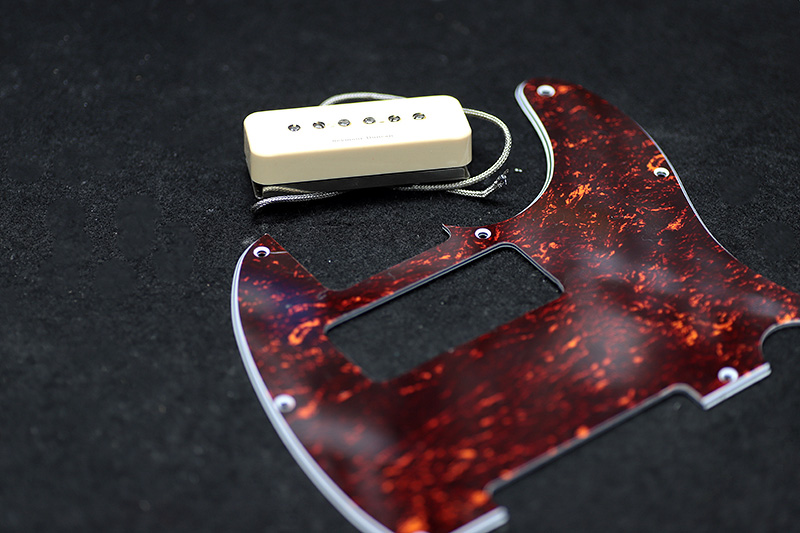
今回の依頼はシングルピックアップから、P90への交換依頼。
セイモアダンカンのVintageタイプをセレクトしました。
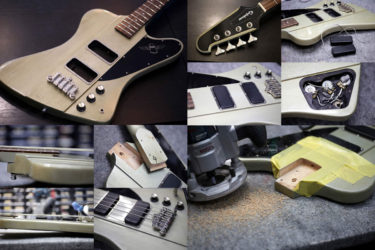
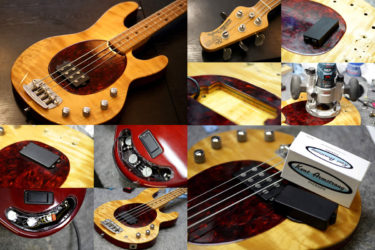
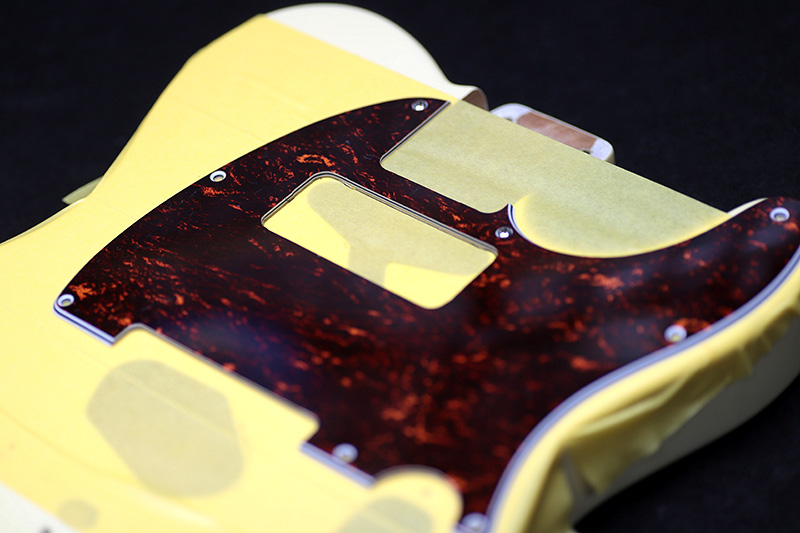
ピックガード製作
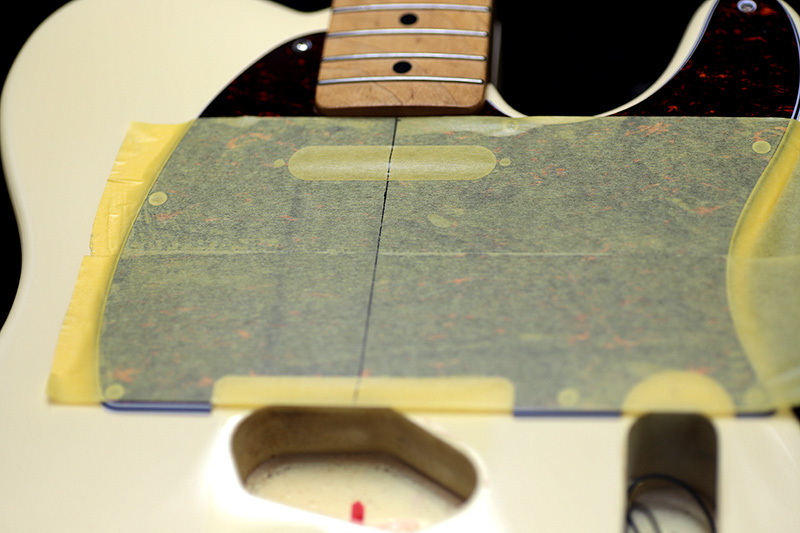
ピックアップの位置を決めるため、ピックガードをセットします。
センターを割り出し
ピックアップをセットする位置を決めます。
綺麗にカット出来ました。
カットはトリマーテーブルで製作。
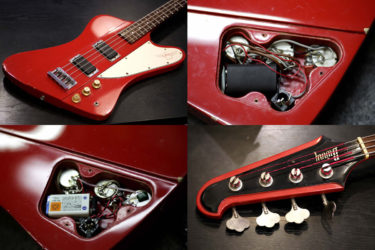
ボディザグリ
元々はシングル用の穴がボディに空いているので、P90のサイズに拡大します。
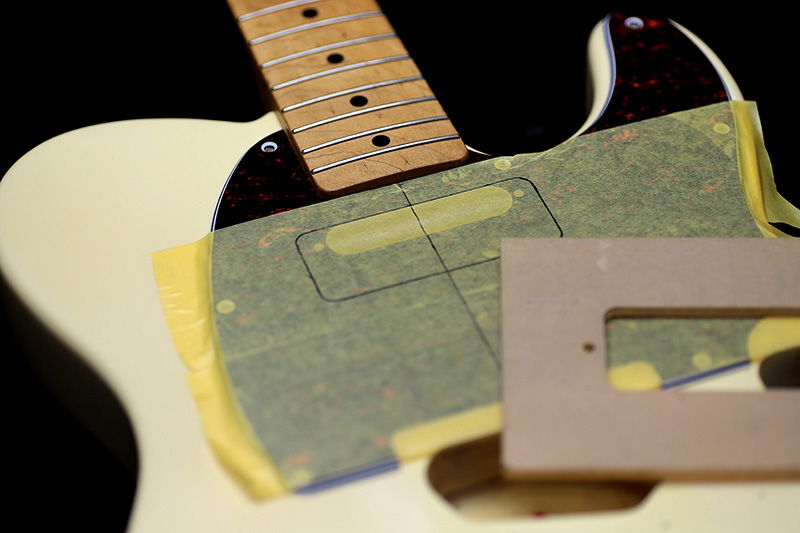
ピックガードをセットして収まる位置をチェック。

ピックアップのテンプレートをセットしてトリマーでザグリ。
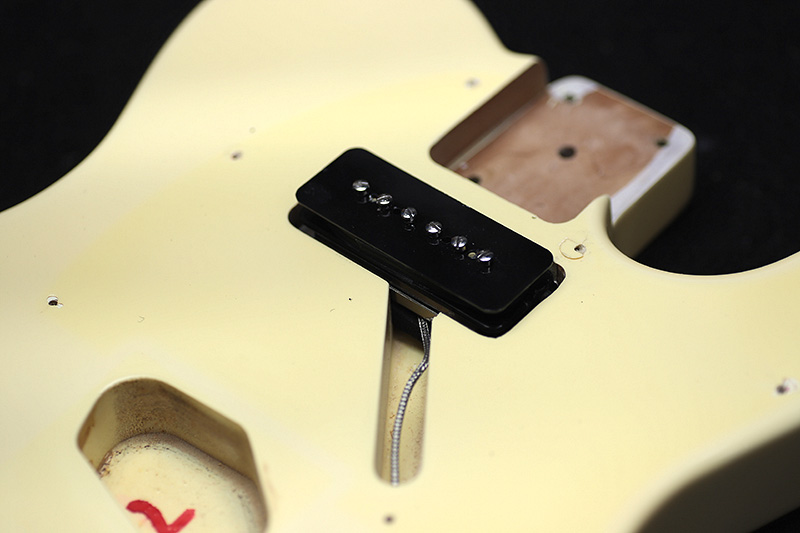
ぴったりフィットしました。
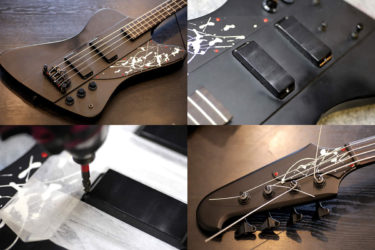
配線
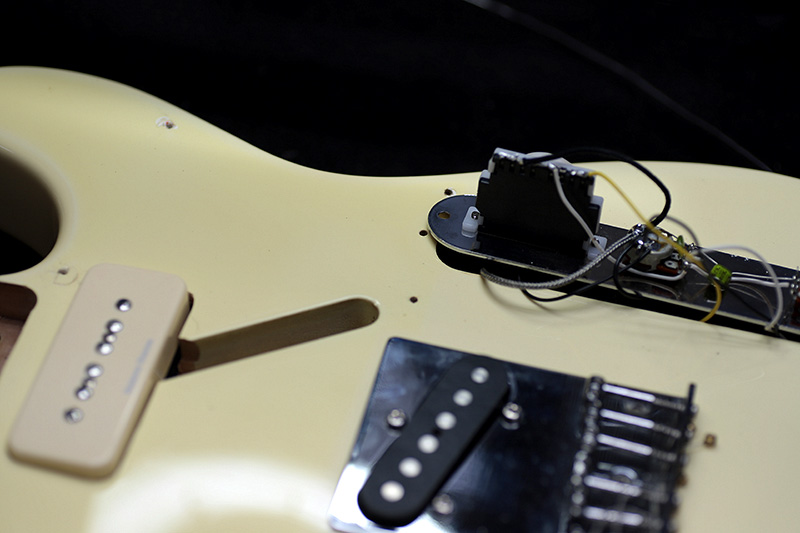
スイッチにピックアップを配線
サウンドがどう変わったか?
もう圧倒的に別のキャラクターが加わった感じです。
ハムバッキングよりは輪郭があって、でもオリジナルのシングルよりは出力もアタックもある感じ。
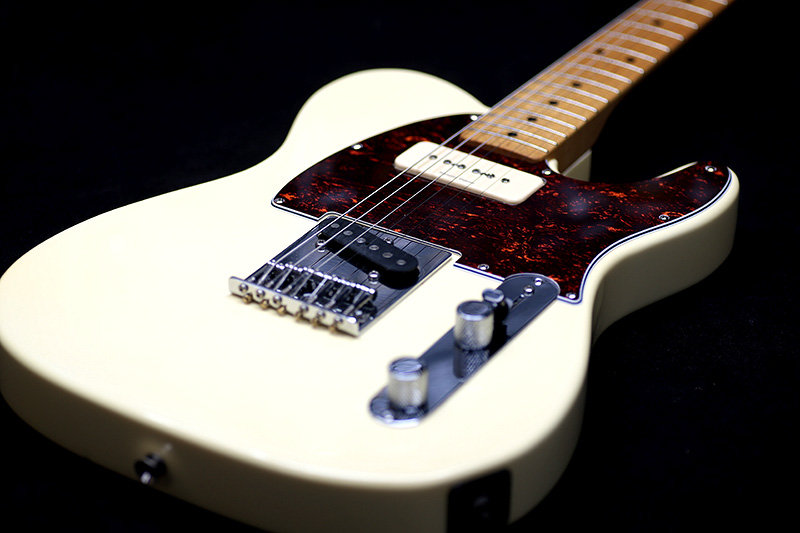
センターでミックスした時のサウンドも抜けがあって、カッティングなどにぴったり。
おすすめの交換+改造です。
ギター、ベース等の修理は お気軽にご相談下さい。
お願いいたします。