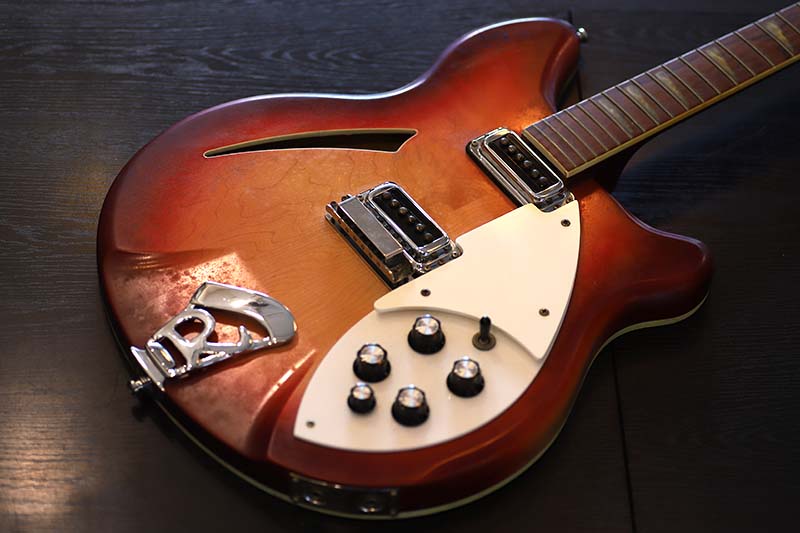
Rickenbacker 360
高校生スタッフのさくら🌸が動画をアップしています。
是非チャンネル登録をお願いします。
Repair of the Day
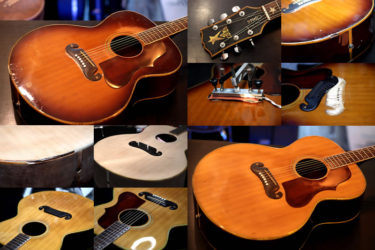
Martin D-28
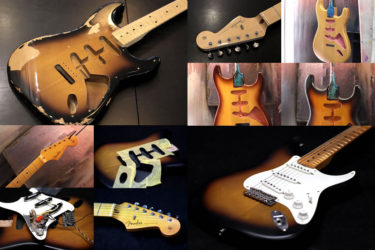
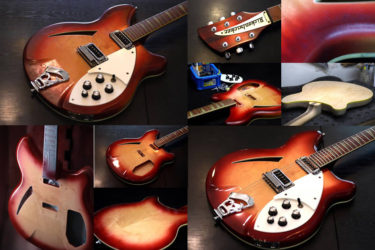
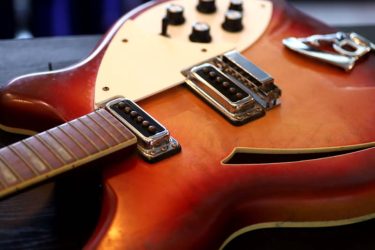
Rickenbacker 360 ファイヤーグロー

90年代の個体で、長い事弾かれていなかったようです。
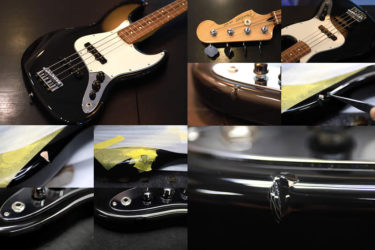
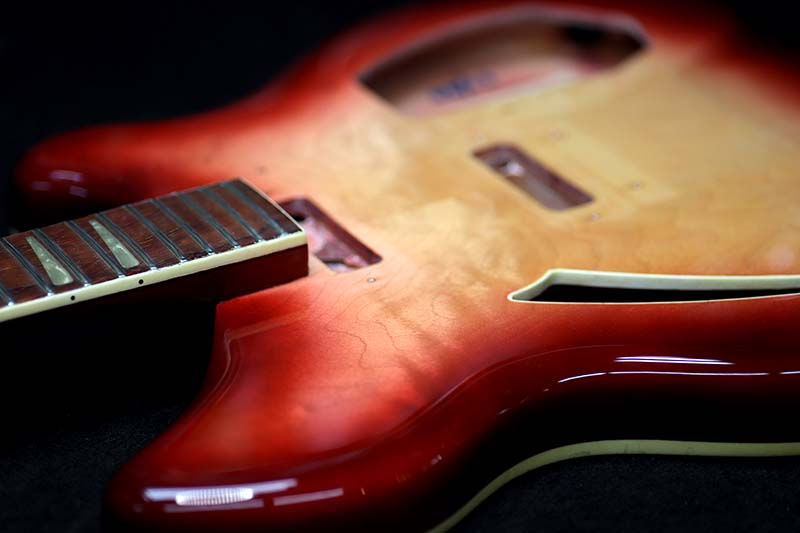
ボディがベタベタ

リッケンバッカーは年代によってフィニッシュがラッカーだったりポリだったり。
ケース内のナイロン地の素材が塗膜に引っ付いてしまうほど、表面はベトベトでした。
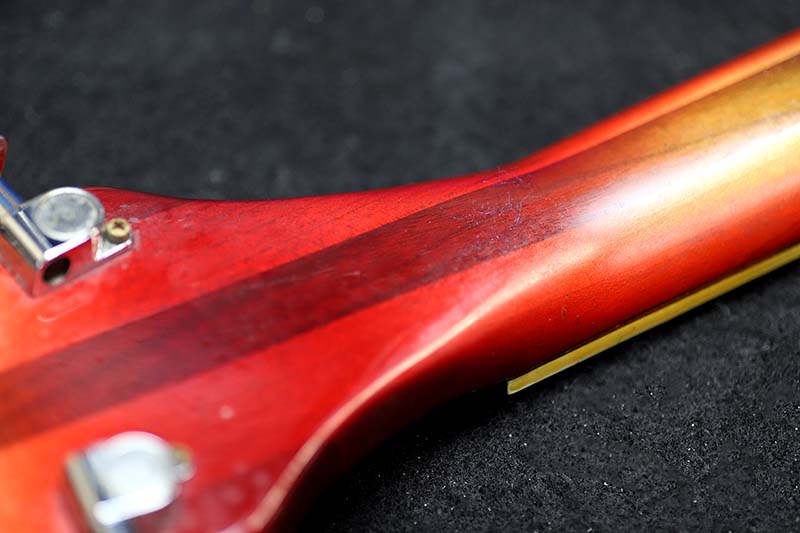
ネック裏もかなり溶け気味。
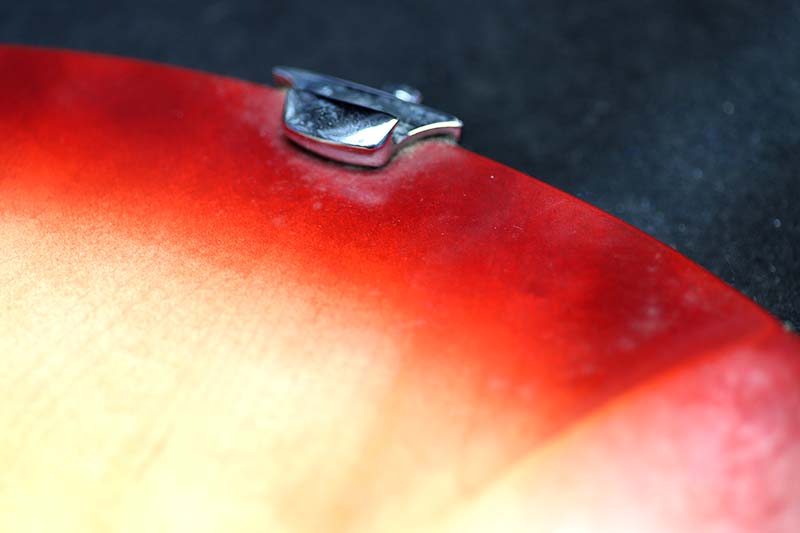
強く押すと塗膜の表面が動きます。
塗装剥がし
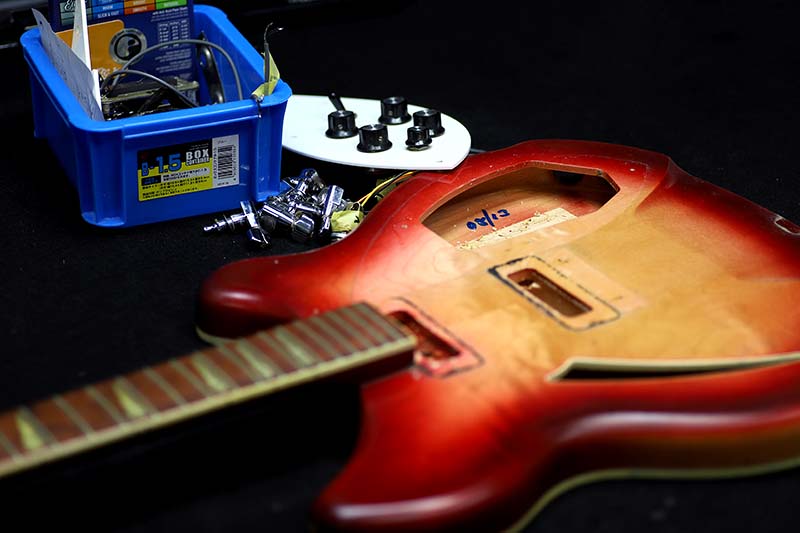
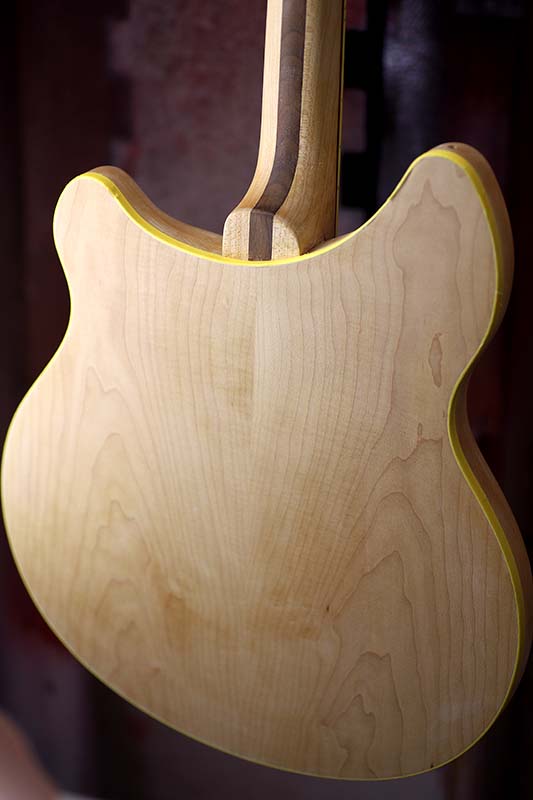
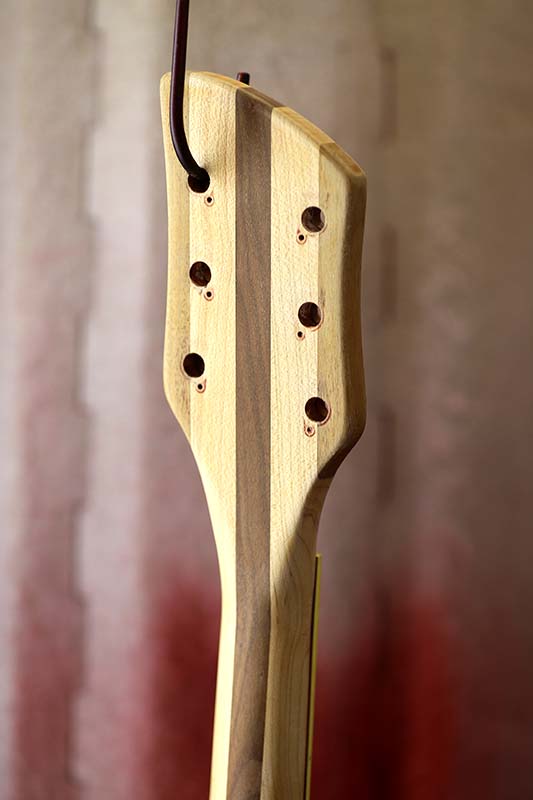
一旦全てのパーツを外して、全て塗料を剥がします。
ここからは高校生スタッフ さくら🌸の出番。
綺麗に全体の塗装を剥がして下地を作っていきます。
セットネックだと剥がしにも大分時間が掛かりますね。
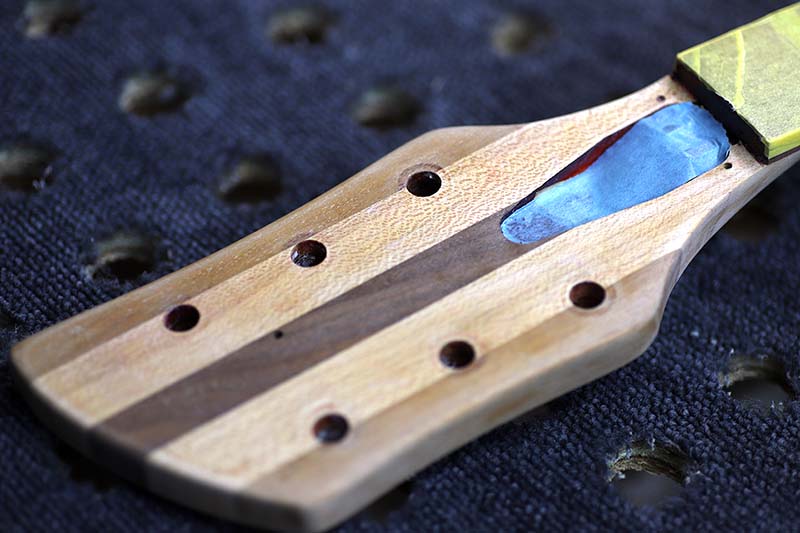
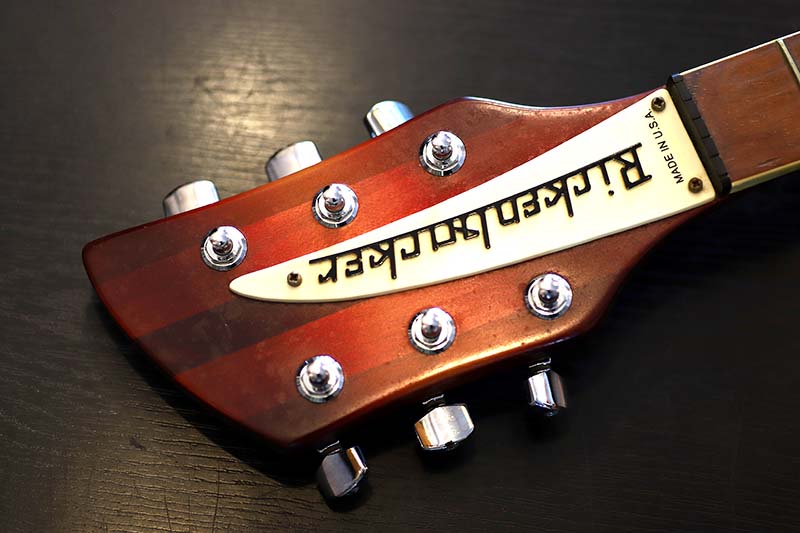
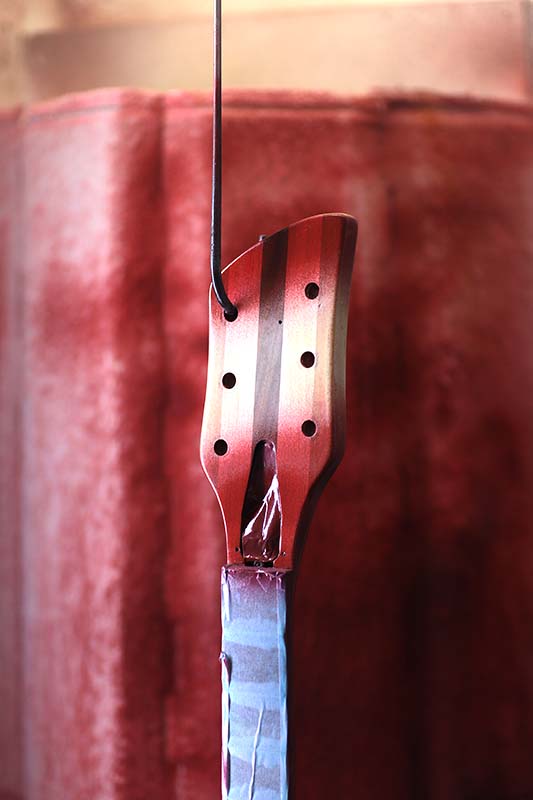
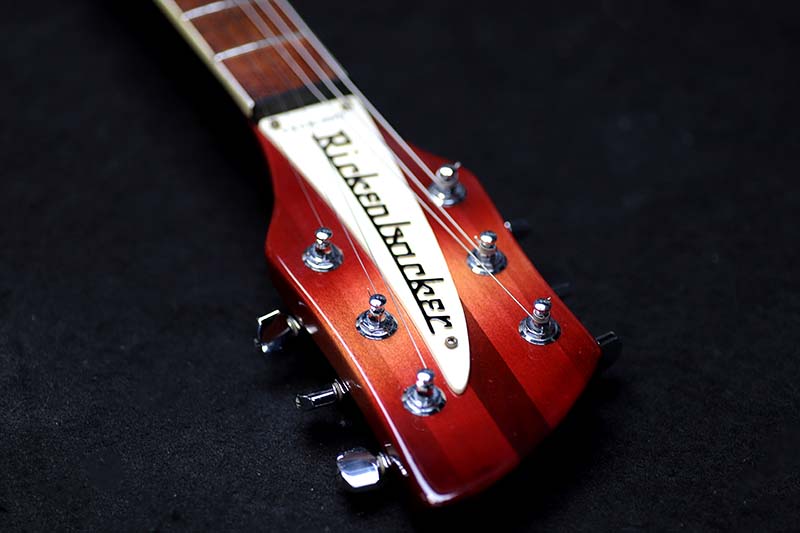
ヘッドは5ピースになっていましった。
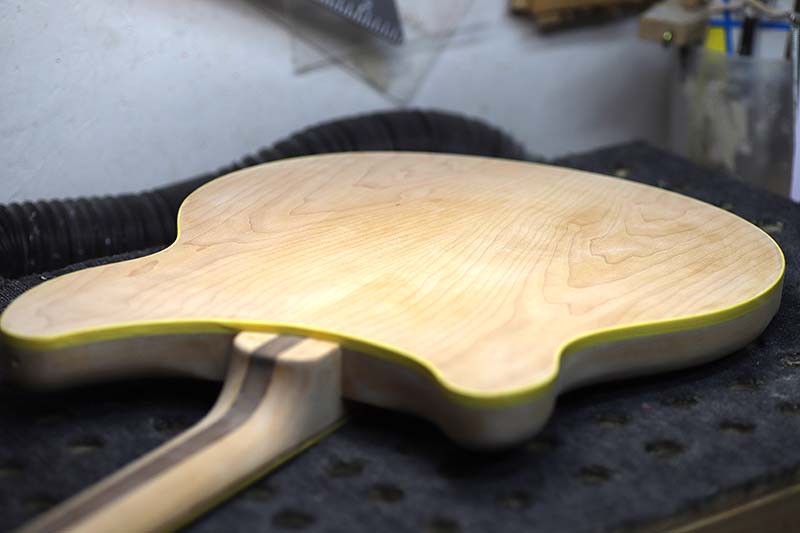
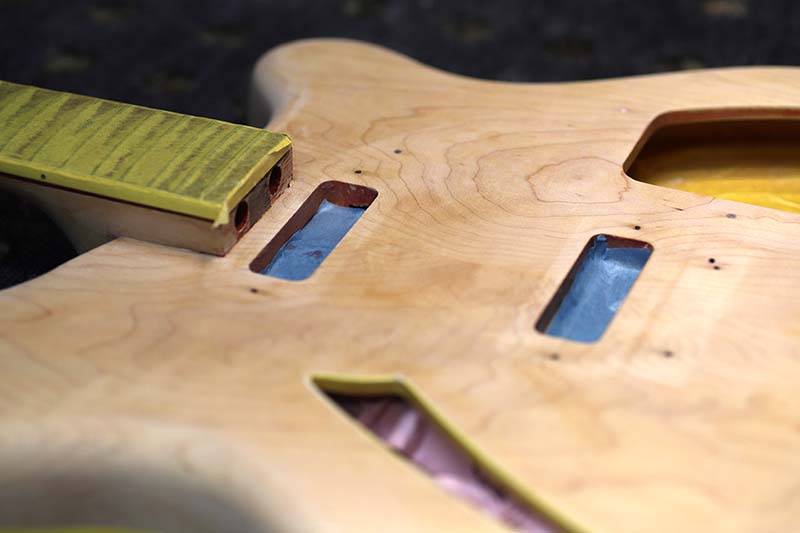
ラッカー塗装
先ずはウッドシーラー、サンディングシーラー。
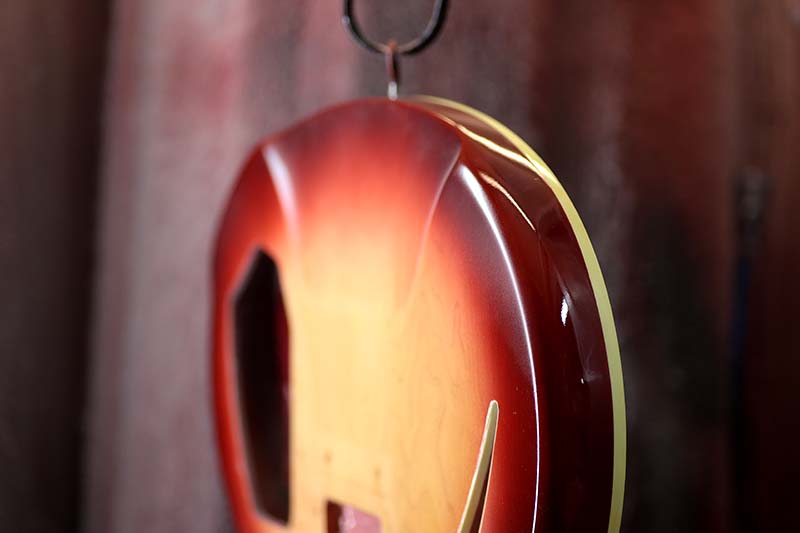
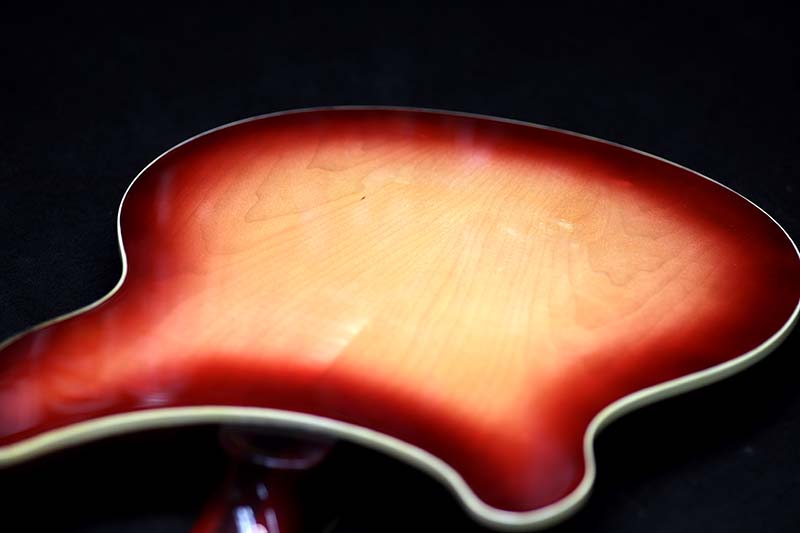
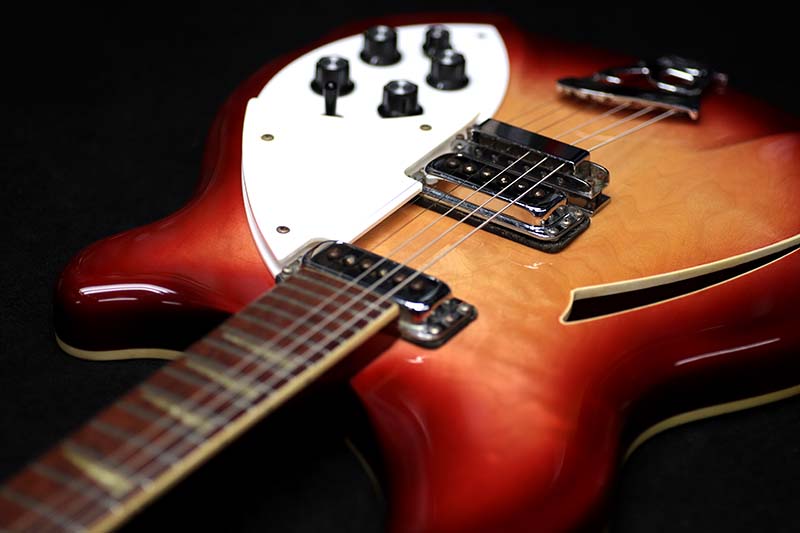
ファイヤーグロー 着色
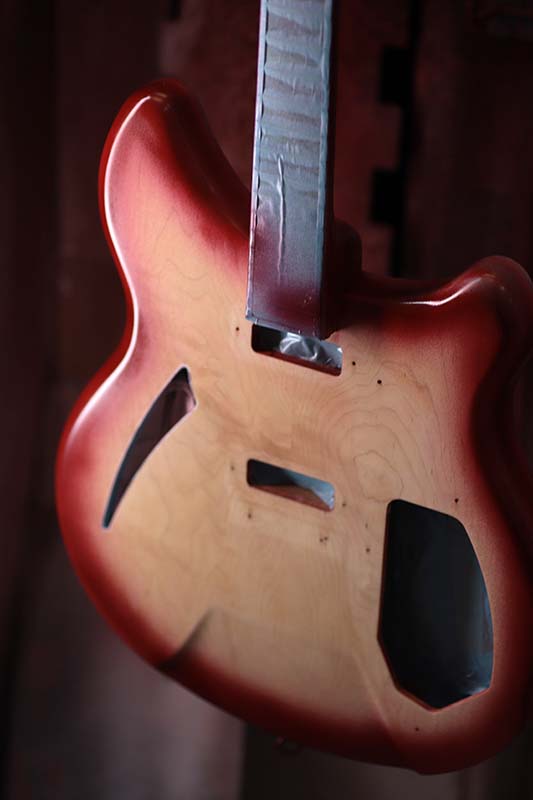
色々なサンプルと見比べながら、バースト処理していきます。
結構苦労しながら仕上げていました。
ナチュラル+薄いチェリー+濃いチェリー の3トーンバースト。
フェンダーとはまた違う風合い。
着色後トップを吹きます。
シンナーの希釈を変えながらグロス仕上げ用に少し厚めに吹きます。
水研ぎ、バフ掛け、仕上げ
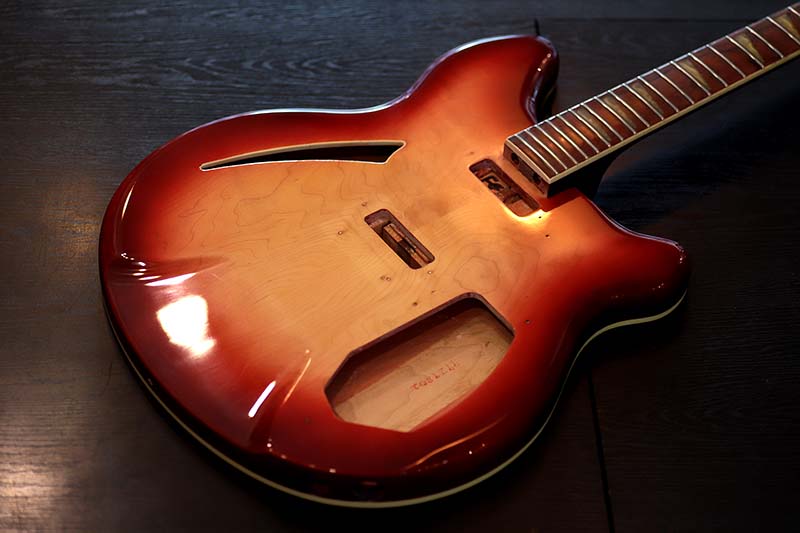
長い工程を経てようやく完了!!
見事にピカピカ、テカテカ、ツヤツヤな仕上げです。
パーツを全て戻し、弦を張って調整。
元の状態と比べてみましょう。
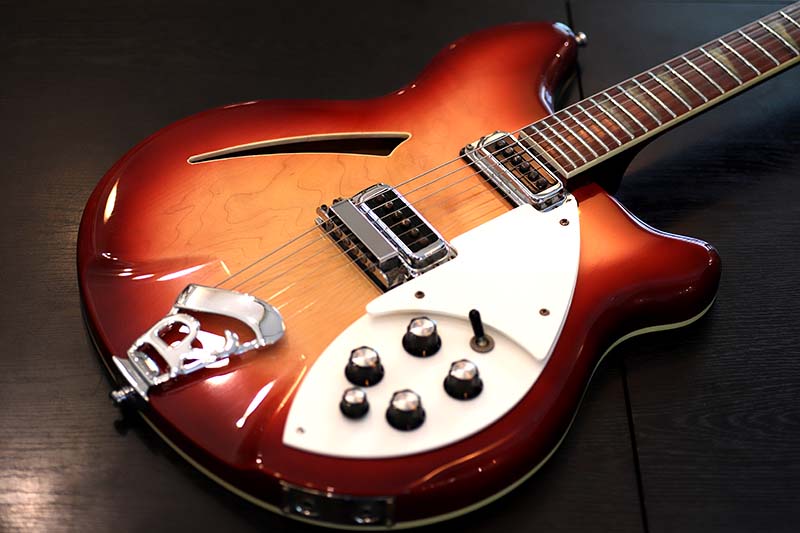
一目瞭然ですね。
女性の高校生スタッフなのでセットネックの塗装の場合、かなり取り回しに力が必要なので苦労していました。
でも塗装歴も2年目になってかなりの腕前。
彼女目当ての塗装依頼が増えてきて嬉しそう。
ギター、ベース、ターンテーブル、などの再塗装、修理は お気軽にご相談下さい。
お願いいたします。