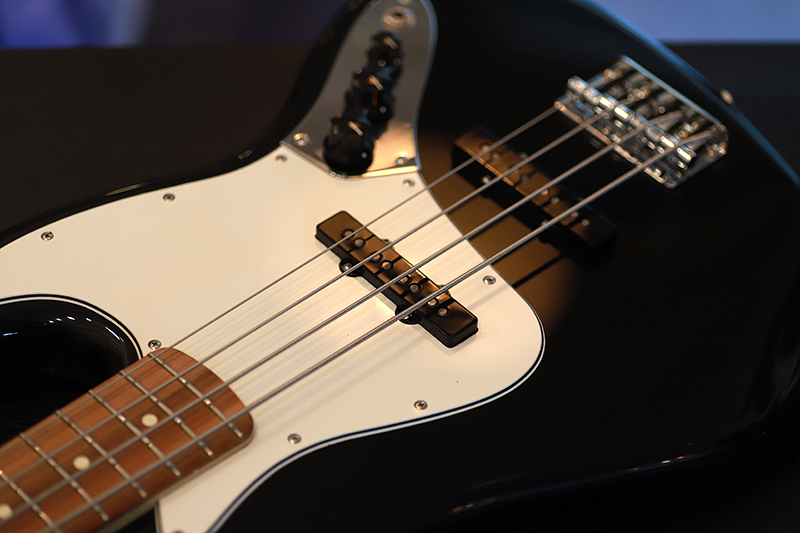
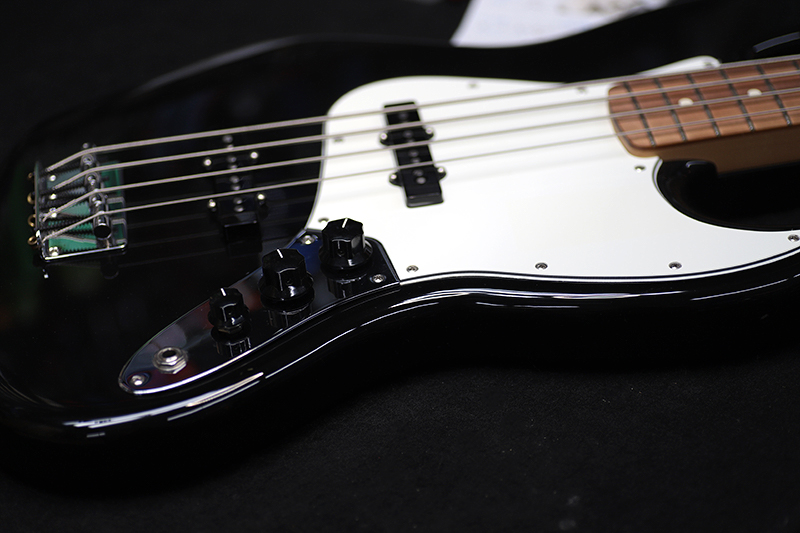
Fender Jazz Bass
Repair of the Day
Fender Jazz Bass – Touch up Paint
フェンダーのエントリー機種のジャズベース。
まだピッカピカで殆ど使用していないみたいです。
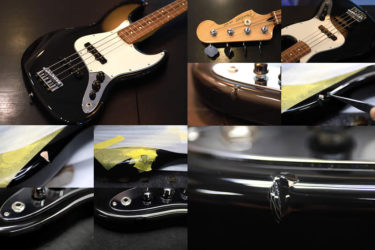
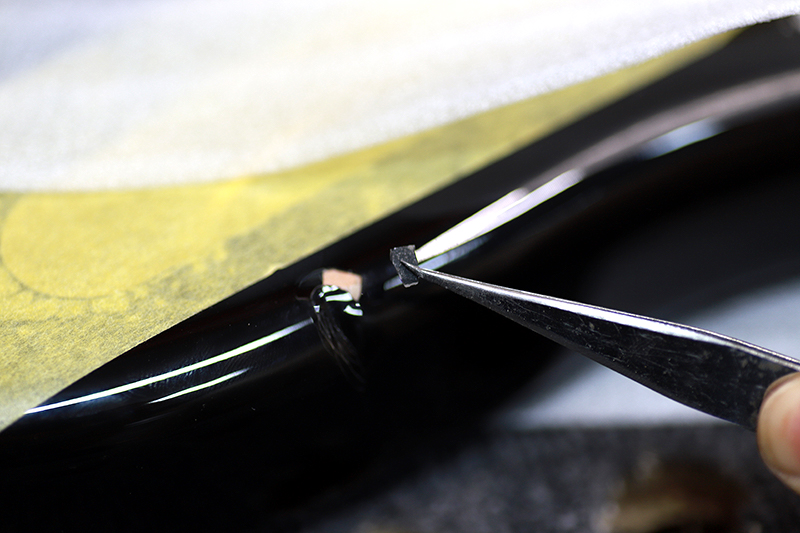
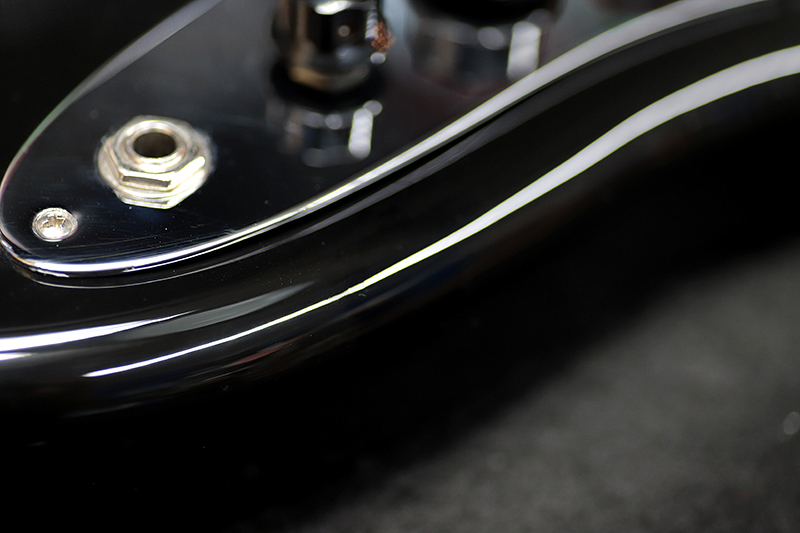
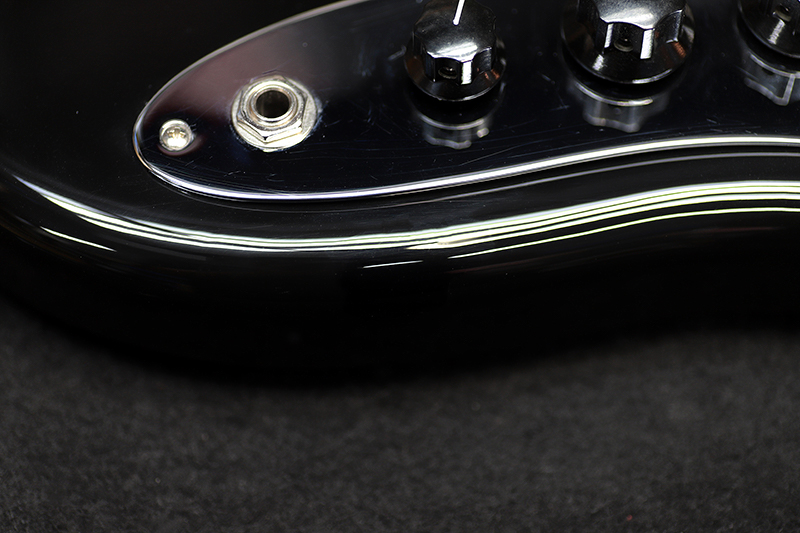
打痕
新品で買ったけどすぐに落としてしまったそうです。
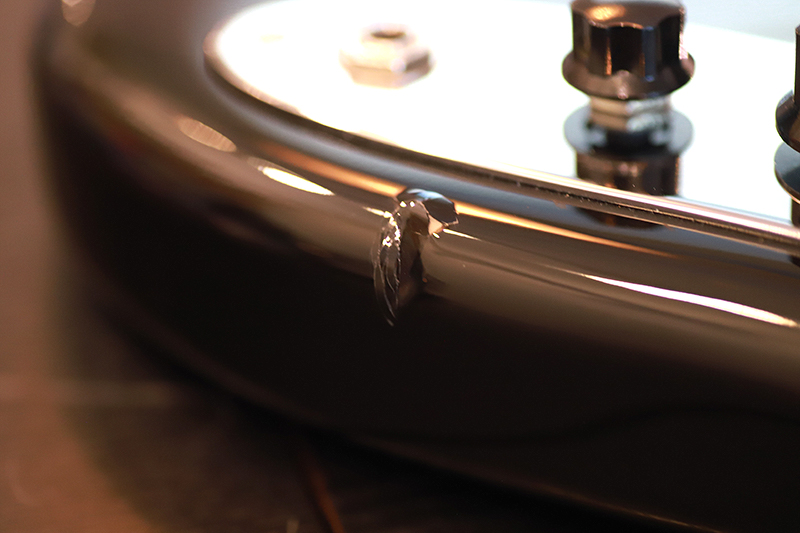
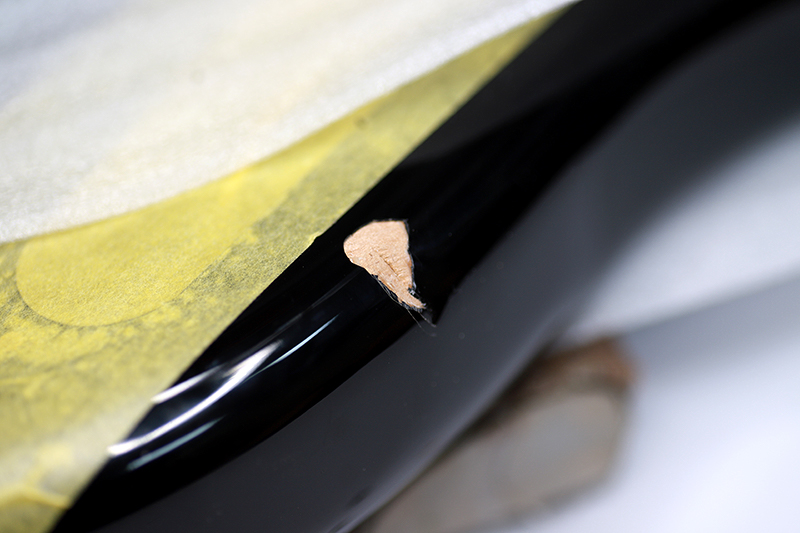
落とした箇所はこんな感じで無残にも凹んでいます。
めり込んで塗装も欠けてしまっています。
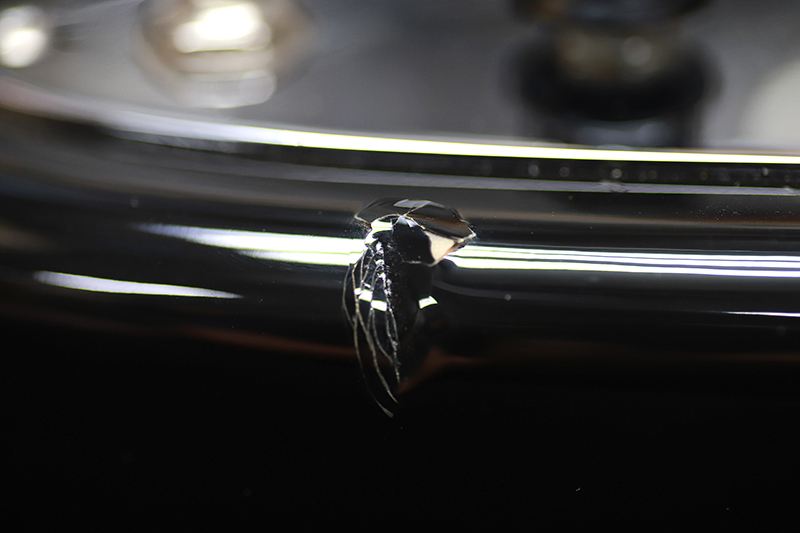
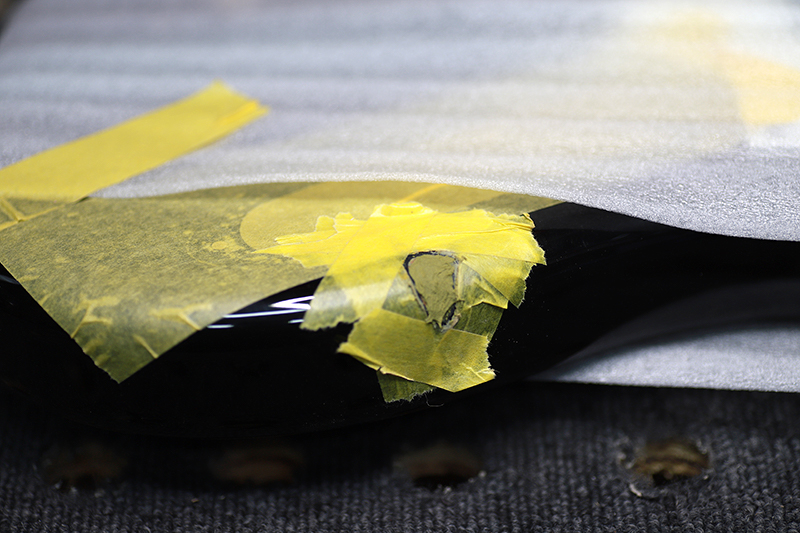
タッチアップ
これ以上割れが酷くならないように埋め・ペイントを行いました。
塗膜のチェックをしてみると、かなり分厚いですね。
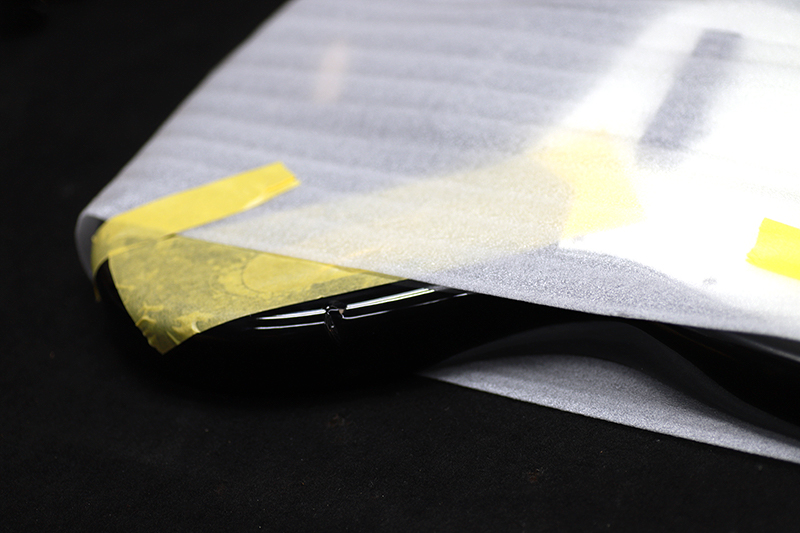
一旦ナイフで周りを整えます。
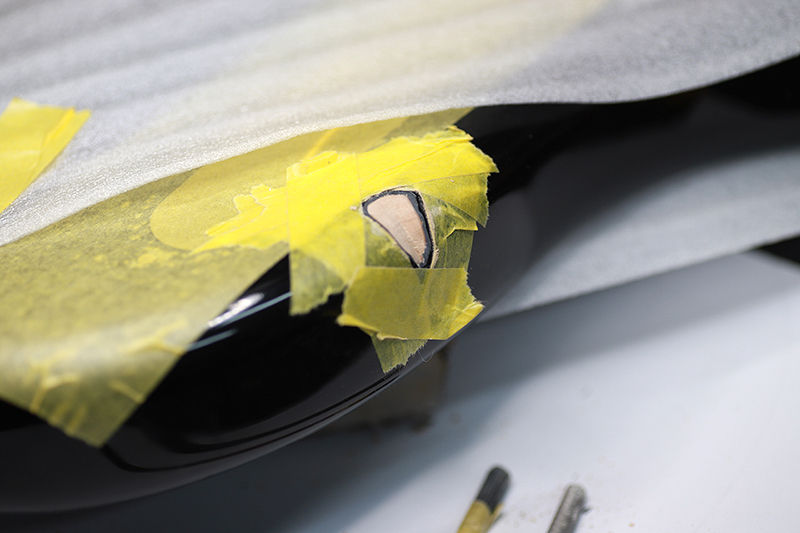
木部、シーラー面、着色面、トップ面のレイヤーをチェックする為削ります。
凹んでしまった木部を熱を加えて浮かび上がらせ、ポリパテで盛っておきます。
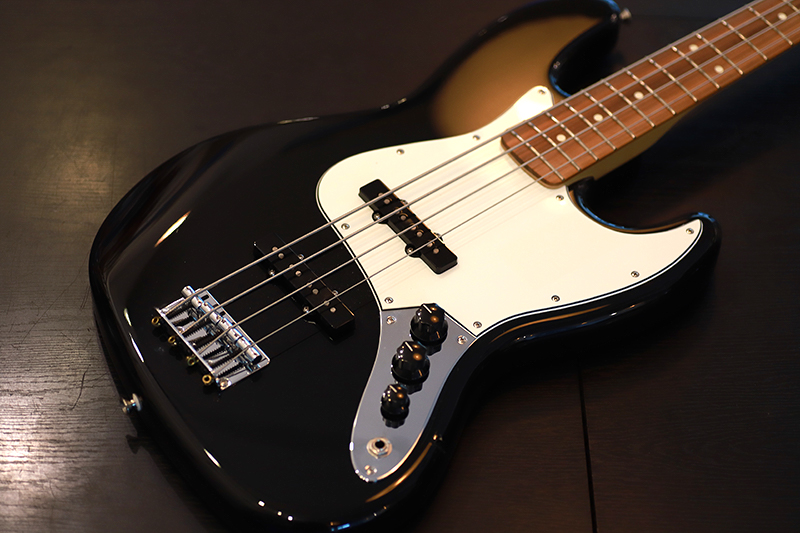
乾燥、研磨後、着色、クリアにて完了。
多少色味の差が出てしまいました。
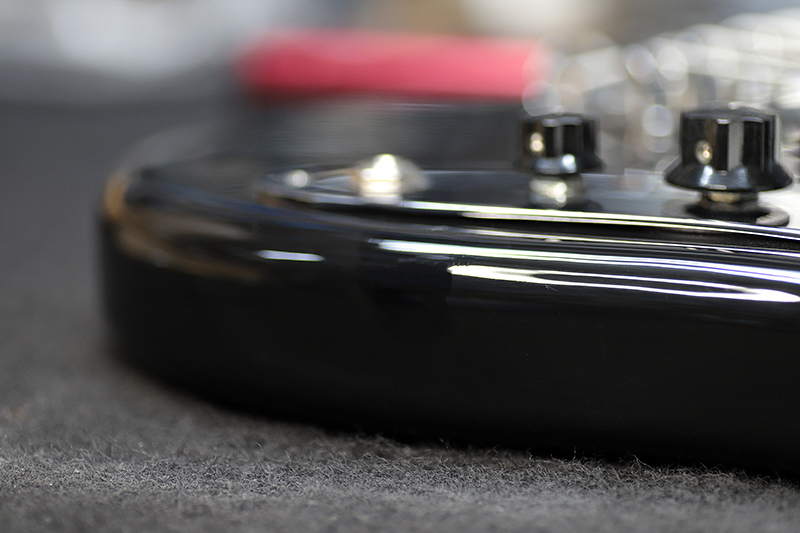
黒は黒と思われがちですが、そのあとにクリアを吹くので角度によって色味の違いが出てしまいます。
今回はかなり目立たなく仕上げる事ができました。
ギター、ベース等の修理は お気軽にご相談下さい。
お願いいたします。