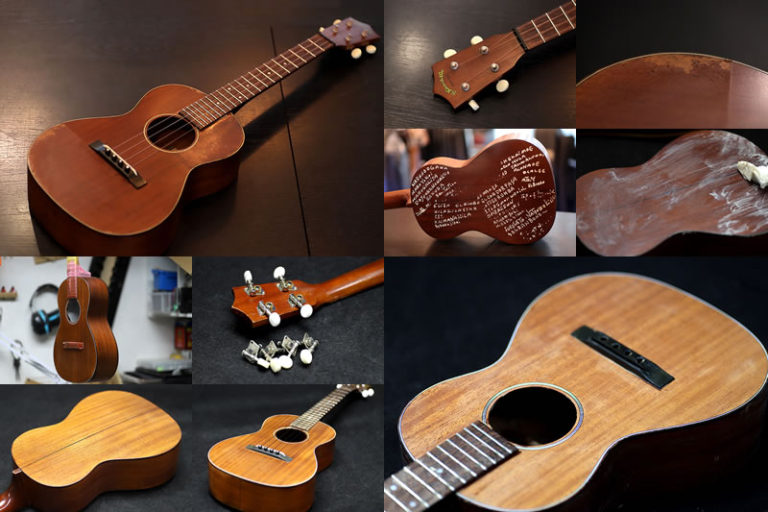
Famous NT-70
Repair of the Day
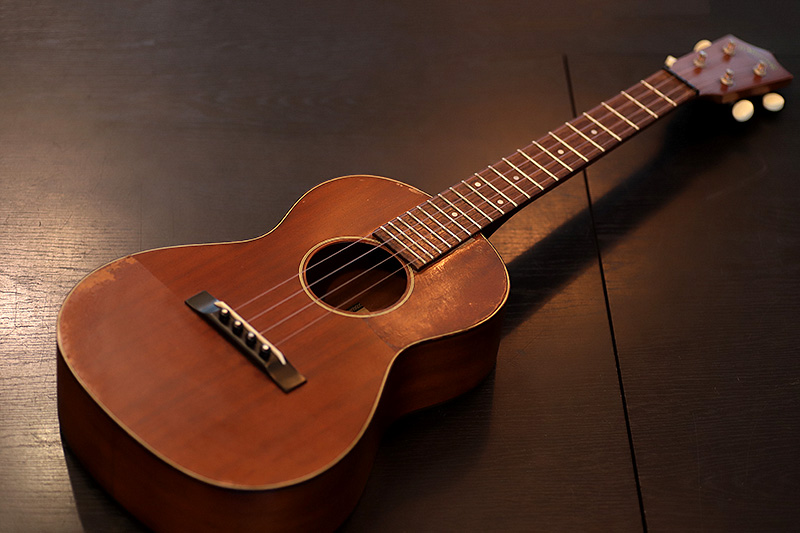
Famous NT-70
多分2000年代のモデル
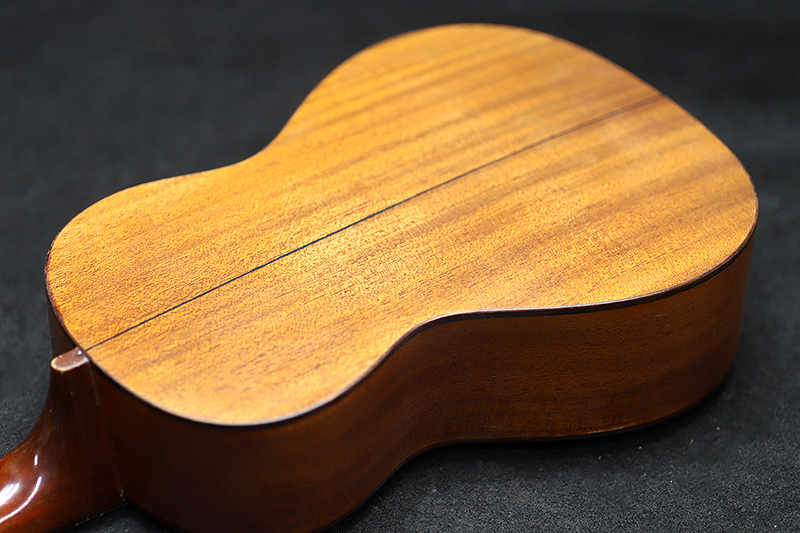
塗装の現状
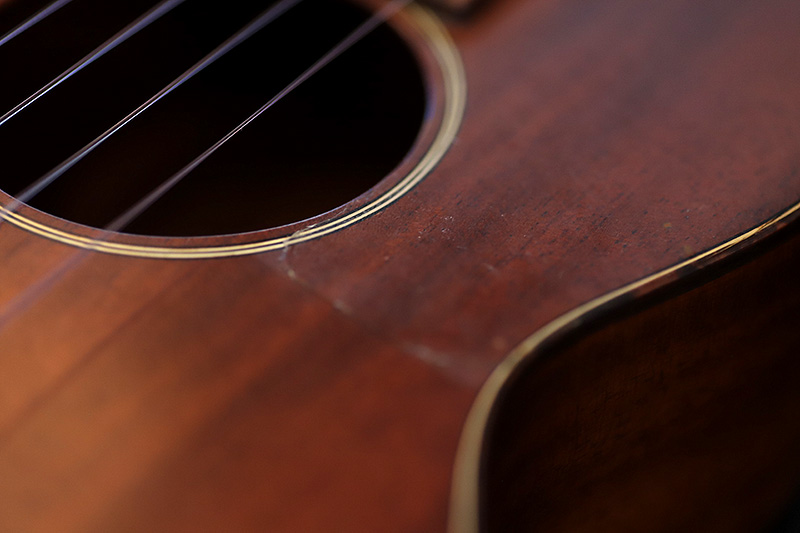
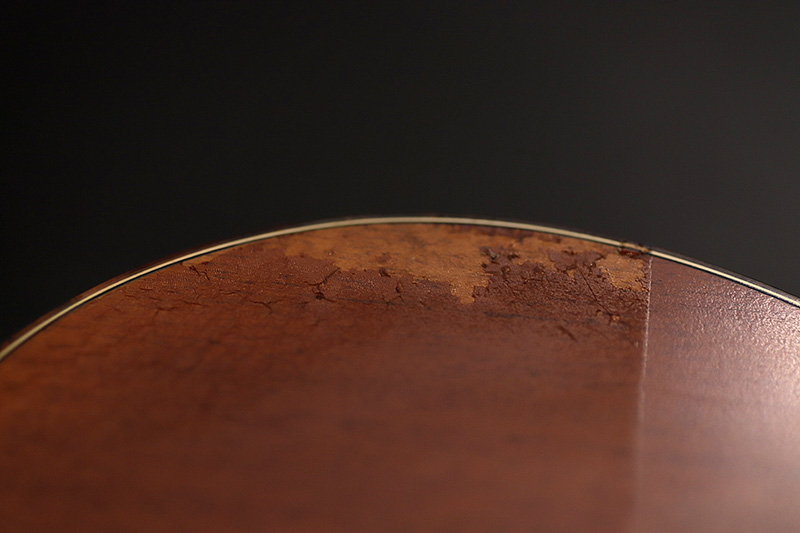
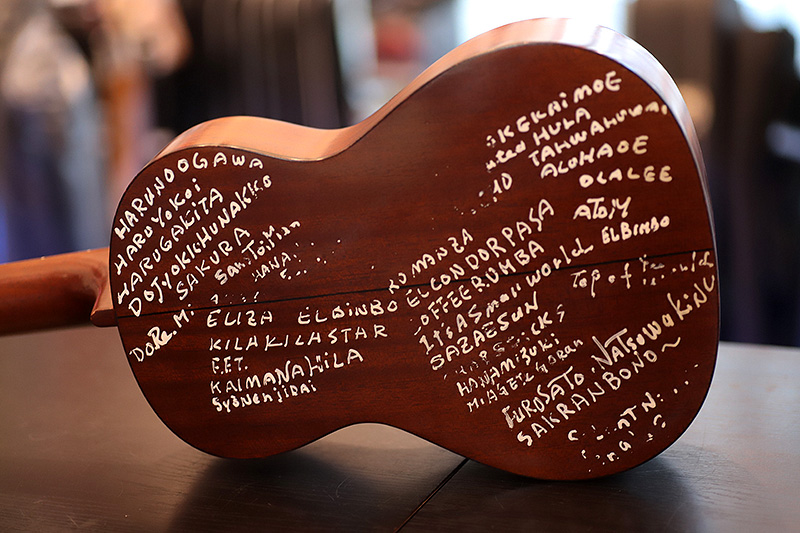
裏面は中古で購入時から文字がペイントされていたようです。
ところどころ剥げているので、今回はトップとバックの全ての塗装を剥がし再塗装。
塗装剥がし

裏面の文字の除去から。
アセトンでは中々落ちずシンナーにて落としていきます。
トップコートと汗と汚れとマジックが混じって相当臭いです。
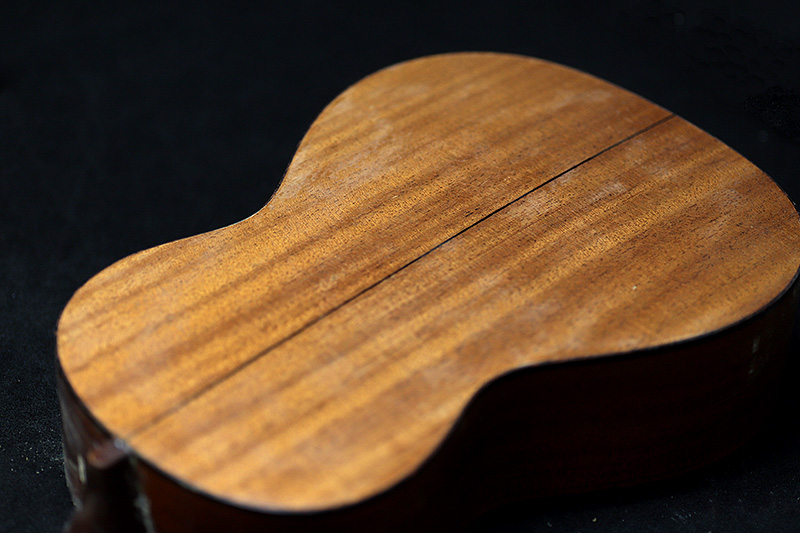
裏面はなんとか生地面が出てきました。
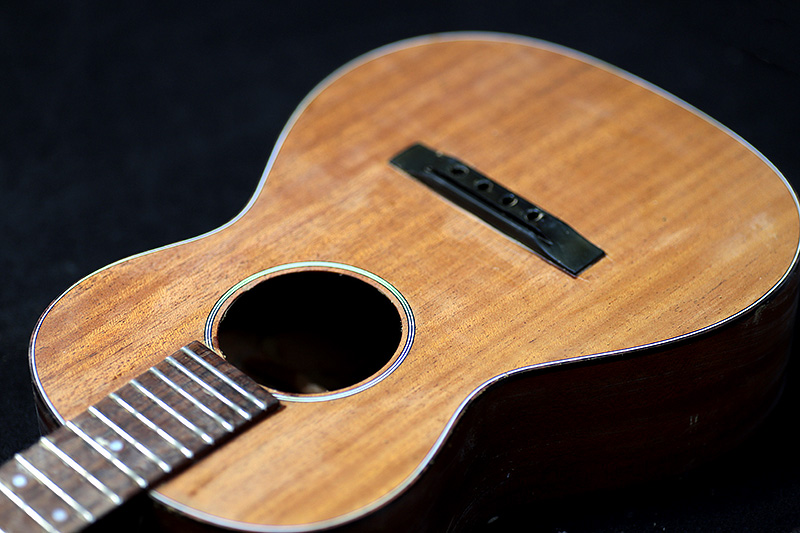
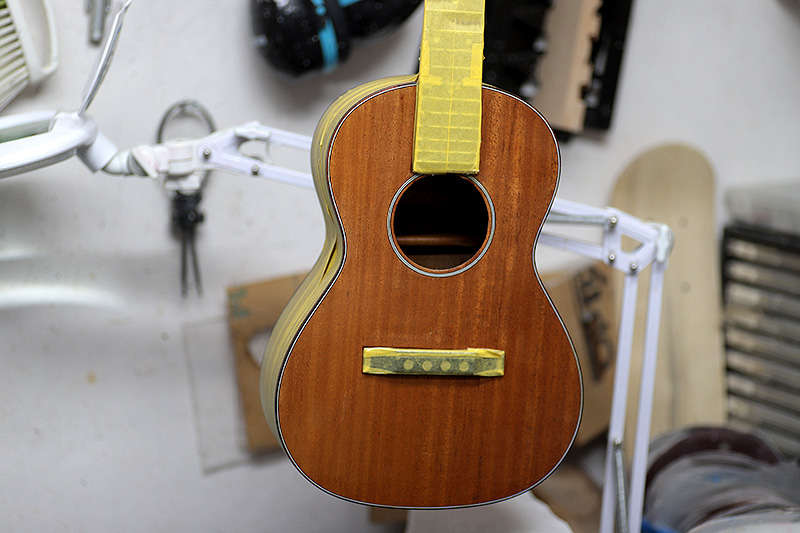
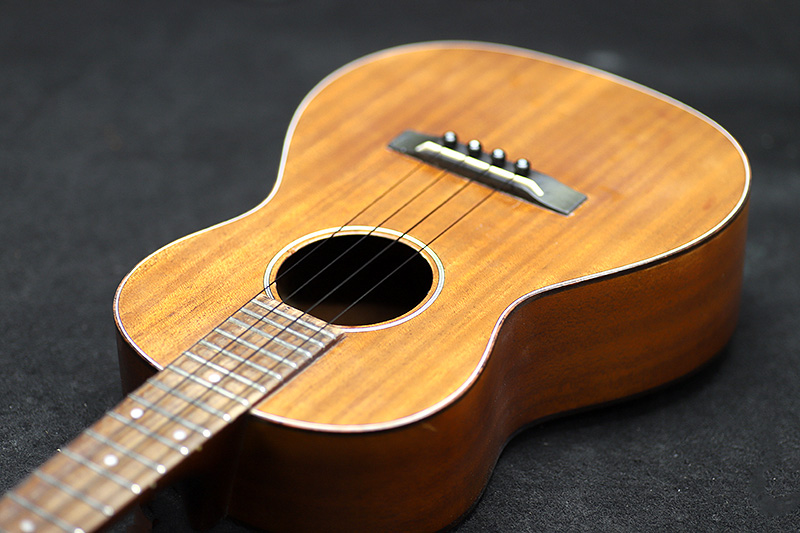
表面もピックガードの樹脂の塊を除去し、サンディングして面出し。
下地、着色
まずはウッドシーラー、サンディングシーラーから。
バインディングはここまでは一緒にペイントして、着色の前にマスキングします。
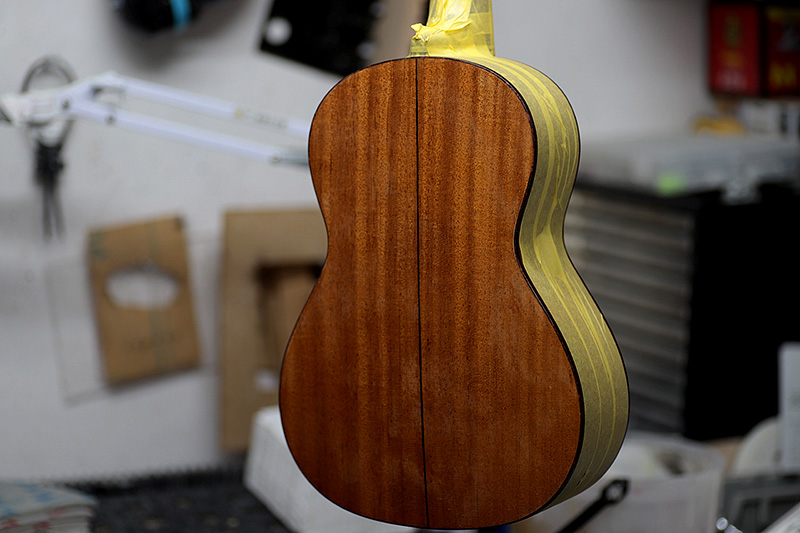
塗装前より、木目がハッキリ出てきました。
続いて着色。
ブラウン系のステインをクリアラッカーに混ぜて吹いていきます。
乾いたらマスキングを外して、バインディングの処理。
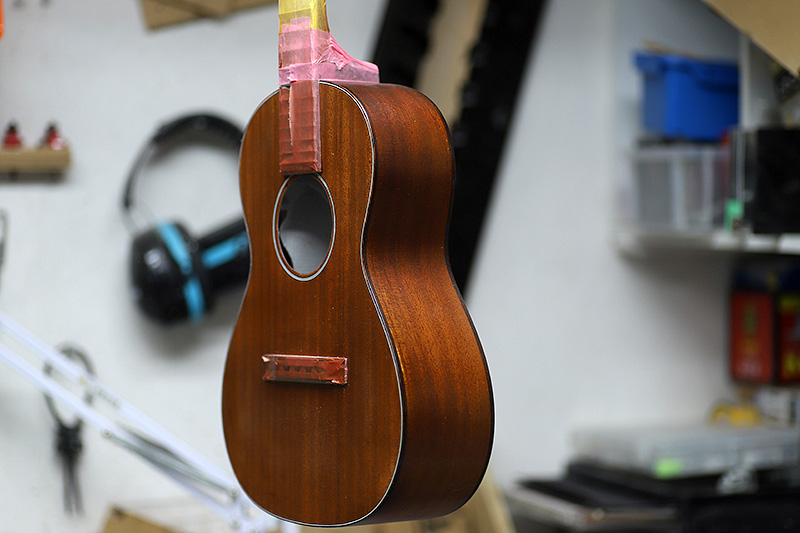
ここまでで新品のようになってきましたね。
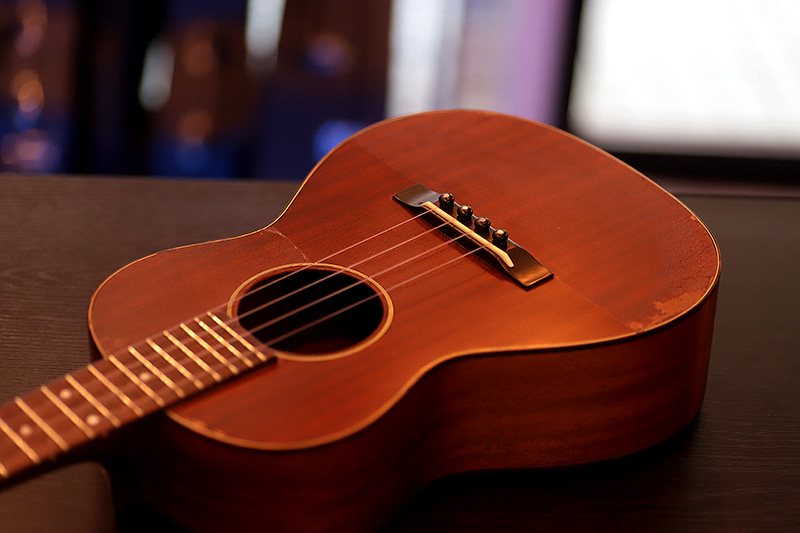
トップコート 艶消しクリア

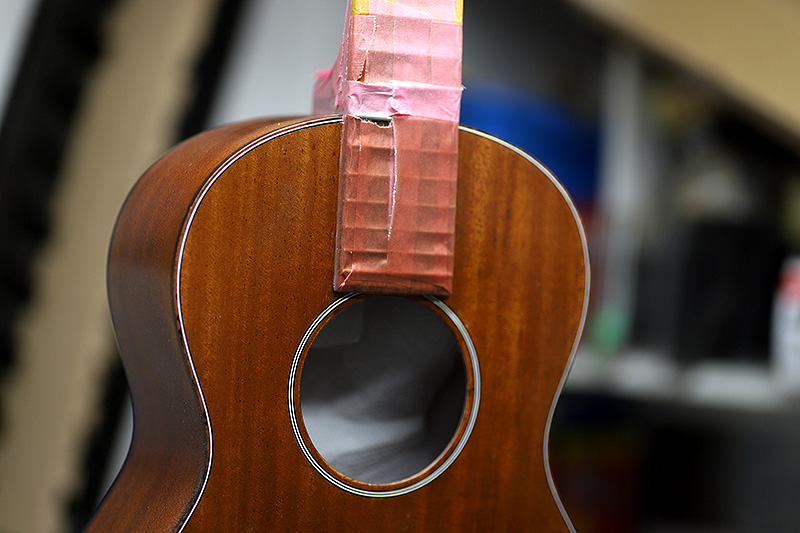
落書きがあったとは思えない綺麗な仕上がり。
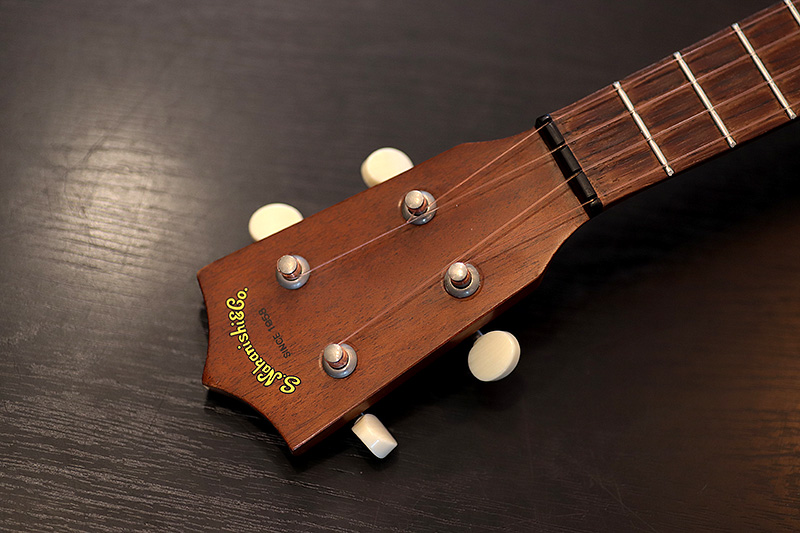
ペグ交換
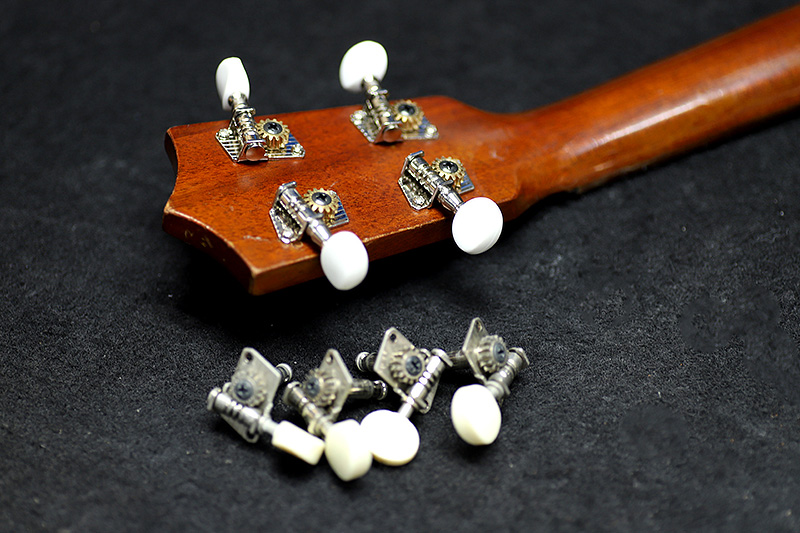
そのペグもグラグラでチューニングが出来ない状態だったので、同じものに交換。
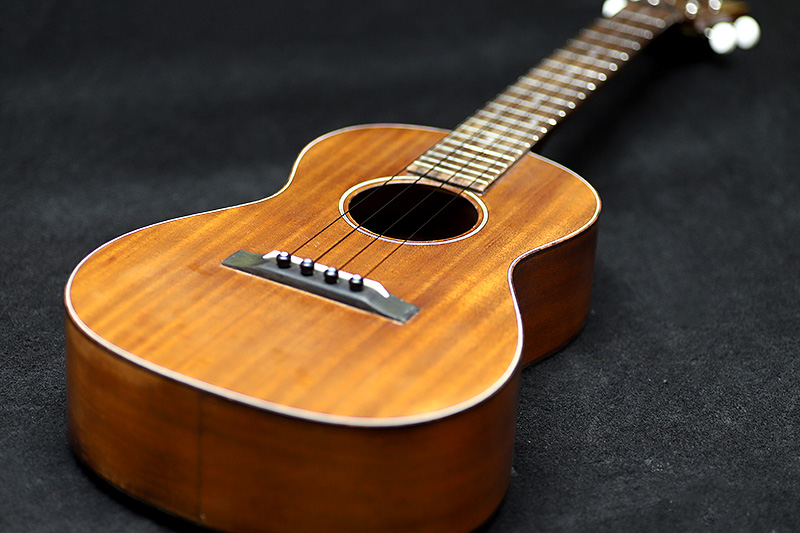
GHSのウクレレ弦を張って完成。
コンサートタイプでしたが、かなり明るいサウンドでした。
ウクレレの割れ、ブリッジ剥がれ、塗装のやり直し、等の修理は お気軽にご相談下さい。
お願いいたします。