目次
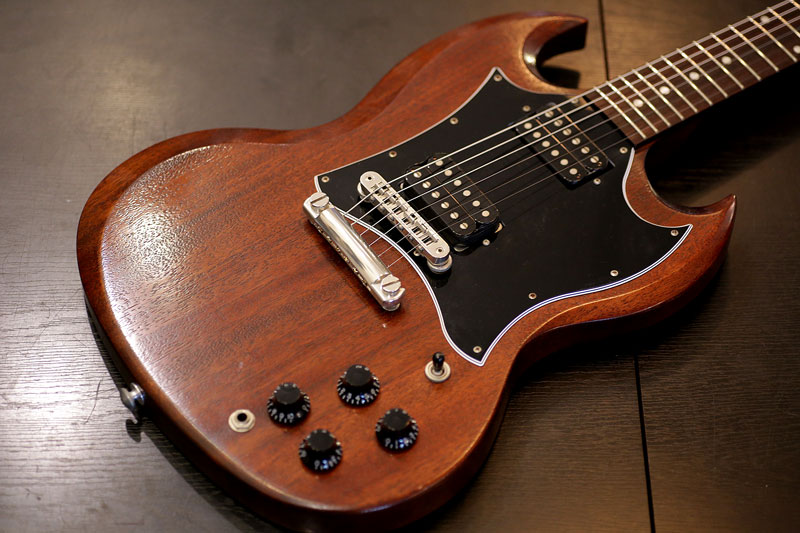
GIBSON SG
Repair of the Day
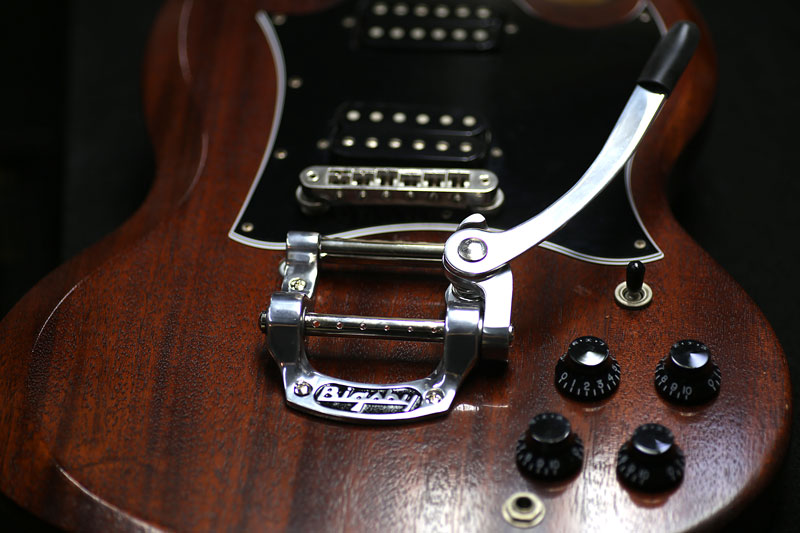
GIBSON SG – Install Bigsby
ギブソンSG。
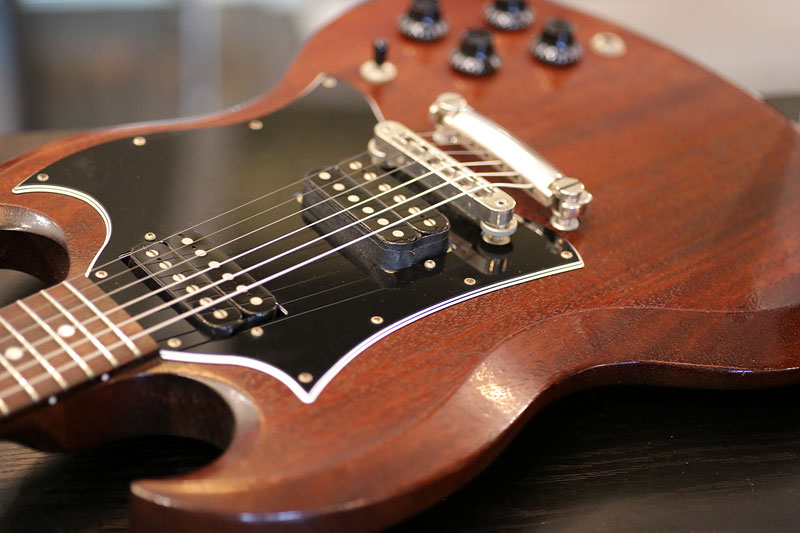
比較的最近のモデルです。

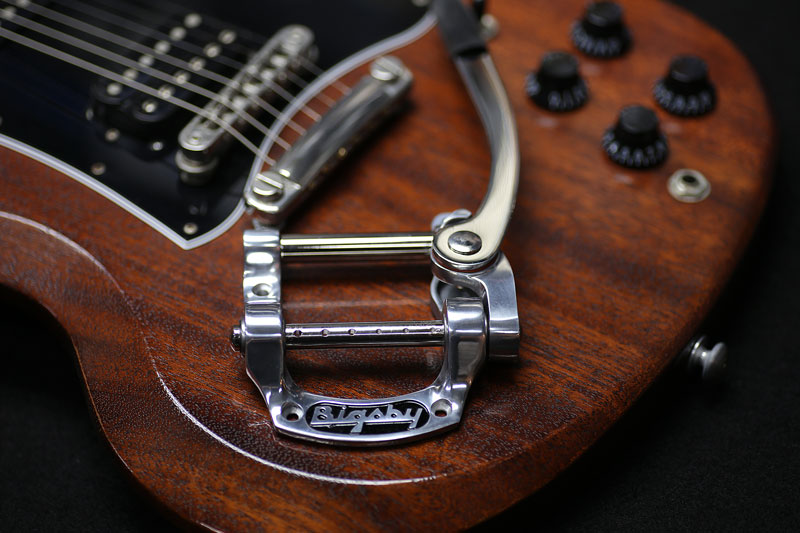
今回はビグスビーユニットの取付依頼でした。
SGは通常ストップテールピースが付いています。
今回はビグスビーユニットのB5を取り付けます。

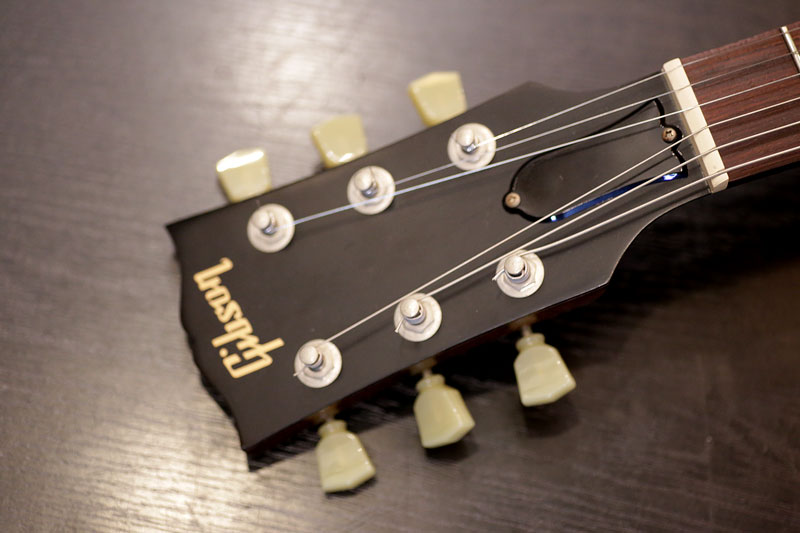
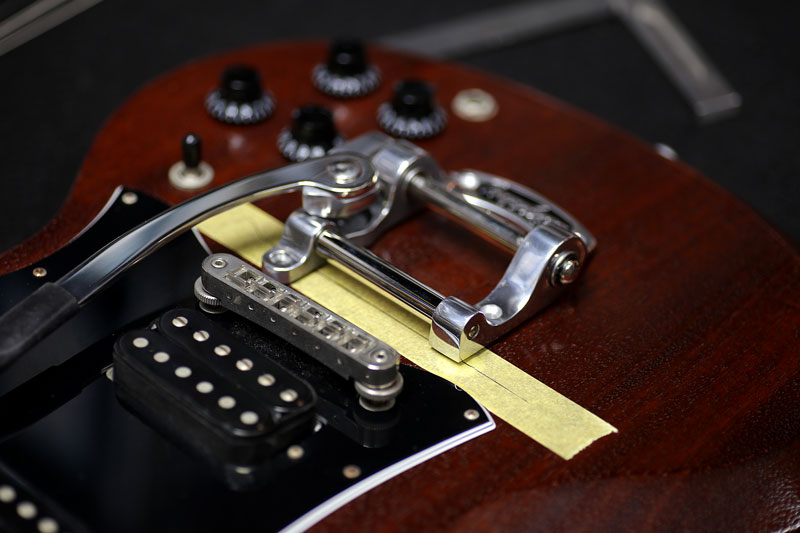
スタッドの位置をマスキングし位置を出します。
センターを出して1弦、6弦の位置を確認しながら穴位置を決めます。
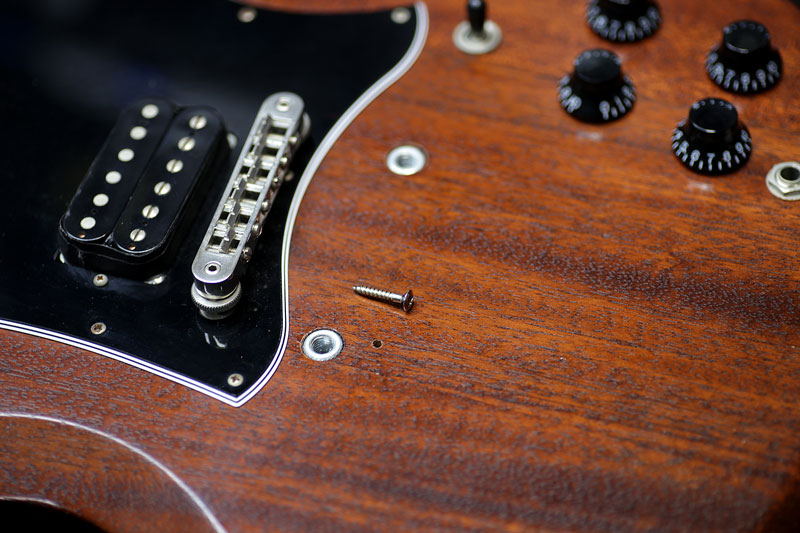
取り付けるネジに合わせ、下穴を開けます。

取り付け完了。

雰囲気も大分変りますね。
SGやレスポール、335などへのビグスビー取り付けも行っております。
ギター、ベース等の修理は お気軽にご相談下さい。
お願いいたします。