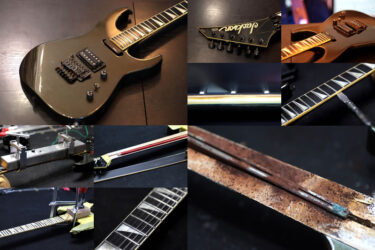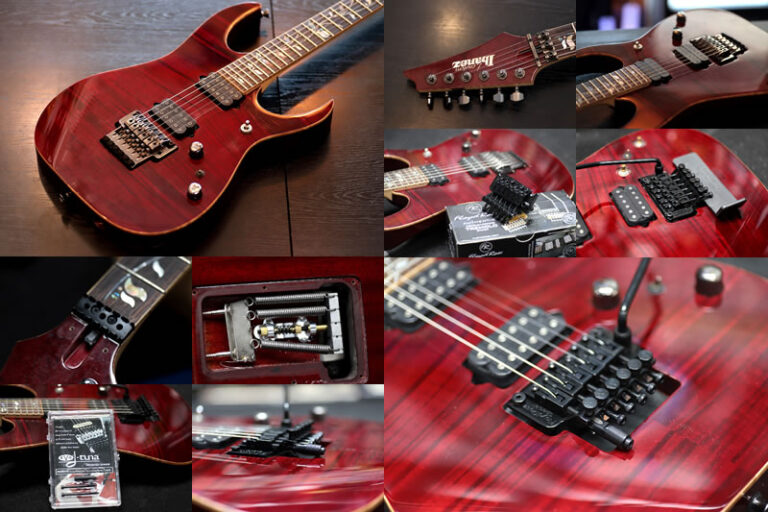
Ibanez J-Custom
Repair of the Day
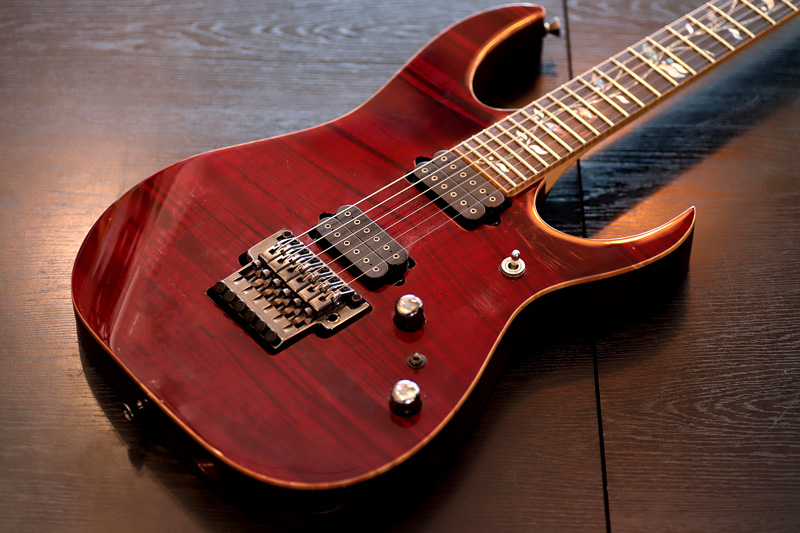
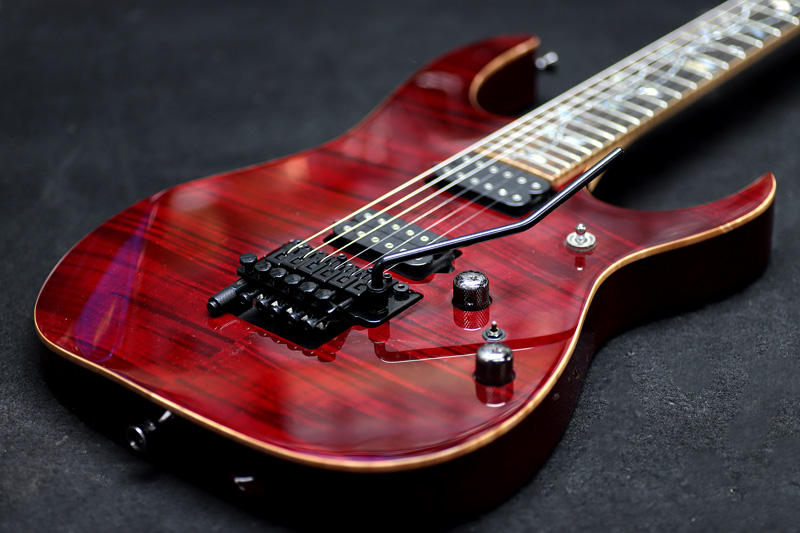
Ibanez J-Custom

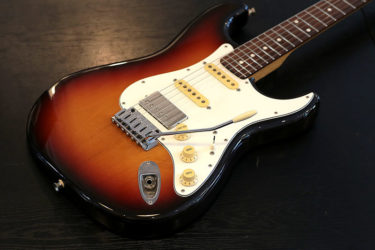
木目の綺麗なJカスタム
80年代に生まれたJEM以降、一貫してIbanezの音を継承しているモデル。
低域、高域のバランスと抜けの良さは唯一です。
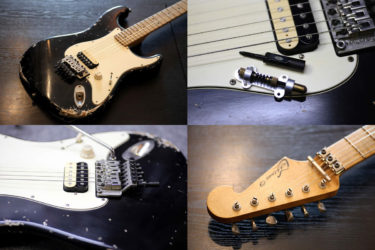
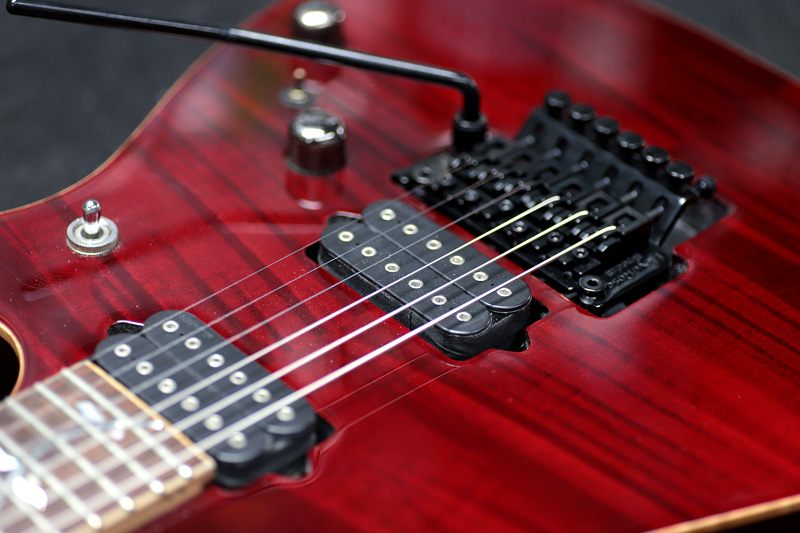
FRTトレモロ交換
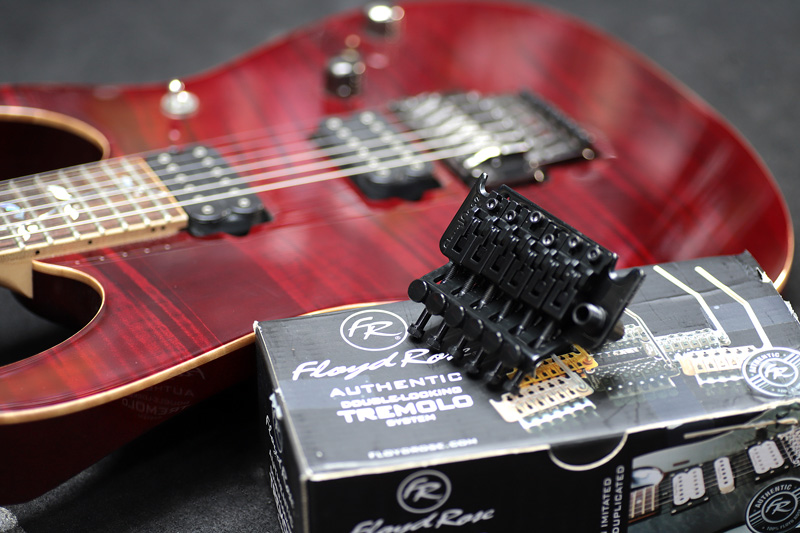
今回は純正トレモロから Floyd Roseへの交換依頼。
スタッド穴
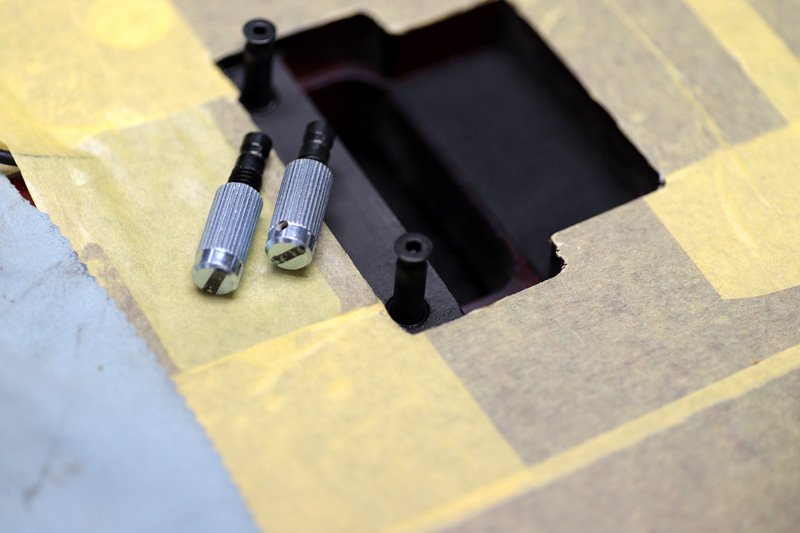
純正とフロイドローズのスタッドサイズが違うので一旦抜いて埋めて着色。
何か記事にするとサクッと変えていますが、結構時間掛けて位置だししました。
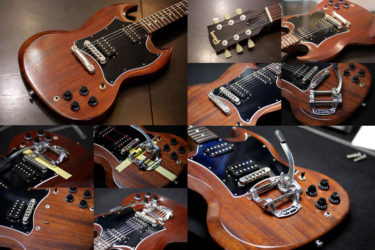
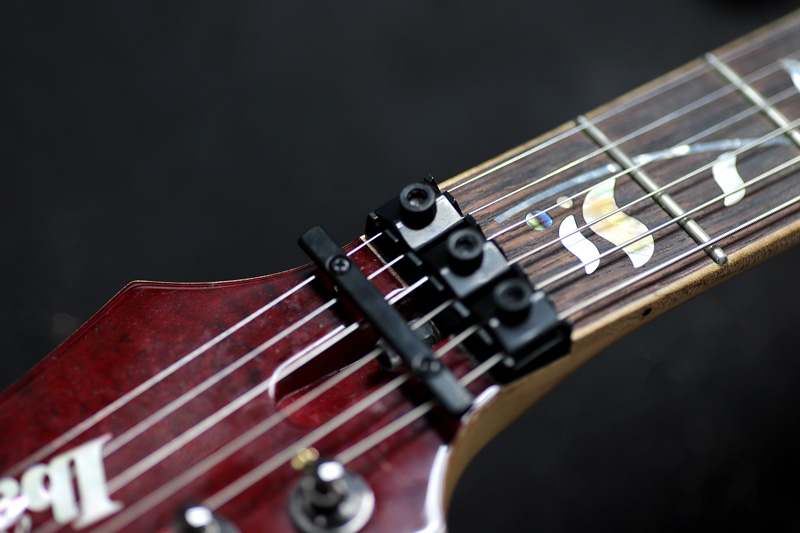
ロックナット
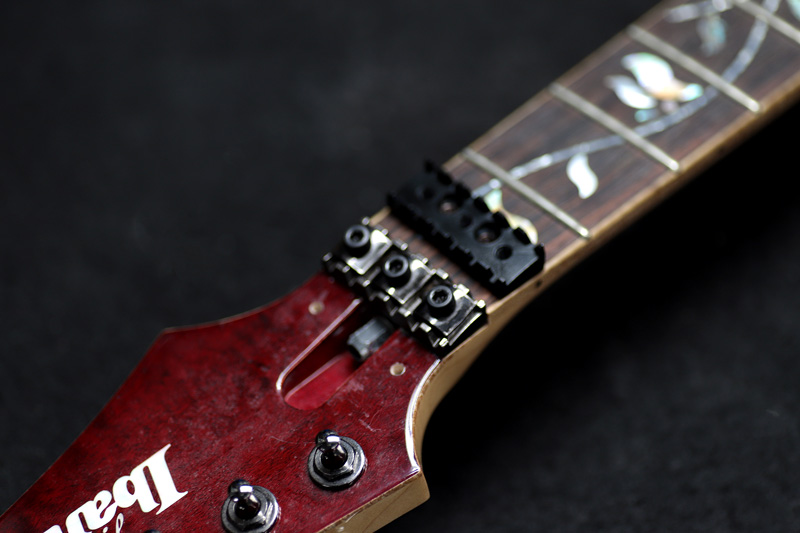
ロックナットもサイズが違うので穴を埋めなおします。
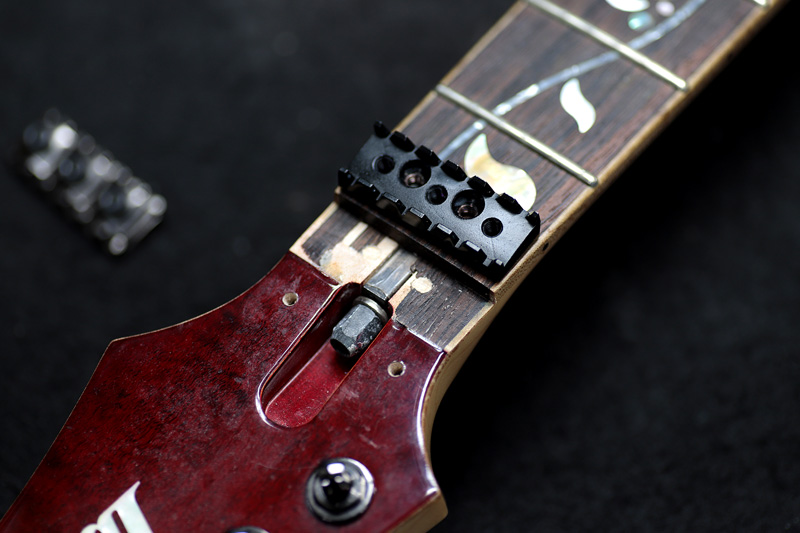
一旦スロットを整地してメイプルを埋めました。
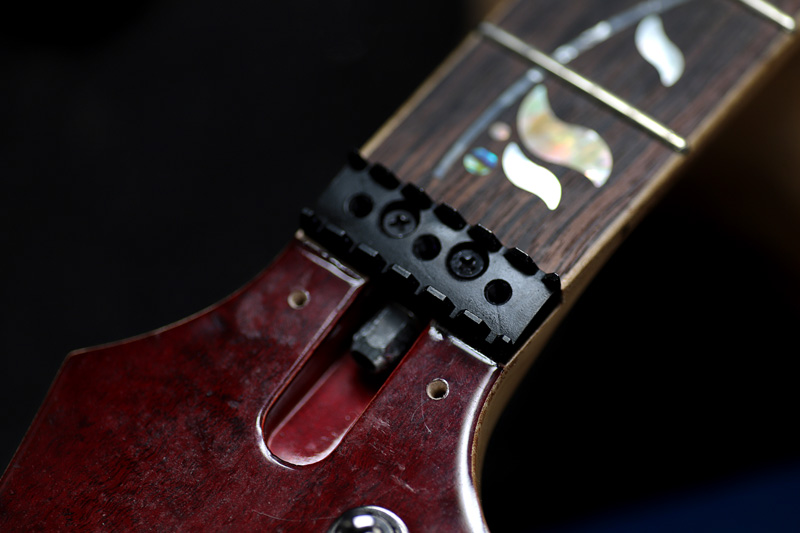
取り付け完了。
調整
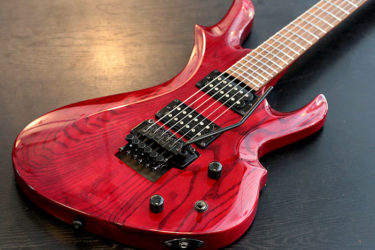
弦を張ってブリッジの調整。
テンションピン取り付け
位置、オクターブ等を調整して取り付け完了。
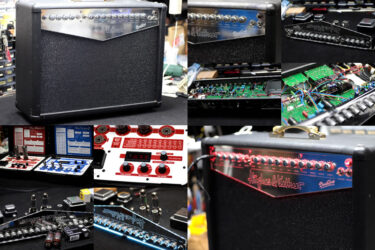
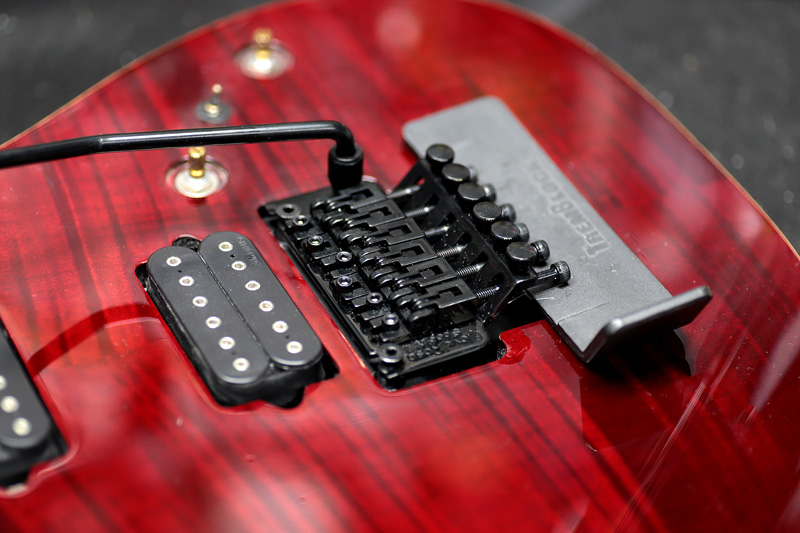
アーミングアジャスター
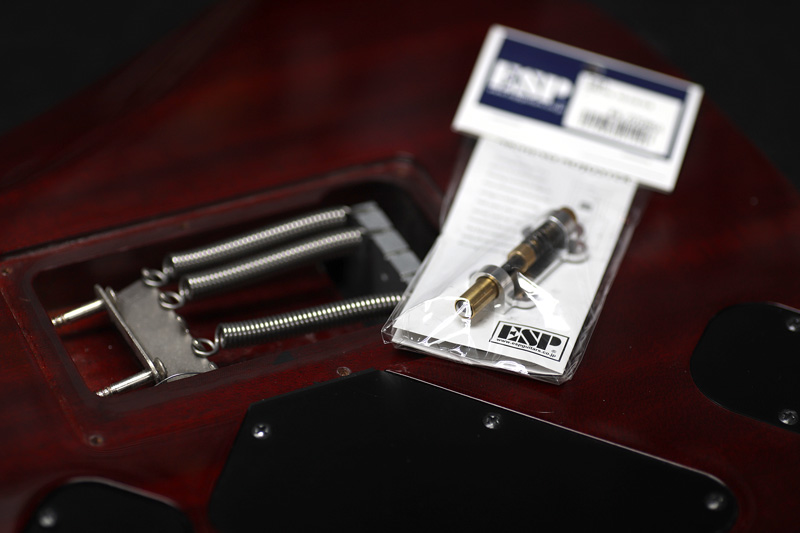
続いてアーミングアジャスターを取り付け。
今回はD-tunaも取り付けるので、これは必須です。
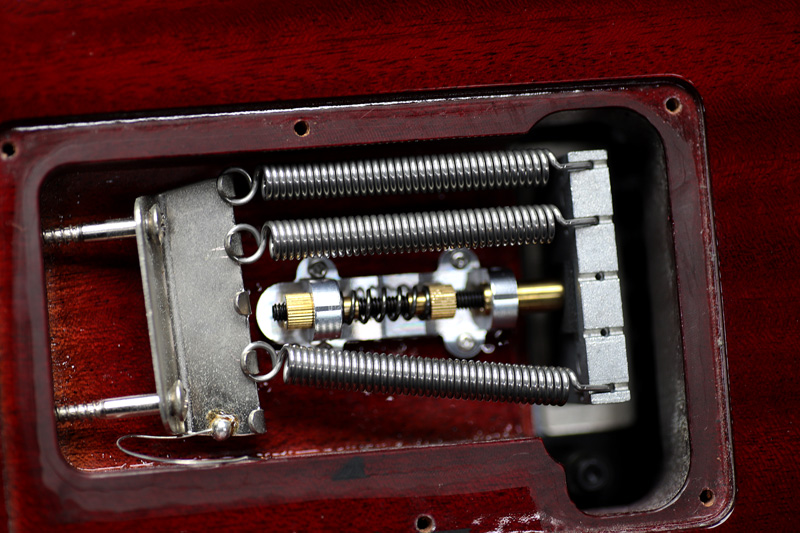
センターにアジャスターを取り付け、バネは3本にしました。
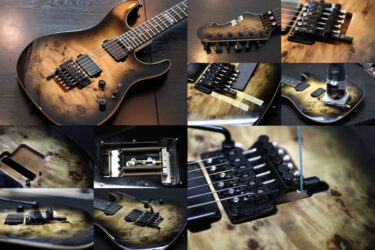
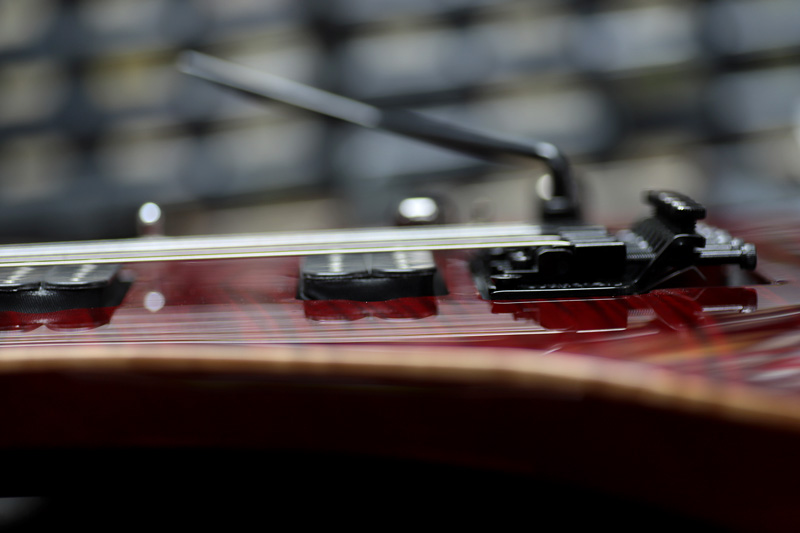
D-tuna
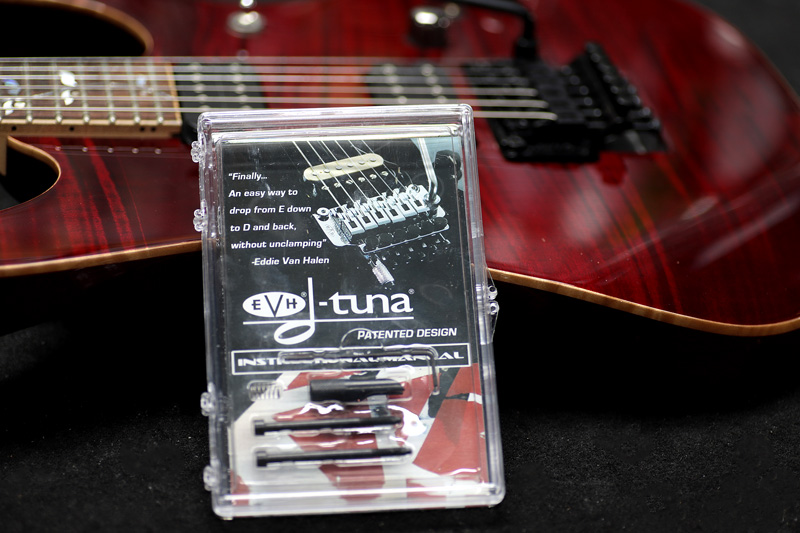
続いてD-tuna
瞬時に好みのチューニングにダウン出来る優れもの。
今回は Dに。
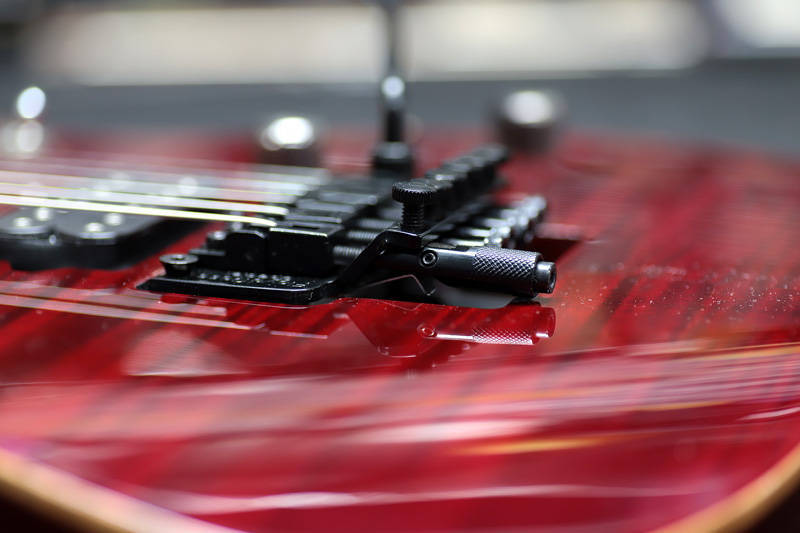
ギリギリボディに当たらなかったのですが、アップするのであればザグリが必要ですね。

最初は少し慣れが必要ですが、慣れてくれば片手で簡単に引っ張れます。
FRTに変えて格段にチューニングが安定。
アーミングアジャスターも付けたので、チョーキング時の不安定さも無くなりました。
ギター、ベース等の修理は お気軽にご相談下さい。